

Cool Hand
-
Content Count
537 -
Joined
-
Last visited
Content Type
Profiles
Forums
Calendar
Posts posted by Cool Hand
-
-
Bummer.
Will you be trying another G-4?
-
Nice build so far.
I have to ask, why are you going to use the RLM 81/82/83 colors introduced in late 1944 for a G-4 built in early 1943?
-
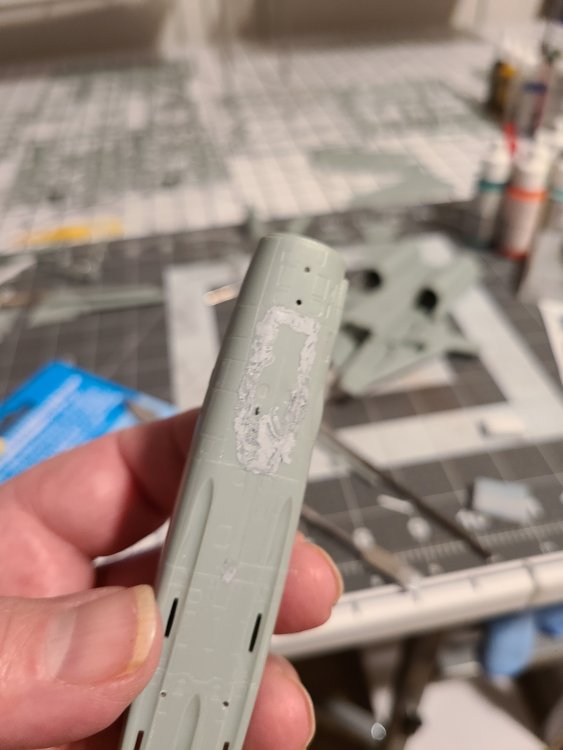
Looks like it's just a reflection of the skylight in the high-gloss paint.
-
Ok, that makes things clearer.
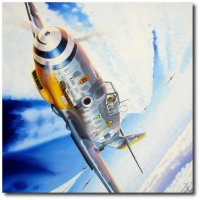
I did find the same picture of "Yellow 4" in a book that I have. Caption simply says it's a 109E-3 of 3./Jg 27.
I found a different picture of what I believe is the same plane before having the cowl painted yellow.
The size, shape, and position of the "4" is an exact match to the photo you provided. And the camouflage pattern on the spine aft of the canopy also matches exactly.
This means that the rear canopy section and the gun cover / air intake panel were replaced between photos.
The site I got this photo from calls it an E-1, despite not having a view of the guns or Werknummer. Also, that site has so many mislabeled photos that I would disregard any caption from there that is not corroborated by another source. I just wanted to mention the discrepancy to prevent future confusion.
Do your decals for Marseille's "Yellow 14" have the numbers outlined in black or are they solid yellow?
FYI, the Zvezda kit has the earlier canopy because there are documented cases of some 109F's from JG 5 having the early canopy retrofitted.
-
Depending on your available decals and if you have an E-4 canopy you can/want to swap, that scheme you painted is accurate for several planes.
Are you trying to limit yourself to an E-3 from 3./Jg 27?
-
Dai, Have you tried moving the cockpit tub as far forward as it will slide in the grooves? Given that the fuselage is tapered towards the front, I'm willing to bet that the tub is designed to be wedged between the front of the fuselage halves.
-
I'm sure glad I didn't throw away my Academy Bombcat.
-
Congrats on having your models displayed with the Vermont ANG. What an honor.
-
Fantastic build.
-
2 hours ago, One-Oh-Four said:
I always assumed these aircraft were painted standard OD over NG with sand/tan patches painted over it. Like the Germans did with their Ju 87 Stukas for example.
I was looking a several examples on this page https://www.reddog1944.com/340th Bomb Group Unknown BS and SN PLANES.htm
It definitely looks like the dark paint was applied over the lighter shade. So I presume that the 340th BG received many aircraft in factory desert paint. Not sure if it would be sand or pink, but it's definitely light.
-
Are you modelling that specific aircraft?
It looks to me that the darker paint was added after.
-
Fantastic job on the pilot figure.
Rest of the build is nice as well.
-
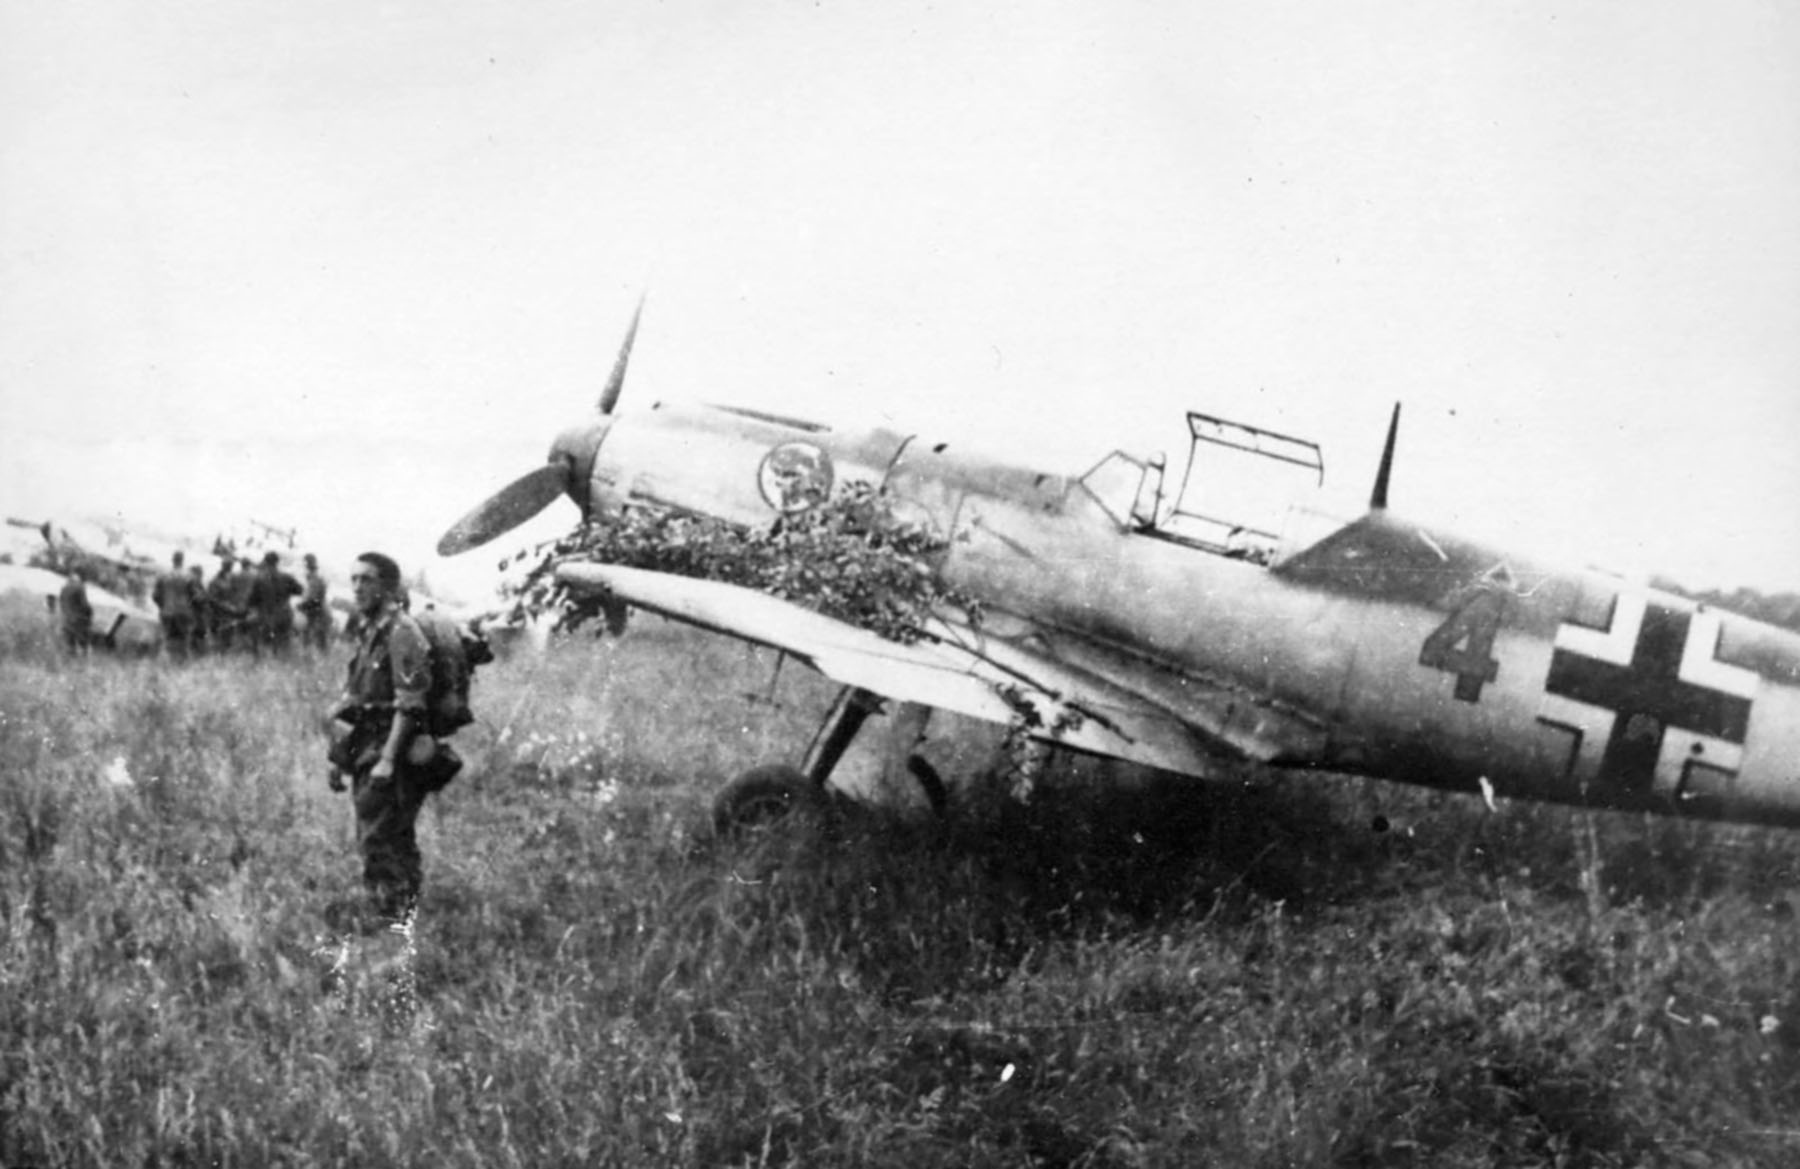
That site does have a LOT of mistakes in the photo captions on other pages, but the 2.(H)/14 page is fine.
-
I can't seem to find the build, but the aircraft is a Bf 109E-7/trop operated by 2.(H)/14 {2./Aufklärungsgruppe 14}, a reconnaissance unit in North Arfica.
You can find several photos of this squadron's aircraft, including #10, here: https://www.asisbiz.com/il2/Bf-109E/H14.html
-
Are you looking for information on the aircraft depicted in the build or info on the build itself?
-
Fantastic build. Truly stunning.
-
How is the Italeri kit? I remember seeing sprue shots when it was first released a few years ago. Looked pretty impressive.
-
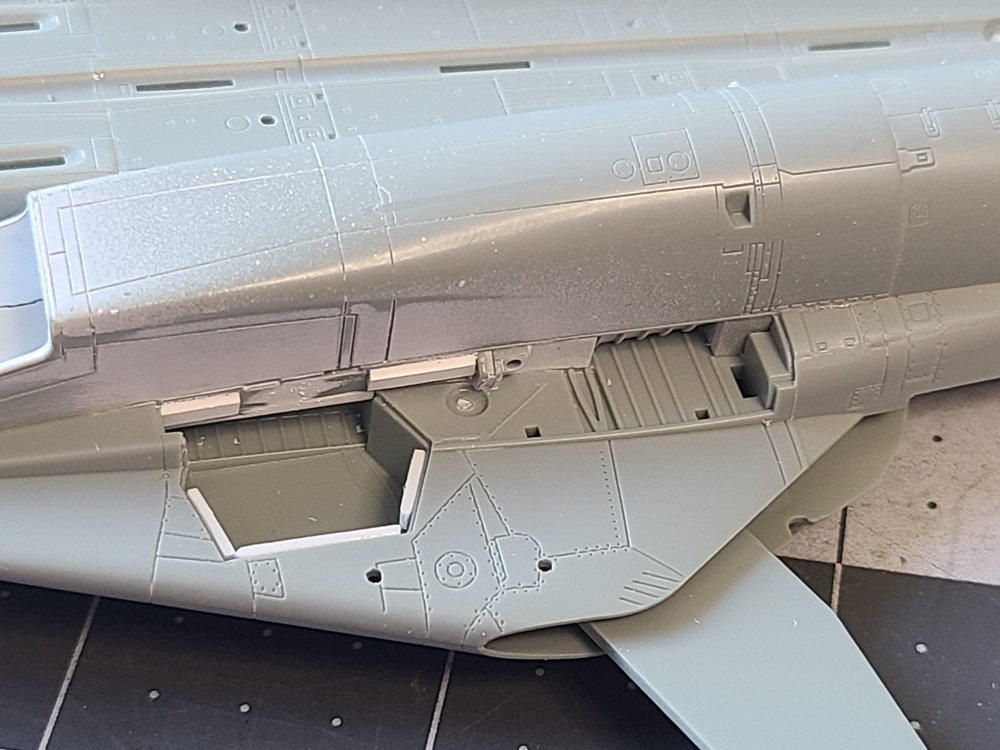
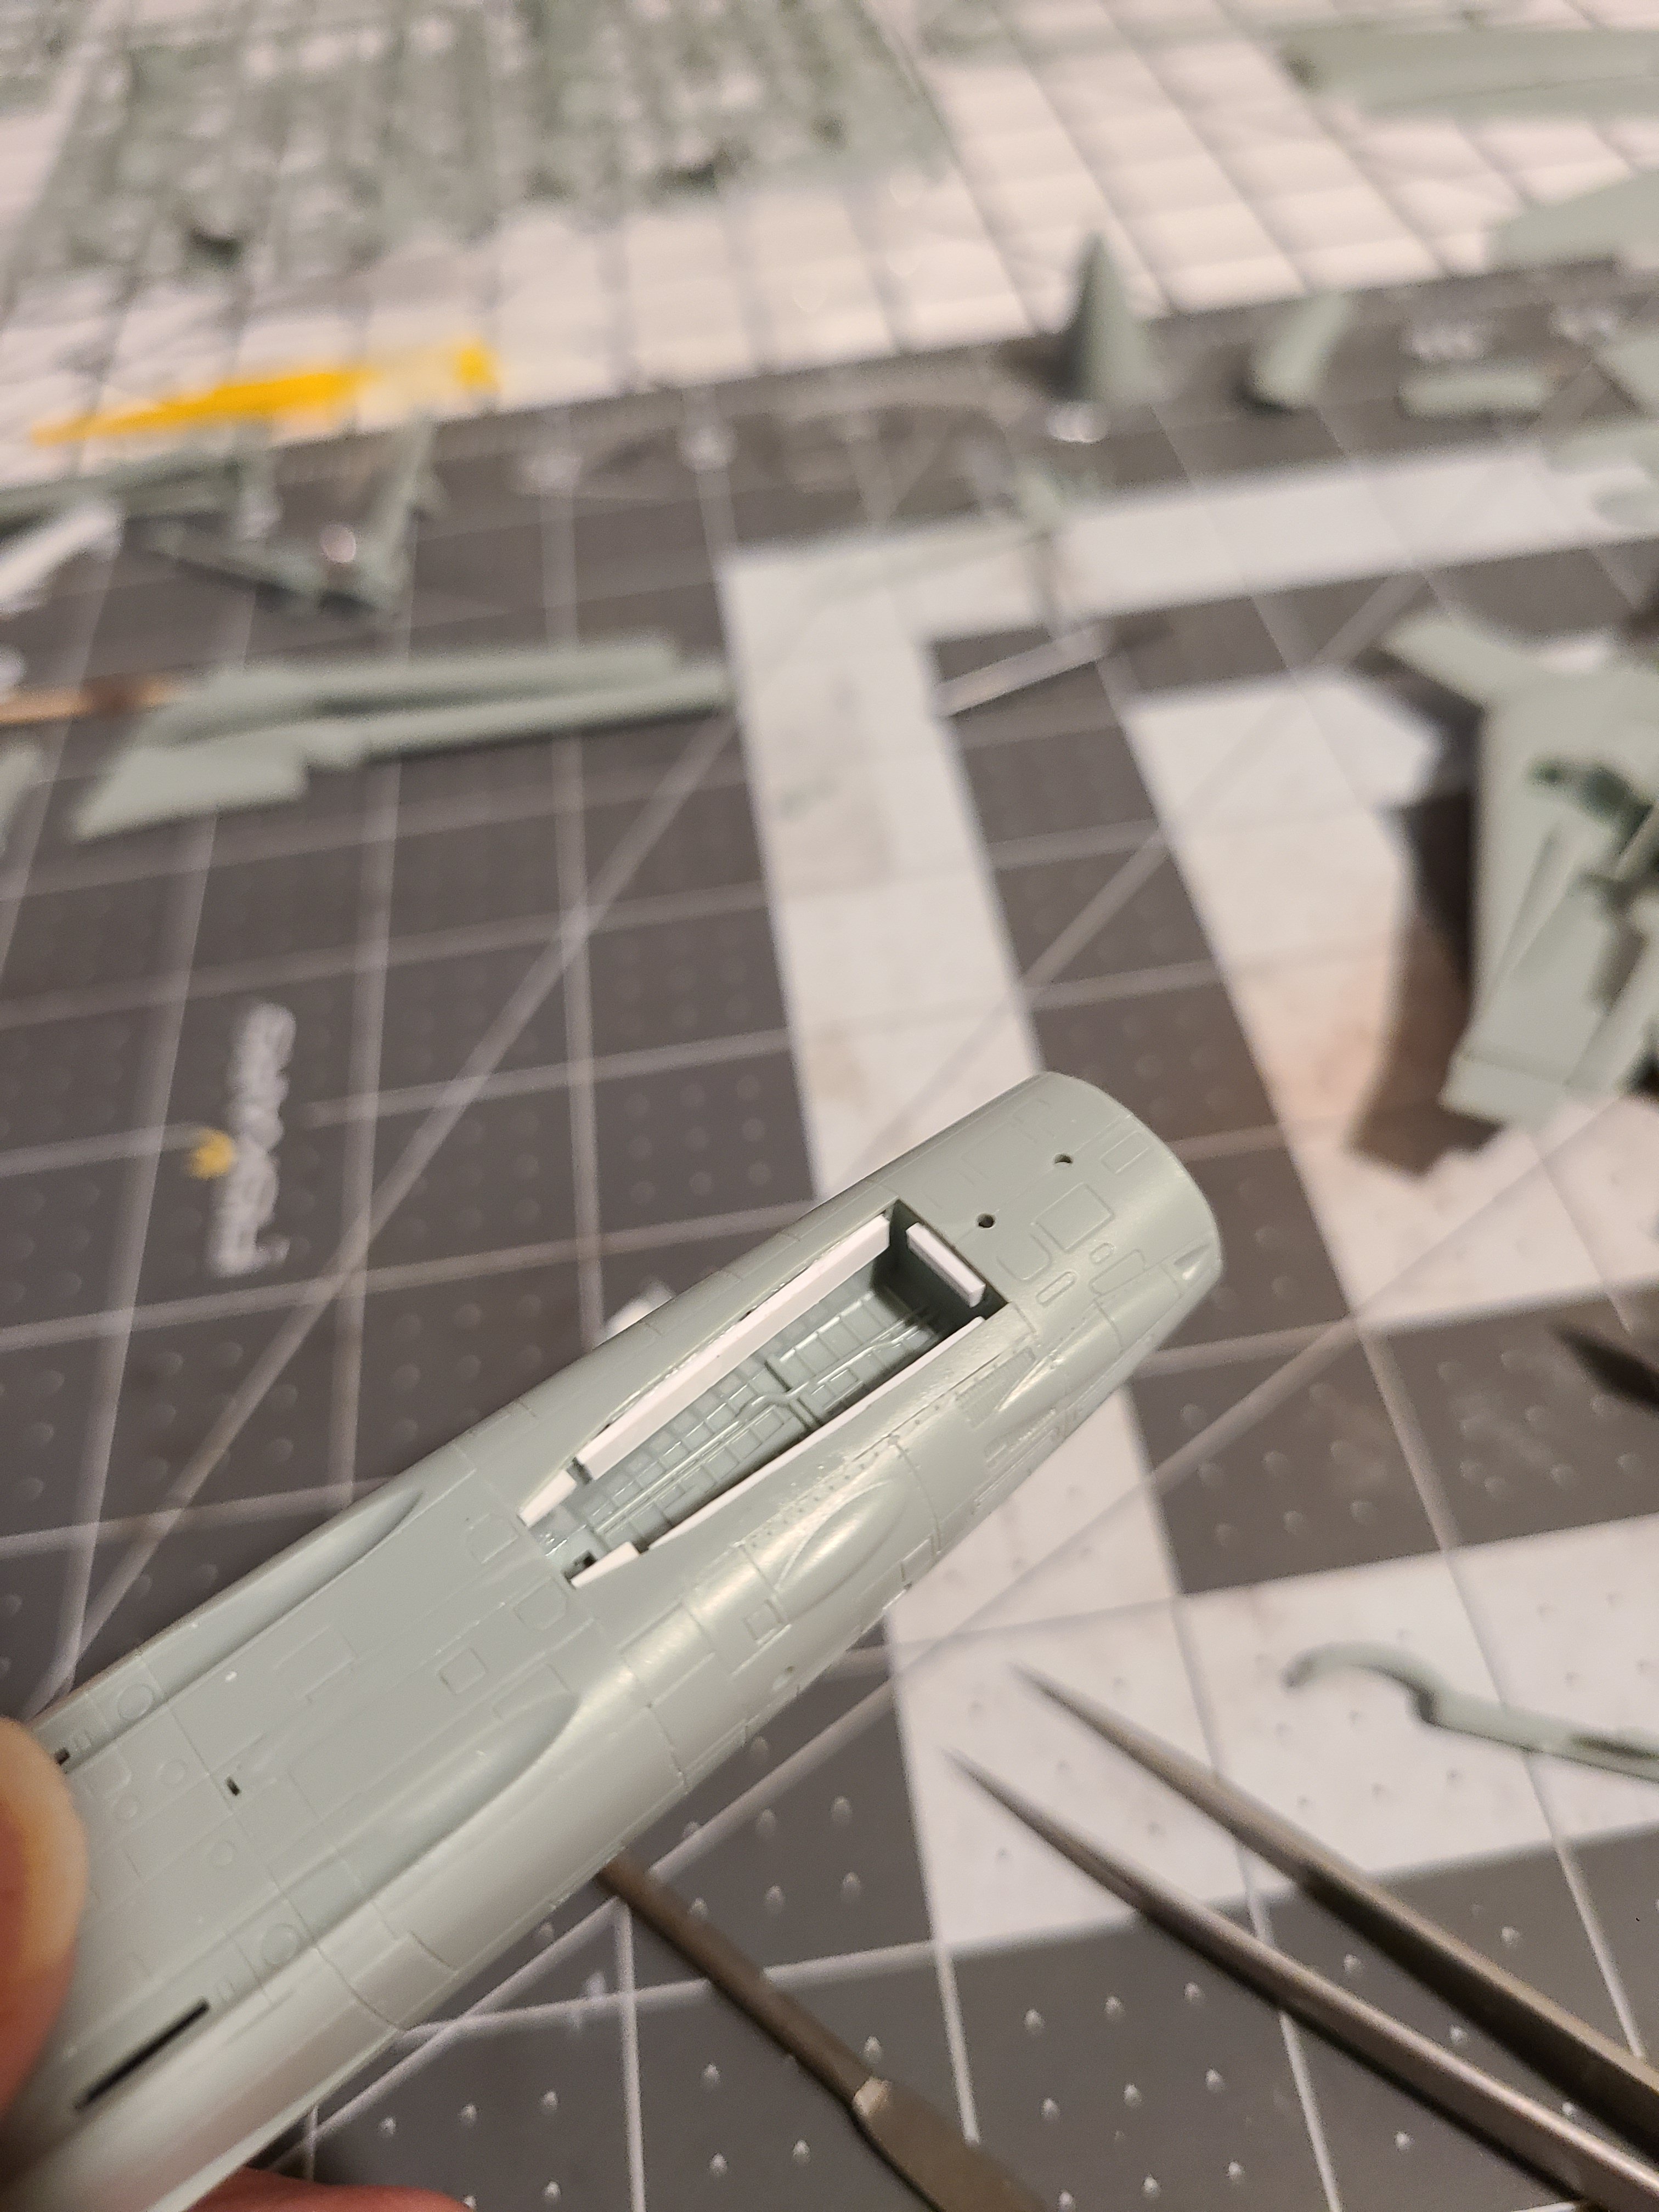
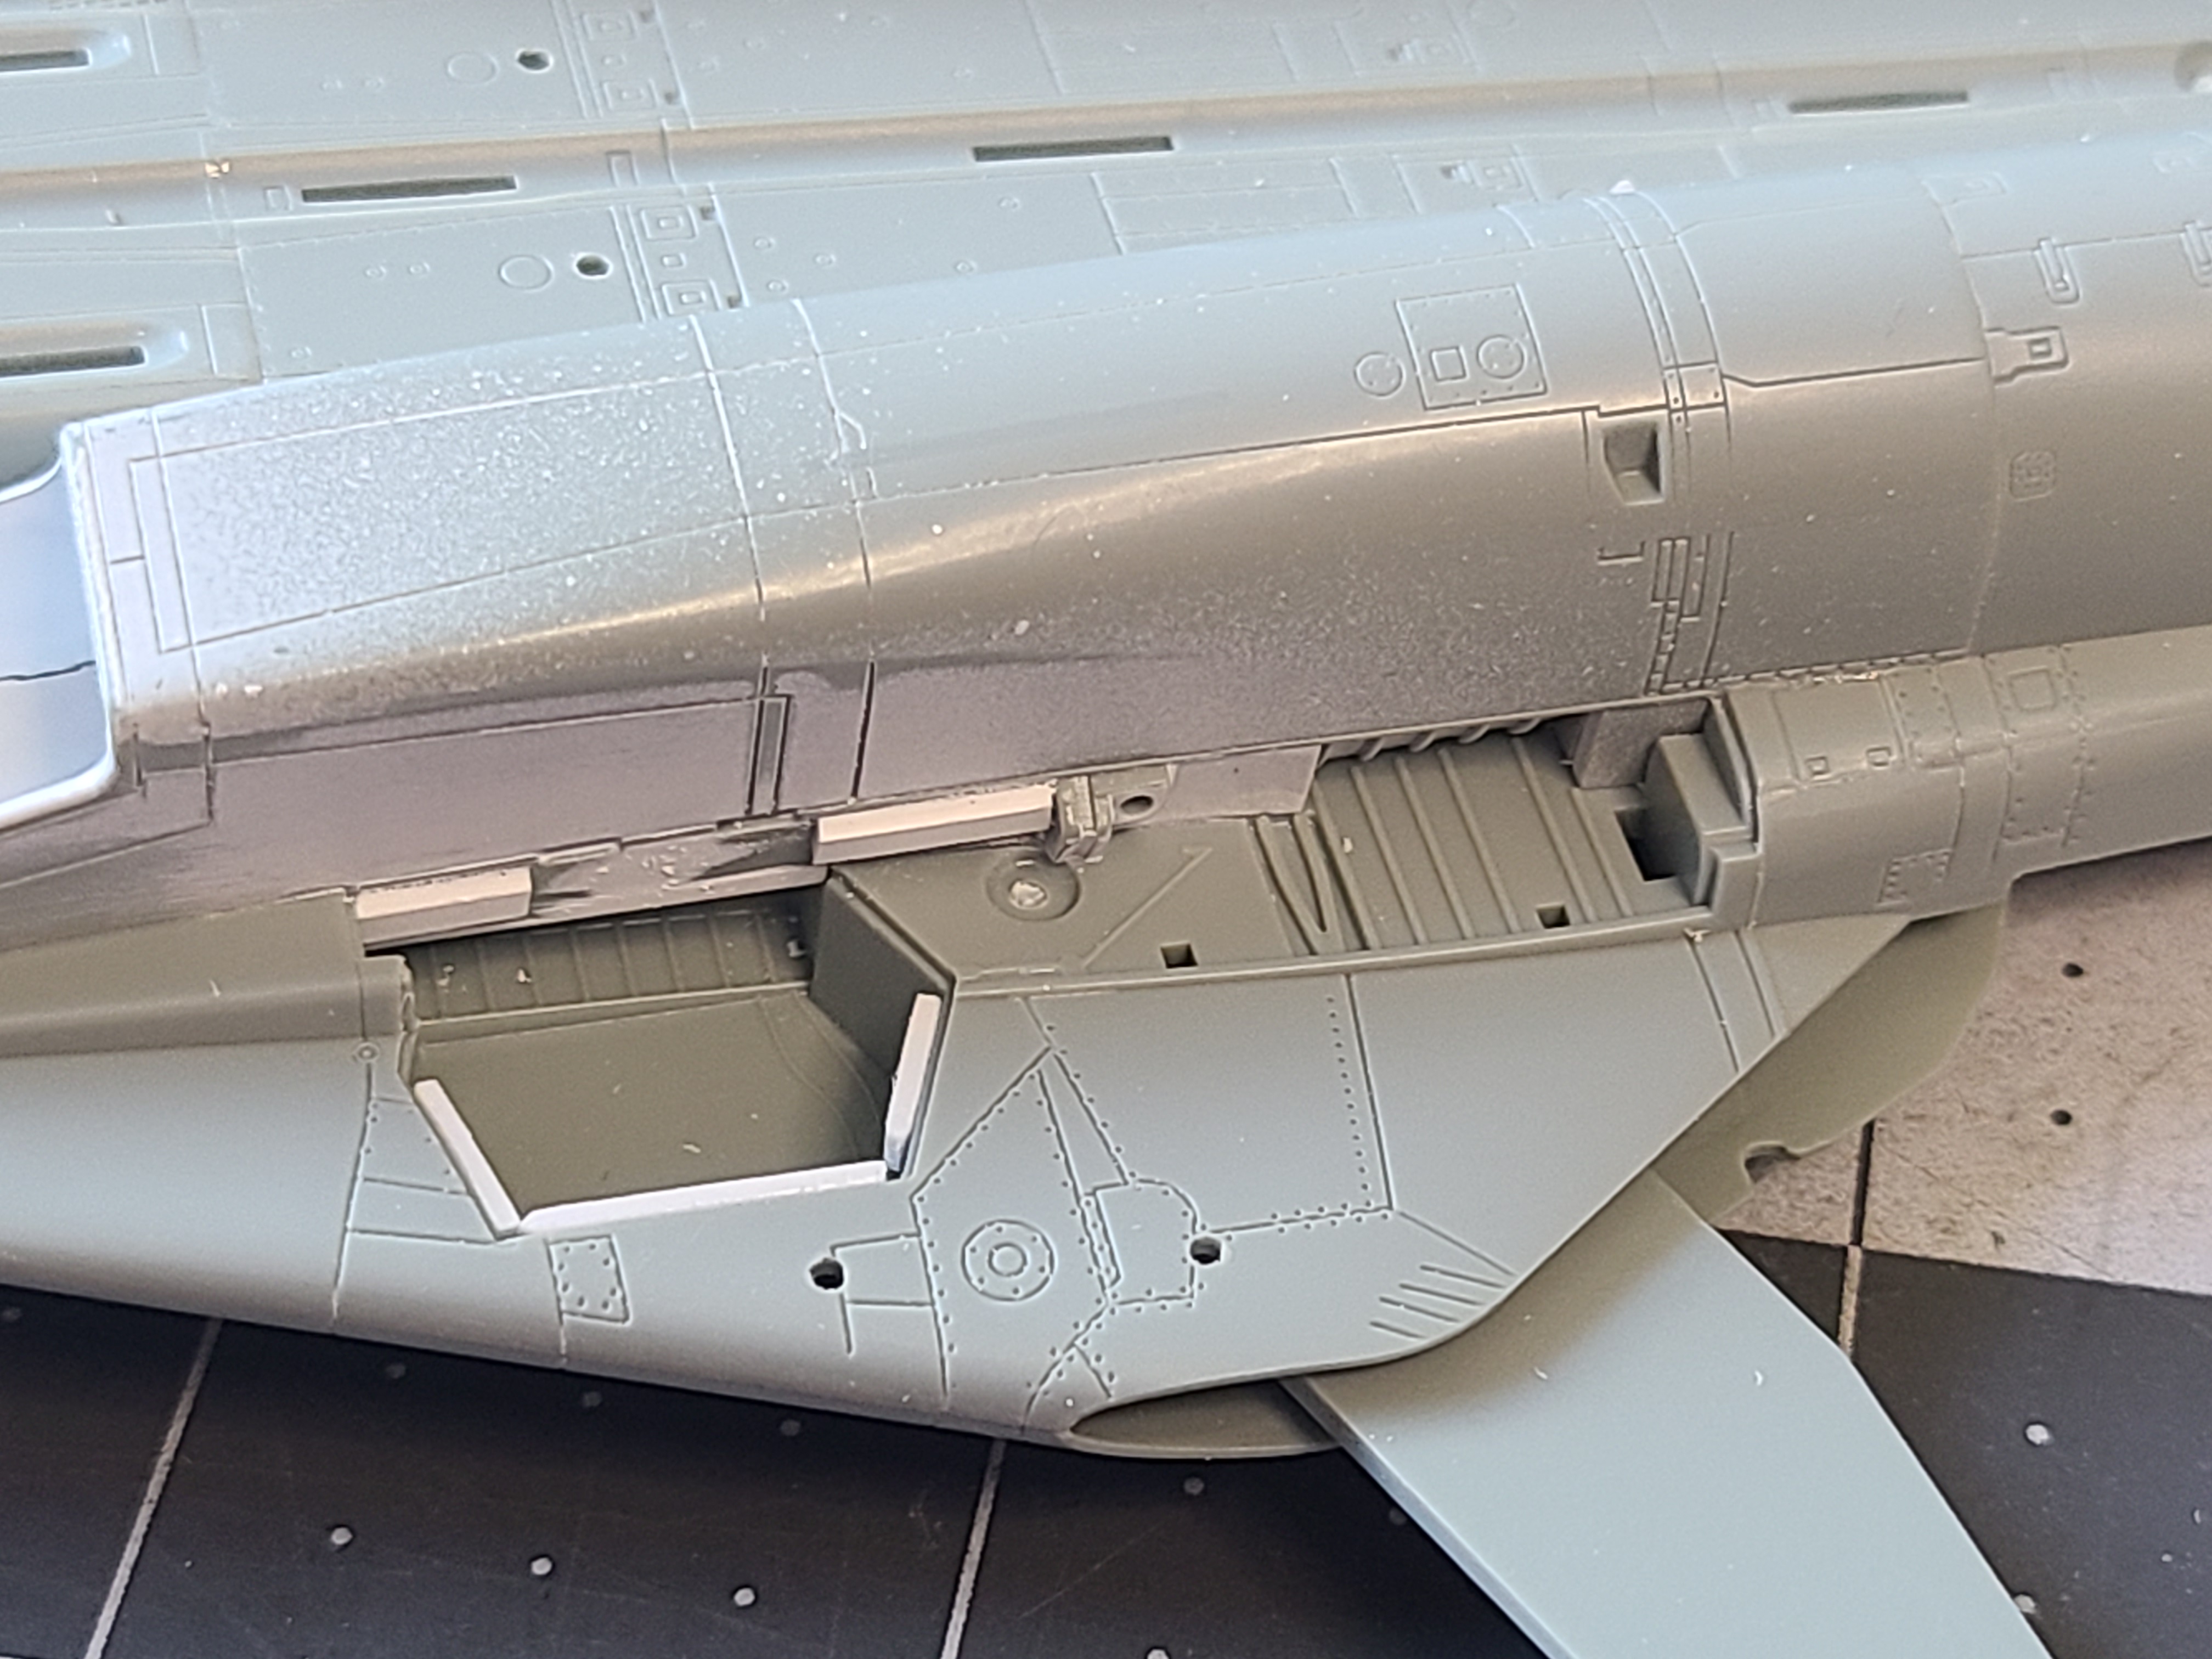
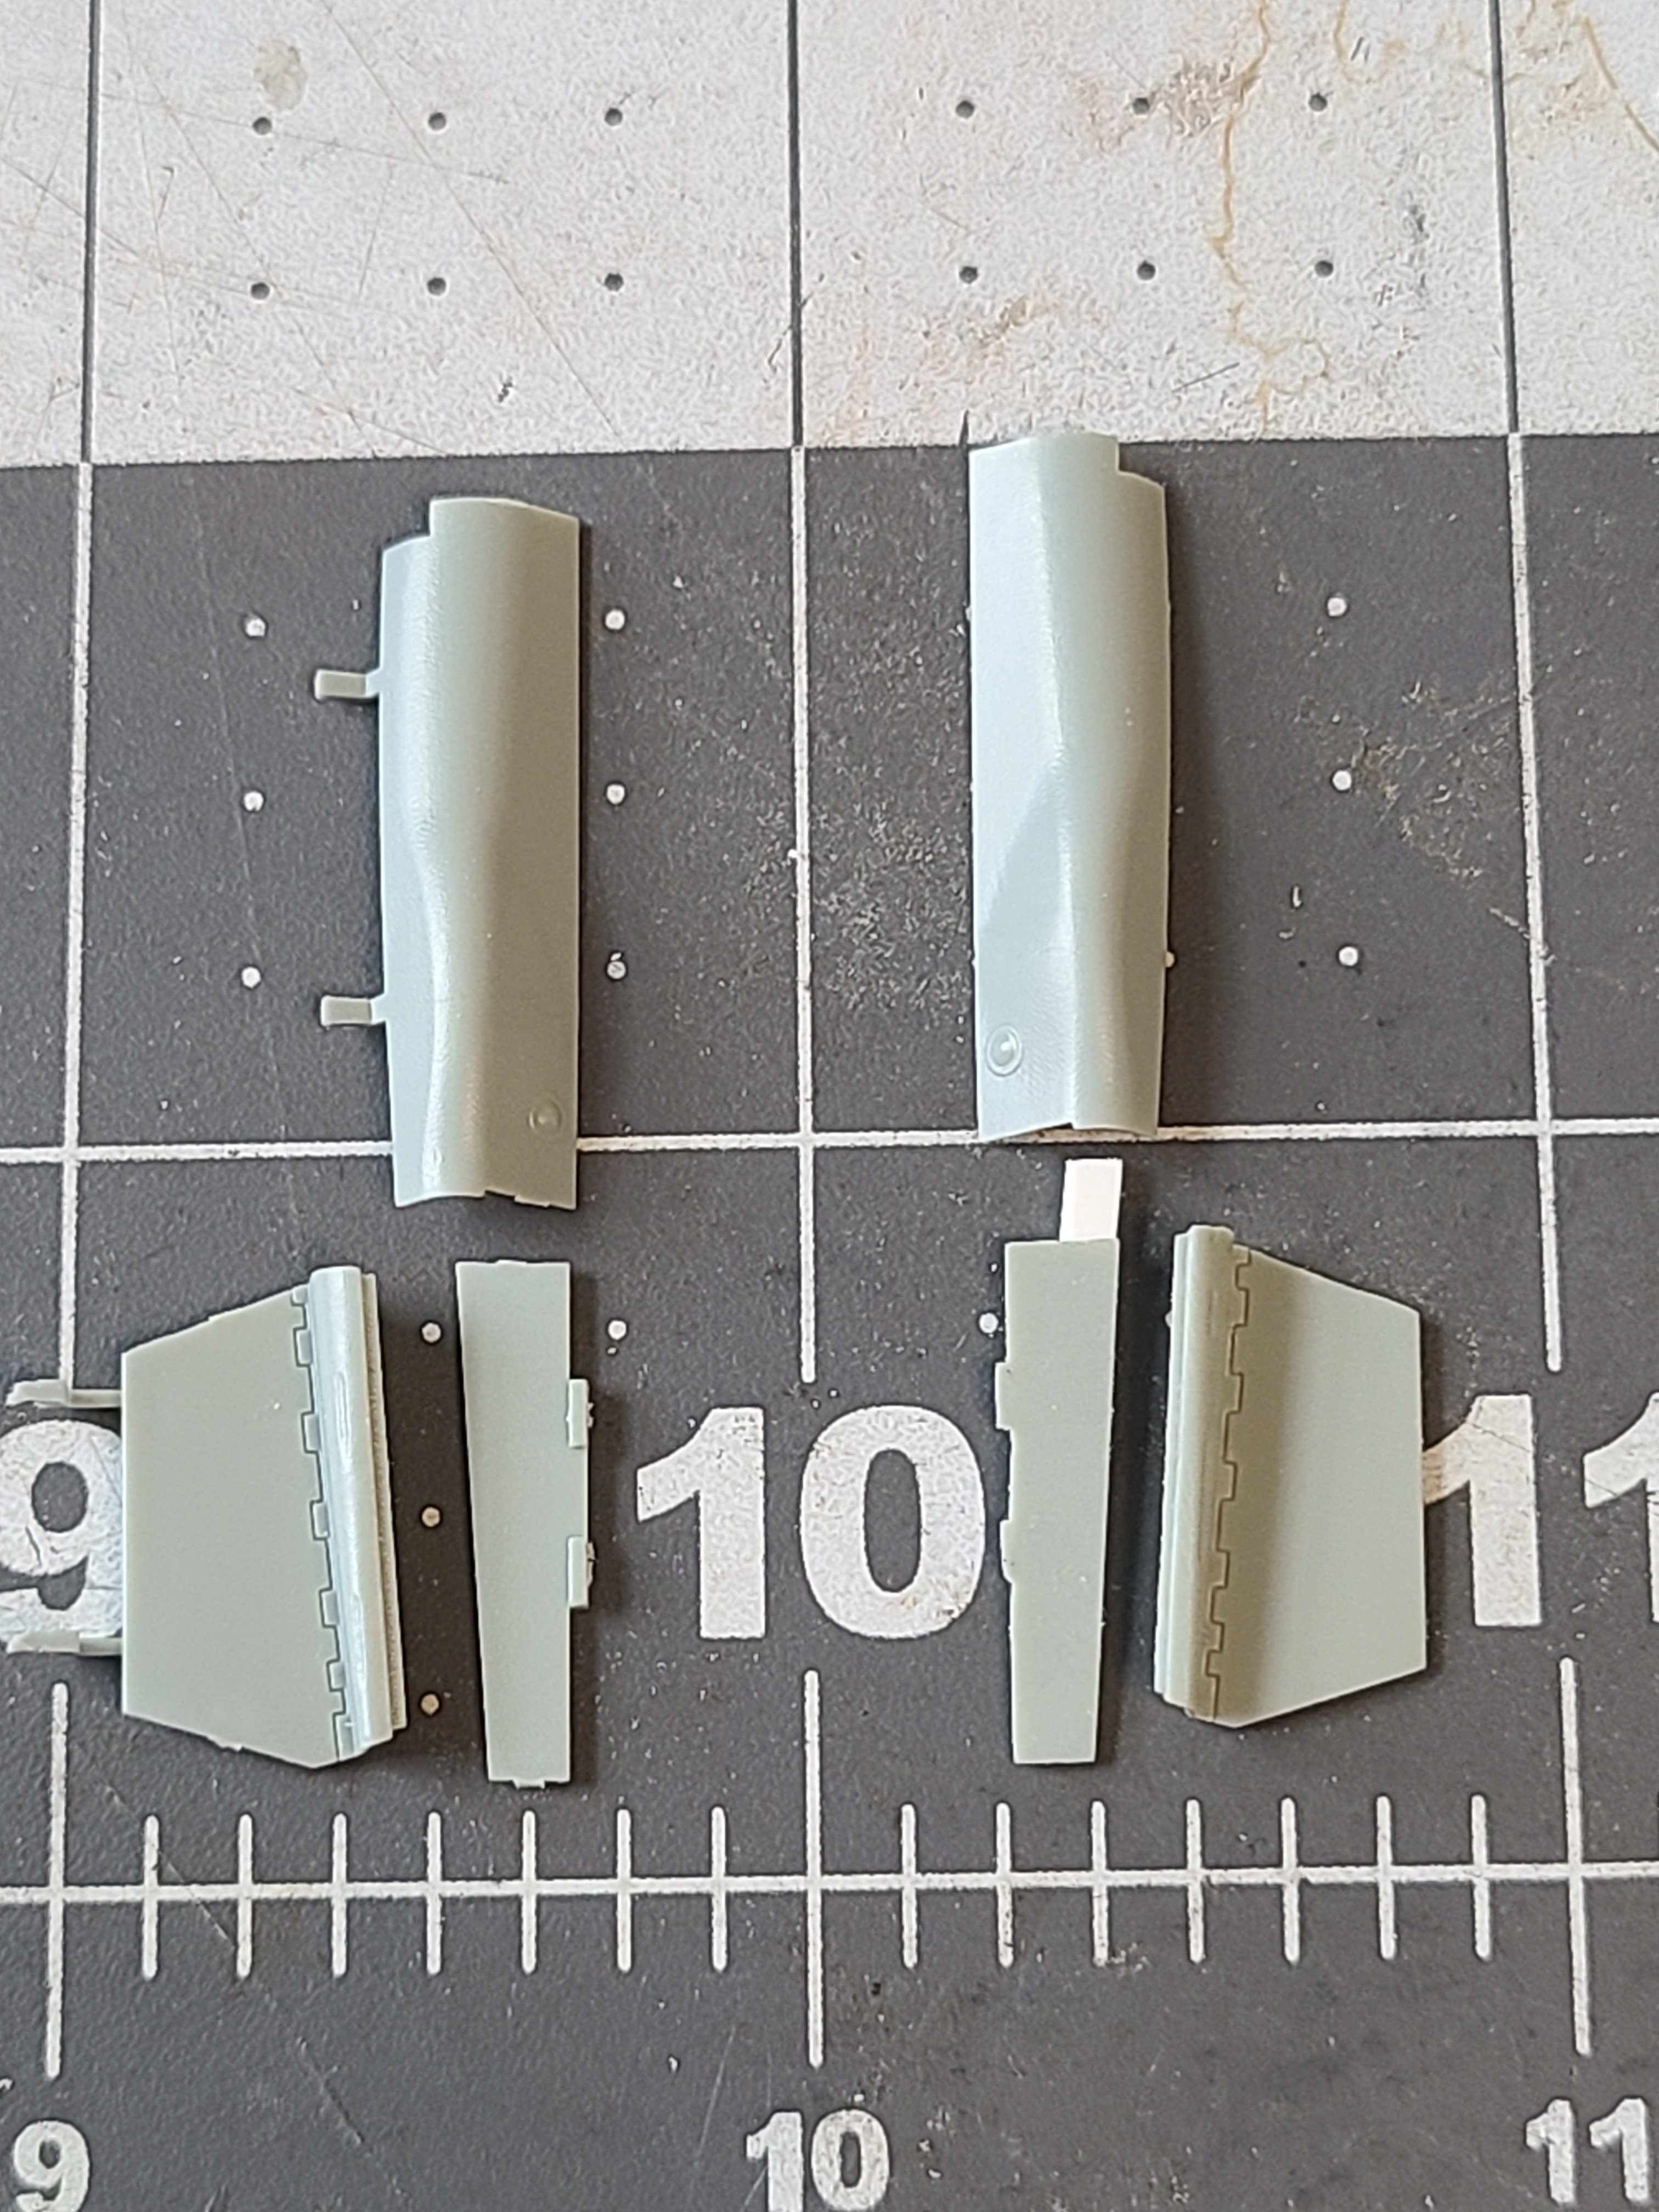
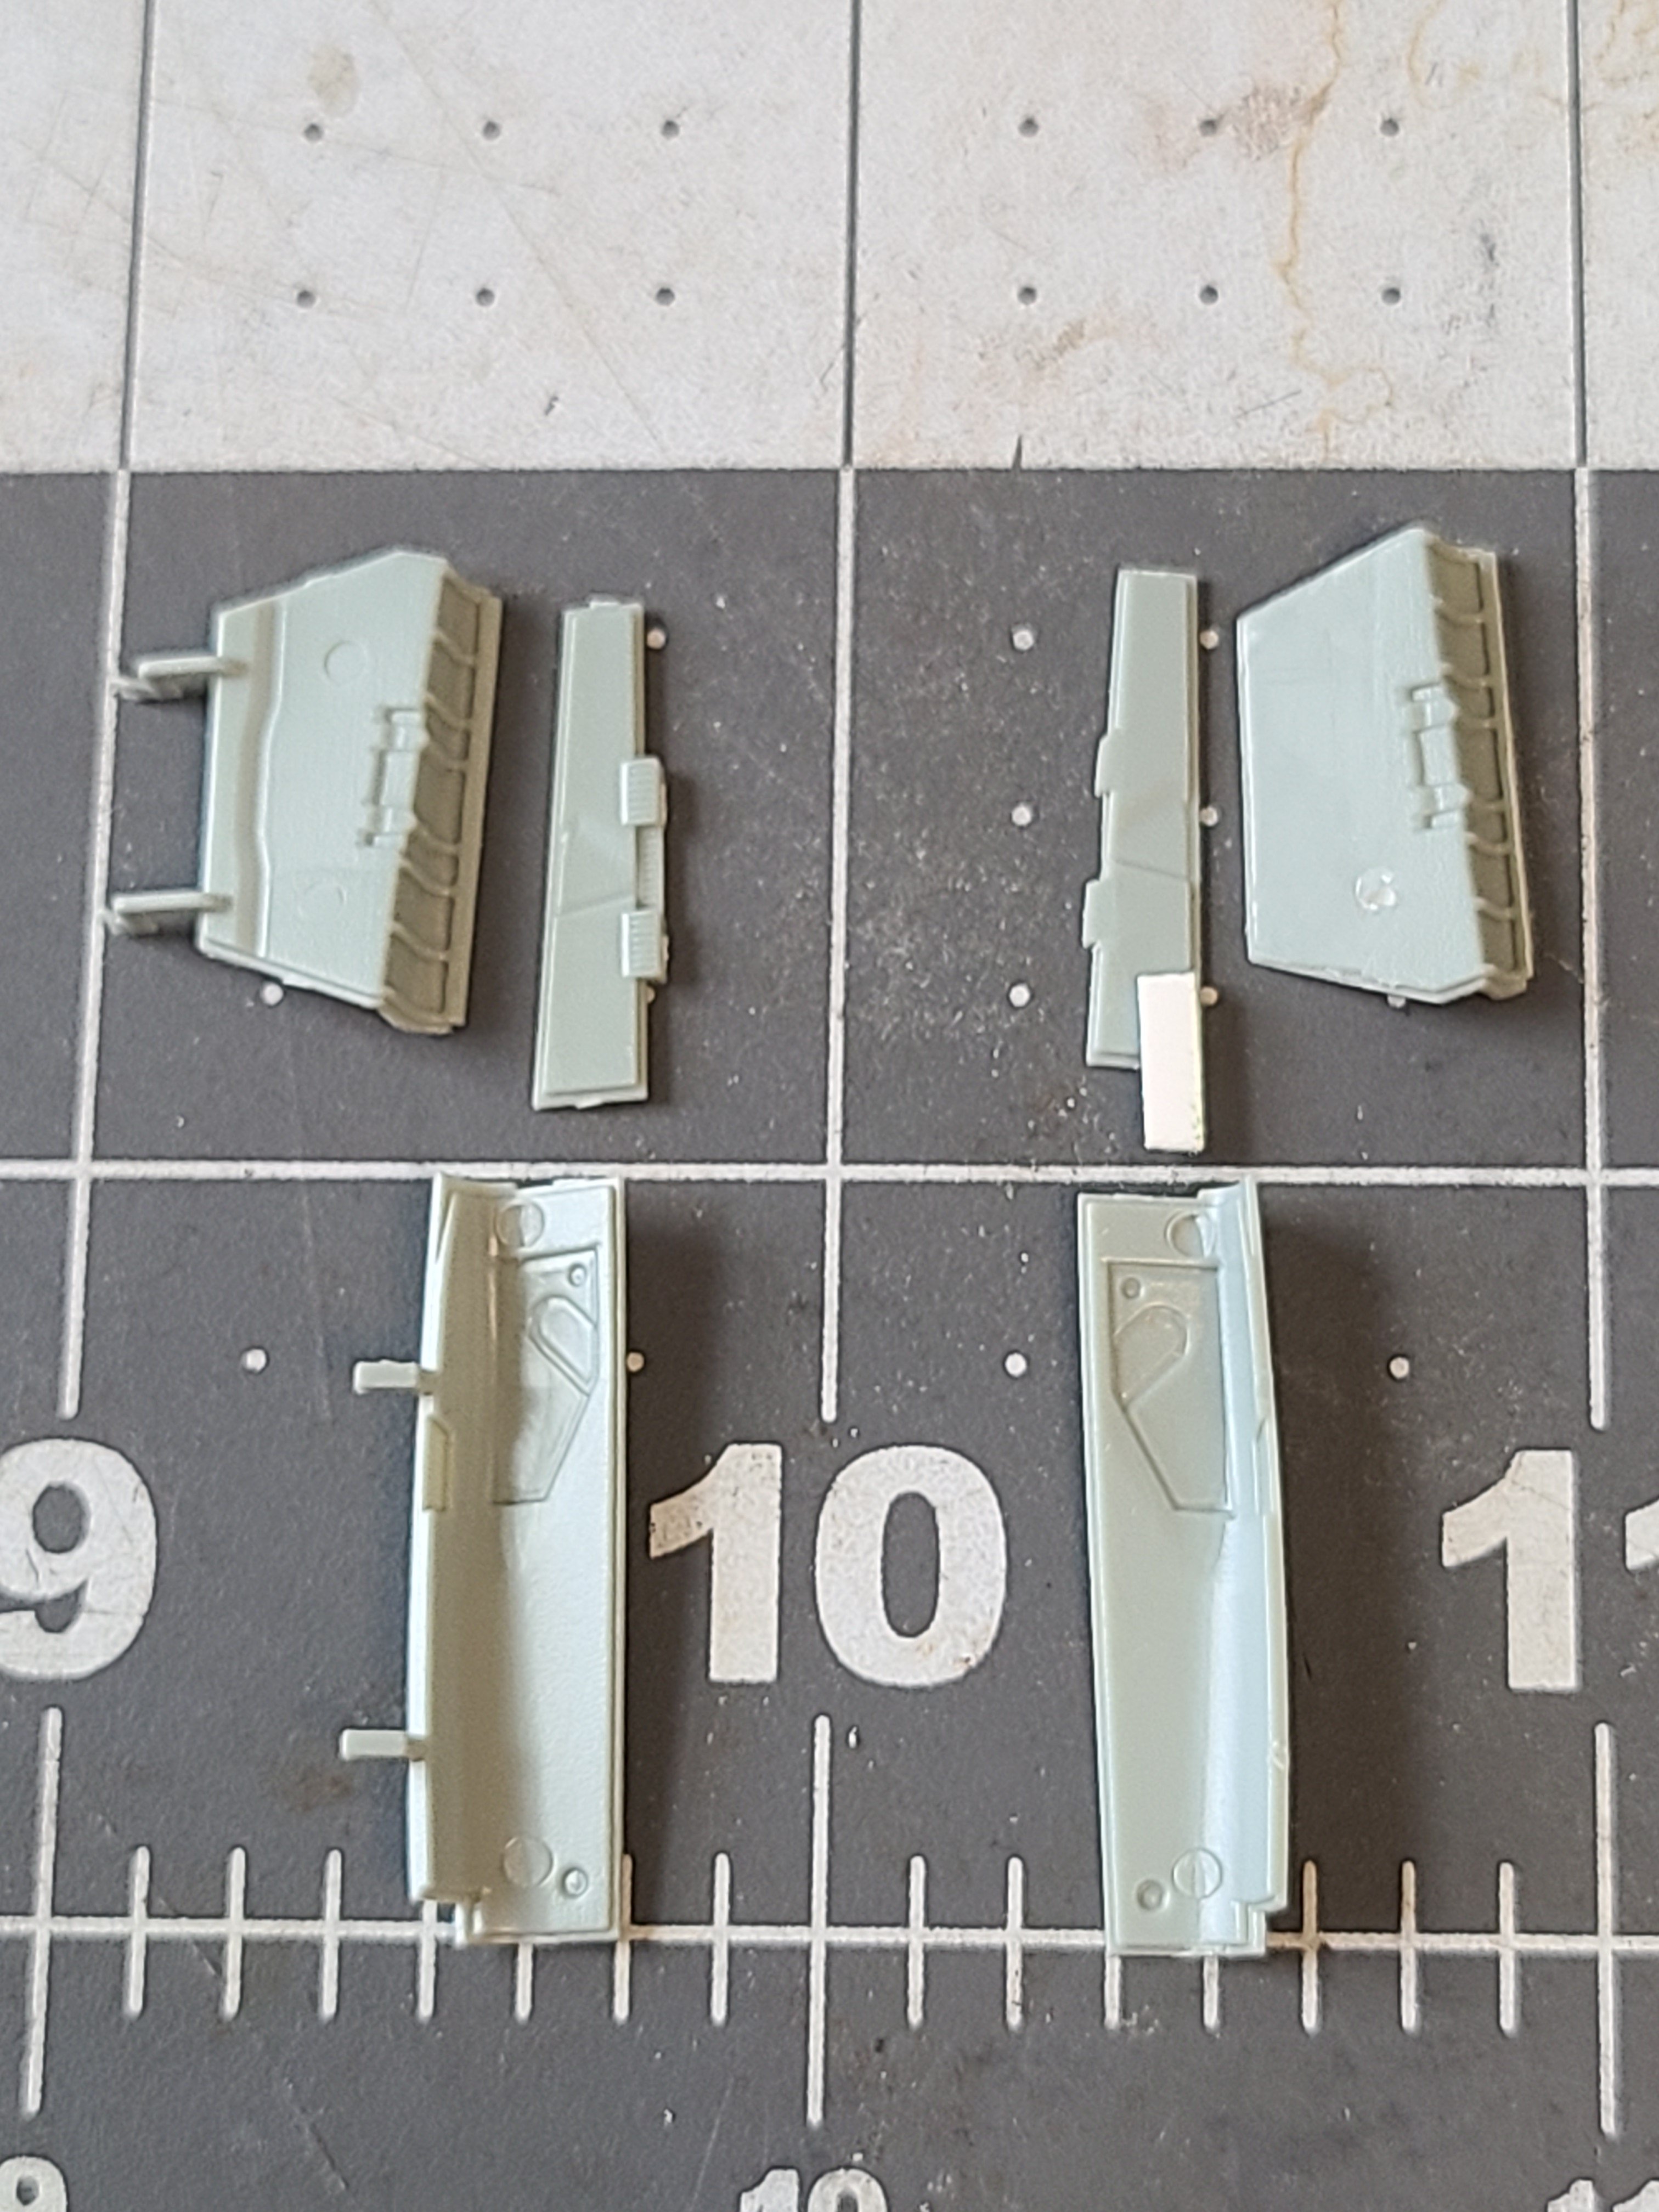
4 hours ago, JNordgren42 said:
Thanks!
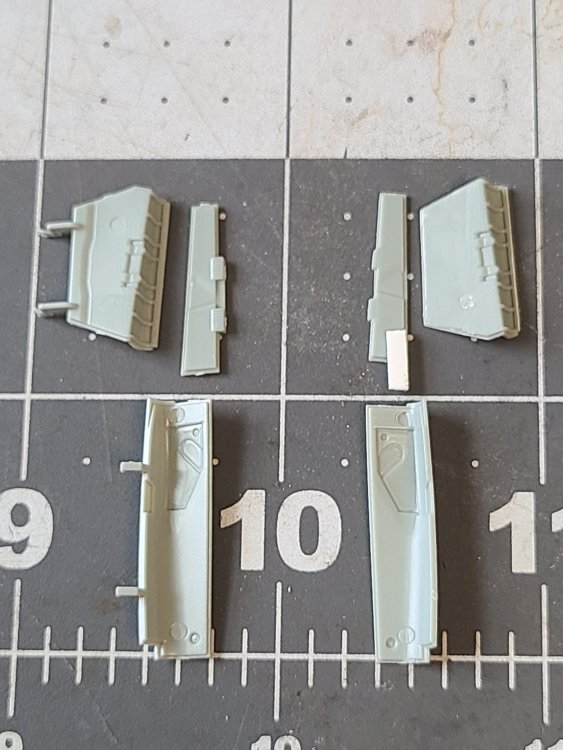
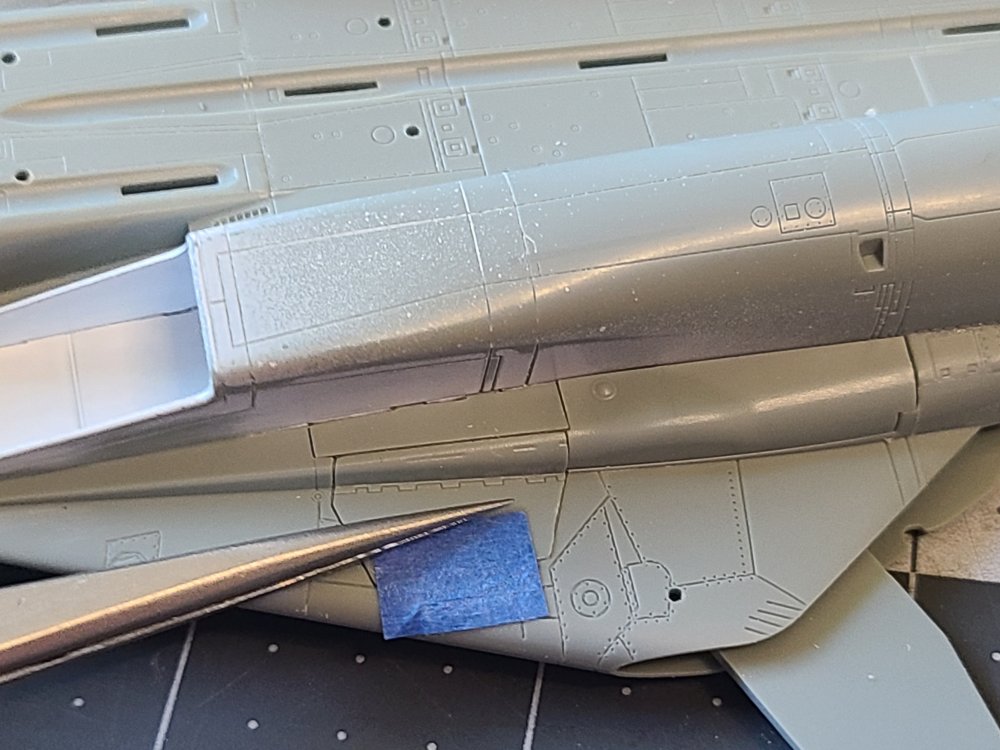
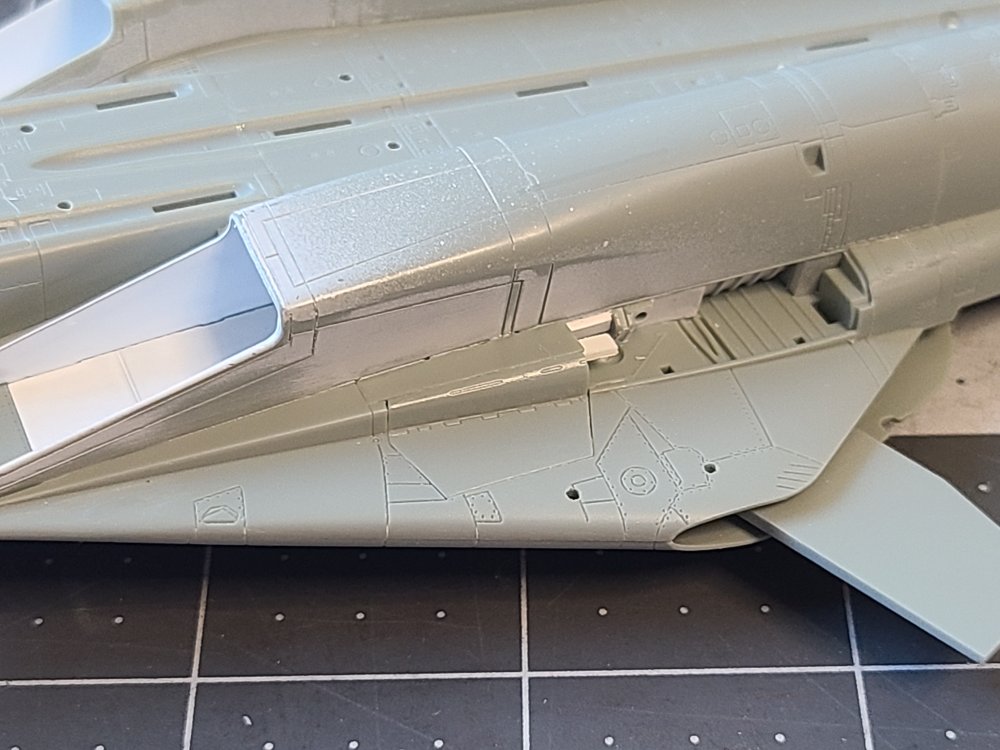
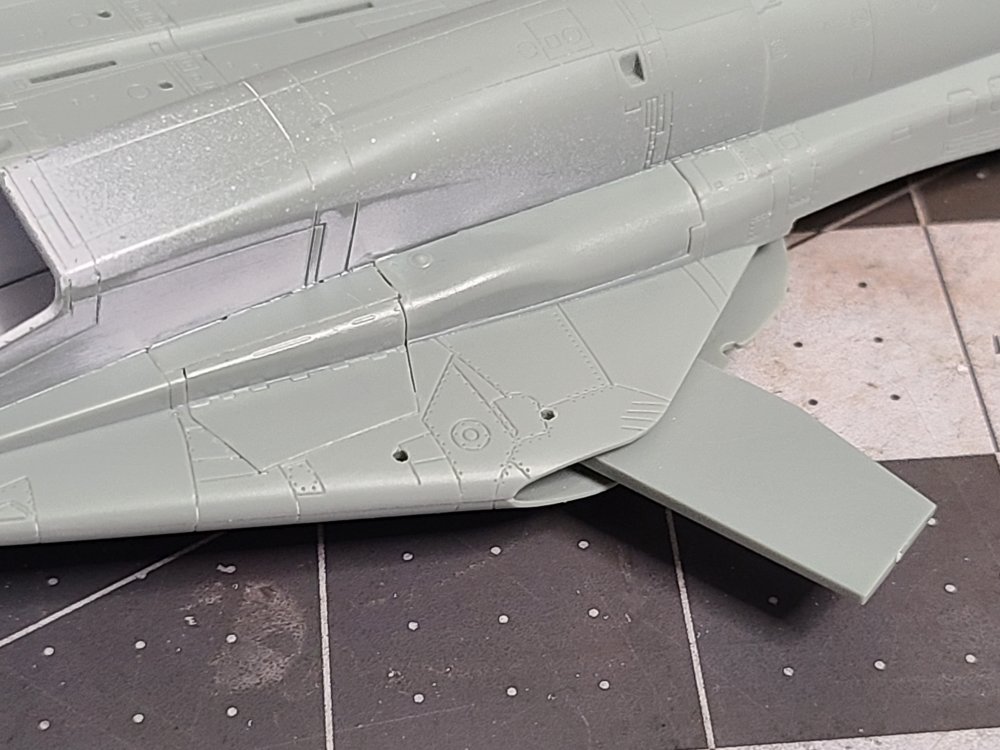
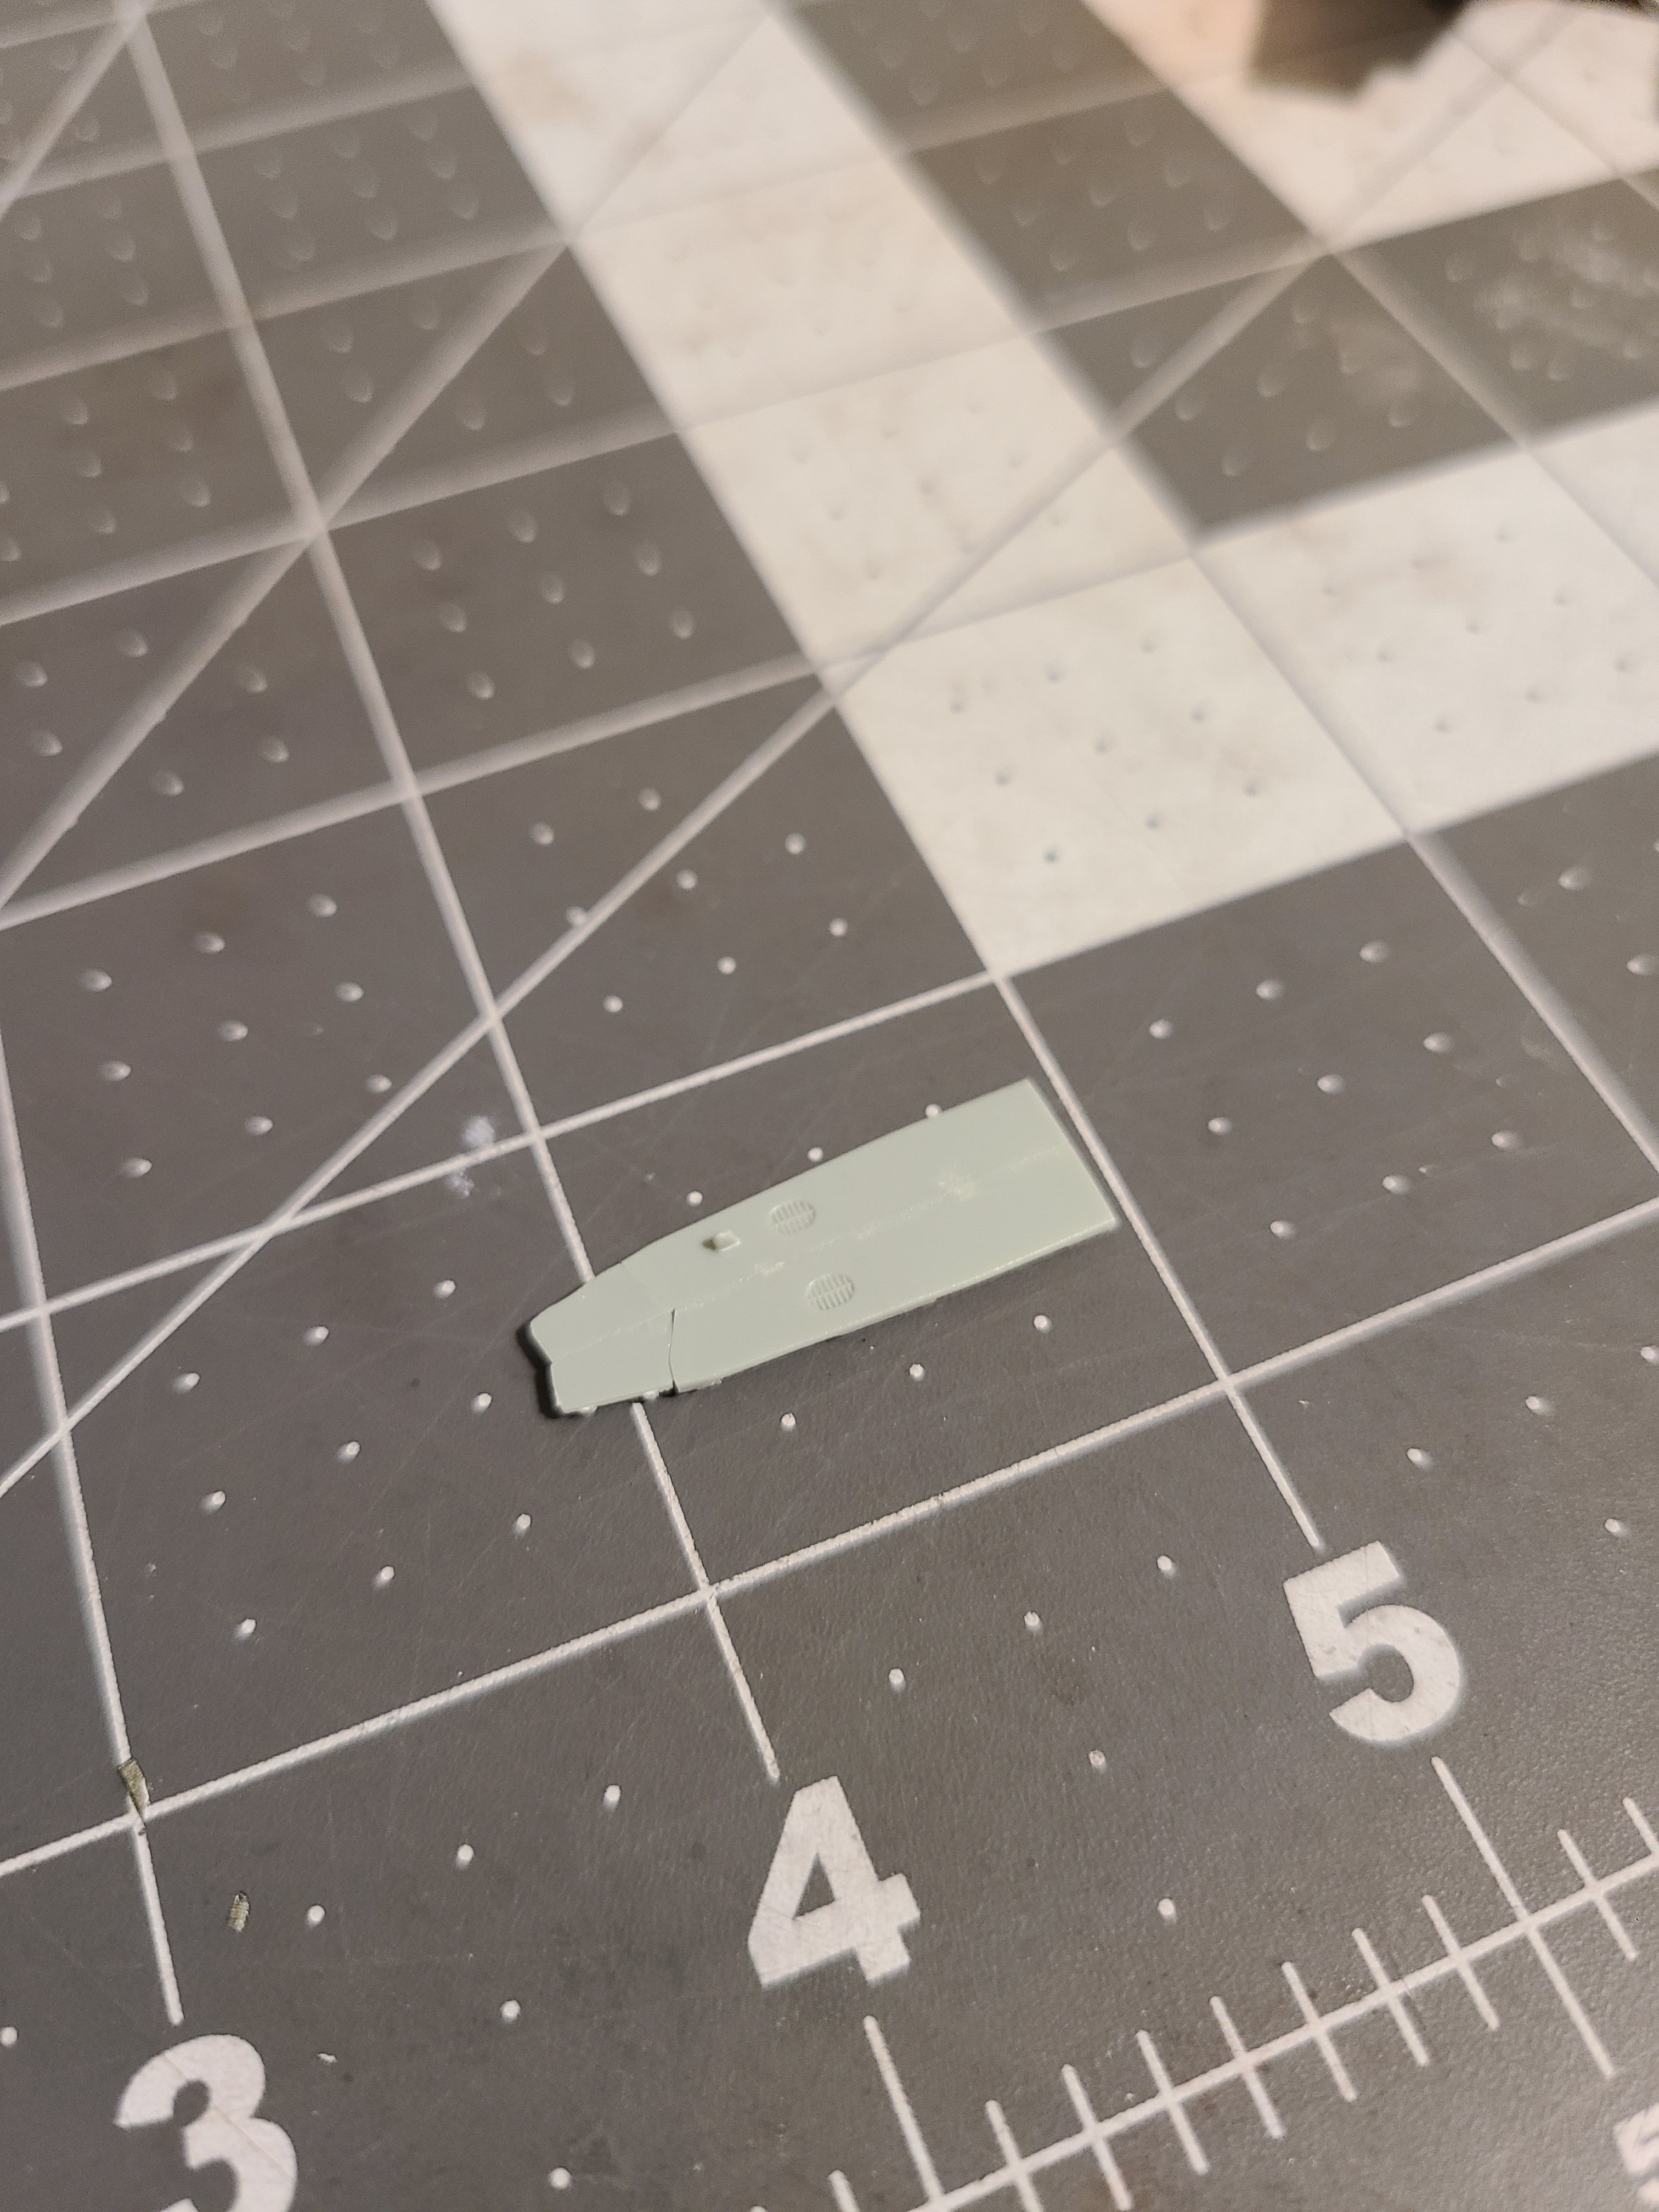
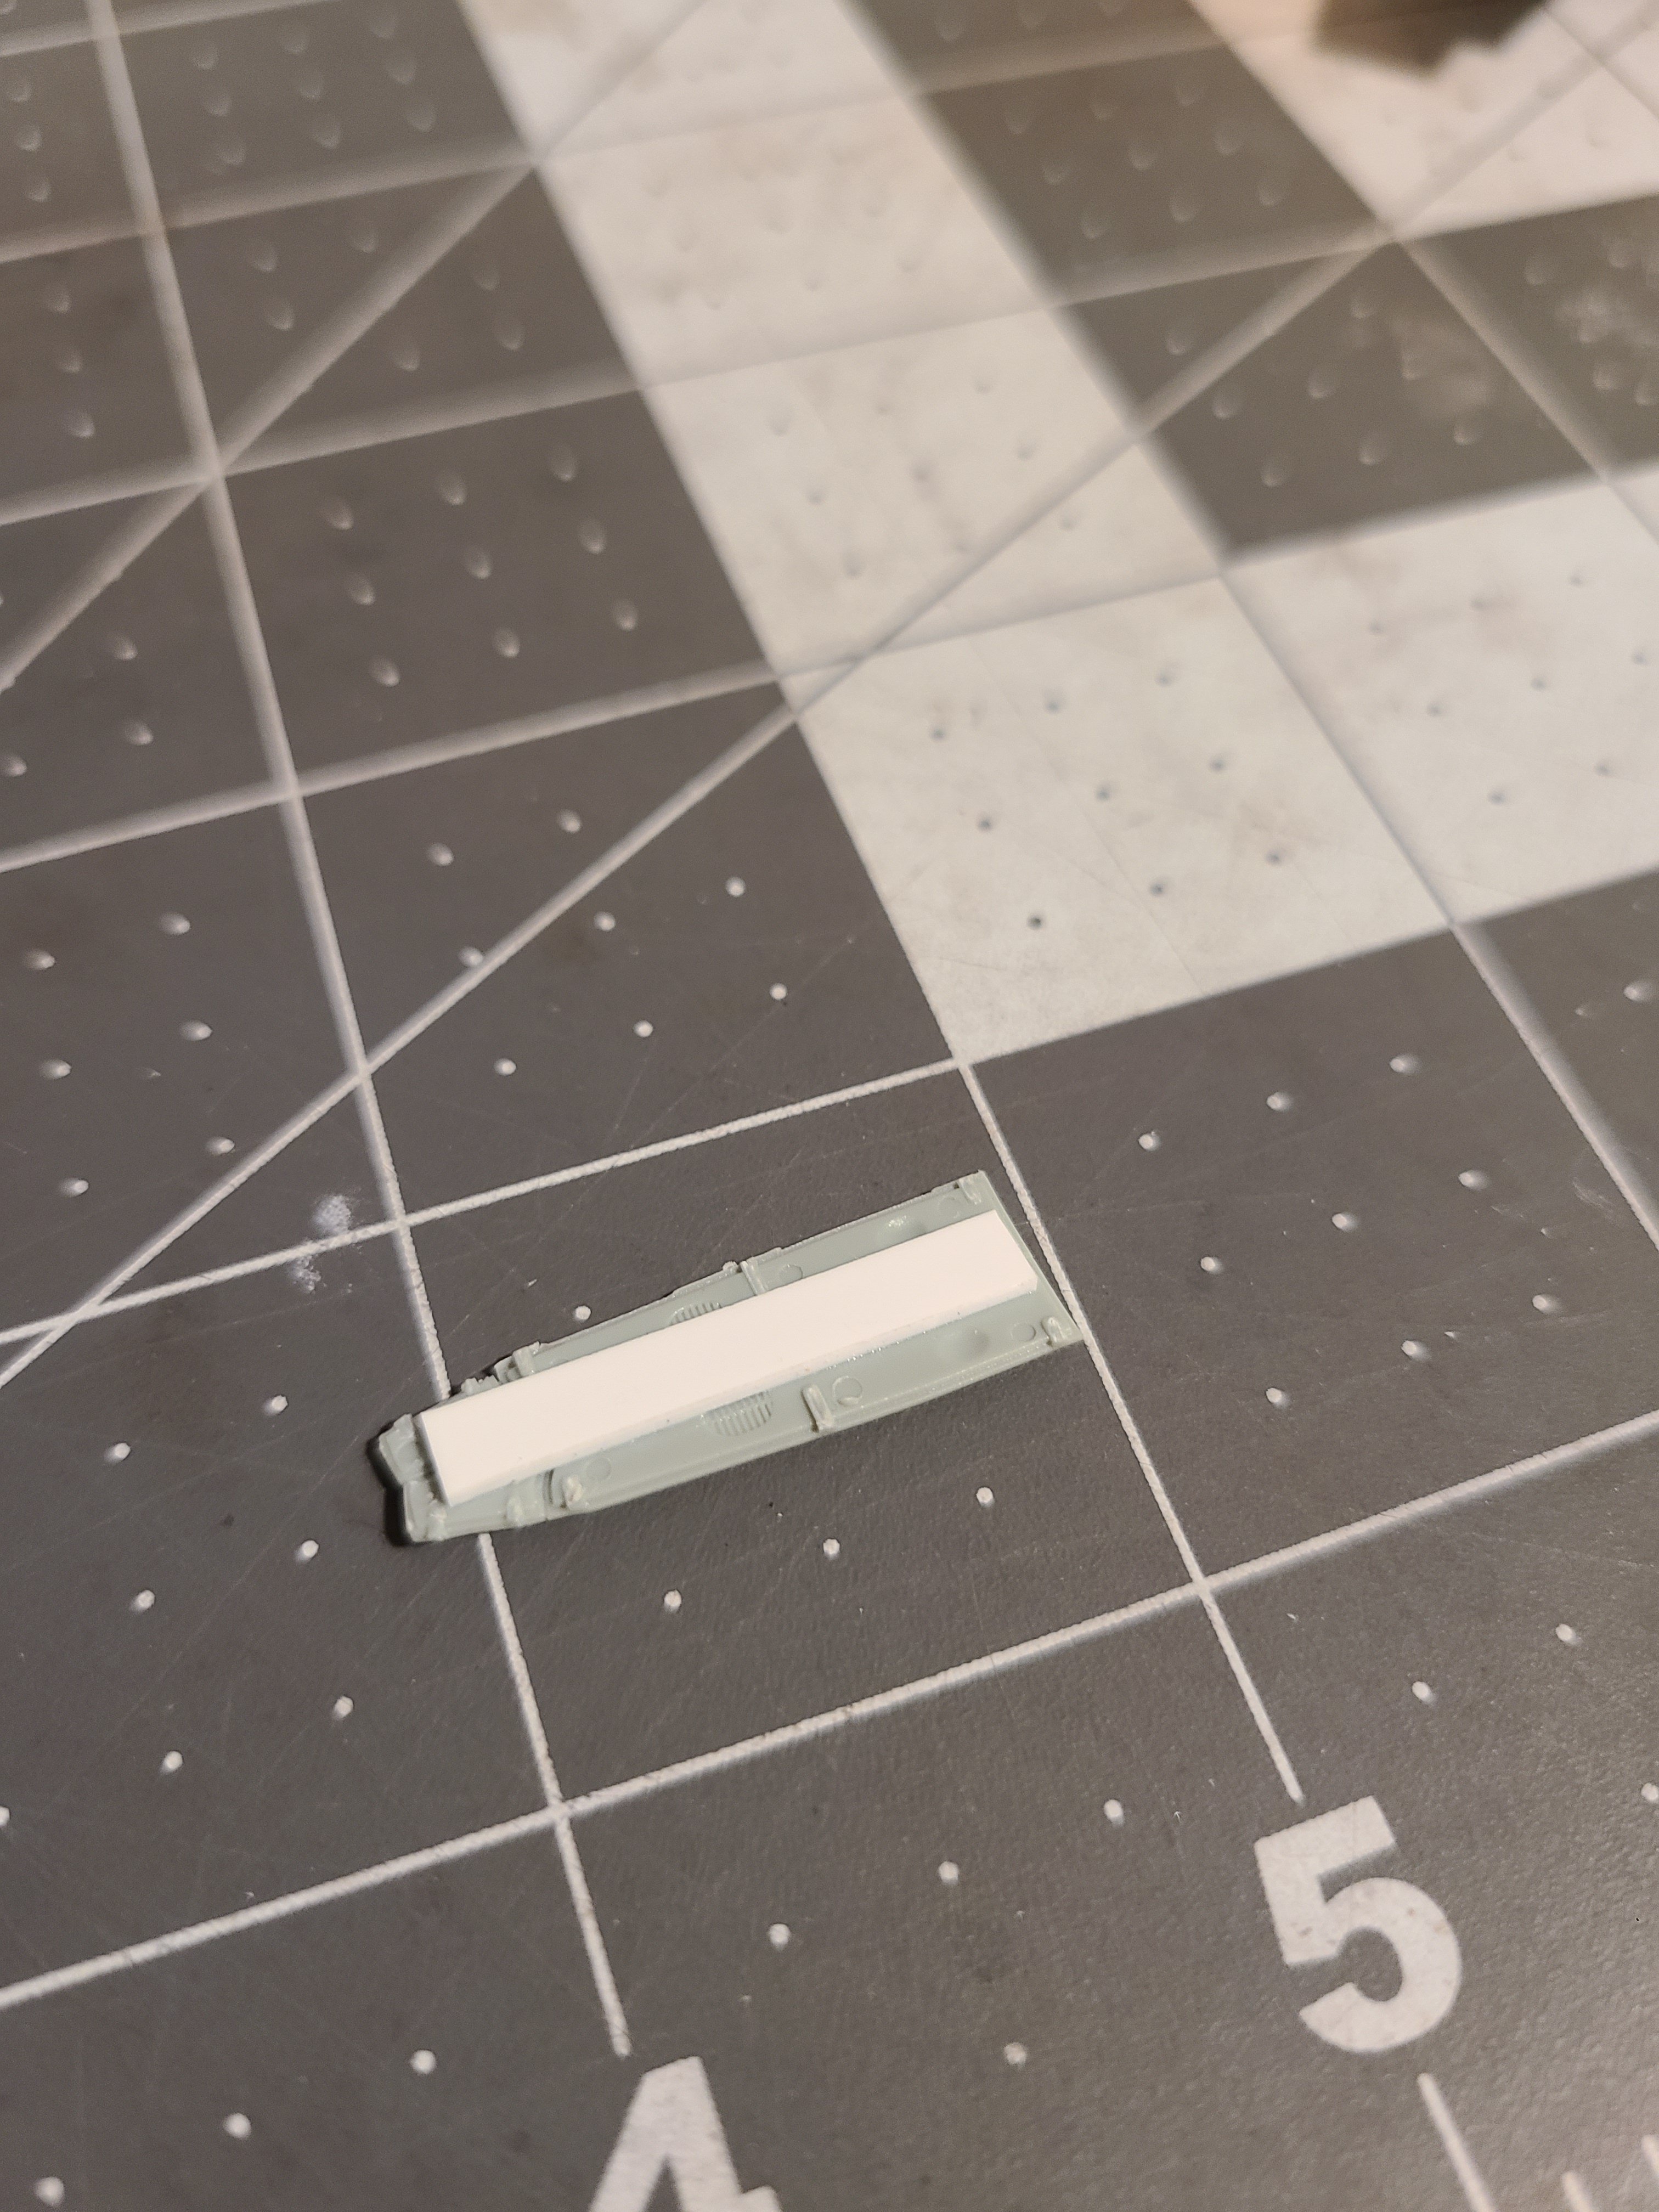
Closing up the gear bays wasn't too bad, but it definitely wasn't designed for it. Some sheet styrene and careful sanding and trimming are necessary. Here are some progress pics:


Cool. That doesn't seem so bad. I might have to get one of these.
-
Lovely build.
How hard was it to close up the gear bays?
-
That's 1/72? Superb job on this bird.
-
Looks great!
-
I can't see the photos either.
-
Beautiful job, Dai.
-
1 hour ago, dai phan said:
Ok gang,
VERY frustrating here. I spent hours and hours burning the midnight oil trying to get the wings crosses laid down as best as I could with Micro Sol. Finally got them done. Now I realized the instruction on the Eduard is wrong on the placement ! The cross should end on the panel line rather than 5 mm away. Now I have to remove the crosses, repaint, re-gloss and re apply the crosses. Come on Eduard, do better and more careful research will you? Dai
If you look closely at the image I sent earlier about the Erla wing pattern, you'll see that the cross does not meet the panel line it's positioned slightly outboard. Your decals are close to what I see in references.


Bf 109 G-6/R-6 (Revell, 1:32 scale)
in Critique Corner
Posted
Very nice build.