

Cool Hand
-
Content Count
537 -
Joined
-
Last visited
Content Type
Profiles
Forums
Calendar
Posts posted by Cool Hand
-
-
No, that's a song people have heard of.
-
Just got my first shot today. The most painful part was hearing the D-grade disco music being played in the waiting area.
-
That's amazing!
-
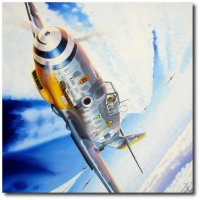
It's amazing how different the color looks between the three pictures.
-
It seems that with Jg 52 109G-2's the only had the scoops on the right side under the windscreen. The left sides were flat in that area.
-
If you go that route, you will need to source a 109G canopy with the thicker frames. That kit comes with the thin framed canopy of the F model. Kinda surprising they made the right clear sprue when the main plastic is a G-2.
Also, which scheme are you planning? There are cooling vents on some G models just under the windscreen. The Hasegawa kit gives you alternate windscreen pieces with these scoops.
-
The main visual difference will be the wider main wheels with the corresponding bumps on the wing tops and the fixed tail wheel on the G-4. To make a G-2 you need to remove the bumps and open the lower fuselage for the retractable tail wheel.
-
Yes. The missile pylons are almost done. Just need to fill some seams with putty. Not bad looking for the scale. I assembled the wings and attached the upper and lower fuselage halves with the beaver tail - glove vanes are glues closed.
I am waiting on my Sprue Brothers order for some paints and Miliput. Then I can paint the cockpit and crew figures. Also, I can begin mounting the intake trunks with the internal supports for the stand.
I will have pics in the coming days.
-
There's a picture of the front of AJ200 in the '79-'80 cruise book that seems to be overall Gull Gray. No specific date given though.
https://www.navysite.de/cruisebooks/cvn68-80/318.htm
-
2 hours ago, Sarathi S. said:
I wish I could find more clear pictures from the timeframe but I want to do one of VF-84's birds from Operation Eagle Claw. Optimally AJ200 so I can reuse the Tamiya kit decals.
Here's the wing of AJ200 with the Eagle Claw stripe.
Here's a large picture with AJ204. Looks like overall Light Gull Gray and the refueling probe door is removed.
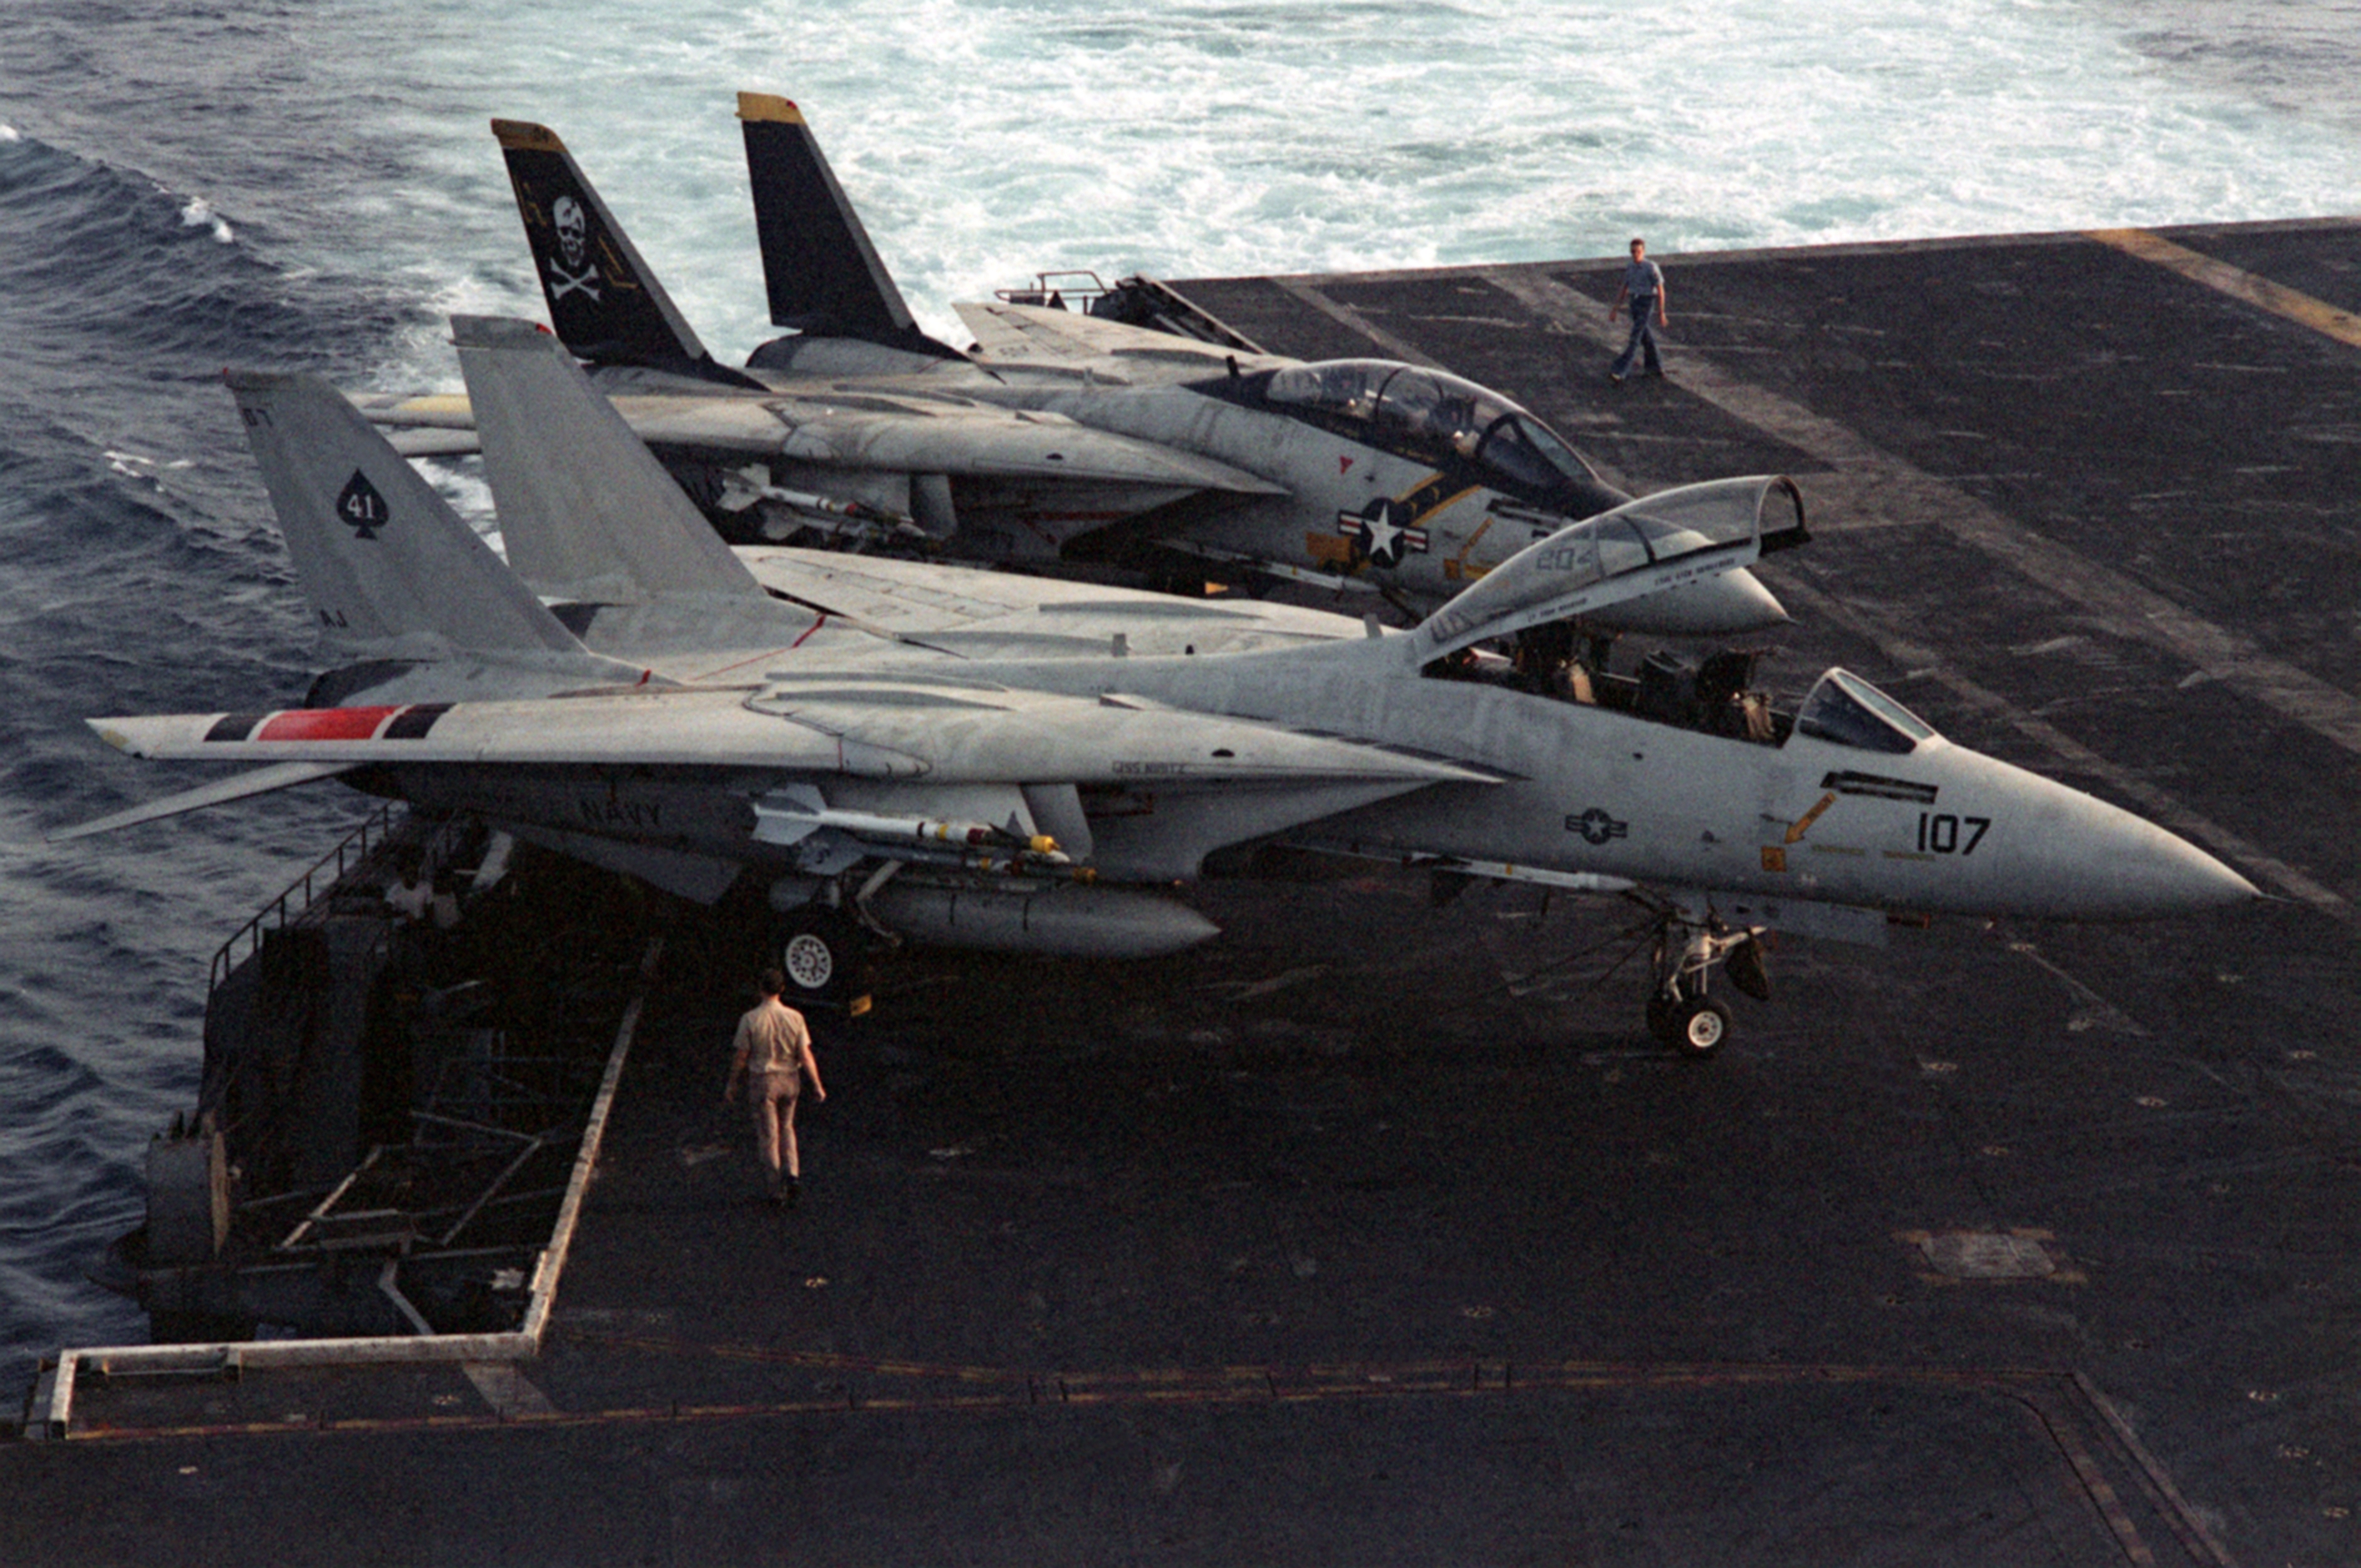
Can't think of anything else you'd need to get the basics.
-
Excellent build.
-
Great start!
-
Nice build.
-
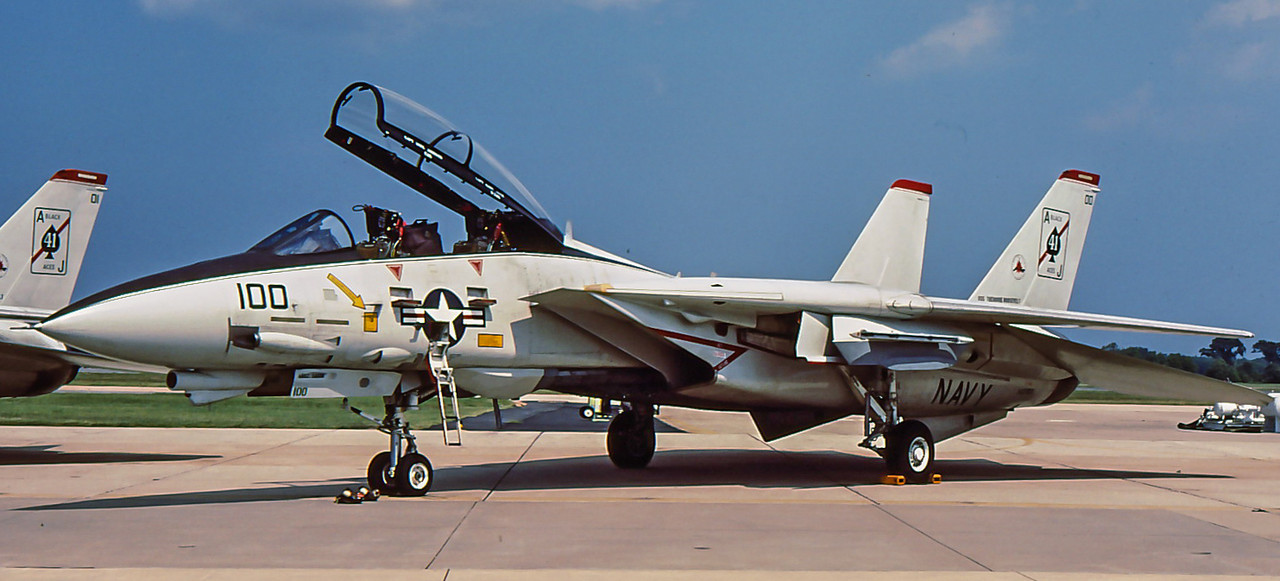
Fast Eagle 100 as she looked in 1993
I figured I'd post a WIP thread even though my camera charger is AWOL at the moment, so there are no pictures for now. Not to worry, nothing done yet makes for good pictures, anyway.
I will be using the Fujimi 1/72 F-14A kit for this build, but I have a Fujimi F-14D as a backup as well as some spare pieces from a trashed build of another Fujimi kit. The most important parts being the nose half with the NACA gun vents and extra Sidewinder rails. Why do I need a backup kit, you ask? Because I will attempt to build this as an in-flight display with the 4 Aim-9 and 4 Aim-7 loadout. I decided to first construct all the assemblies that require modifications. If I need to move to the backup kit, I want to do it ASAP.
So far I have closed up the main wheel gear doors on the wing gloves. They fit pretty good, would have fit perfect if I could sand in a straight line. 😄 Just some minor cleanup there.
I dry-fitted the nose gear doors to the nose halves. The large doors fit perfectly, but the small pair of doors at the rear do not line up with the larger doors. Not sire if I should attempt to scratch new doors or fit the kit parts and fill the gap with putty or styrene shims.
The wing glove pylons have been cut in half to begin the process of building the lower Sidewinder rails and adapters. I can't sand straight to save my life, but I was able to cut the pylons near perfectly with a hand saw and scribing tool. Go figure.
-
I was looking at the sprues for their VF-1 boxing of this kit and I don't see the pieces to make the 4 Aim-9's work. The 4 missiles are there, but only 2 rails and the pylons provided only give you the choice of the Sparrow or Phoenix missiles.
-
Cool idea for a project.
Doe this older Academy kit allow for the 4 Aim-9 loud out as shown on the box art?
-
Nice progress.
-
Nice looking build so far.
-
13 hours ago, norbert said:
yes we have, but they will be entirely new figures
Great news. I'm down for a pilot and RIO as long as they can be used for in-flight displays.
Really, I was looking over your site the day before you posted this figure and if there were figures like this one with the MBU-14/P masks I would have bought them on the spot.
-
Excellent build.
-
Your figures look amazing.
Do you have any plans to make these seated figures with HGU-55/P or HGU-68/P helmets with the MBU-14/P oxygen mask? These are needed for Tomcats and Hornets from the 1990's and early 2000's.
-
Thanks!
I was looking in the "profile" section.
-
How can you change sig banners? I can't figure out how to do it on here after the forum software was changed.
-
I've got a pair of Fujimi 1/72 tomcats.
First, I'll build Fast Eagle 100 from 1993 using Furball decals.
I plan to build it in-flight, so the second kit may be used as a on-deck build in case I mess up the first one. If build one goes smoothly, then I'll build up #2 with another scheme from the sheet.
New Tomcat crew by Reedoak
in Jet Modeling
Posted
Awesome