

Cool Hand
-
Content Count
537 -
Joined
-
Last visited
Content Type
Profiles
Forums
Calendar
Posts posted by Cool Hand
-
-
The flap area should be the top color. I'm not sure about the area under the slat though.
-
I noticed that the Fightertown sheet has some decals on it for a smaller scale. Does anyone know if they are 1/72 or 1/144?
-
Another difference is that the wings of the Mk. VIII have fuel tanks forward of the gear bays.
-
RLM 02 does have a greenish tint to it. Not much, but it's there. It will look beige when placed adjacent to bolder greens like RML 70 and 71. But when used with a RLM 74/75/76 scheme, you will see the green in it.
-
A6M5's were painted in the factory with a green over gray scheme. There are differences in the scheme which indicate the factory a particular plane was produced in, Mitzubishi or Nakajima.
-
Another thing to consider, The E model does not have a cannon breech between the legs of the pilot. Their figure probably is not molded with enough space to clear the breech cover in a 109F/G/K.
-
Yes. Two MG 131 12.7mm machine guns in the cowl and one MG 151/20 20mm cannon firing through the engine was the base armament. The U4 modification replaced the MG 151/20 with a MK 108 30mm cannon. 20mm cannon gondolas could also be mounted to any G-6 or G-14.
-
I'd need to see pictures to make a decision.
-
It was an attempt to consolidate all the variations in equipment over the G-6 production into a single standard. This was less than successful as these variations continued to be seen in the G-14 line. For example: some G-14's with short tails and standard(non Erla hood) canopies. The only thing that seems to be universal in the G-14 was the tank for MW 50 and the corresponding move in battery position.
-
this is most excellent.
-
21 hours ago, 11bee said:
Cool link. Surprised to see that in Feb of 45, the top ace of the Luftwaffe was still flying a G-6.
A late G-6 was identical to a G-14. Really just a change in designation.
-
Jon, here is some info on Hartmann's plane, in case you have not come across it yet.
http://falkeeins.blogspot.com/2016/05/hptm-erich-hartmann-bf-109-g-6.html
-
-
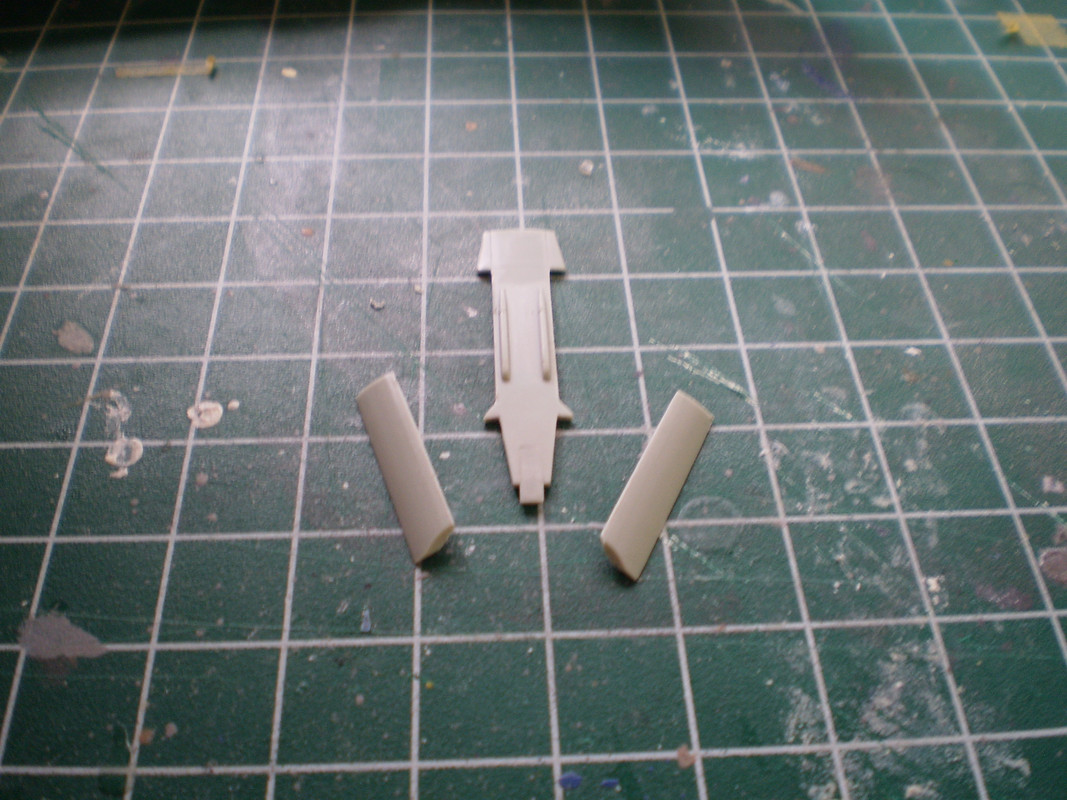
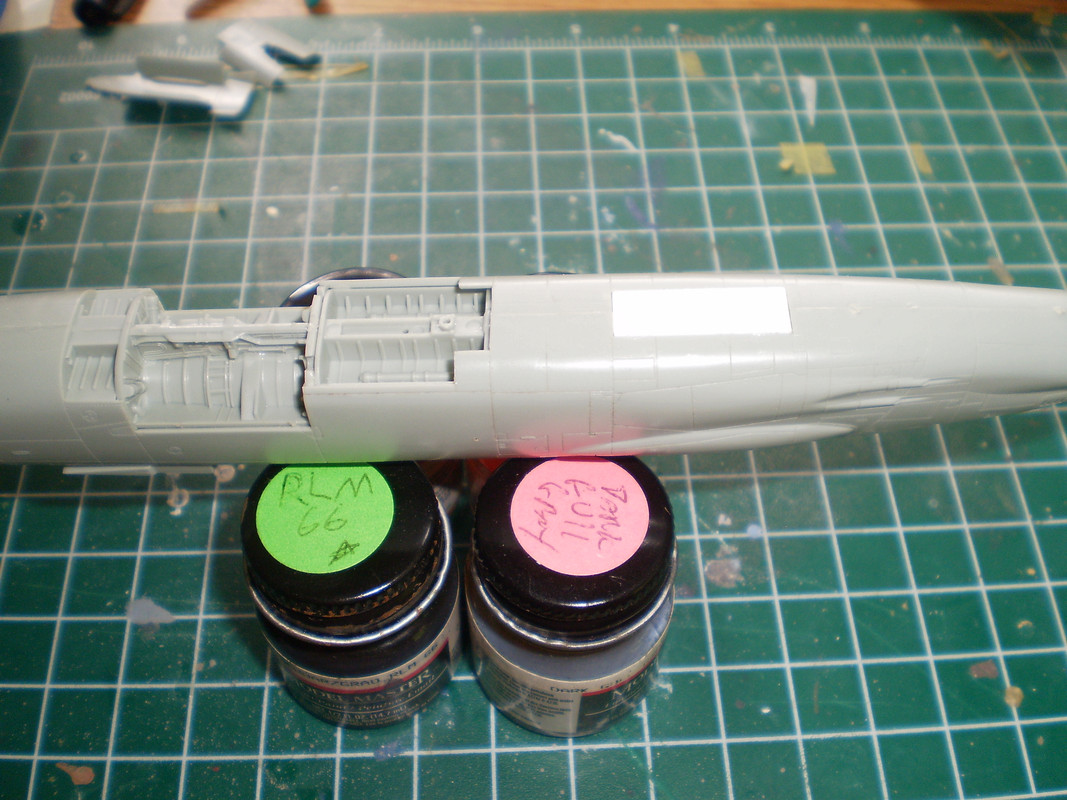
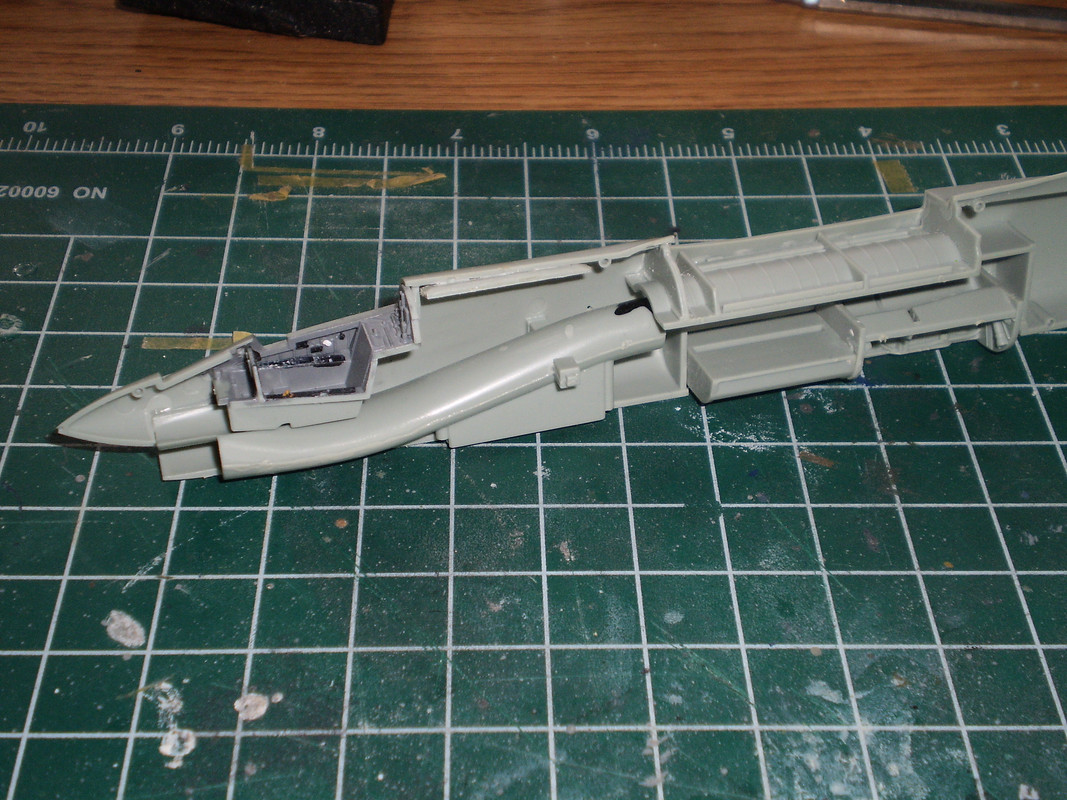
On to the main landing gear and speed brake bays.
Academy engineered this kit with a center section between the main gear bays with the lower doors molded in place. You can see the center section along side the speed brake assembly.
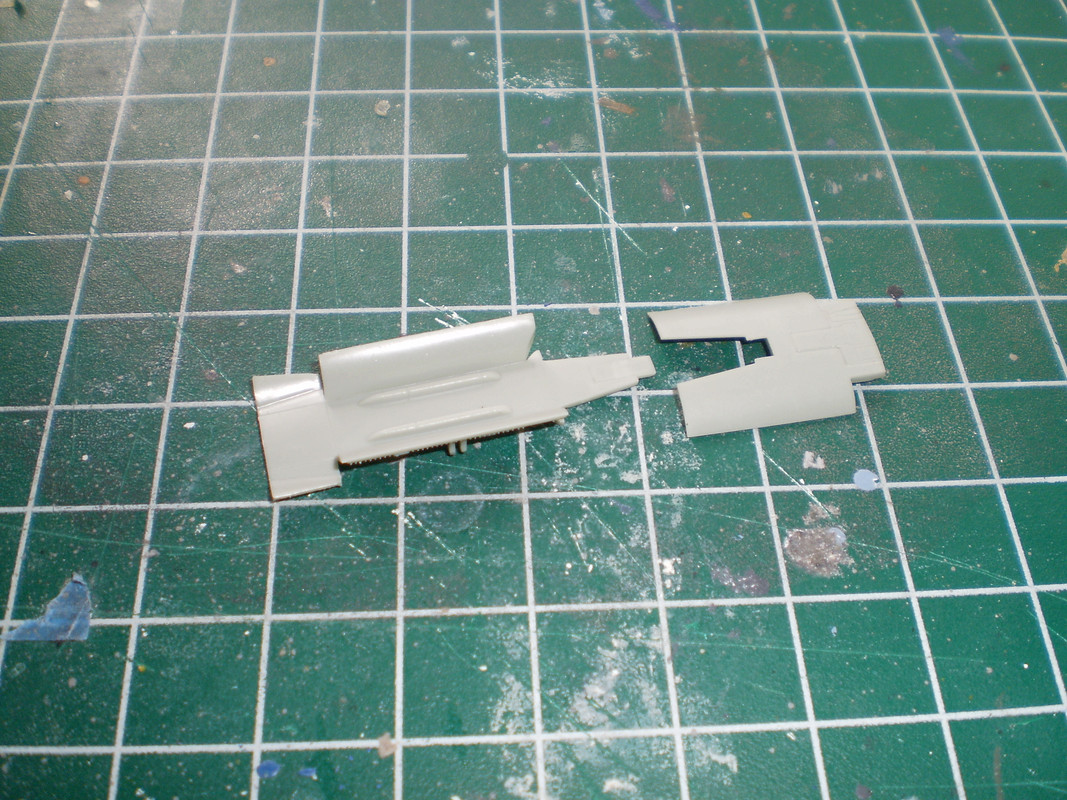
Dryfitting the speed brake and center section after some minor sanding to improve fit.
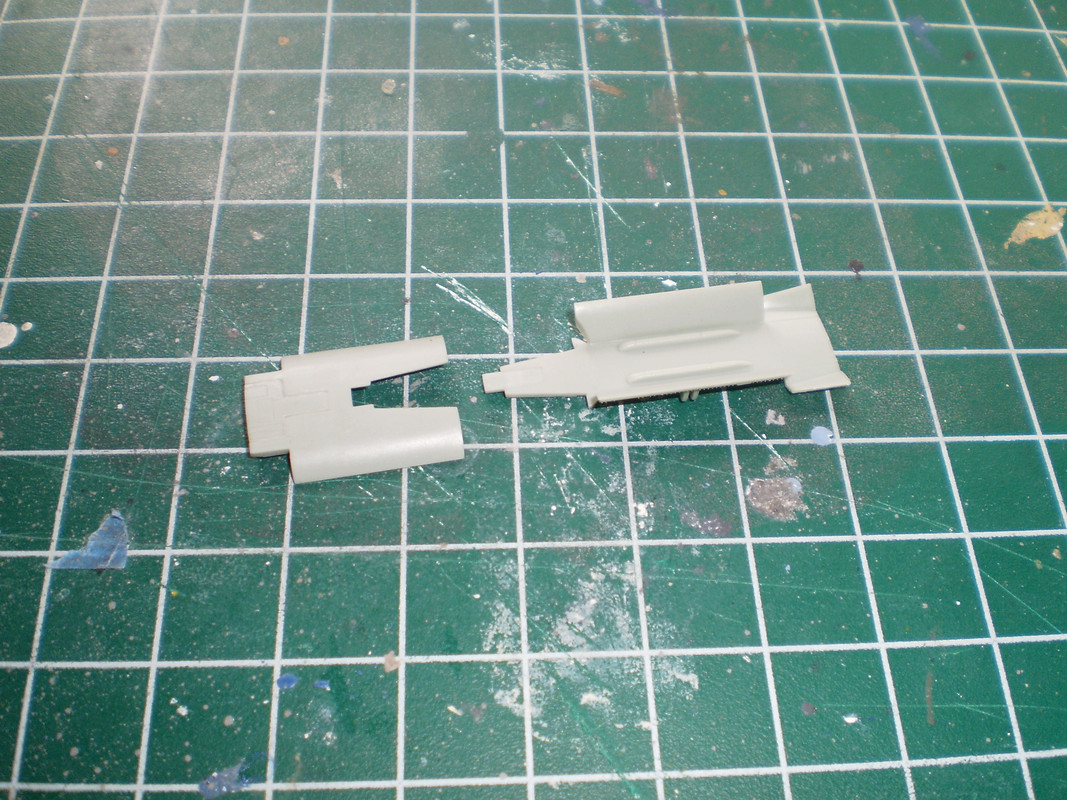
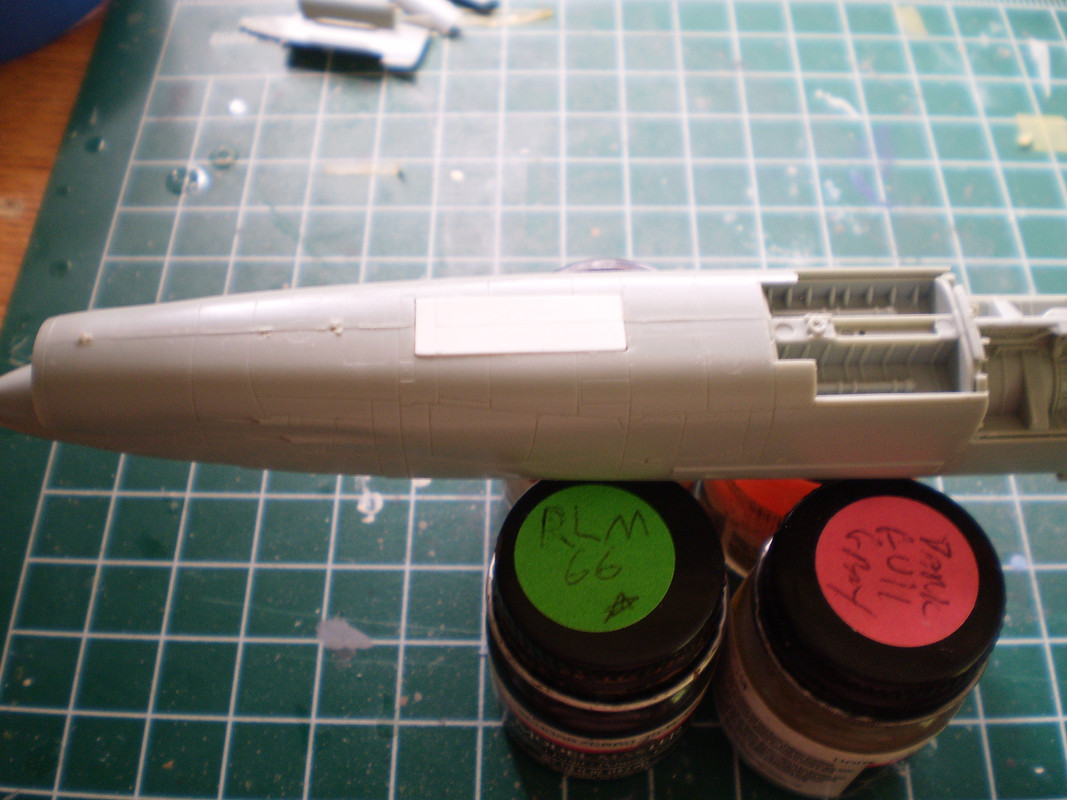
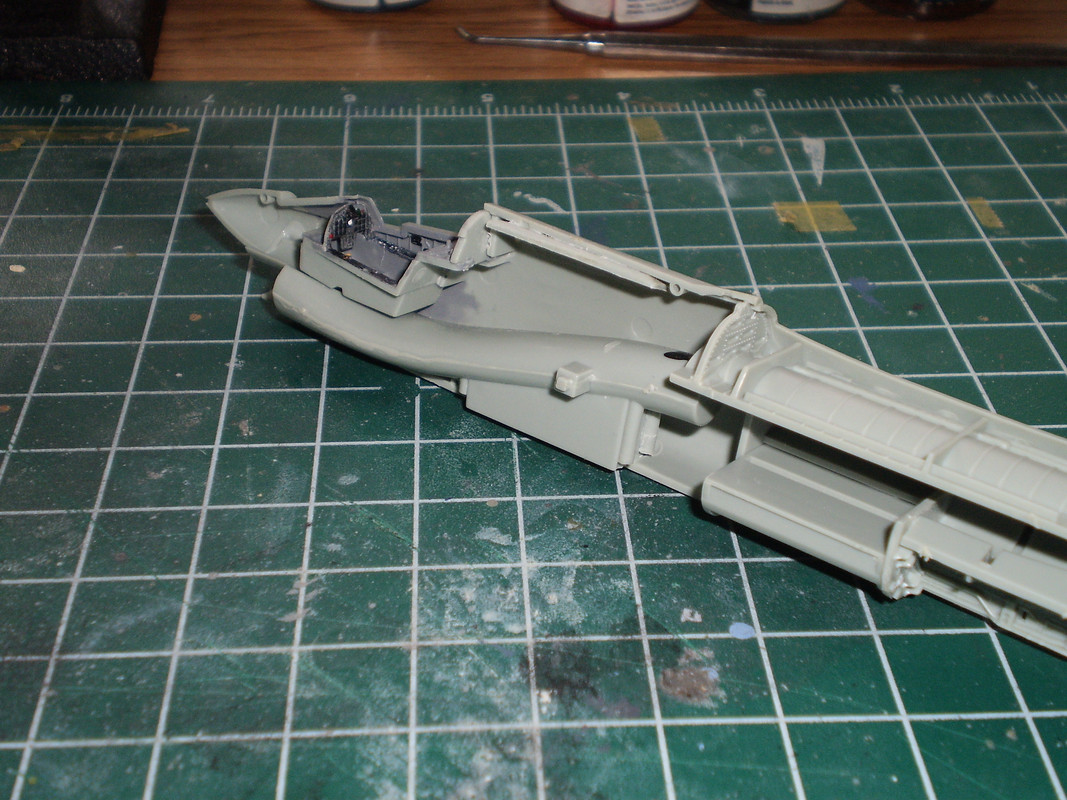
Careful cutting was requited to separate the doors and leave them as usable parts.
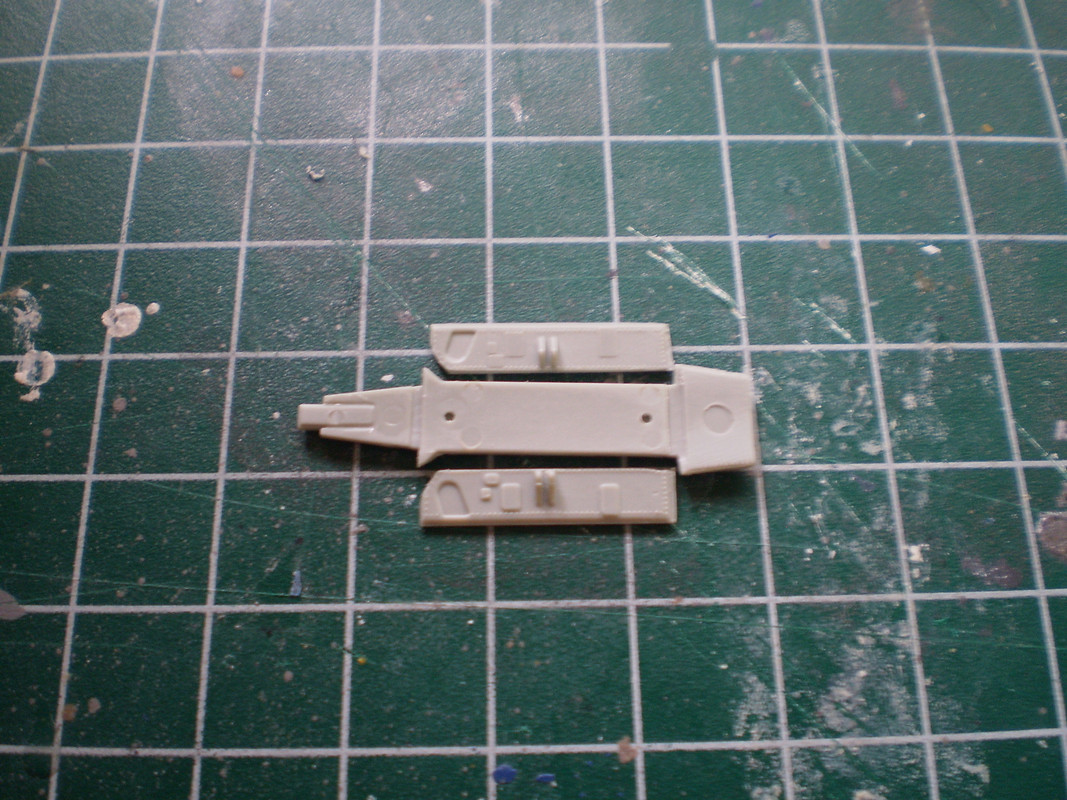
Unfortunately, Academy's decision to mold the lower doors to the center section resulted in front edge of the doors having a bevel and being off angle to the corresponding notch on the center section.
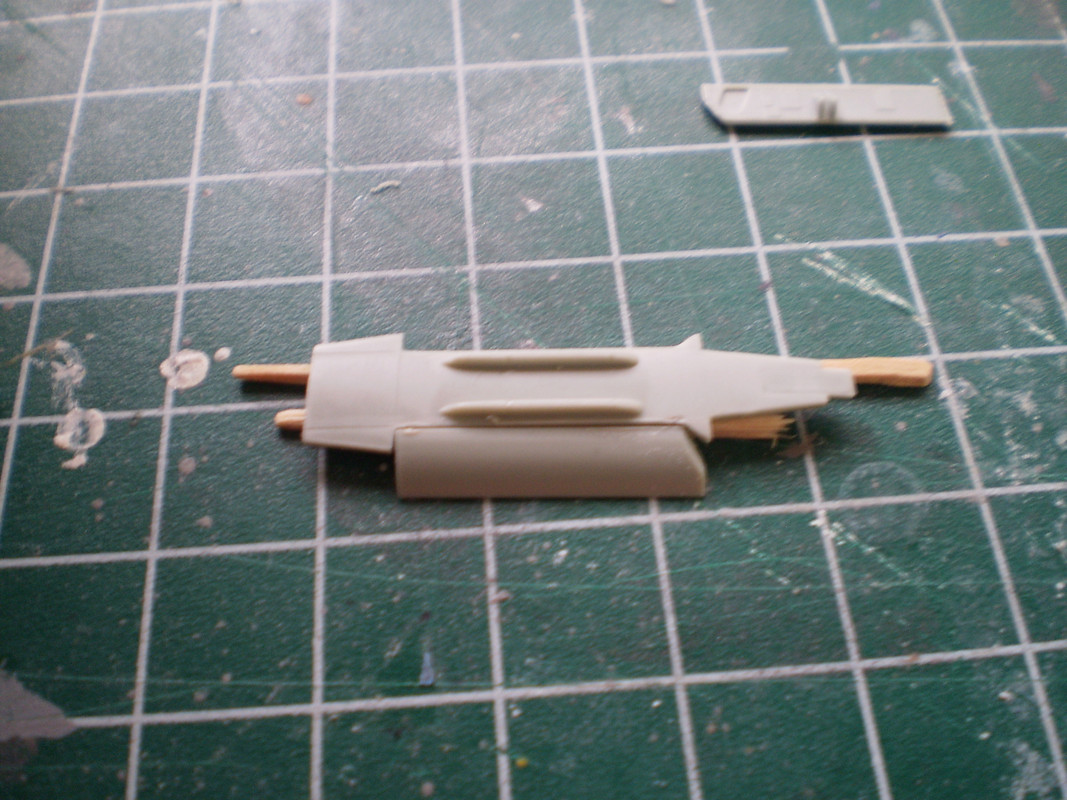
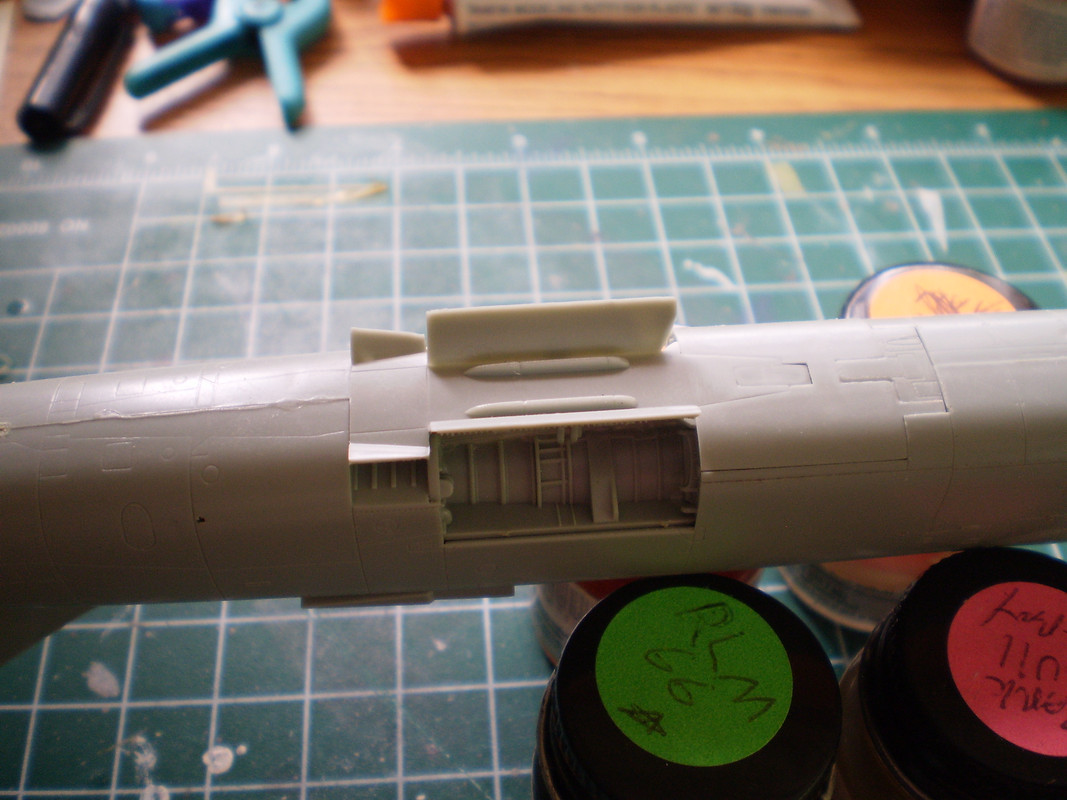
After gluing the center section and speed brake to the fuselage, I test fitted the door to check fit and to troubleshoot the inner door problem.

I will probably replace the inner doors with plastic card doors. Same for the rear auxiliary doors.
-
Very nice build here.
-
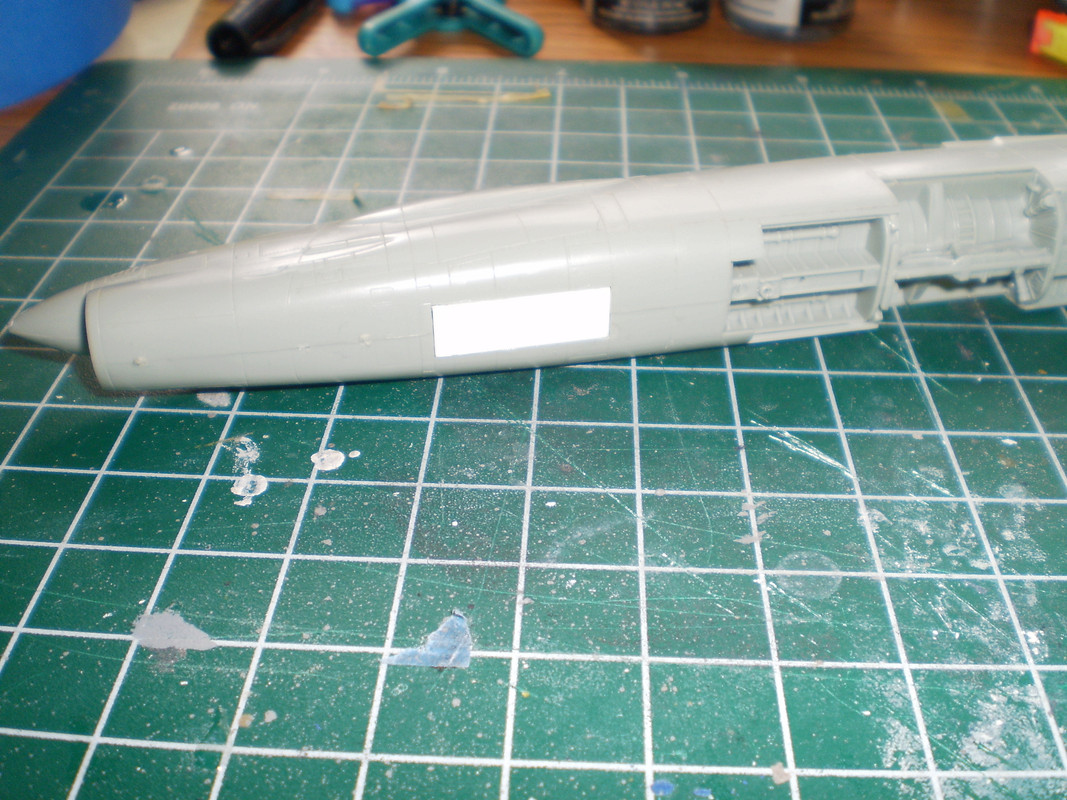
Ok, so the fuselage is all buttoned up and the brass pipe can be inserted/removed with no issue and is lined up properly. Success.
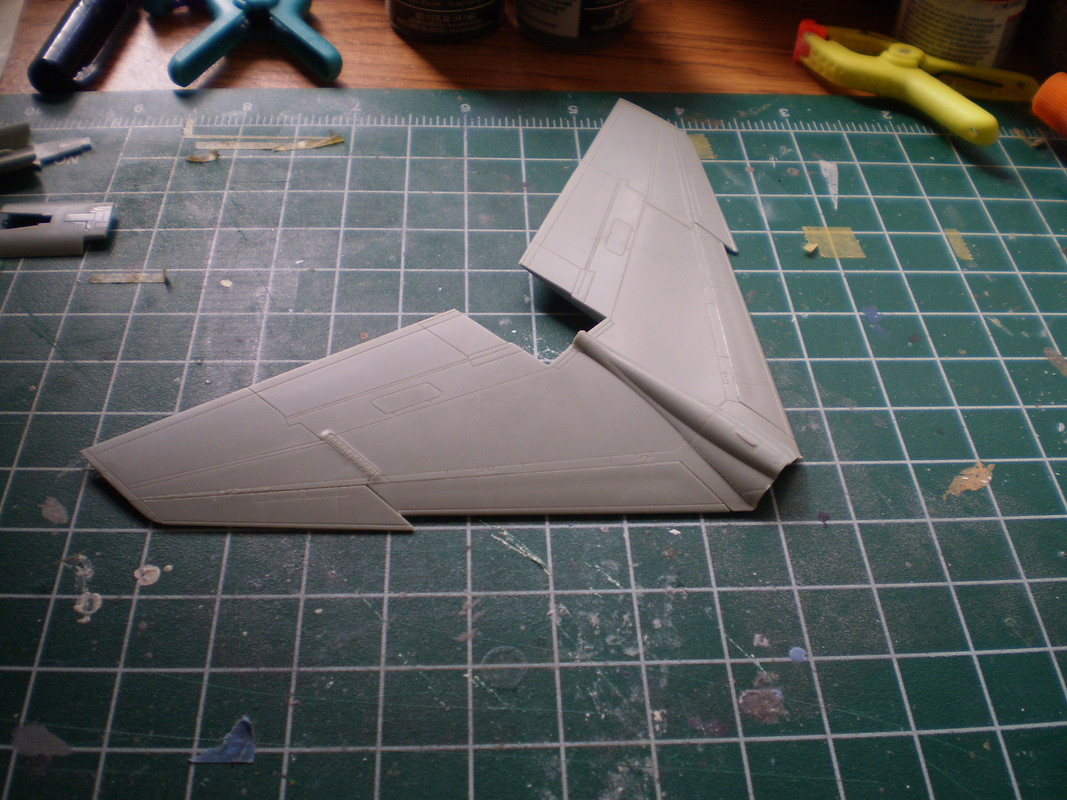
While I waited for the glue and Milliput to cure, I assembled the main wing assembly. The kit features separate leading edge slats, the outer portions have no locating pins/tabs so attaching them to the wing in less than ideal. My results were fine, but not perfect.

Once the glue dried, I decided to close up the nose gear bay. Instead of using the doors from the kit. I decided to simply use a single piece of plasticard and scribe the lines into it. The lines were added before I attached the piece, but they do not show in the photos.
-
Ooh, I'd love a new P-36 family. Love that plane in Finnish markings.
-
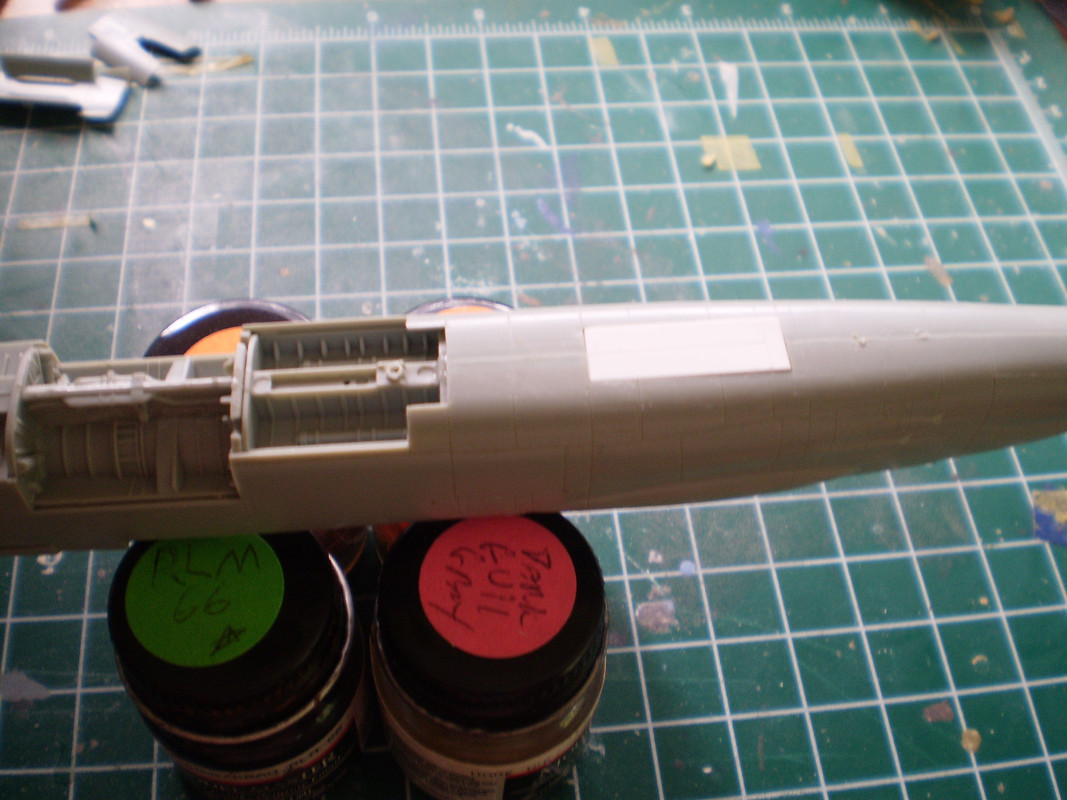
I have not had much time at the bench over the last two months, but I did add a plastic strip to help correct that step. Problem solved.
Plastic strip in place
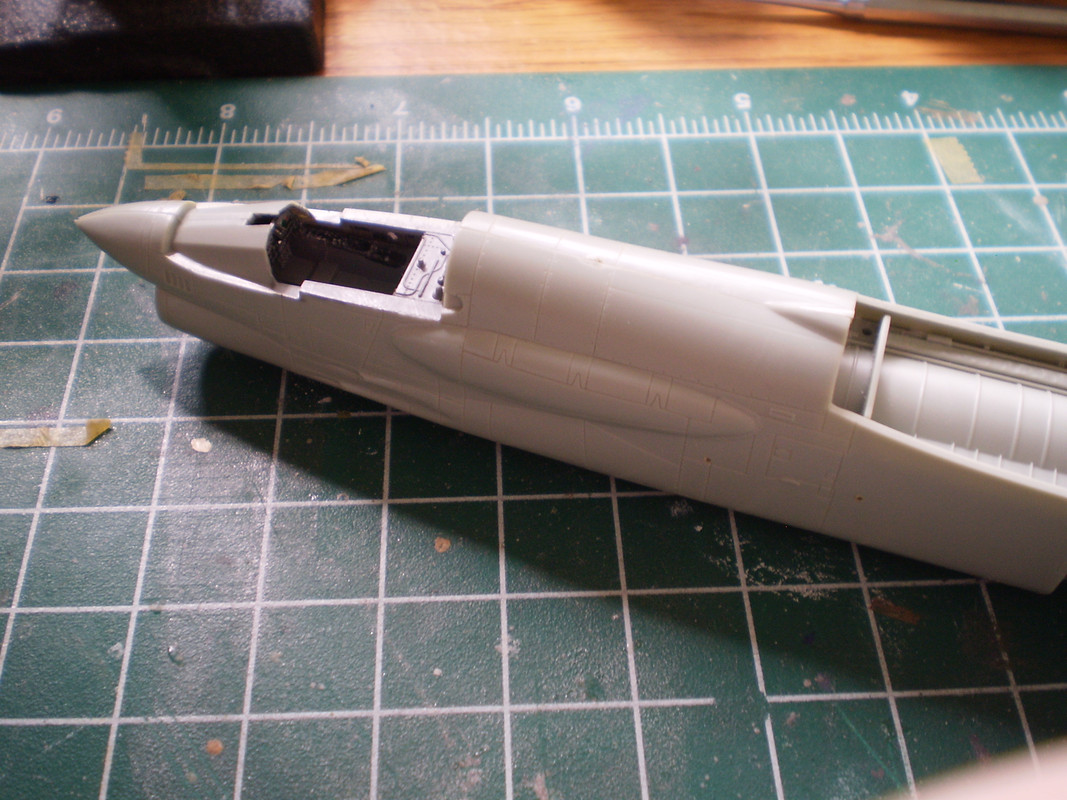
Pretty smooth now.
I also determined how I'm going to mount this bird. I will anchor a section of aluminum pipe in a doughnut of Miliput in the aft fuselage. A hole in the rear engine plastic will center the tube and allow a brass pipe to pass through. The brass tube will be the support for the model and be curved and anchored to a wooden base.
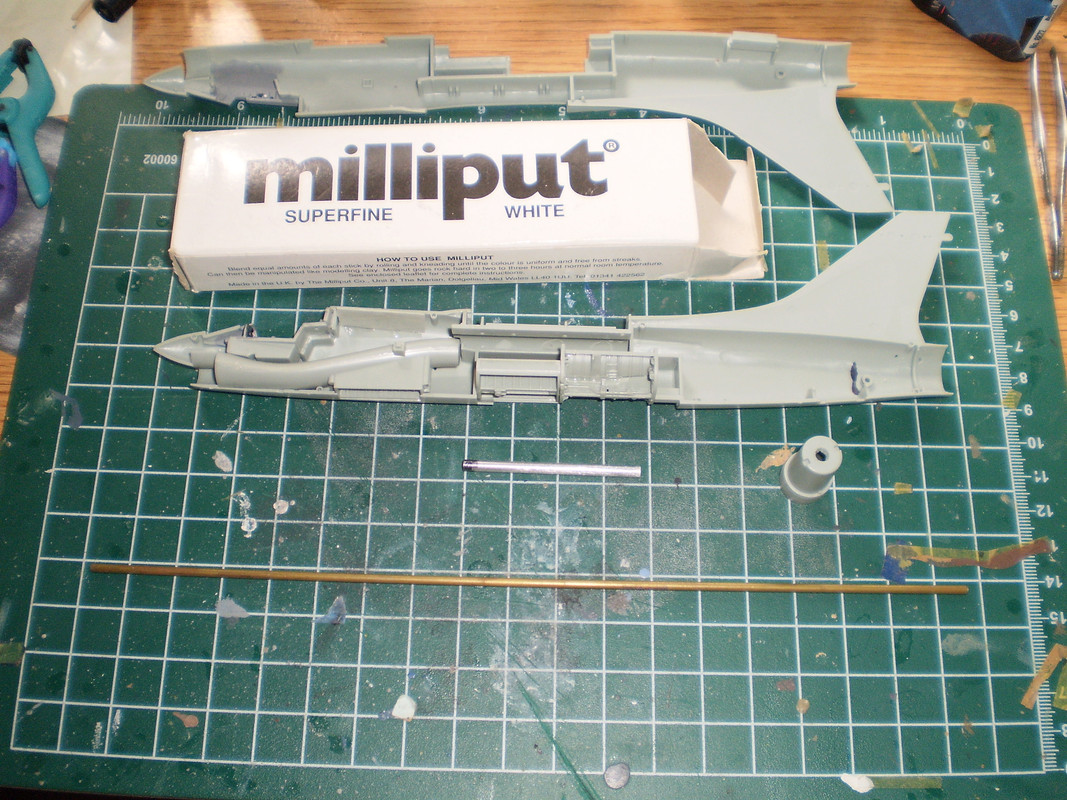
I plan to close the fuselage closed up with the support in place on Sunday.
-
I'm psyched for the fillet-less early D-5 kit. I hope the gear doors fill well closed for an in-flight build.
-
Don't forget the Slovaks
-
-
23 hours ago, KursadA said:
That would be great - it would be a good excuse to get into the crowded arena of Tomcat markings.
There is not much in 1/72 for Tomcats, so these would be most welcome for many modelers, I think.
-
Excellent review Paul.
-
that's not likely because of how the cockpit and intake anchor into the fuselage. Everything seems to lock in pretty solid.
Bf 109G-6 flap and slat color question
in Props
Posted
I just found a picture of new production 109G-2's from the Regensburg factory. Looks like the area under the slats are also top colors.