


Propellerhead
-
Content Count
80 -
Joined
-
Last visited
Content Type
Profiles
Forums
Calendar
Posts posted by Propellerhead
-
-
On 4/17/2021 at 8:41 AM, dekon70 said:
Very nice! I have the same kit and am thinking of doing it in the grey and white scheme with maybe a reserve band around it.
That sounds cool! It was fun deciding which tail symbols I was going to choose for it even though at this fictional point in the war the USN would've been using letter codes on the tail. But where's the fun in that?
-
Fantastic! I also have the strategic bombing trio sitting in my stash (Academy B-1B & B-52H and the AMP B-2A).
-
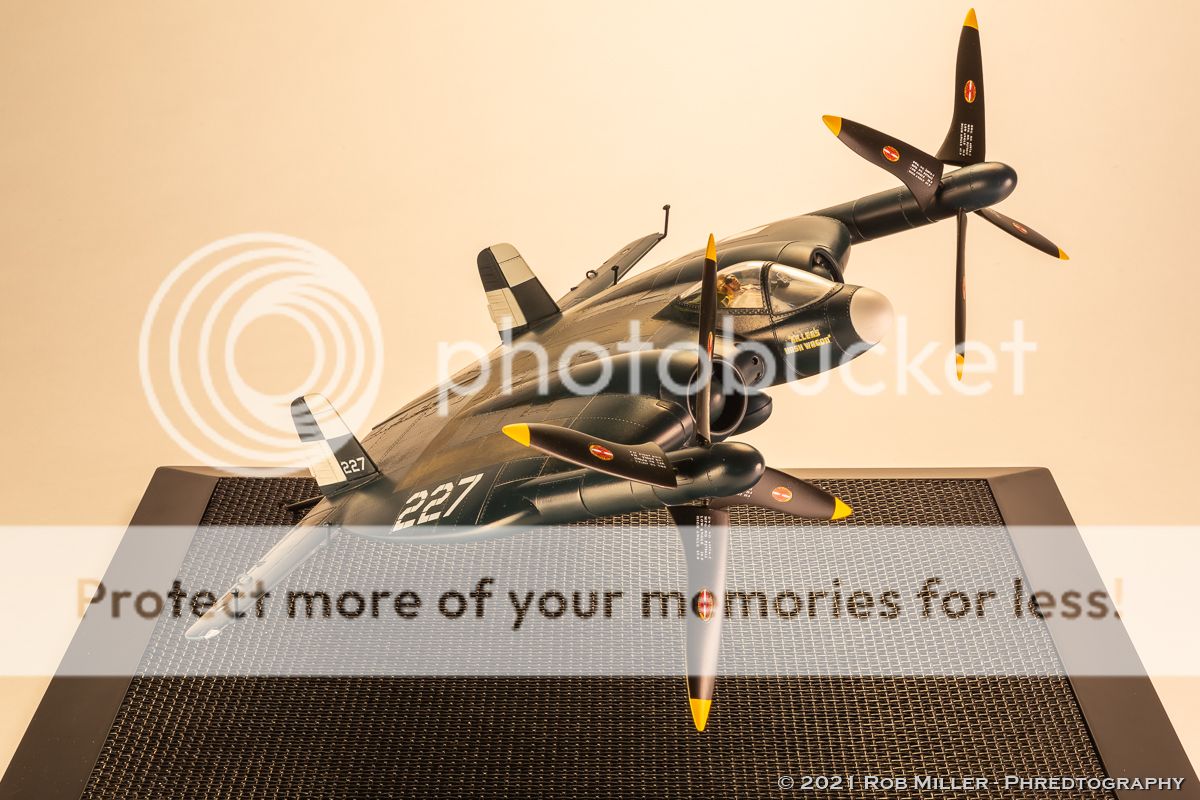
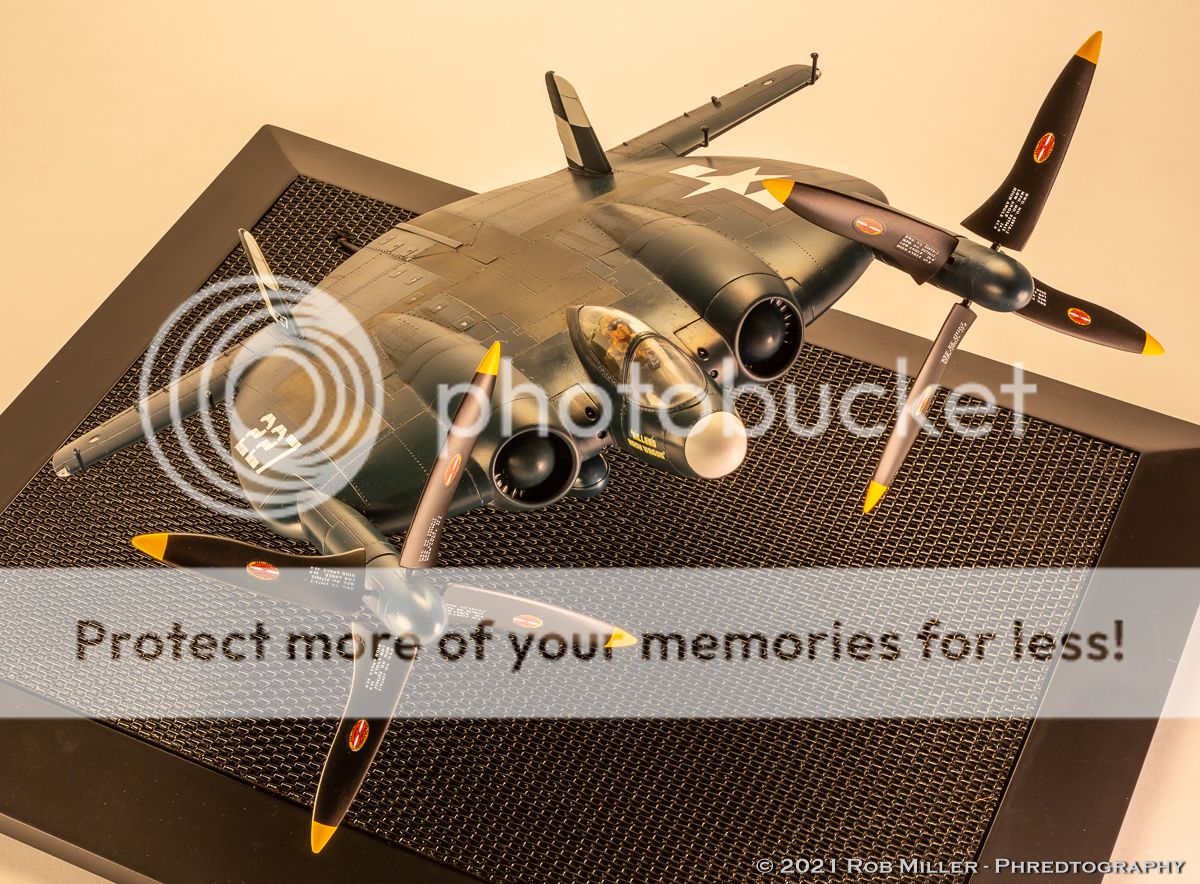
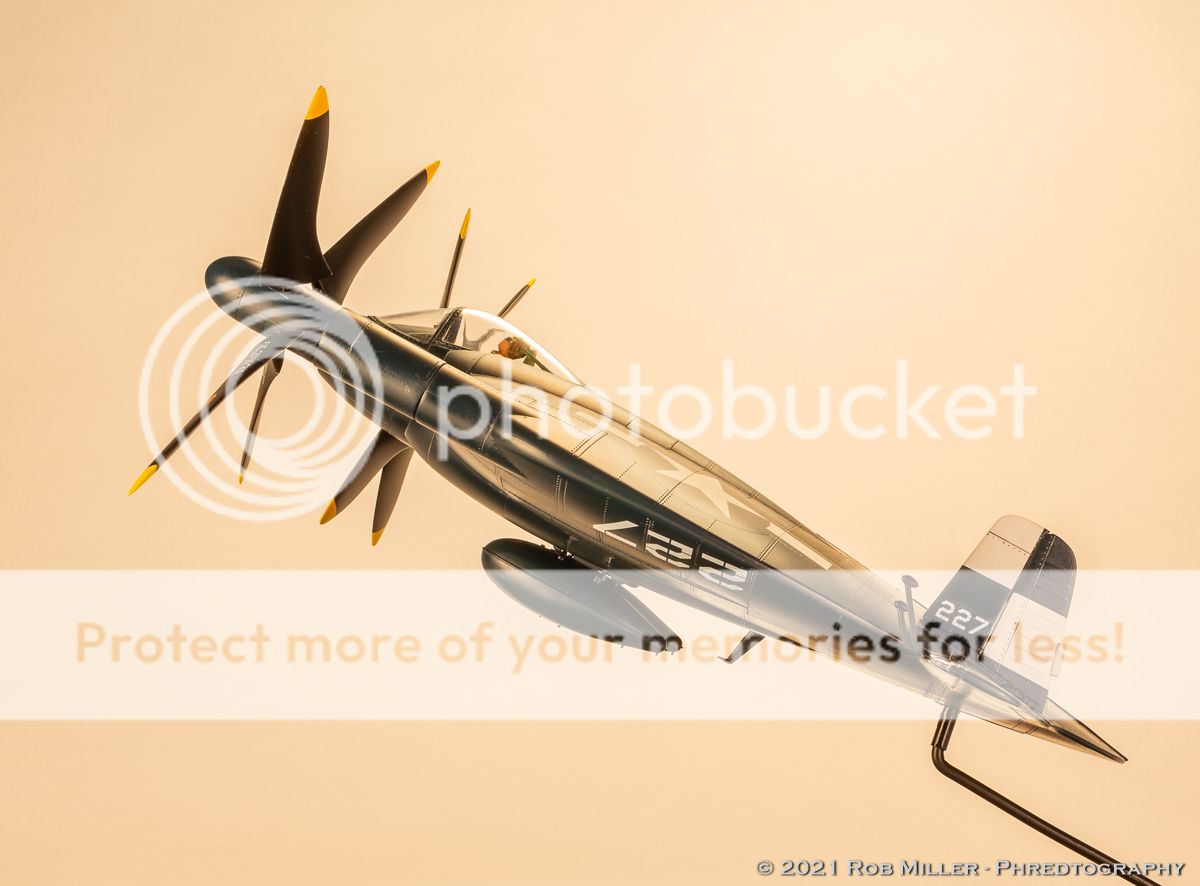
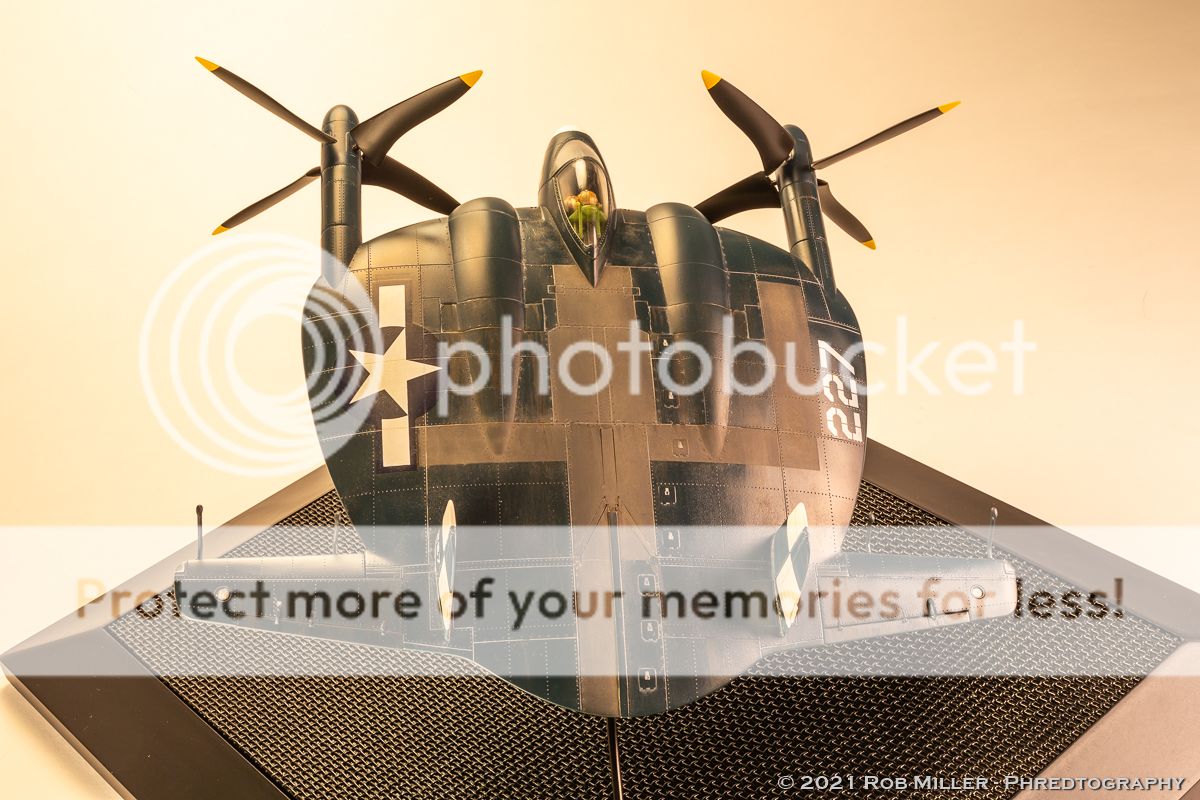
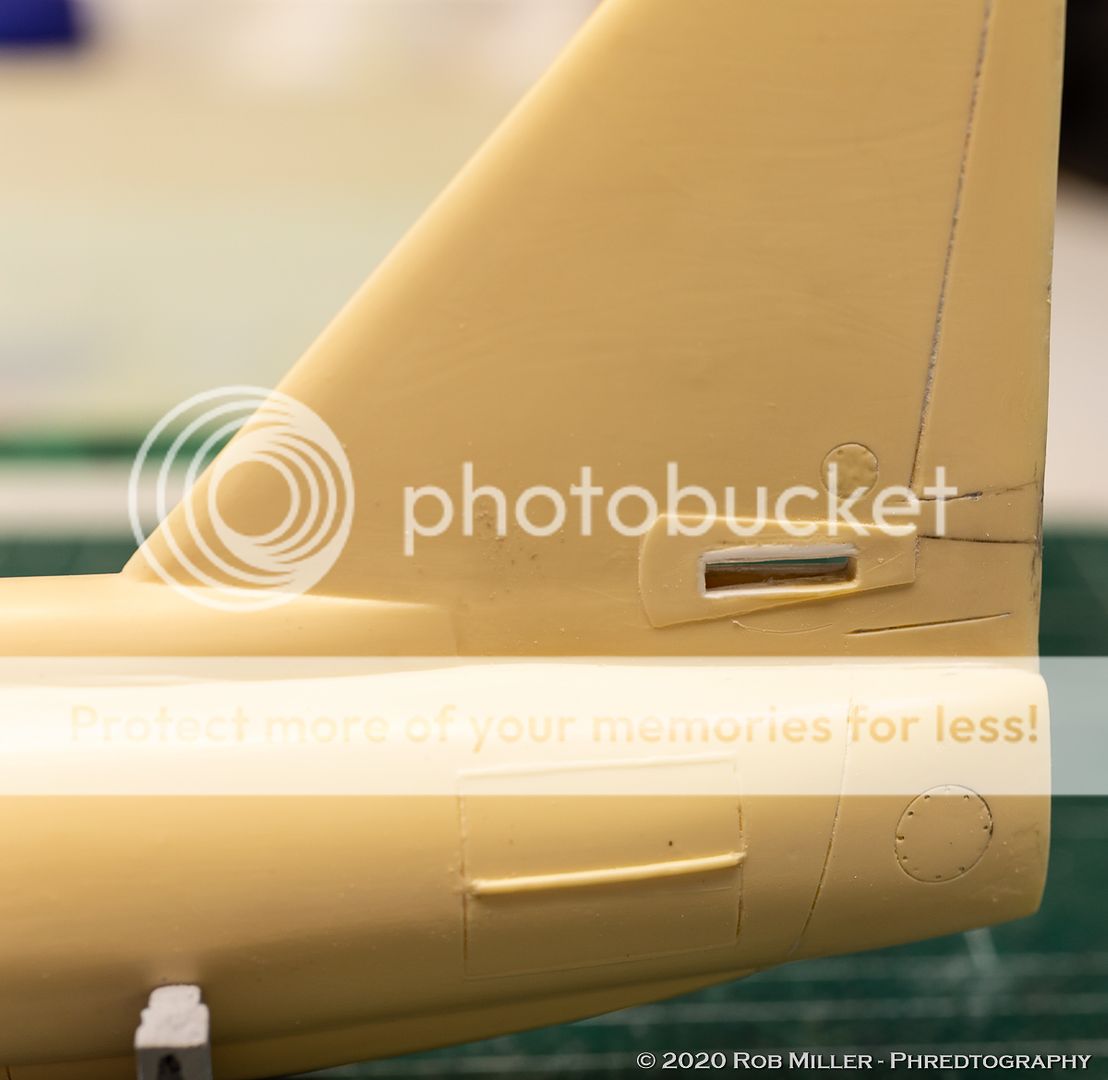
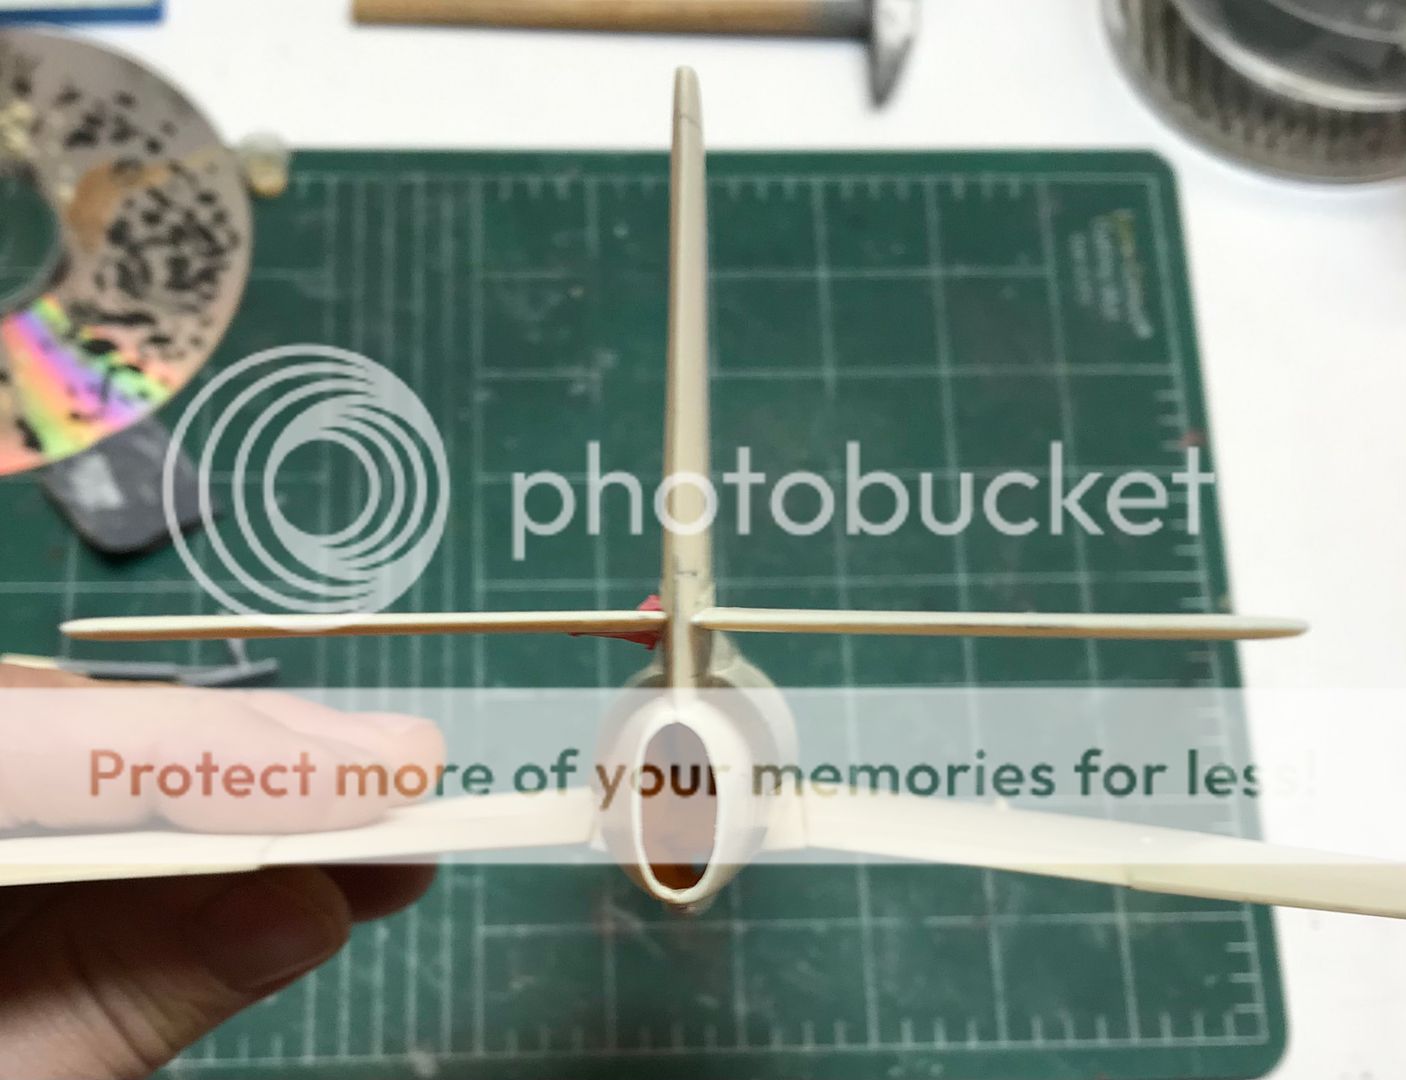
"And now for something completely different..." You have paper panzers and Luft '46. Why not BuAer '46?This is Kitty Hawk's 1/48 scale Chance Vought XF5U-1 done up as if it was serving on the Hornet, CV-12 and the invasion of the home islands was underway.This was meant to be a fun build where I didn't need to stress about accuracy or perfection. As Kitty Hawk kits go, it's not bad, but it certainly still has the KH "aroma" (sprue gates badly located, odd part breakdown, fit was difficult in places, awkwardly placed surface detail, canopy a bit wavy, iffy instructions, etc.).I blocked off the gun ports from behind with semi circles of laminated Evergreen and added hypo tubing .50s. I didn't like the bombs from the kit so I modded the racks for 75 gallon drop tanks from the spares box. I also had to get busy with Evergreen to close up the arresting gear doors as the kit parts would be really "gappy." Serials and nose art are from a Yellowhammer Corsair decal sheet. Tail markings and walkways are painted.I was well into the build and had already put down the sea blue, and felt that this thing would look better in-flight. So I cut a leftover resin pouring block and epoxied it into the tail wheel well and had at it with K&S brass tubing and rod. It couldn't be posed in-flight with an empty cockpit, so I pulled my Monogram Devastator pilot out of the spares box. He was originally painted with Pactra square bottle enamels (the textured plastic ones) when I was probably 10 or 11 years old. After some amputation, reposing, pegging, putty and re-painting I was able to get him in the cockpit (h/t to Shepard Paine).
-
10 hours ago, southwestforests said:
The small accomplishments keep on adding up!
😎
Do ya suppose the folks at Evergreen Styrene truly know what they give the model building world?
Which includes the model railway world.
I'll bet my box of Evergreen styrene sheets and shapes weighs at least a couple pounds.
When I bought most of my stock of Evergreen I had no idea where it would end up or what I'd need. It's amazing what one can do.
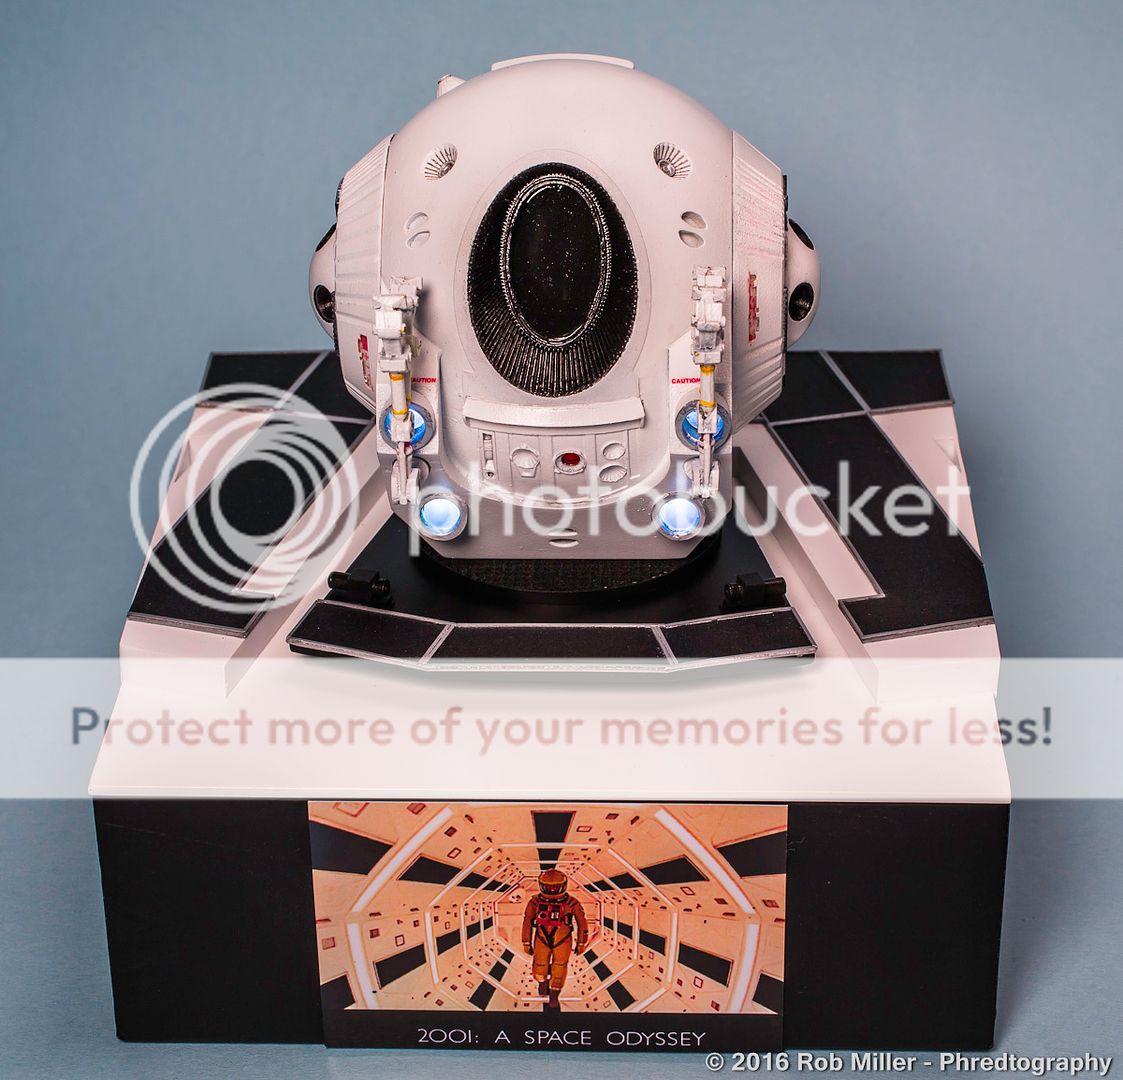
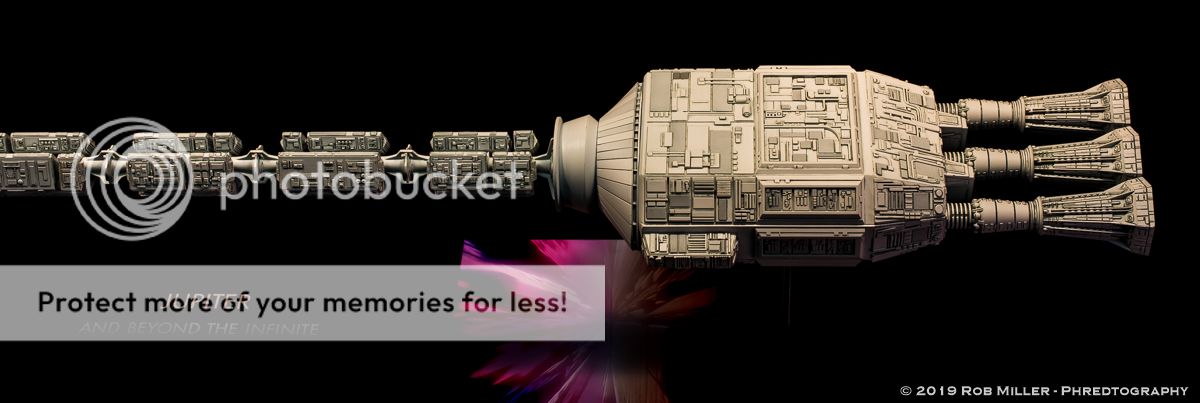
The base for this 2001 EVA pod is pretty much all Evergreen sheet, strip and rod. The raised platforms are foam core boxed out with Evergreen sheet and the box is half of a wristwatch box. The "lid" is thick Evergreen sheet. The walkway is 400 grit sandpaper with strip stock cut on The Chopper and "painted" with a silver Sharpie.
And the accumulating stockpile that creates the new and helps stuff fit...
.jpg)
-
5 hours ago, K2Pete said:
i'm loving your solutions to the kit's issues.
I build, primarily, early US Space program spacecraft and the issues you're running into, are part and parcel of these old kits. So getting familiar with Evergreen, reworking wing roots, in some cases rebuilding the part entirely ... is what makes this hobby fun for me. With these kits, there's no such thing as the kit "falling together" ... you'e gonna put in a lot of work an-n-nd, develop some pretty good scratch building skills!
This is looking pretty good ... it'll definitely be a "Silk purse"!
Pete
Thanks!
Yeah, I practically rebuilt the S-IVB on Realspace's Saturn IB years ago. Learned a lot with that one. I'm doing work to their Saturn I Block 2 as well. It's almost like sculpting an elephant. Just remove the stuff that doesn't look like an elephant until it's done.
-
And the fabrication hits keep on coming...
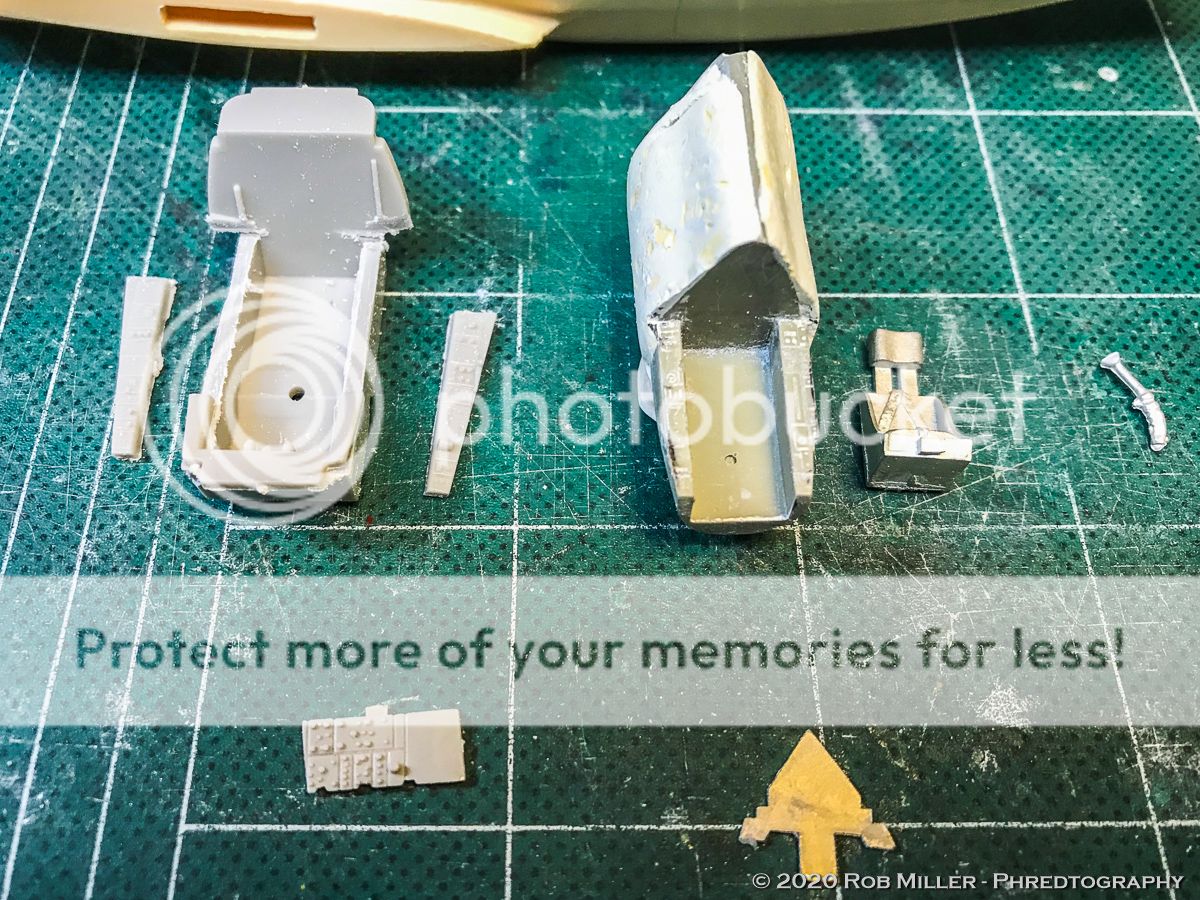
I'm building the later version of the X-2 with the nozzles. The kit has none of that and none of the associated plumbing.
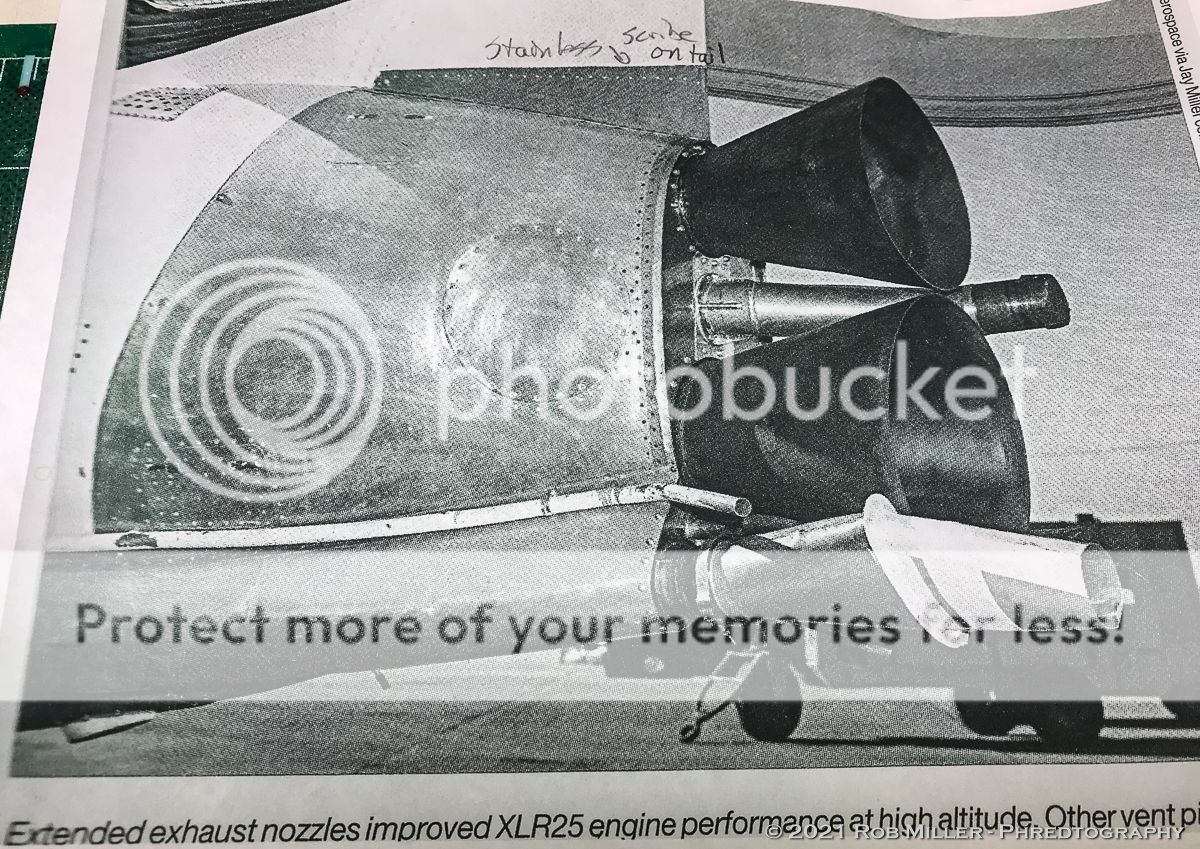
I thermoformed the nozzles using Evergreen tubing, the burner on my gas range and the end of an appropriately sized steel nail set. I held the nail set in a set a Vise-Grips, heated it up and pushed a section of tubing onto the pointy end to form truncated cones. Some cutting, sanding and "lathe" work using a drill gave a number of them that would work.
I also laminated Evergreen tube and strip together to build the fairing for the turbopump exhaust. I used scrap material from the nozzles, rod, a punched out disc, and strip stockto fabricate the turbopump exhaust exhaust duct. The kit-provided white metal rear bulkhead was not going to fit or work with my new parts so I cut a new one out of Evergreen stock.
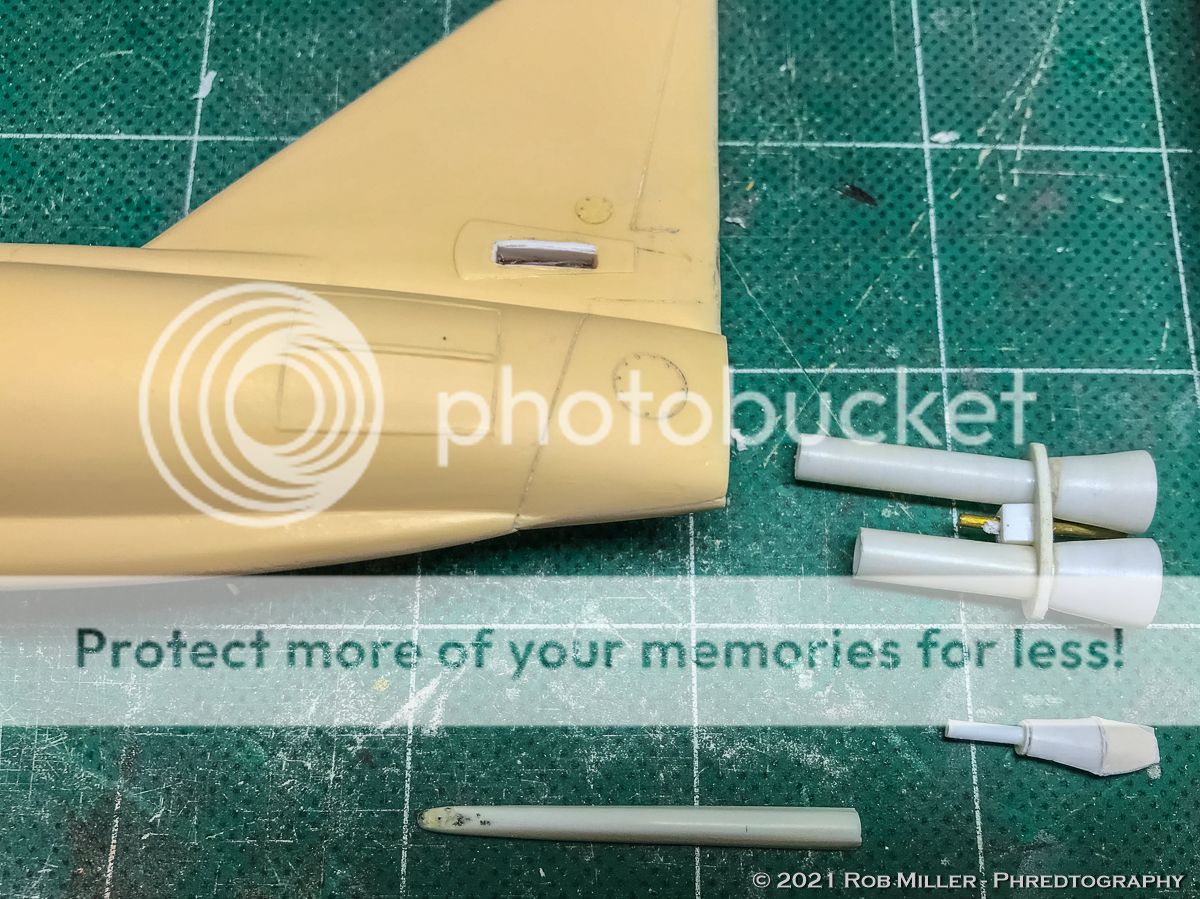
There's trimming and fitting to do on the fairing once the bulkhead is in place, but in the meantime here's a rough assembly:
-
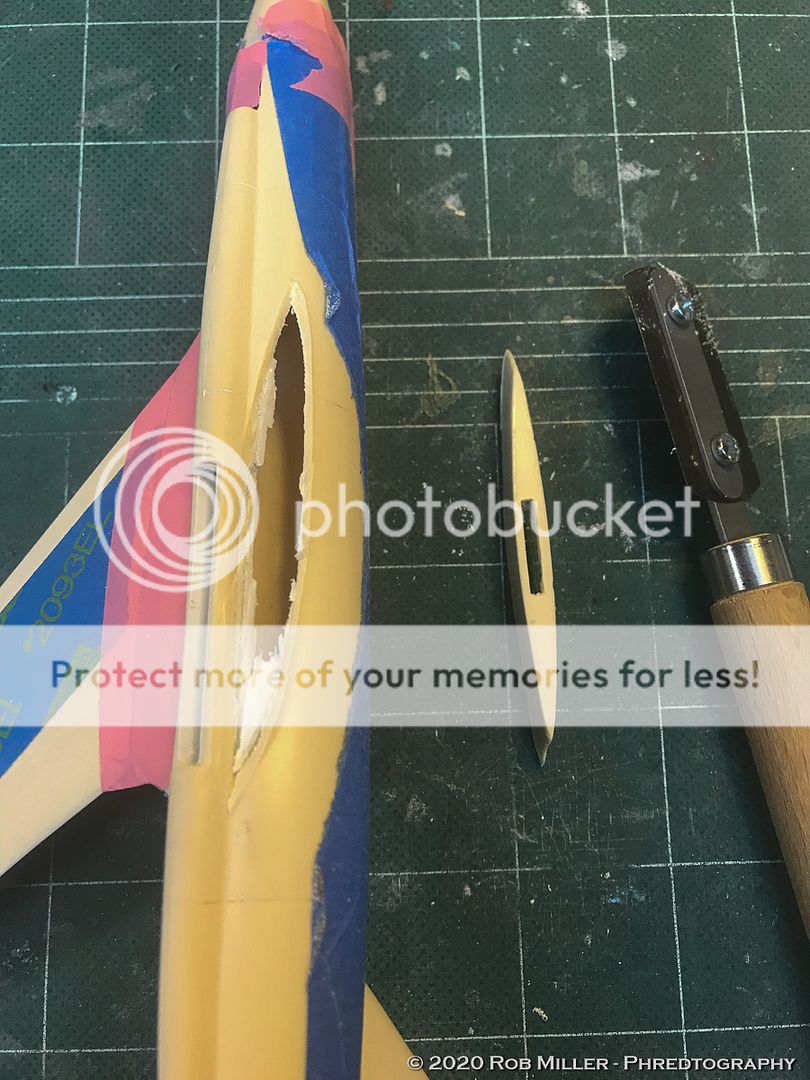
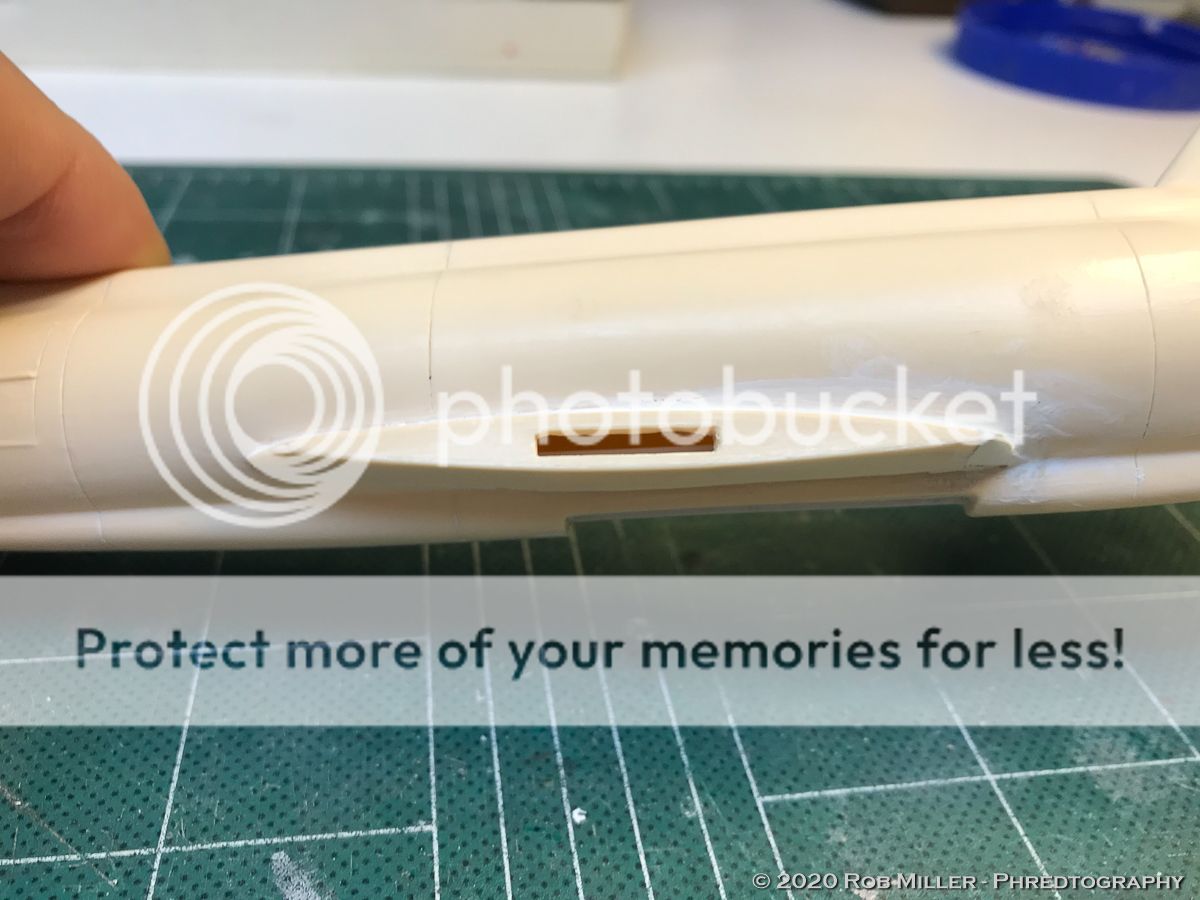
Another thing to add to the list of wrong on this kit...the canopy.
It should interface to the cockpit something like this:

It doesn't so I got out the tools...
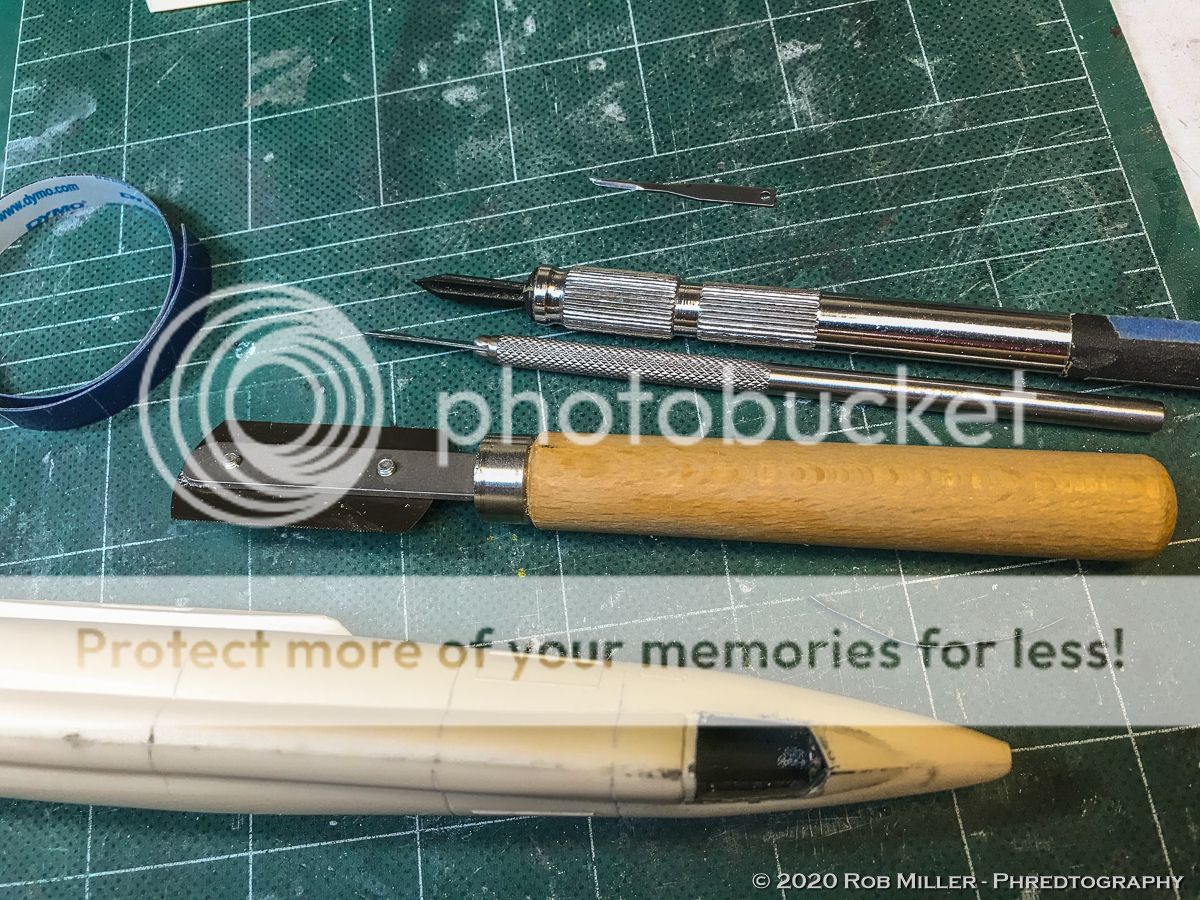
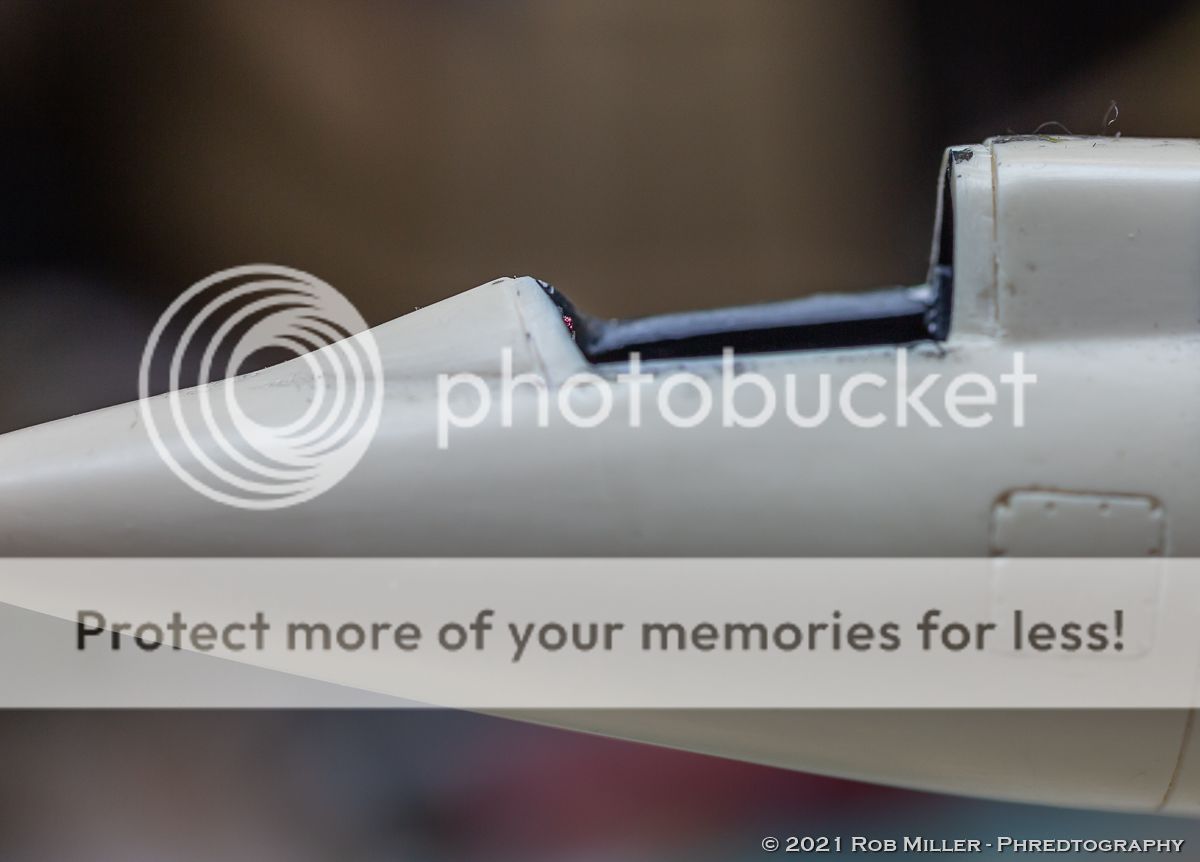
I don't think I can replicate all of the detail in the Mel Apt/Ivan Kincheloe photo, but I'd like it to be removable and fit into the fuselage.
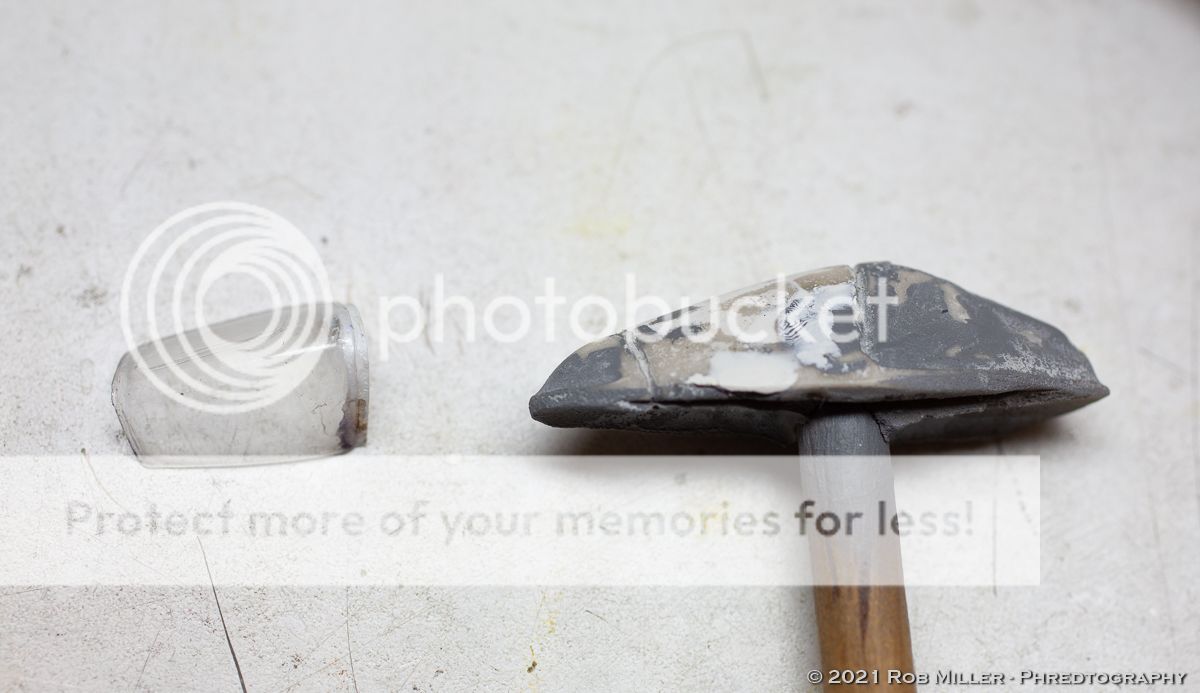
After trimming and extending the canopy I realized that the canopy glass is engraved wrong. It would end up too low and there would be no frame below it after I worked on the lower edges to make it fit.
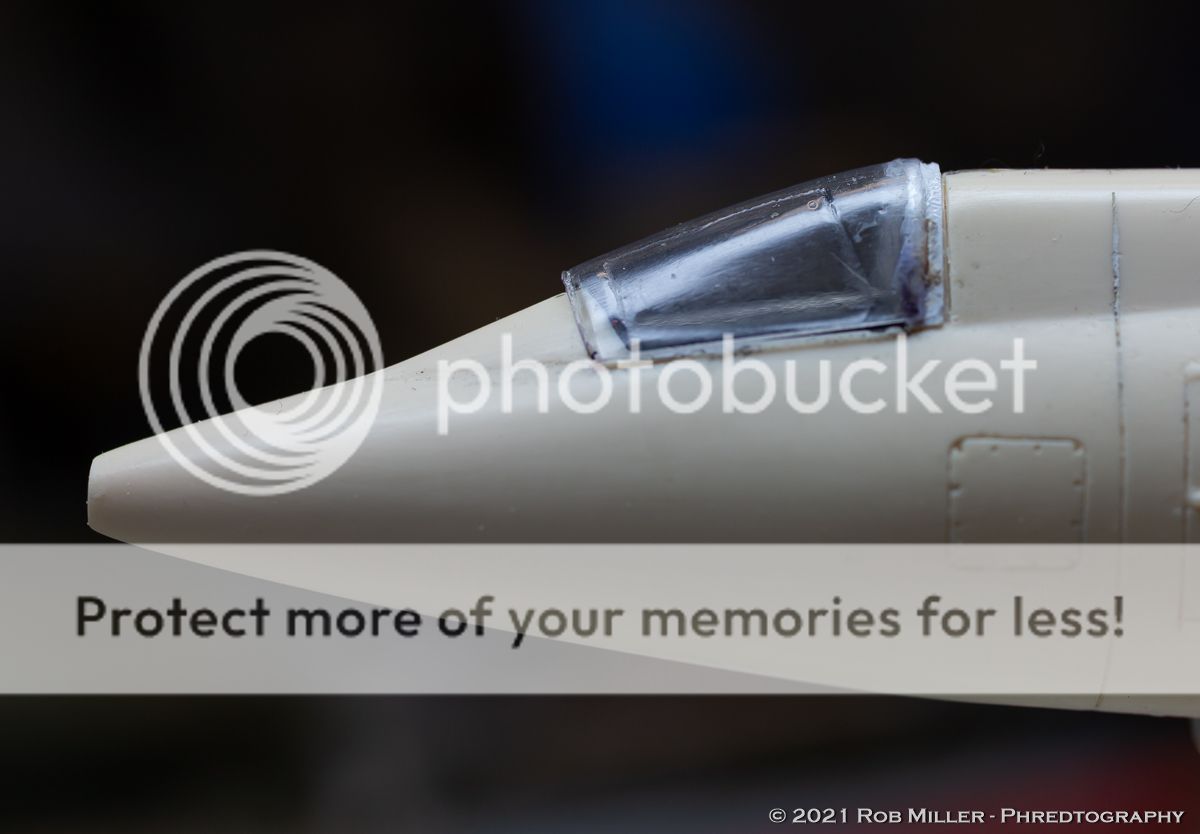
Looks like an opportunity to acquire an new skill. I poured plaster of Paris into the spare canopy to make a vacuform master and started priming/filling to remove the canopy glass engraving from it. Once the cockpit sill is squared away and I can get the sacrificial canopy to fit correctly, I'll "paint" the glass into its proper location and use that as a guide for when I start pulling a new canopy. After I build a vacuform device...that is.
-
On 3/12/2021 at 7:59 PM, Slartibartfast said:
Your photos don't show for me.
Well, they do show if I click on the photo block and open in a new tab. That causes Dropbox to launch.
I switched the photos over to Photobucket. Let me know if they play better for you now.
Thanks!
-
On 1/12/2021 at 7:42 PM, habu2 said:
Excellent choices. Jenkins and Landis also published a companion book, 108 pages of photos they couldn't fit in the Hypersonic book.
https://www.amazon.com/X-15-Photo-Scrapbook-Tony-Landis/dp/1580070744
You might be able to find it cheaper elsewhere, search:
- ISBN-10 : 1580070744
- ISBN-13 : 978-1580070744
.
The Landis and Jenkins books are simply the pinnacle of X-Plane porn.
The X-Planes Photo Scrapbook also provides more X-15 goodness plus other X-Planes and non-X coded aircraft (i.e. lifting bodies).
-
Sweet! Great builds. I really like the stencil font you used on the base.
-
19 hours ago, habu2 said:
Announcement of the S1B book with new publisher, again on collectspace:
from http://www.collectspace.com/ubb/Forum9/HTML/003758.html
October, bummer. I suppose he has to do a major rework to get it out of the Haynes format into however Crecy's titles look. This may give me an excuse to keep my shelf queen RealSpace build of the IB Block II on ice.
-
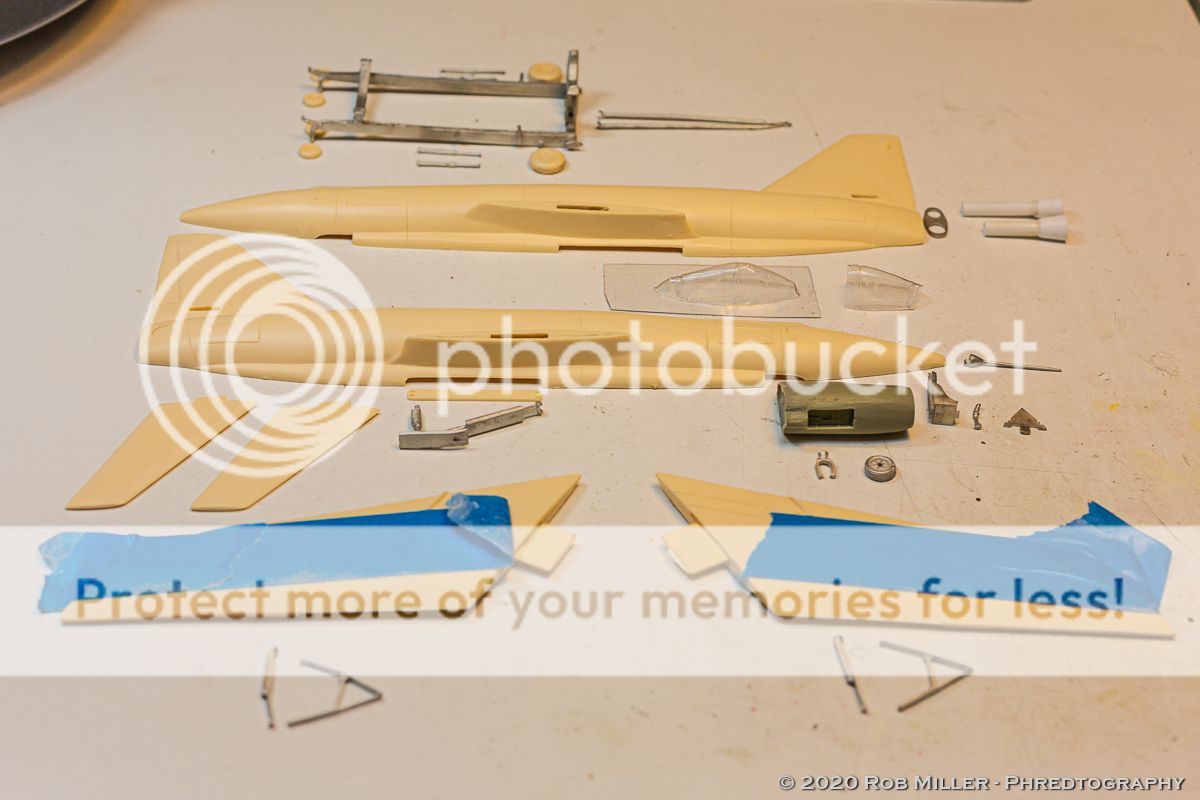
A long time ago in a stash far, far, away...
I bought the 1995 boxing of this kit and the aftermarket sometime back then. I finally decided it was far too long since I built something swinging a propeller. There are some things I wished had worked out better, but many lessons were learned - and relearned.
- True Details cockpit
- True Details diamond tread wheels
- Eduard canopy masks
- SuperScale Decals - 48-555 P-51B Mustang Aces, Hovde, O'Brien, Meyer
- Alclad II Metallics


-
And...we're back. I had to drop this and all other projects to prepare our house for sale, relocate ourselves and the modeling cave. Sow's ear projects like these can crush the mojo, so to christen the new cave I decided to finish a P-51B project first and then unbox Project X-2.
Here's part 1 to catch-up what happened before I boxed it up last year. The theme of this post is “one of these things is not like the other.”
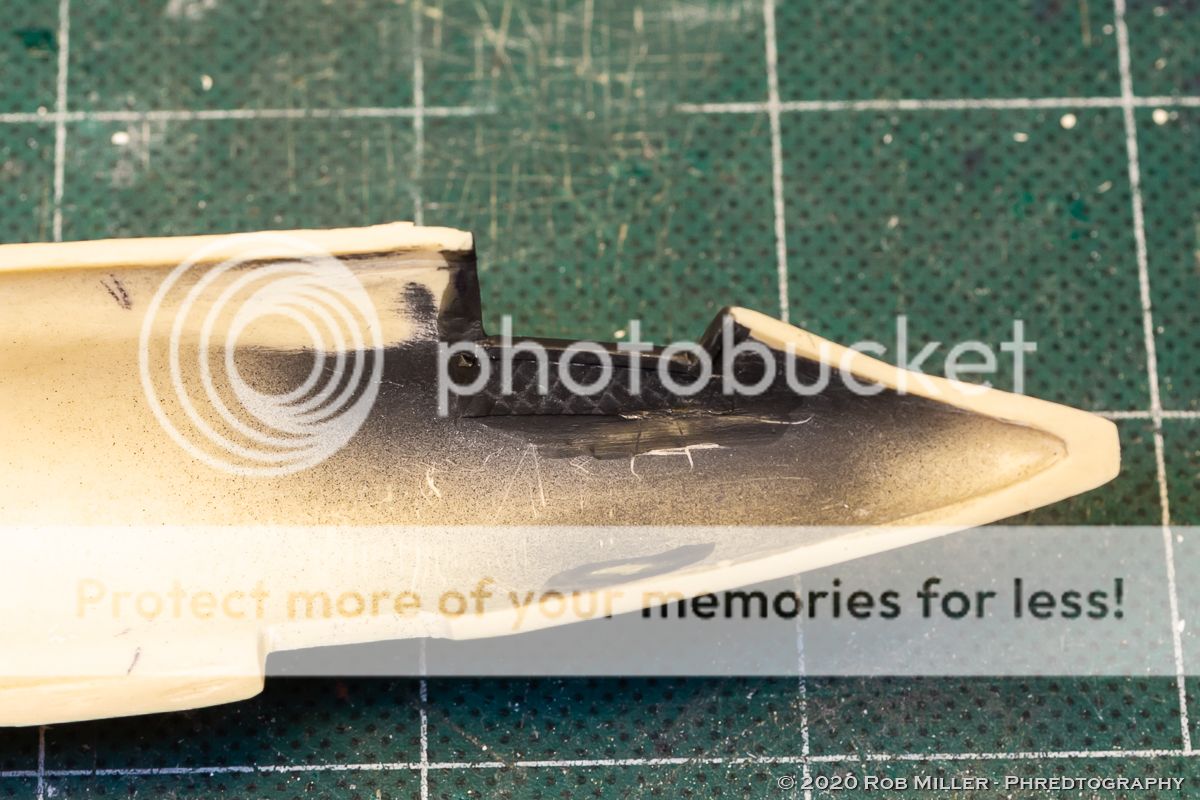
The main landing skid bay consists of…well…just a mounting plate for the white metal landing skid gear. So I boxed it in with Evergreen and putty to have a more positive location to mount it later. I don’t intend to detail it, there won’t be much to see.
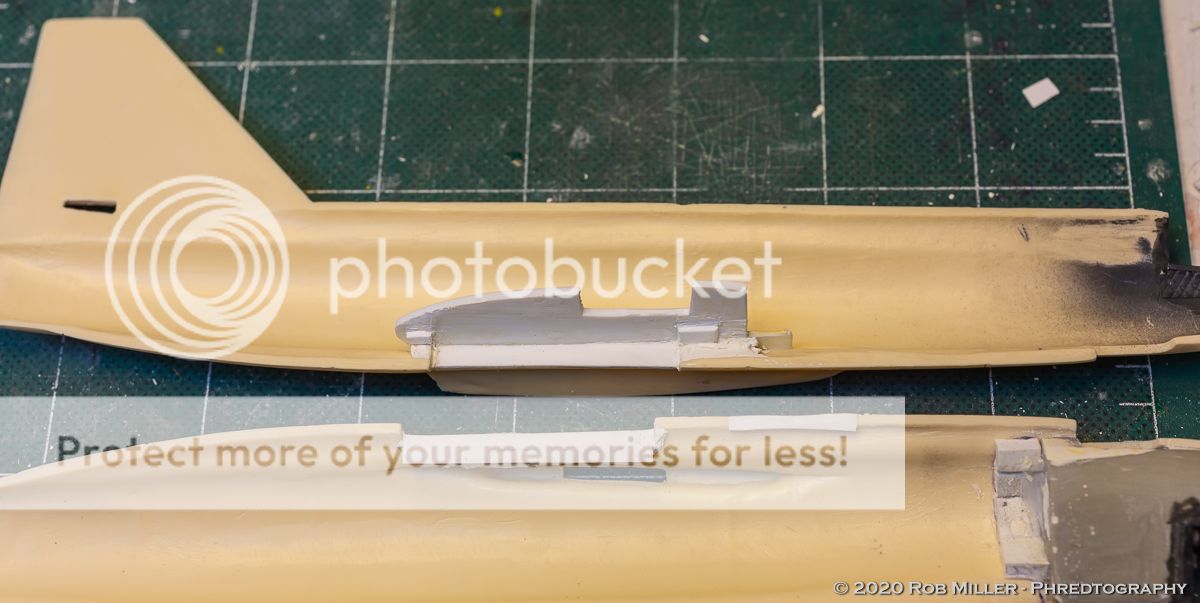
After closing up the fuselage and test fitting the wings I found that the wing roots were mismatched. Fantastic. One of my friends (h/t David Atkinson) aptly calls this manufacturer: "Fonderie Merde." If Monet's excuse for his paintings looking like they do was incipient blindness, I'm not sure what F-M's excuse is. <shrug>
So out came the saw and I gradually scored through the port side wing root/fillet.
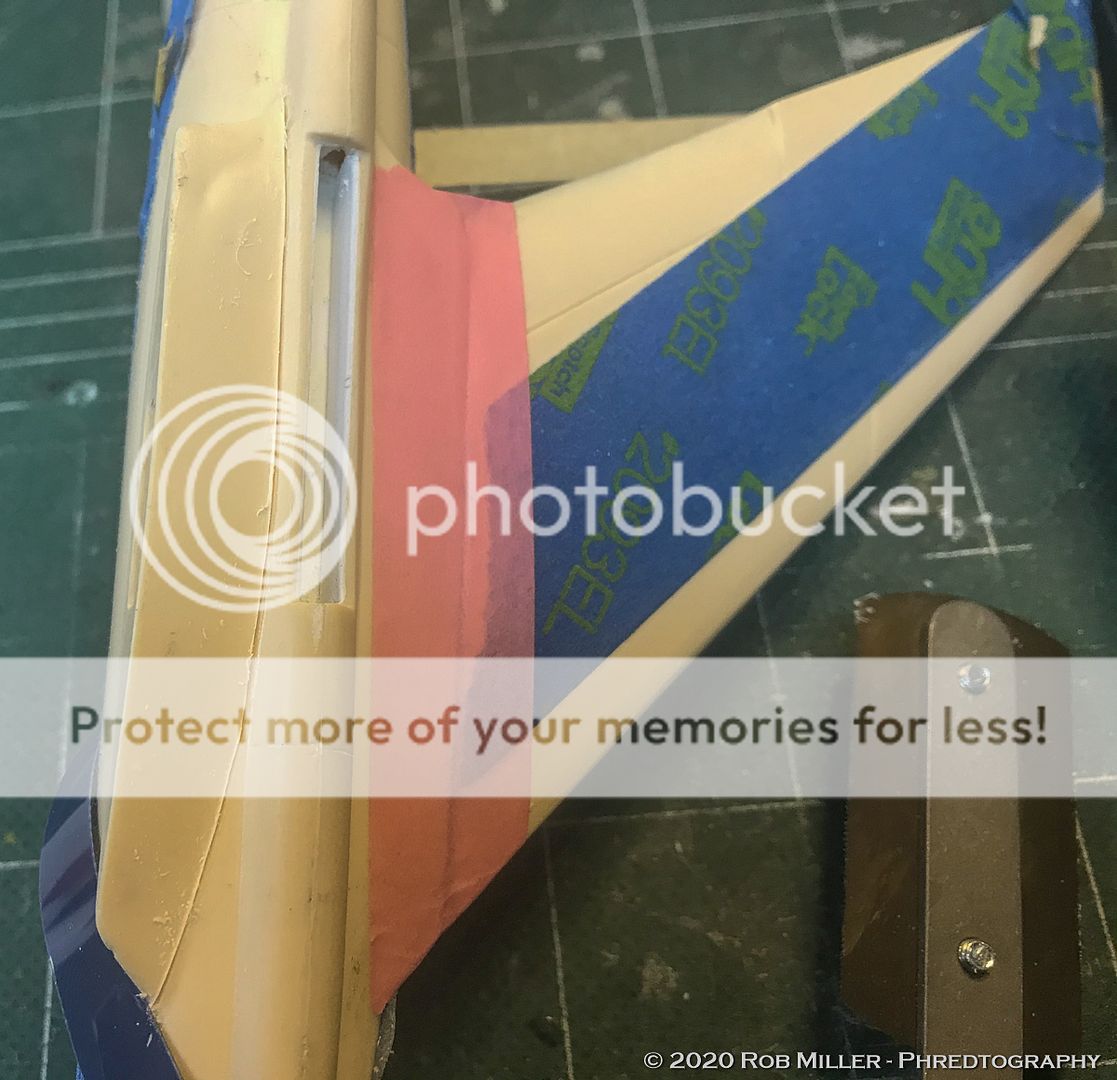
I re-located it further up the side, reworked the trailing edge with more Evergreen and applied Tamiya putty. Better.
How about the horizontal stabs, you may ask?
Err…umm...
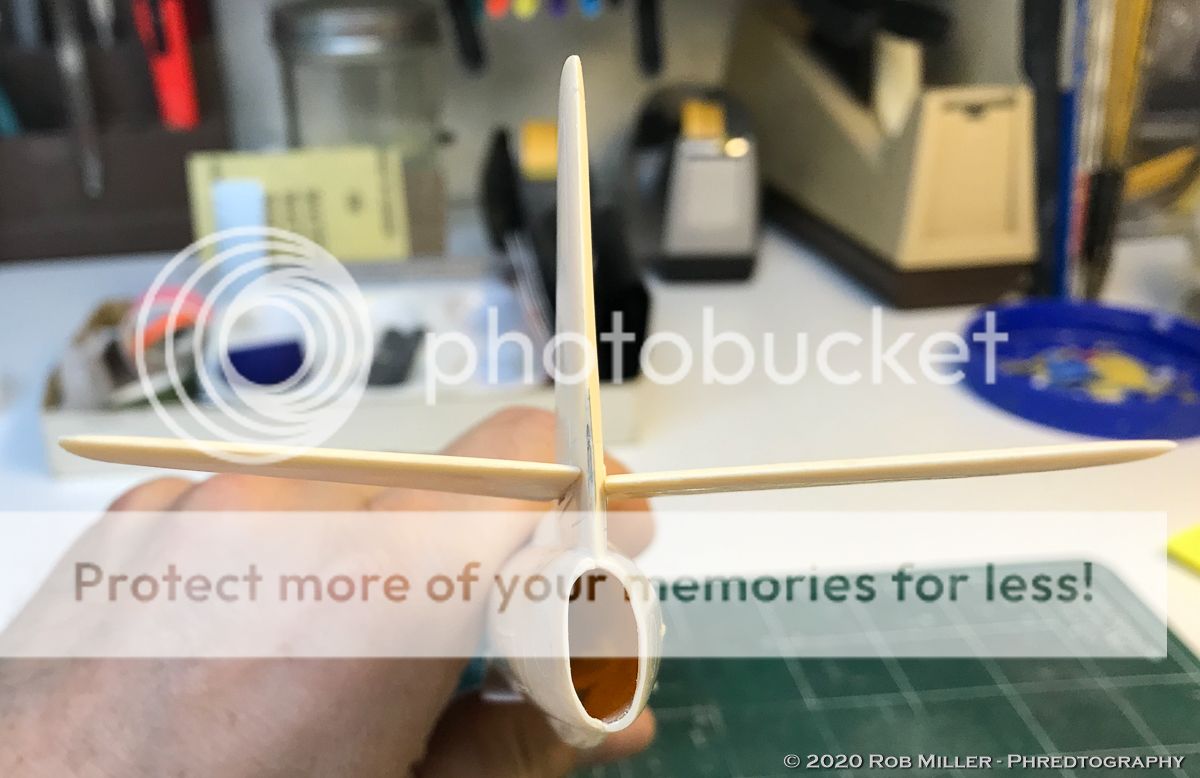
I reboxed this side with Evergreen shims to tighten things up and establish the position for the other side.
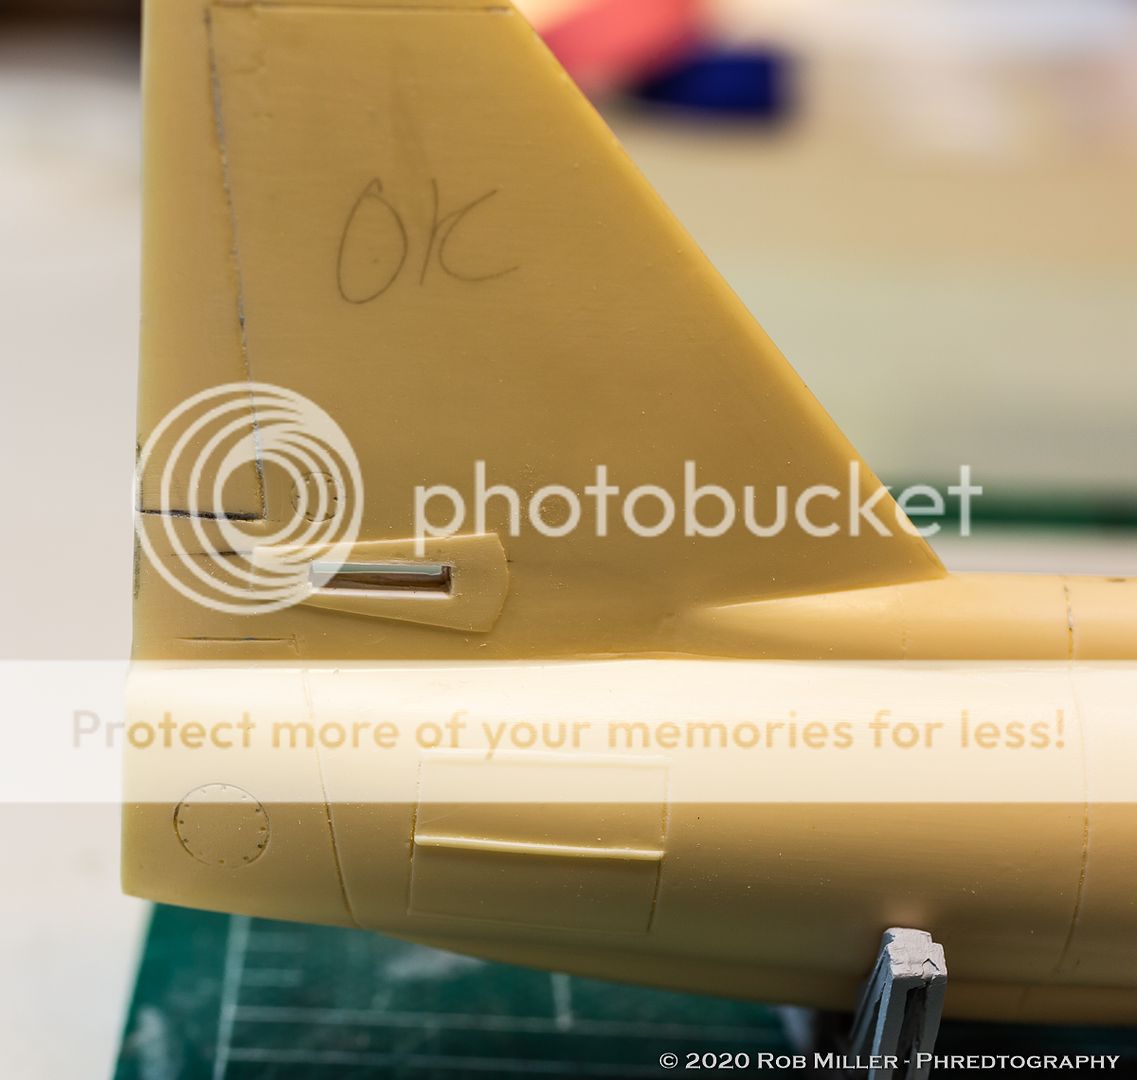
And opened this side up and re-positioned the mounting slot downwards with more Evergreen. You can see that the finish of the plastic is - what's a nice way to say this - scabby.
I'll toss this quickie iPhone shot in to illustrate the result. Much better.
-
I've had the RealSpace Models Block II in progress for a while now. I've had similar challenges, but it's better than starting from scratch...maybe.
Anyway, that's the delusion I'll operate under for the time being.
-
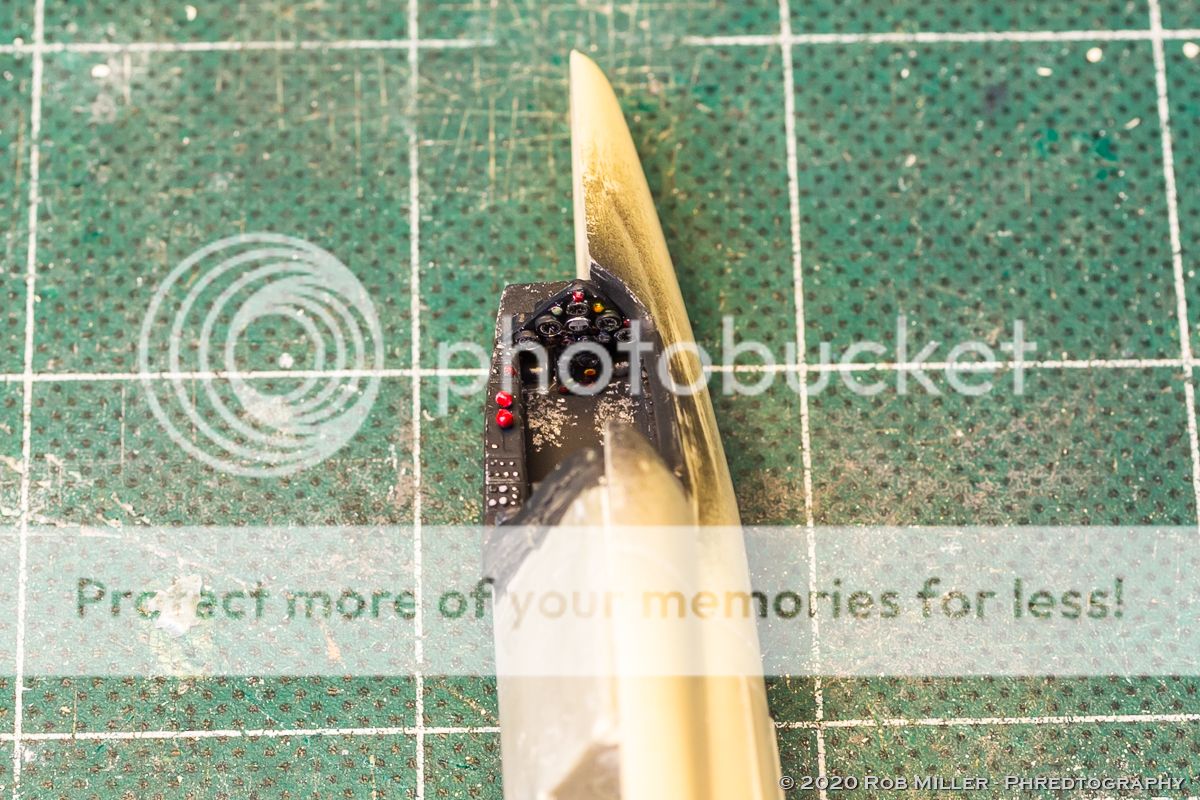
Once things looked busy enough I painted and installed the cockpit. I chopped up some thick Evergreen strip into blocks to establish its fore and aft position.
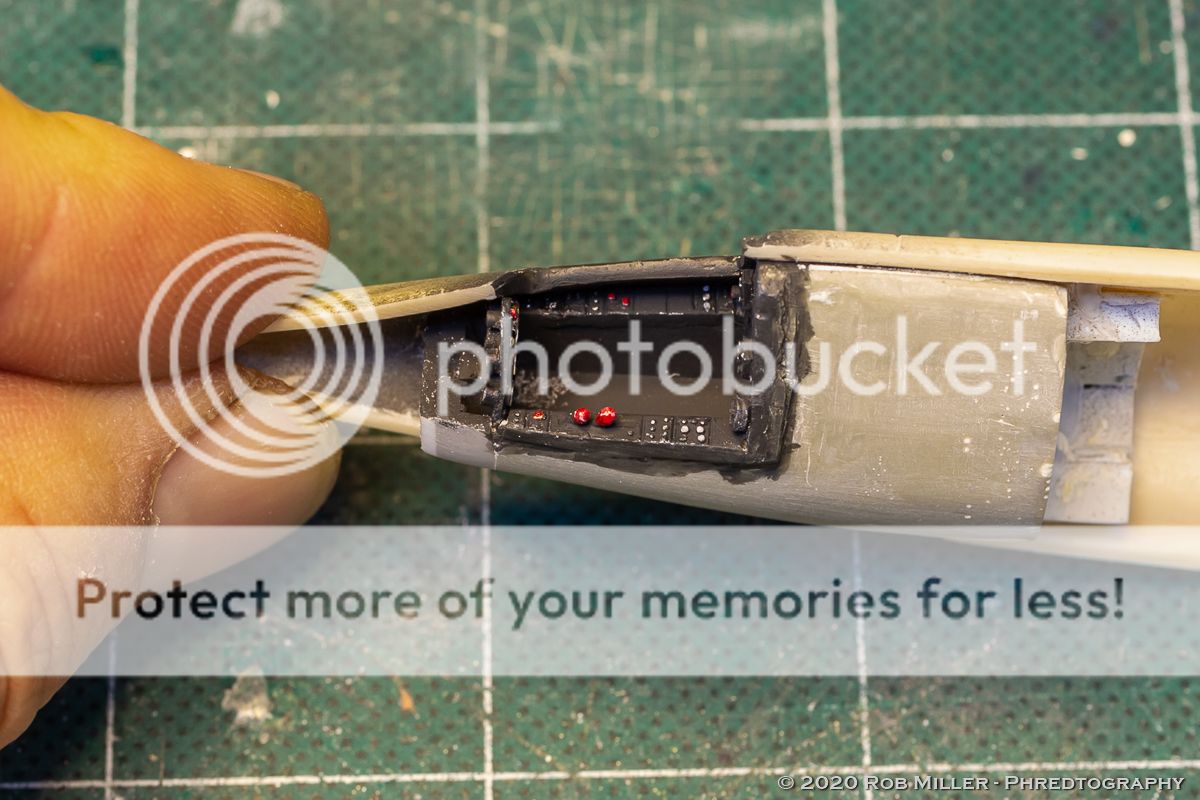
Things get hot at Mach 3. The sidewalls have quilted insulation that I simulated with wine bottle lead foil, embossed with the end of a rounded putty knife and washed with gray panel liner.
OCD pays off once again...
I had an acetate sheet from Eduard's Profipack X-1 that had unused instrument panels on it. I punched those out and applied them to the instrument faces with Future.
The cockpit was painted with Tamiya NATO black and details picked out in silver, yellow and red. I scuffed the floorboards with a Prismacolor silver pencil.
-
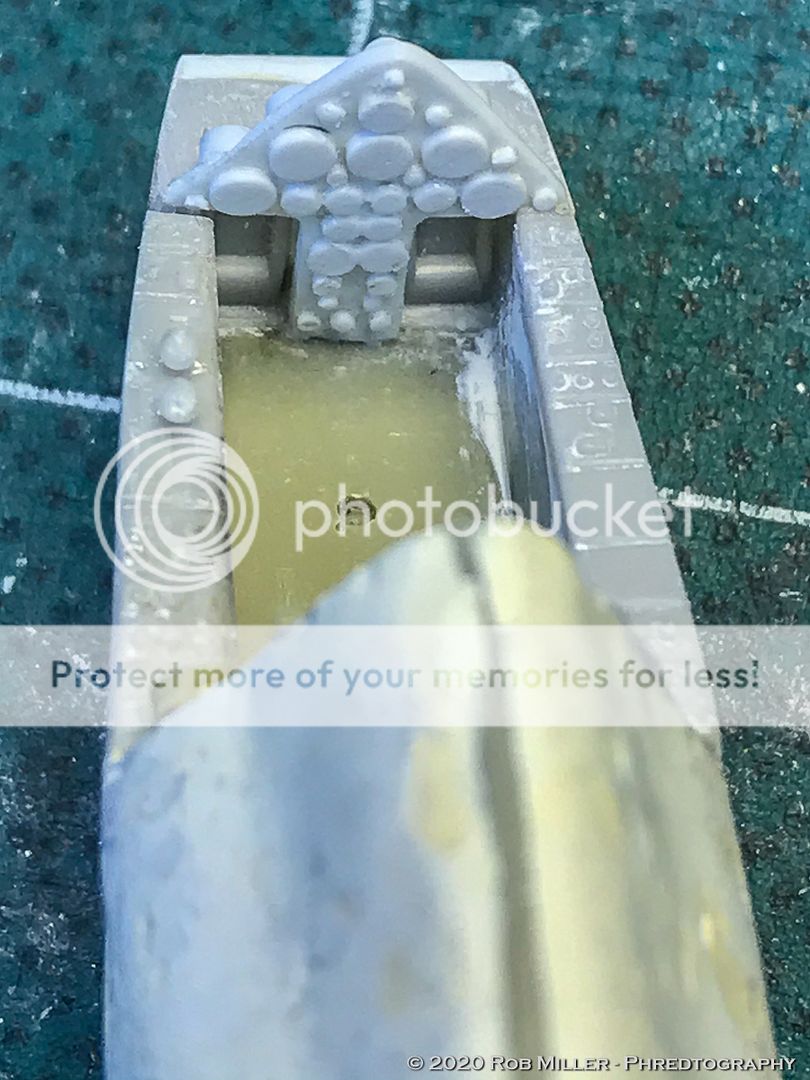
As always, it starts with the cockpit...
The cockpit tub detail is not exactly accurate and has only engraved details. If built all closed up one could get away with paint and cannibalized decals for the instrument panel, I suppose.
I didn’t like how the resin cockpit tub fit in the fuselage and used Milliput putty to bulk it out and close up some gaps in the nose wheel well.
I used the cockpit tub from the 1/48 Hasagawa F-104 to detail the left and right sides of the resin tub.
I fabricated a new instrument panel in styrene that better matched reality and went to town with the punch and die set.
I then used cockpit parts from the Trumpeter Vigilante and some A-10 Verlinden resin leftovers (super stinky resin!) to dress up the rear bulkhead. I also added the rocket engine "go-knobs" made up of styrene rod and gel CA glue. Slices of styrene rod were used for the rear face of the instrument panel. None of this may be visible in the end, but...new skilz!
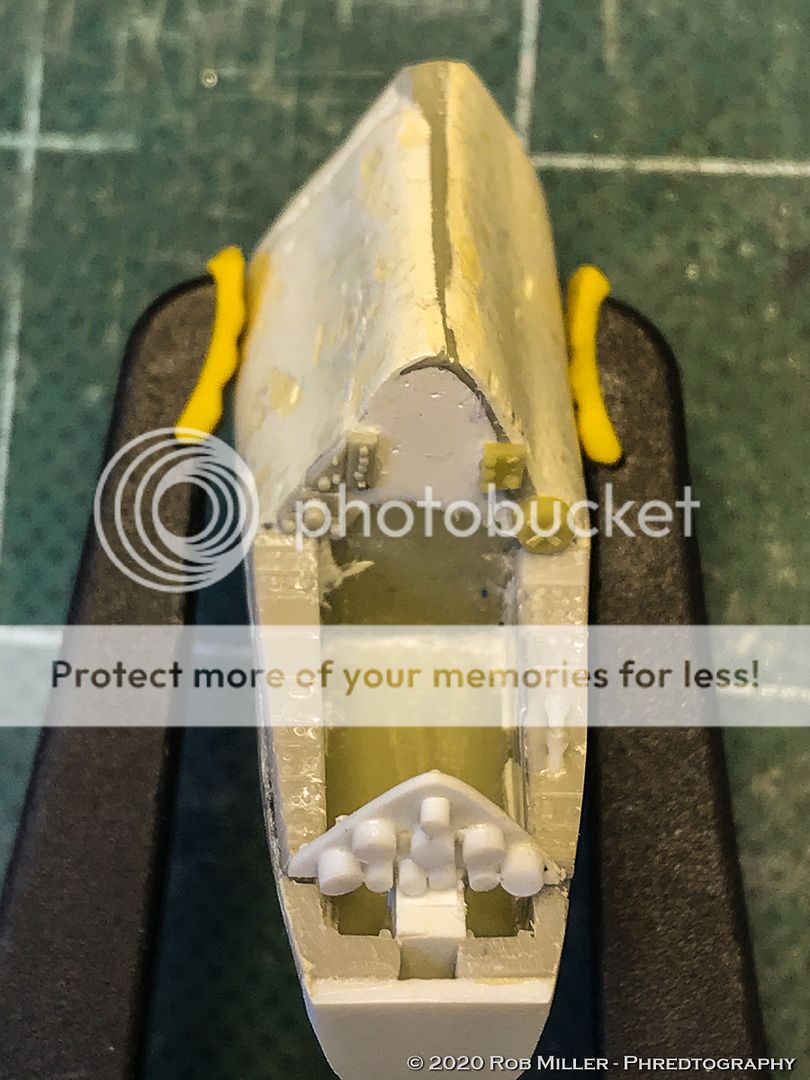
It needed rudder pedals so I stole the footbox from the F-104 tub, glued it on, blanked it out with styrene sheet and sanded it to shape.
-
I’ve always loved the muscle car looks of the tragic, short-lived Bell X-2 and decided it was time to pull the 1/48 scale Fonderie Miniatures kit from the shelf of doom. It landed there years ago after I did some “reconnaissance in force" style preliminary construction. As often happens, I found myself stumped on which version to build and how to address its (many) flaws or omissions.
As time passed, I picked up Cutting Edge’s excellent decal sheet and more references became available. Why only have one “sow’s ear” project going when one can compound the pain?
As delivered, the kit depicts the early version of the X-2, but I wanted to build a late version with the rocket nozzle extensions. Once I figured out how to fabricate the nozzles it was time to get going.
The initial posts will chronicle progress to-date and I'll pick up with contemporary updates once I've escaped the rubber room of AMS.
What do you get?
- Injection molded airframe
- A resin cockpit tub
- A featureless white metal instrument panel
- White metal ejection seat and control stick
- 2 Vacuform canopies
- White metal nose gear and wheel
- White metal pitot tube
- White metal landing skid
- White metal whisker skids
- White metal rocket exhaust bulkhead
- White metal towing cradle with resin wheels
Plan of Action
- Detail the cockpit – guided by references and Shepard Paine creative gizmology.
- Make the canopy removable.
- Fabricate rocket nozzle extensions.
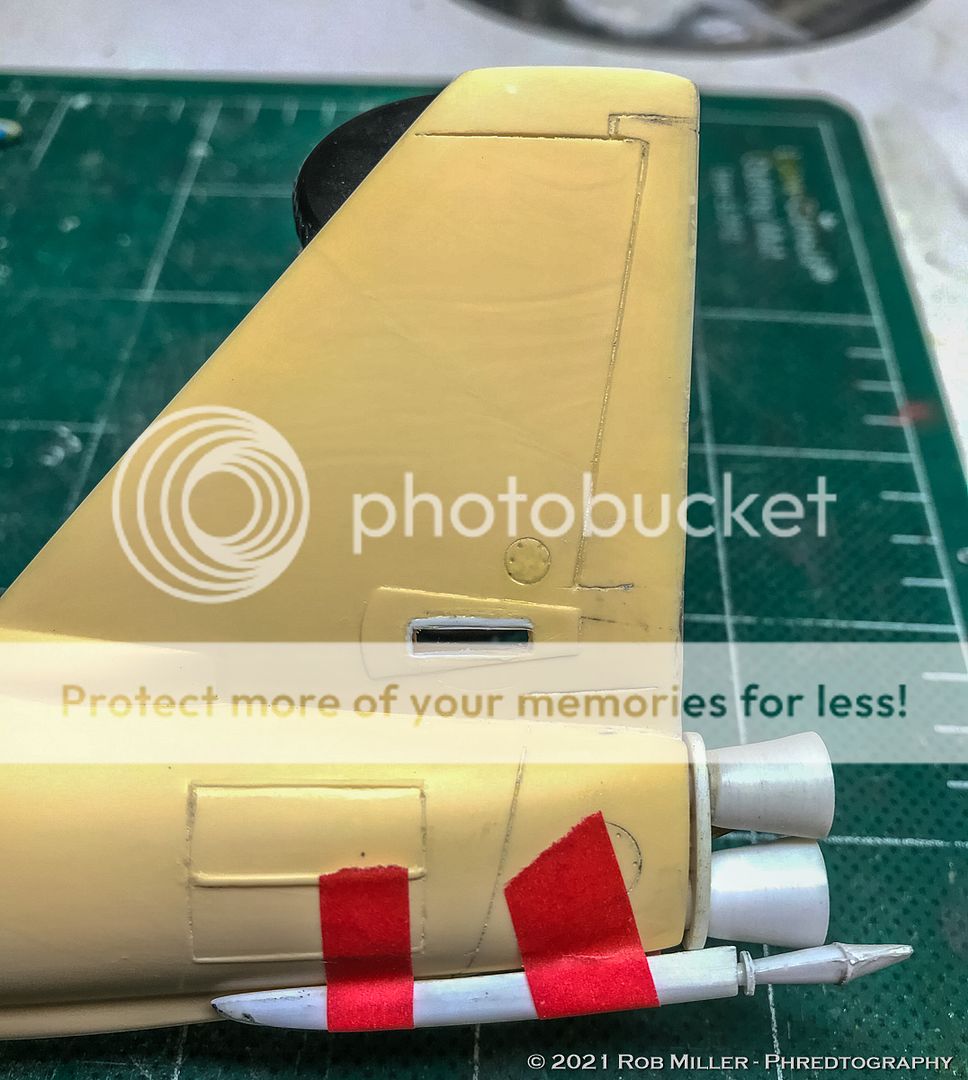
- Add missing fairings, lines and exhaust ducts to the tail area.
- Thin the trailing edges, but preserve blunt aileron trailing edges.
- Box in the landing skid bay, adjust the geometry of the landing skid.
- Fair in the wing-mounted whisker skids (they were found unnecessary once the main gear was shortened).
- Reshape, smooth, re-scribe as necessary.
- Scheme is still TBD, but I'm leaning towards how it looked prior to Mel Apt's flight.
-
1 hour ago, Peter Browne said:
They do have some nice kits. I am particularly tempted by their 1/24 Voyager At the moment though, I'm awaiting their drawing set for the Mercury capsule for modelling in SolidWorks. I have the NASA plans but not detailed enough, low resolution and no dimensions.
BTW, for those doing the 1/72 Dragon Saturn V, Real Space have batted bells that look OK.
Yeah, the David Weeks drawings are the bees knees. Whether one uses them for a project or just to “nerd out” on.
Some kits need more work than others. Mostly due to manufacturing (tired molds or other issues). So far the MR was the most trouble free.
-
2 hours ago, jonwinn said:
In my 57 years of modelling I have NEVER heard of a RealSpace brand. You learn
something new everyday. jon
I’ve built 4: Mercury-Redstone, Mercury-Atlas, Gemini-Titan II (all in 1/72) and Saturn IB (1/144). The Saturn is the most multi of multi-media kits I’ve ever built (resin, brass tubes, styrene strips, white metal, photo etch).
I’ve got their Saturn I Block 2 and progress and other launch vehicles and correction sets in the stash.
-
Here’s another question re: appropriate subjects in this forum. What about NACA/NASA rocket planes, lifting bodies or other non-jet research vehicles?
To my mind they’re closer in “flavor” to this forum than in Jet Modeling.
Thoughts?
-
Wowzers!
That is the "busy-ness!"
-
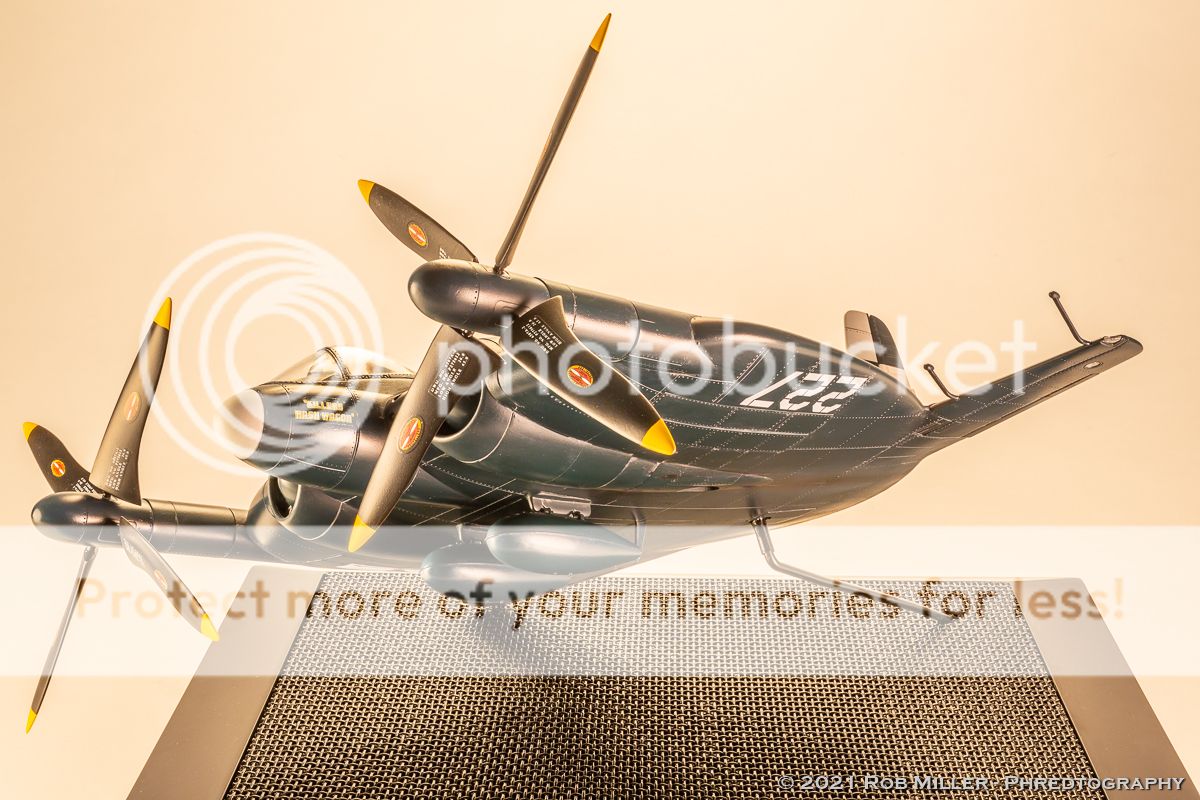
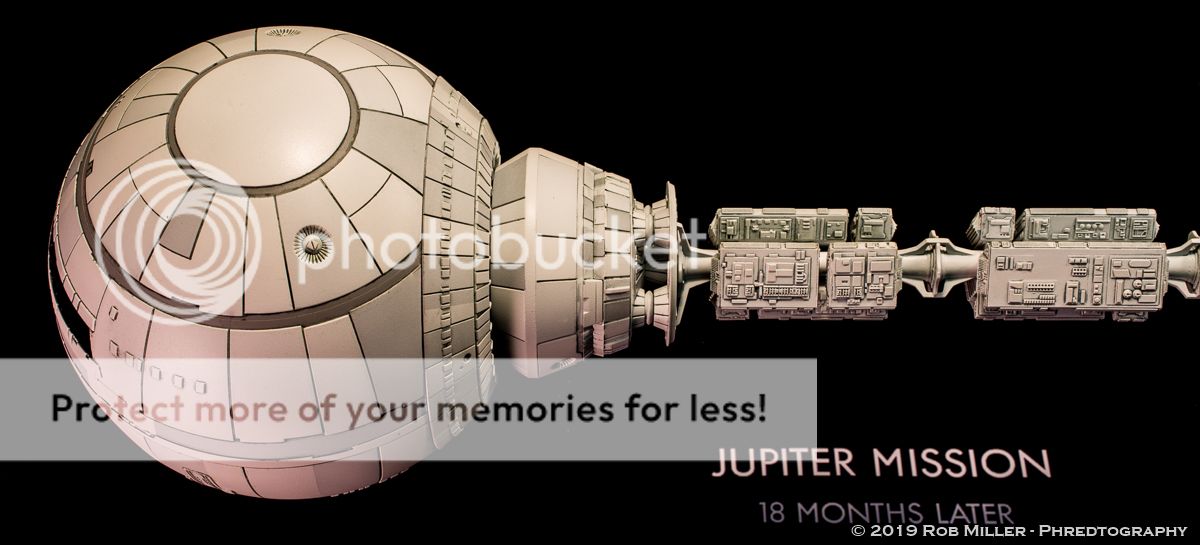
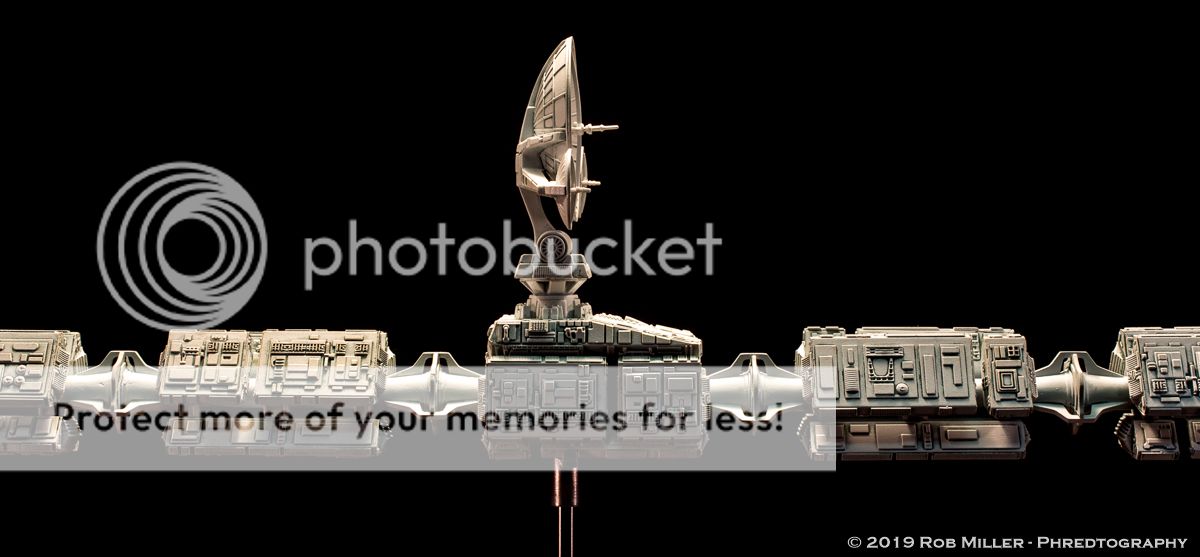
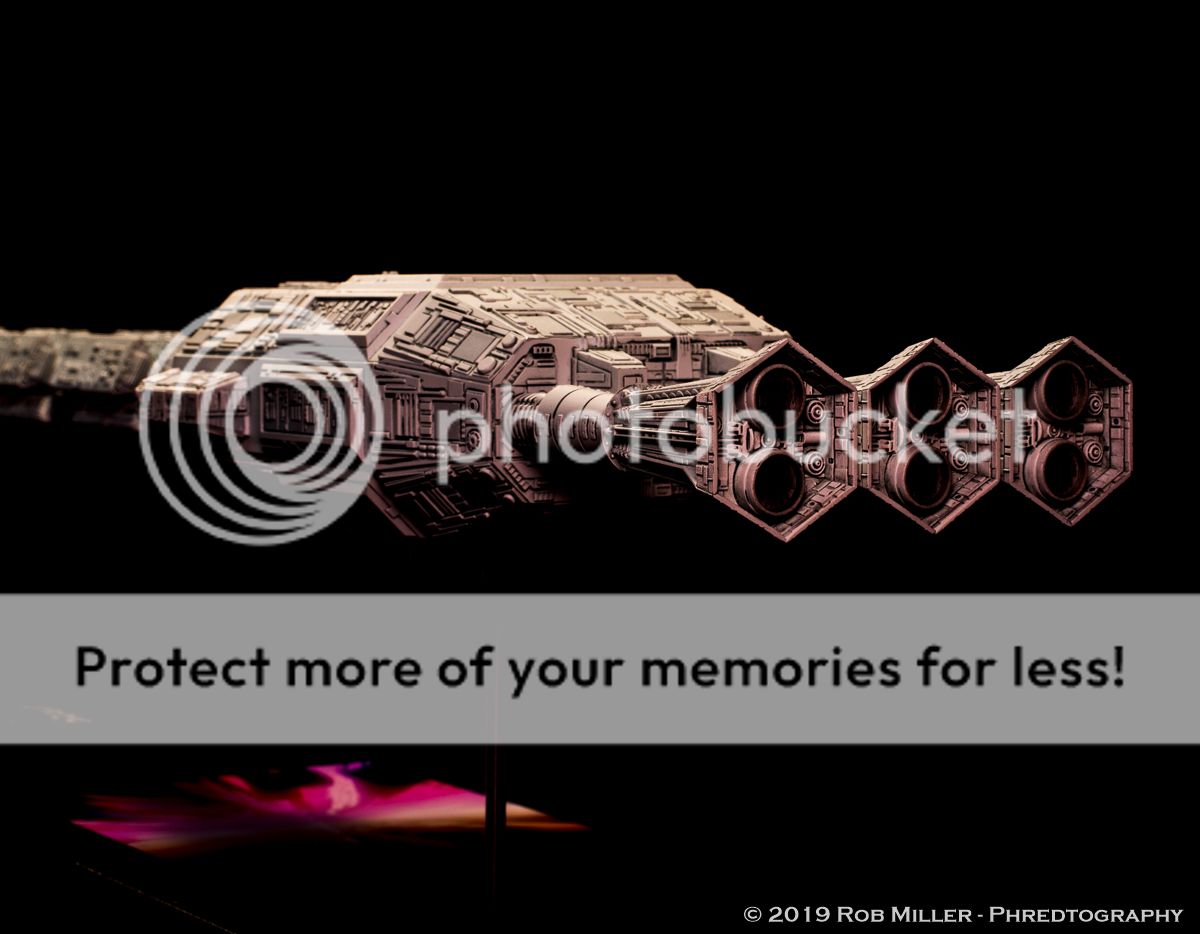
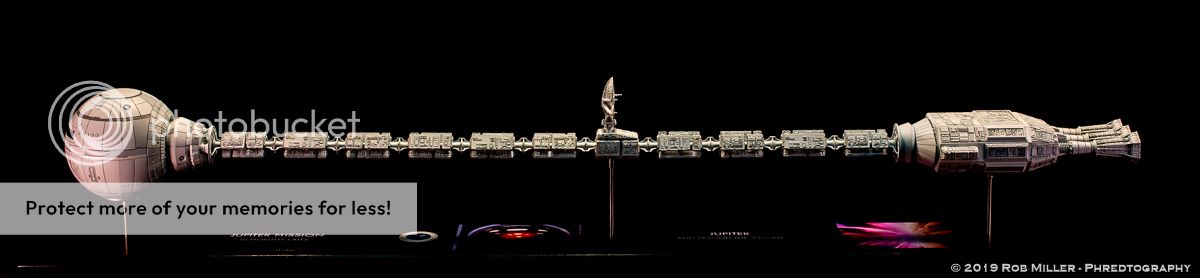
And, finally, my ode to Stanley shots....
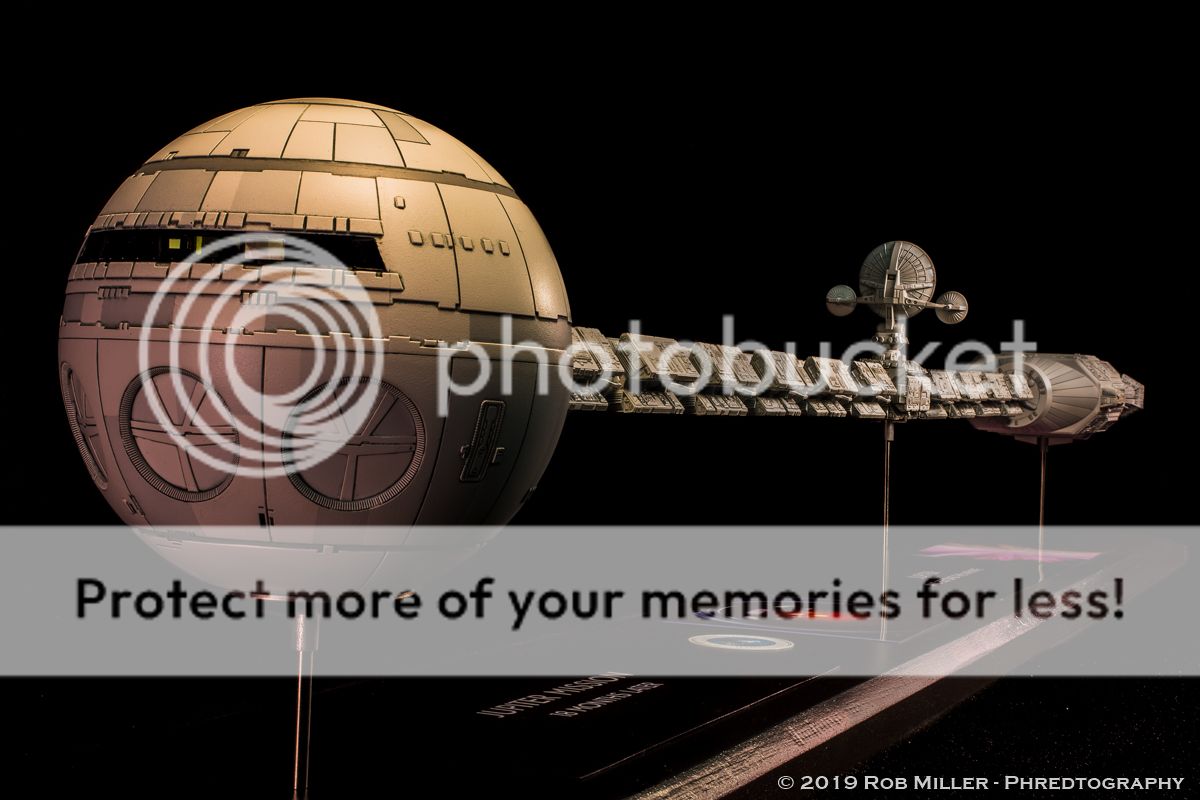
And rear to front...
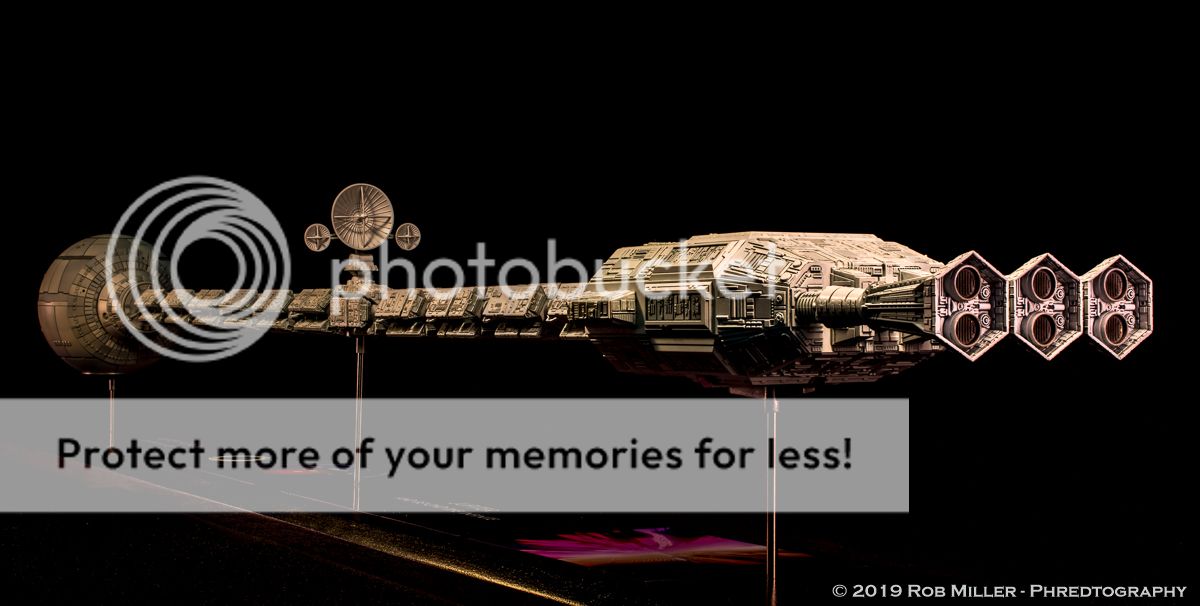
Thanks for tuning in!
-
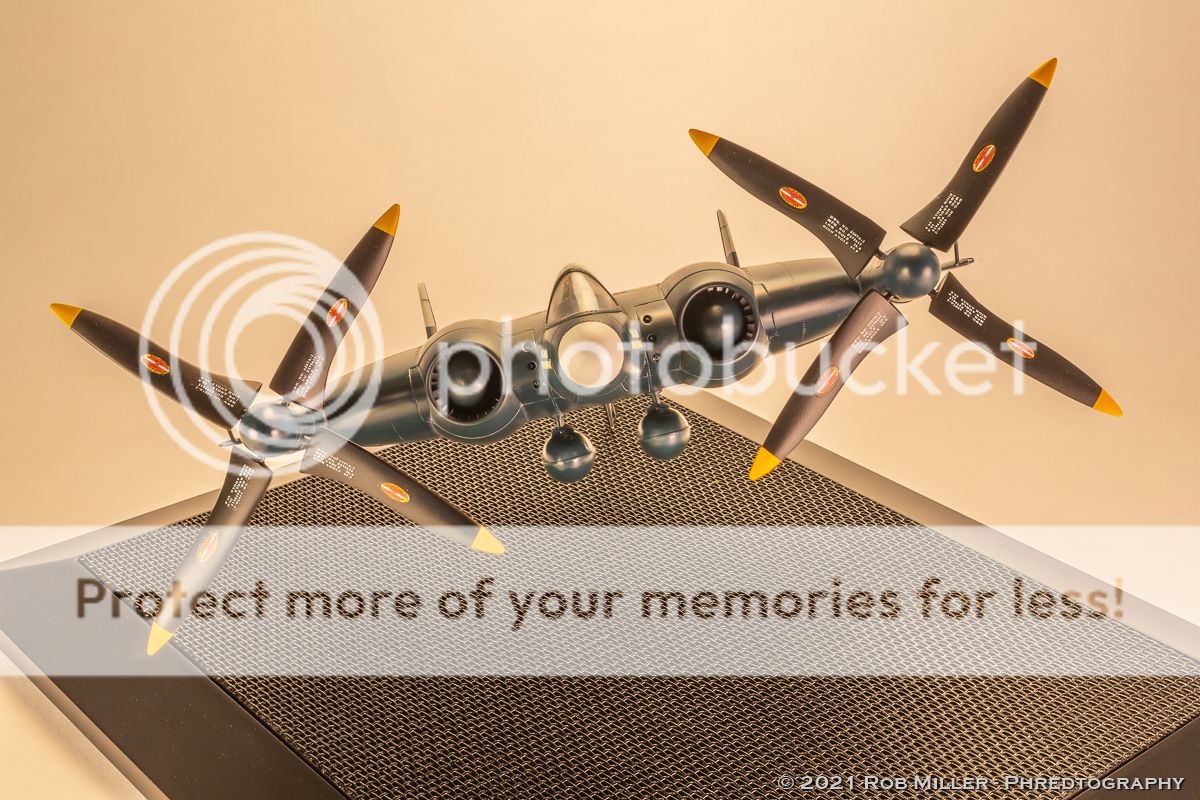
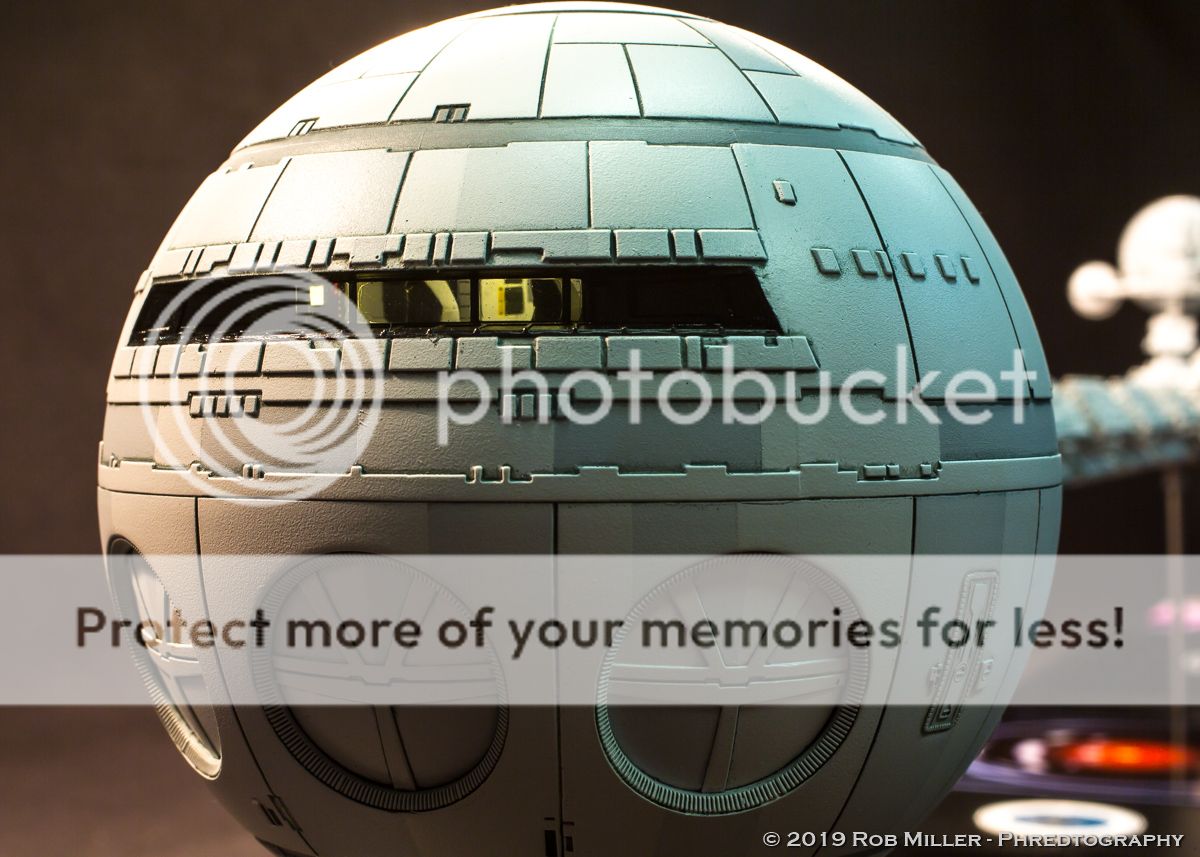
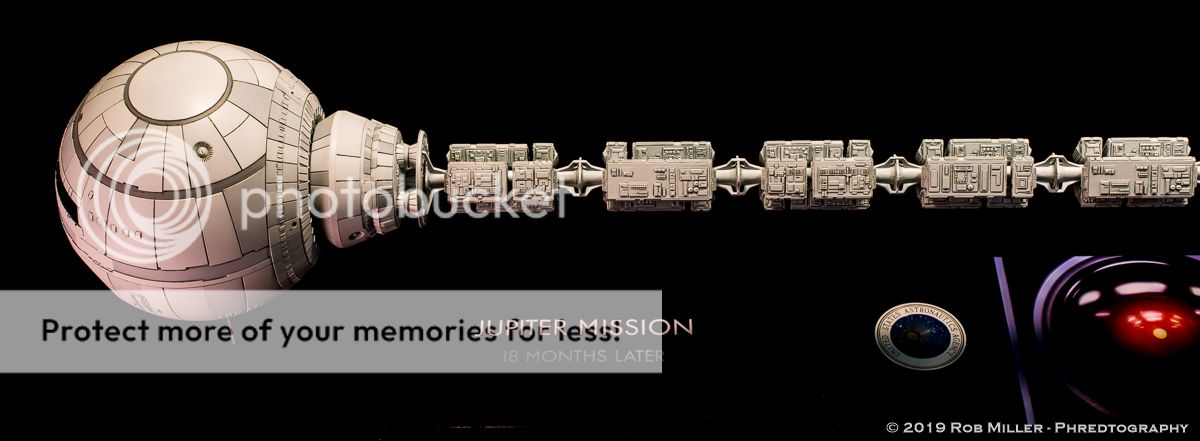
A details fly by...
Please forgive the "Here's Uncle Ted in front of the house...here's Uncle Ted in front of the house, but you can see the side of the house" nature of this scroll violation. 😉

-
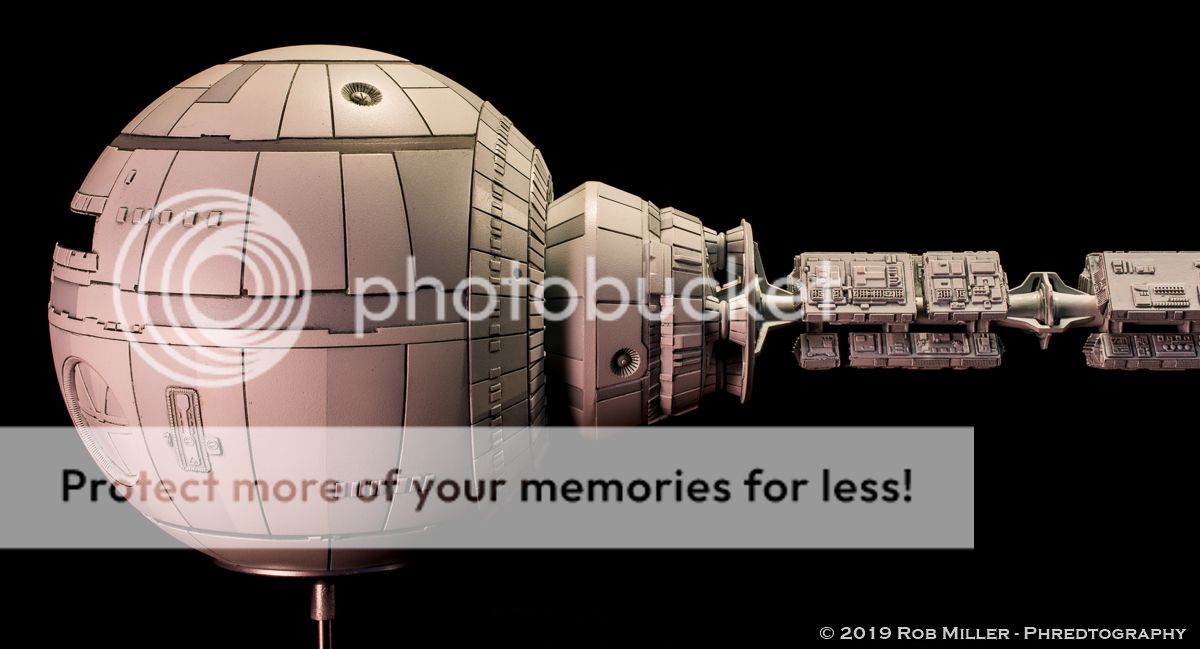
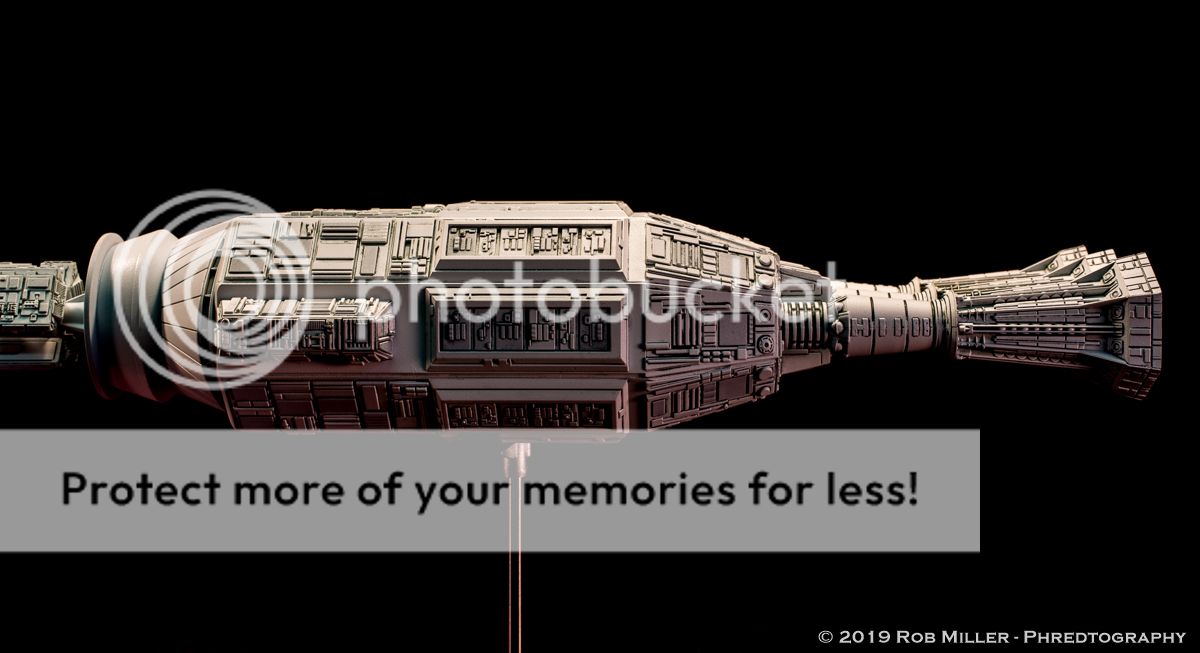
Slightly elevated side view.
Elevated front third. I took screen caps from the DVD and used my photo printer for the images. The United States Astronautics Agency badge is from the Paragrafix photo etch.
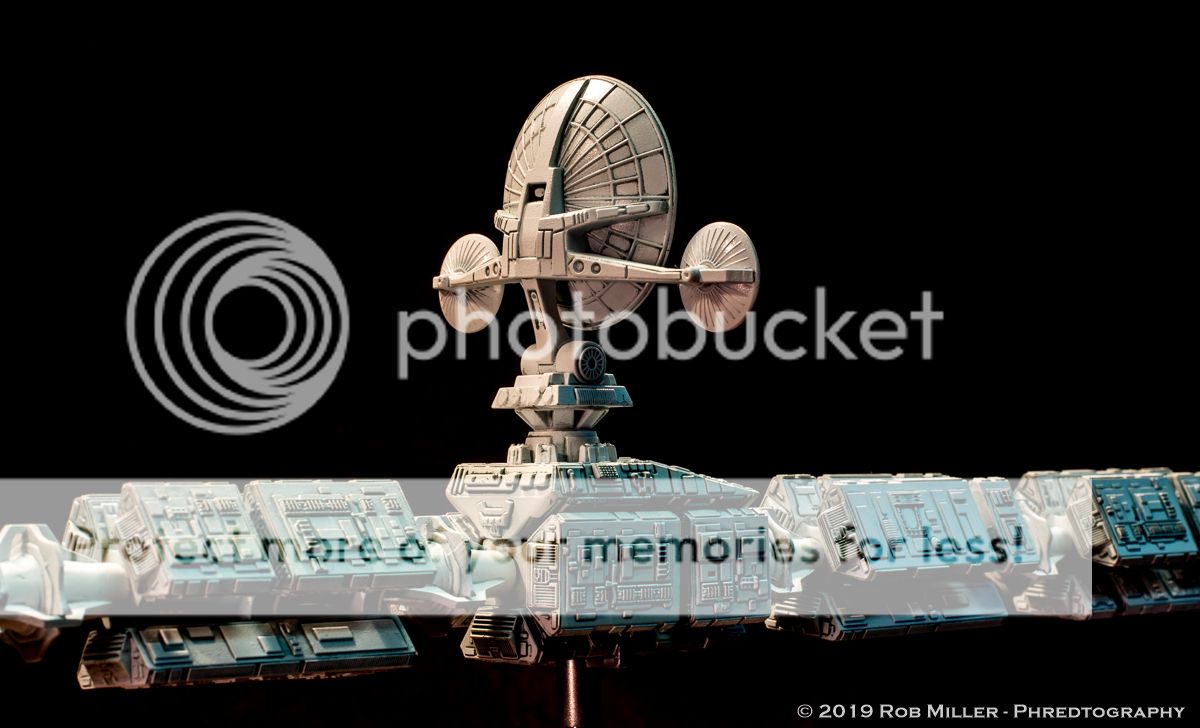
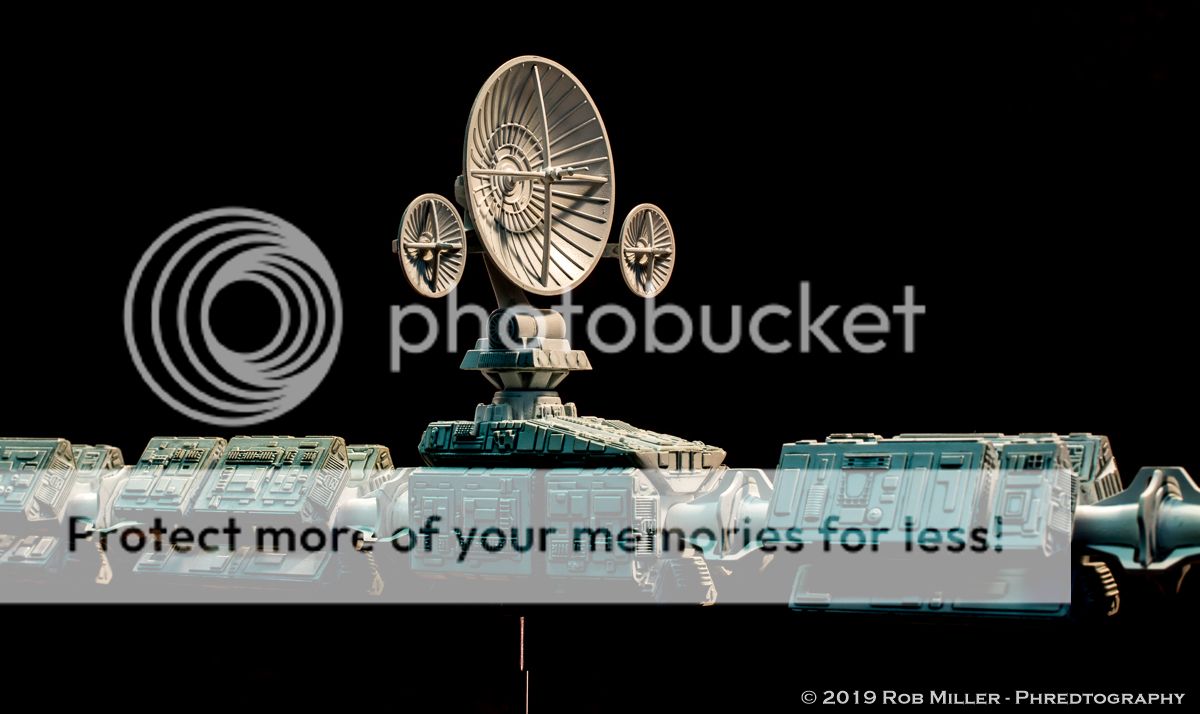
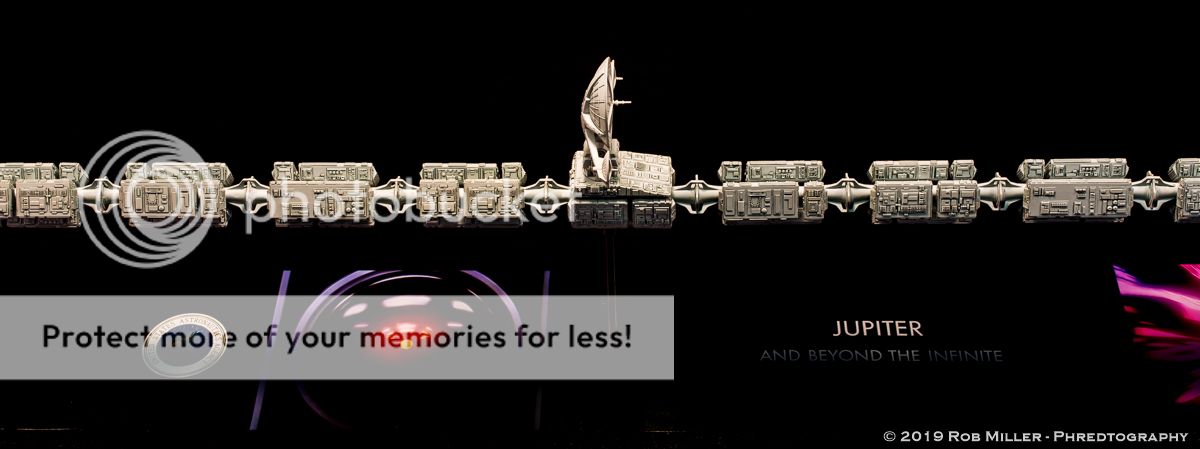
The middle with that pesky communications unit.
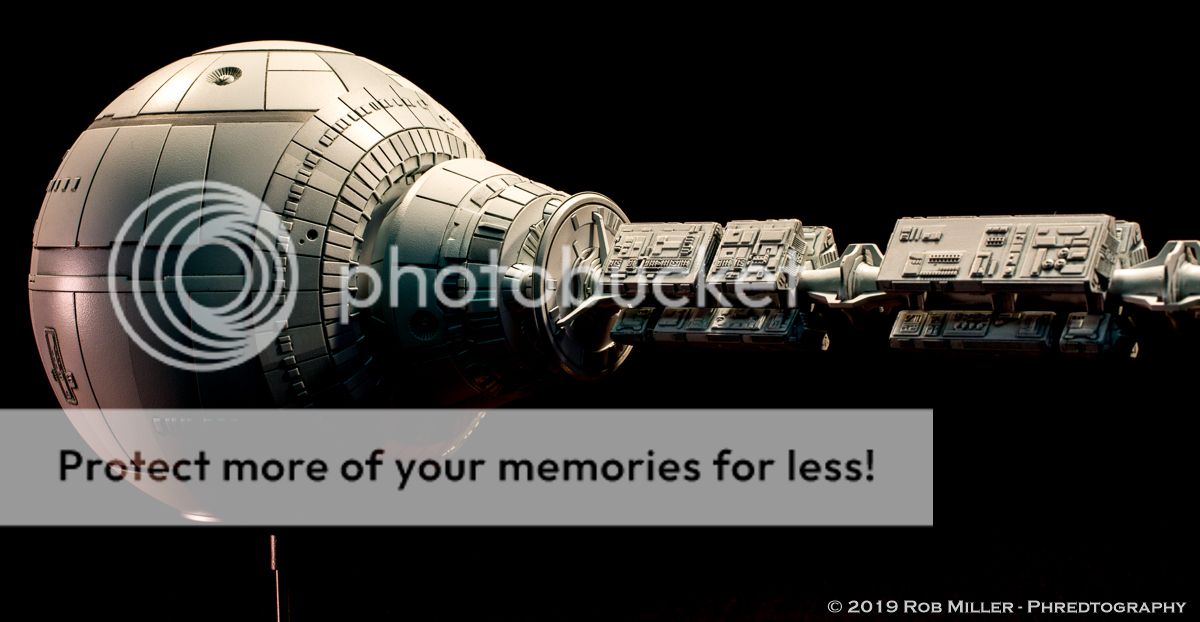
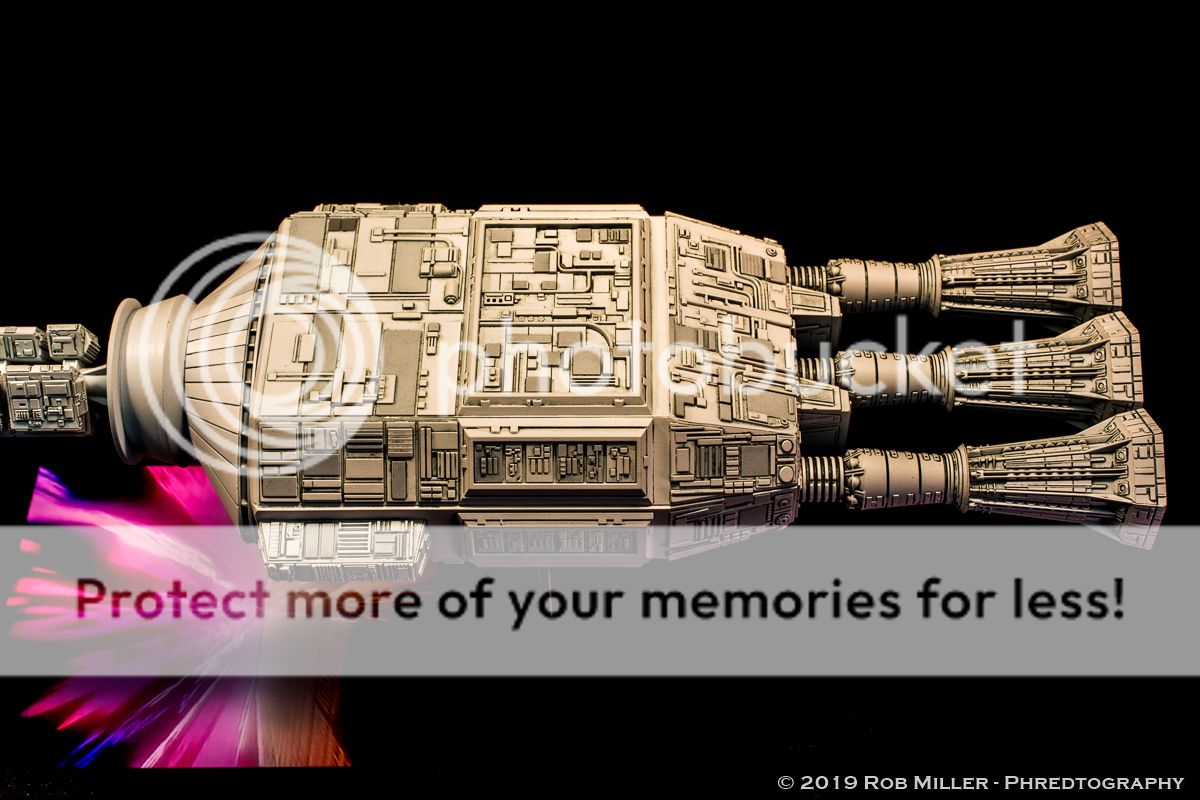
Elevated view of the rear third.


Chance Vought XF5U-1 - Kitty Hawk
in The Display Case
Posted
Thanks! It was not exactly the "slammer build" I was looking for - because Kitty Hawk. But it was liberating nonetheless.