


Barneydhc82
-
Content Count
1,721 -
Joined
-
Last visited
Content Type
Profiles
Forums
Calendar
Posts posted by Barneydhc82
-
-
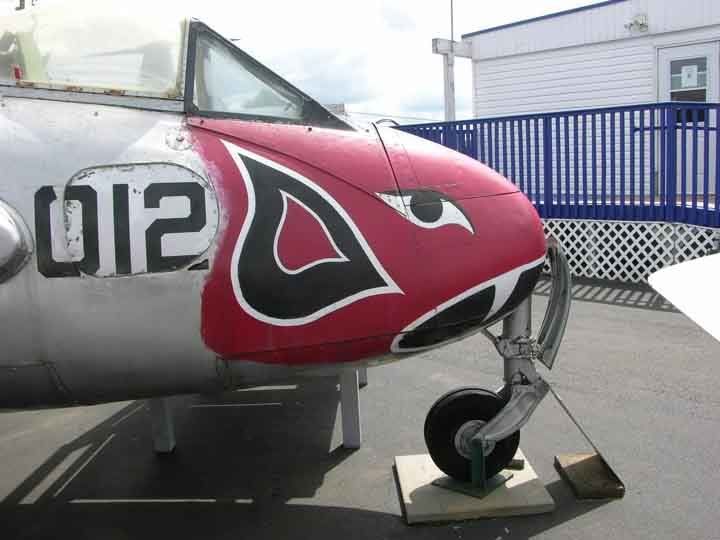
When 421 Sqn moved to England it was equipped with MkVs on loan from the RAF but the MkIIIs were bought by Canada for the Reserves
Currently undergoing restoration at Langley, BC
Barney
-
Just a wee critique if I may..what you have is a MkV..but the RCAF Reserve aircraft were MkIIIs;note the wing tips on the RCAF birds were rounded not squared off.
Barney
-
I flew Fleet Canucks out of "Malton" and Toronto Island in the mid 50s...can you imagine flying out of there today with no radio and no Mode C transponder?
Oh the good old days of aviation
Barney
-
My Iwata Revolution handles Alclad II just fine. There is no need to buy a SA A/B for this product
Barney
-
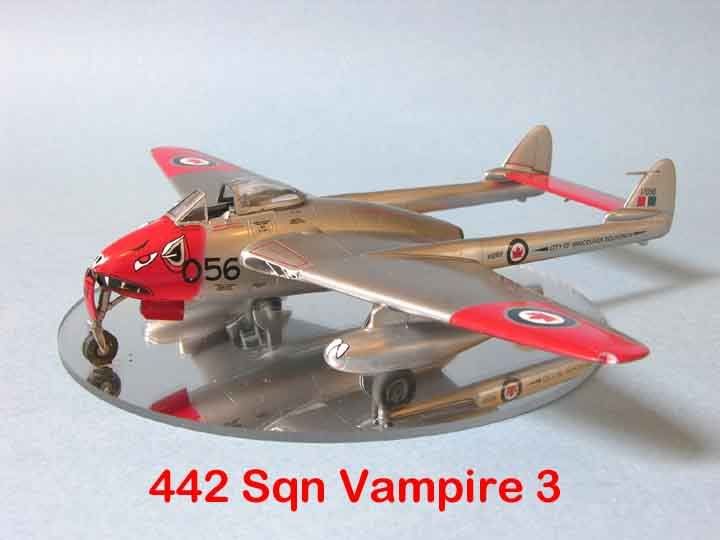
The CA Vampire was a bit of a beast to build but with a little effort and Crown Royal...well not a show stopper but not bad.
Barney
-
Historically speaking...It was Royal Canadian Air Force pilots and ground crew of 127 Wing RCAF who developed the "Beer Wagon" modification on Johnny Johnson's backup aircraft


Barney
-
Scratch-built in 1:32 scale from drawings and measurements of the real thing. Fully electrified with all lights, motor and sound
Barney
-
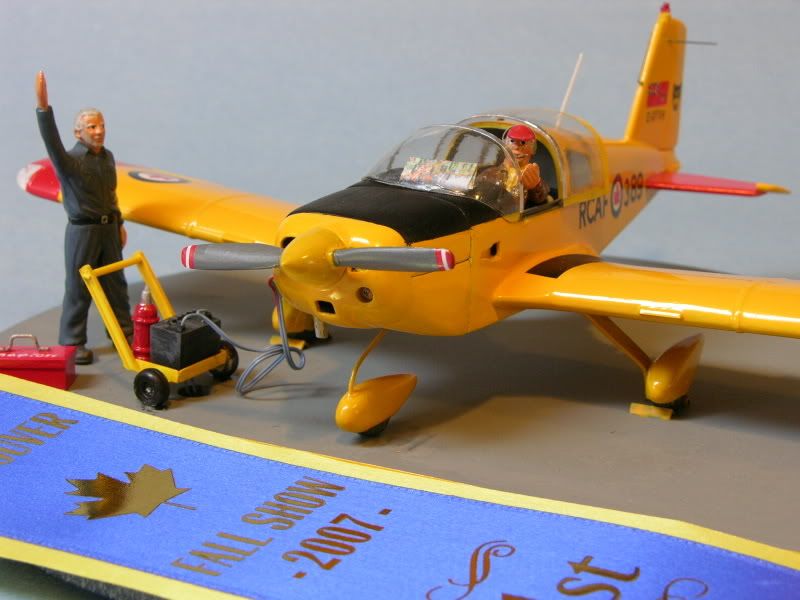
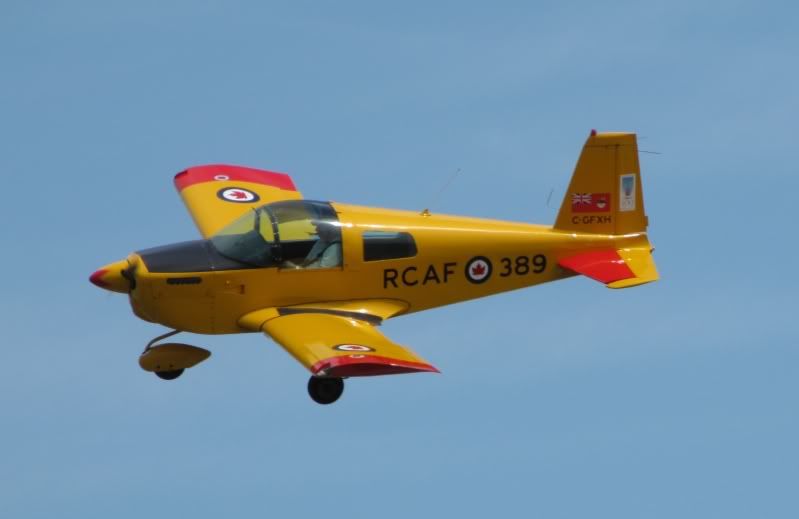
Grumman also built light aircraft for a while, like this "Alley Cat" of mine.
Barney
-
I'm waiting for a -B as well, having flown the Albert. It was an -A but owned by a friend in Vancouver.
Barney
-
Thanks guys..found some on Saturday at a small hobby shop in Langley
Barney
-
Tom and Frank: Thanks very much for the tips.
Barney
-
Thanks for the info..I'll pick up some Model Master today as Xtracolor is not readily available
Barney
-
I'm building a very old Boeing 737-200 in CP Air "Orange Peel" livery and would like to know what is a good match for the Grey paint used on the wings and horizontal tail???
TIA
Barney
-
It has probably been discussed before, many times over but can anyone suggest a match for the Grey colour paint on the wings and horizontal tail????
I'm building a B737-200, CPAir "orange Peel" for a retired pilot and would like to do it right
TIA
Barney
-
Beautifully done. Now if you had finished it as 140118, you could have done the underwing markings as RCAF 118. Yes the last CP-140 off the line was jokingly finished like this and the CO of 407 Sqn left it that way until it was repainted in the boring grey.
Barney
-
Very nicely done! The level of detailing is fantastic.
Barney
-
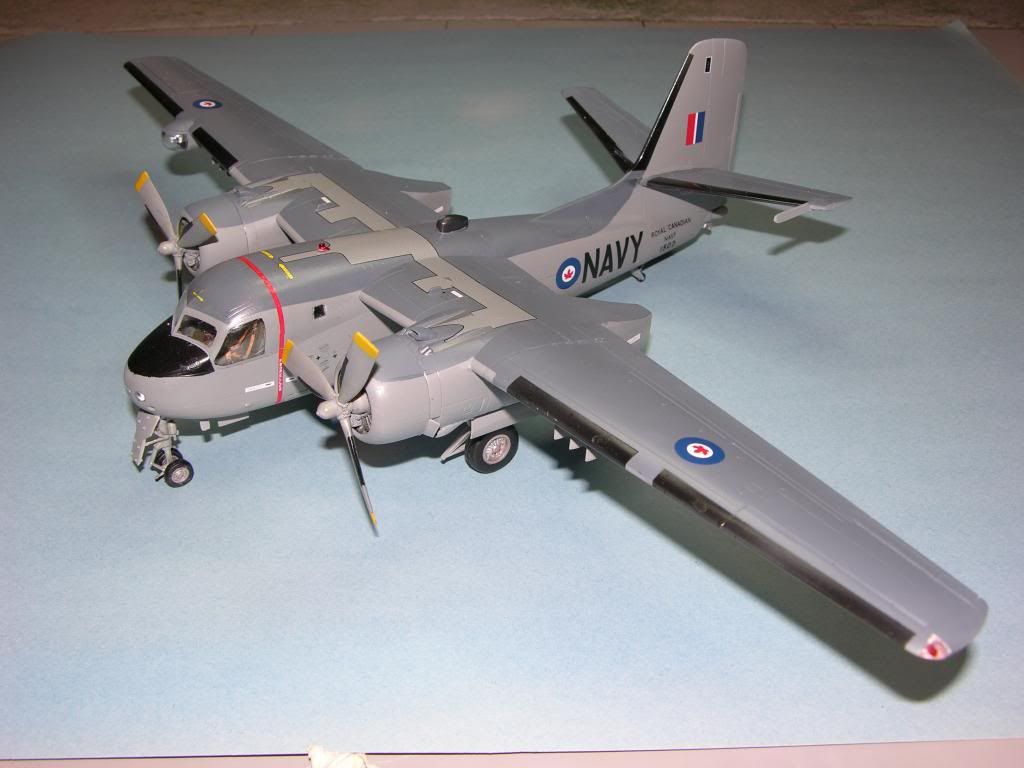
My back-dated CS2F-1 with Belchers Bits and decals. No tiny top-side antennae due to diminishing vision and arthritic hands
Barney
-
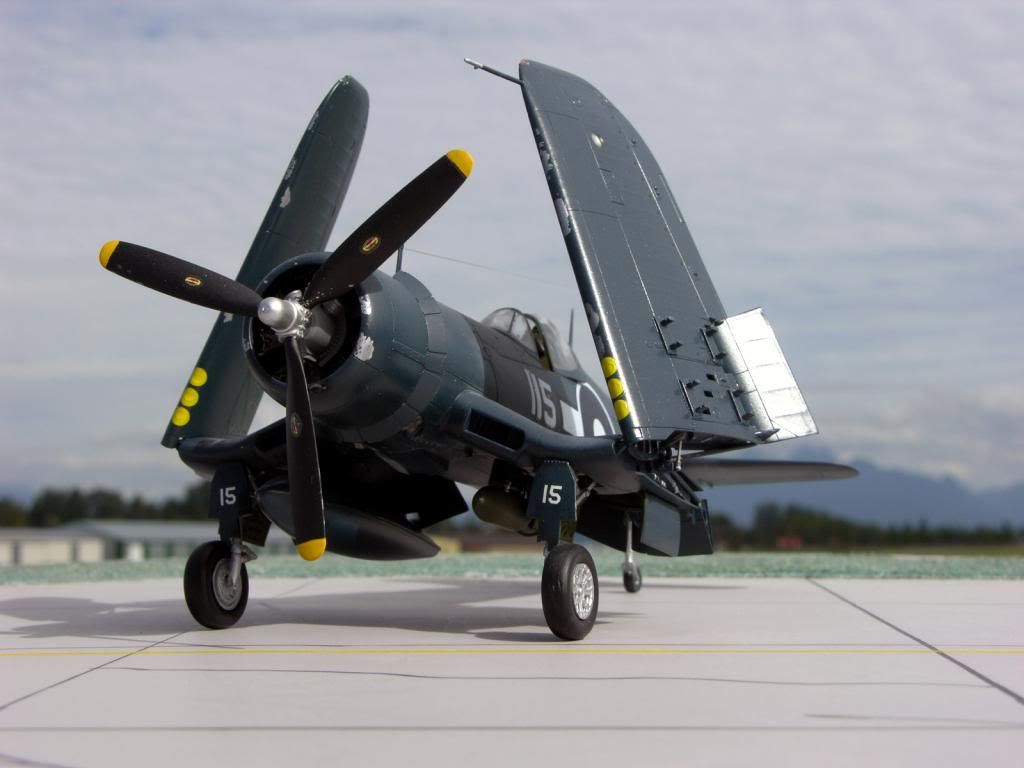
Same kit, same decals..got the T-shirt
Barney
-
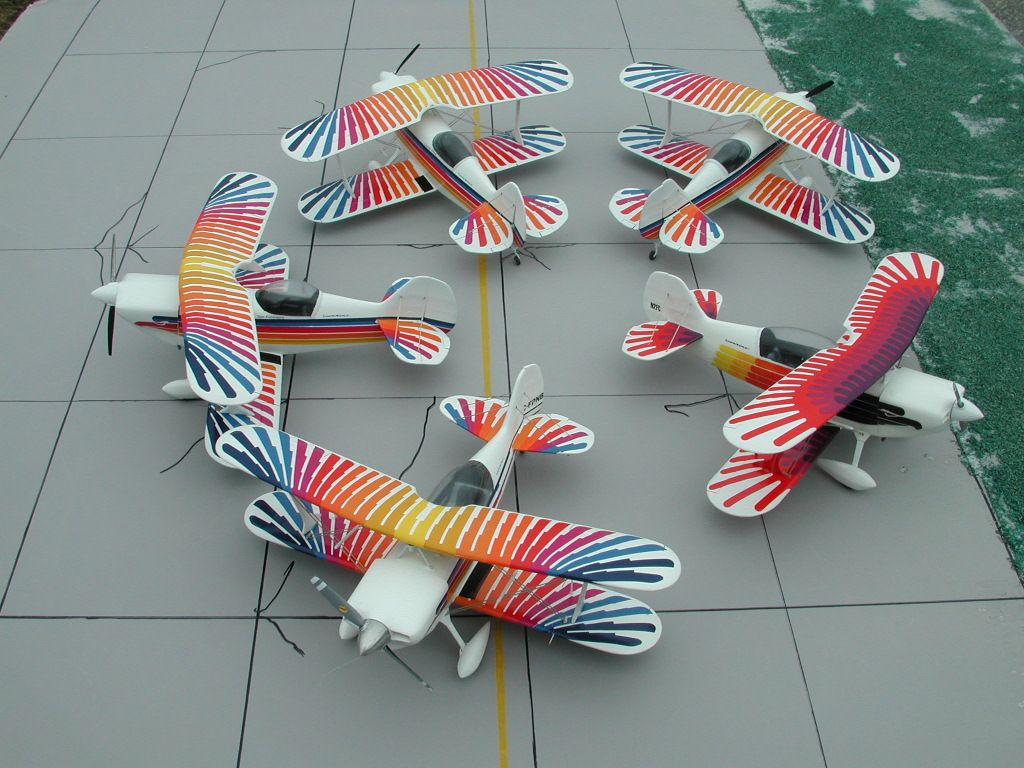
This clutch of Eagles was built over 10 years ago for Frank Christensen, designer of the Eagle. Start with seats; detail all of them; instrument panels detail all of them; landing gear, same thing..work on all common pieces as sub-assemblies...it is fun!
Assemble all cowlings, all fuselage pieces, all tailplanes. When it comes to paint, same thing, paint them all then add the decals.
I han a card table set up behind me at the desk with of the parts set up on it
Barney
-
To set the record straight eh, we spell CANUCK with one "N" eh!
Them durn Southern folk never culd spell.
Barney
-
Sorry to hear of your decision ALF but sometimes this does happen. Better to walk away and do something different
Best regards
Barney
-
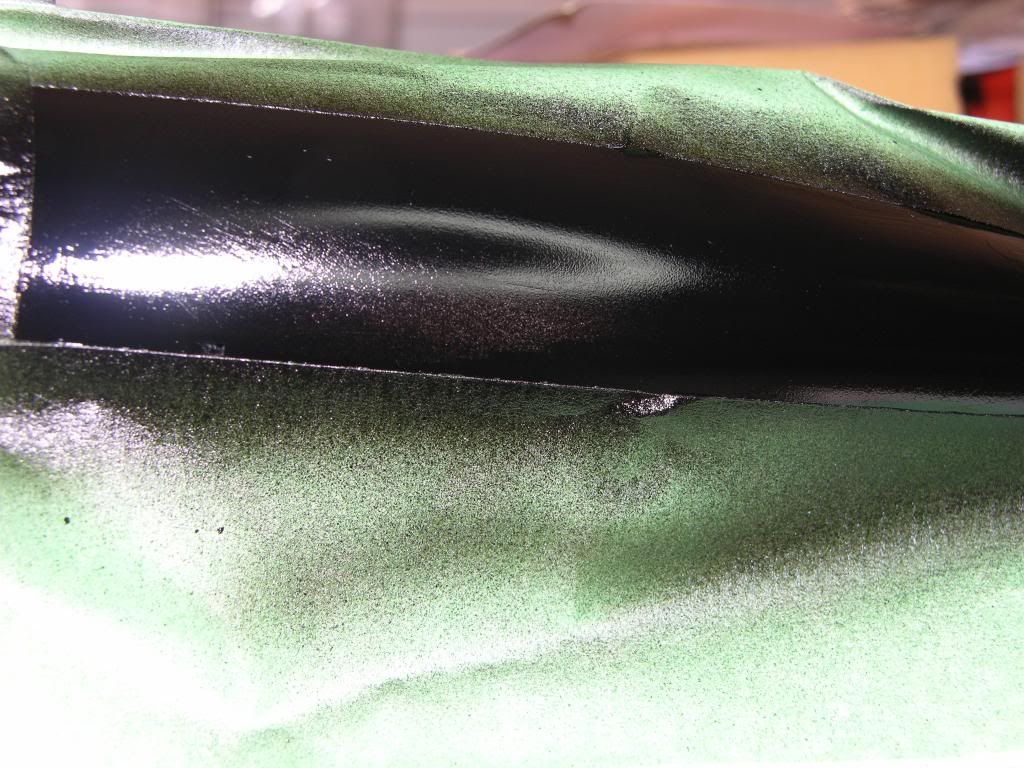
ALF18: Here is the fina; set of photos of the finish using the airframe aluminum;
Nice and shiny as compared to the same product applied with the old Paasche VL
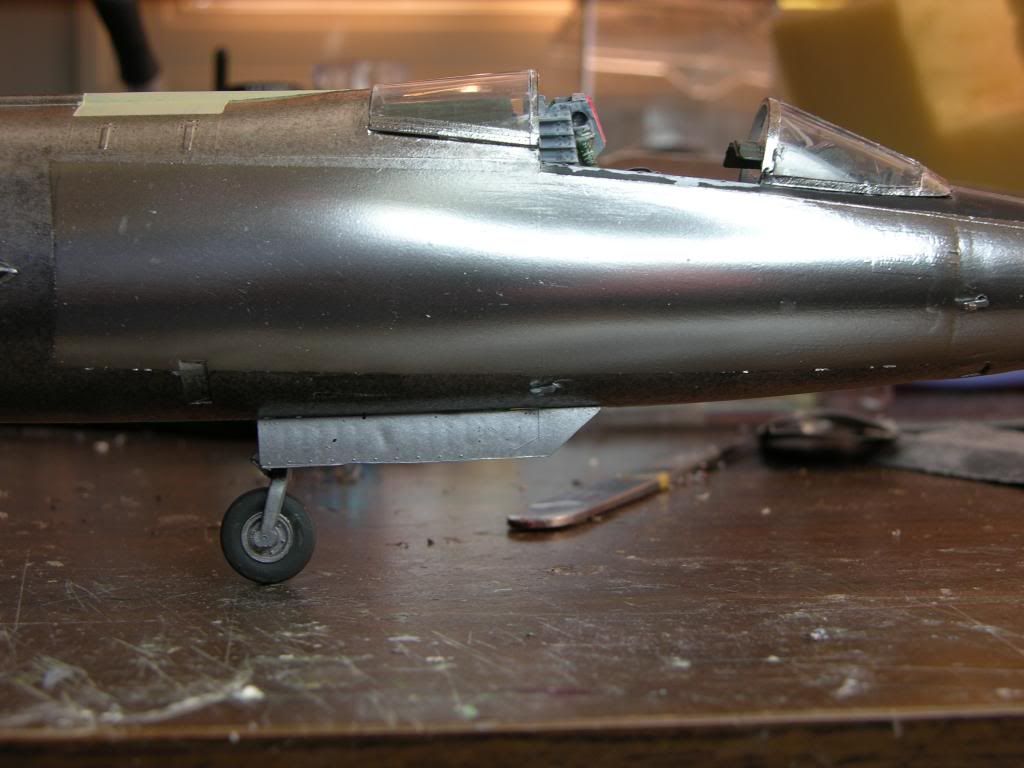
And up and close;
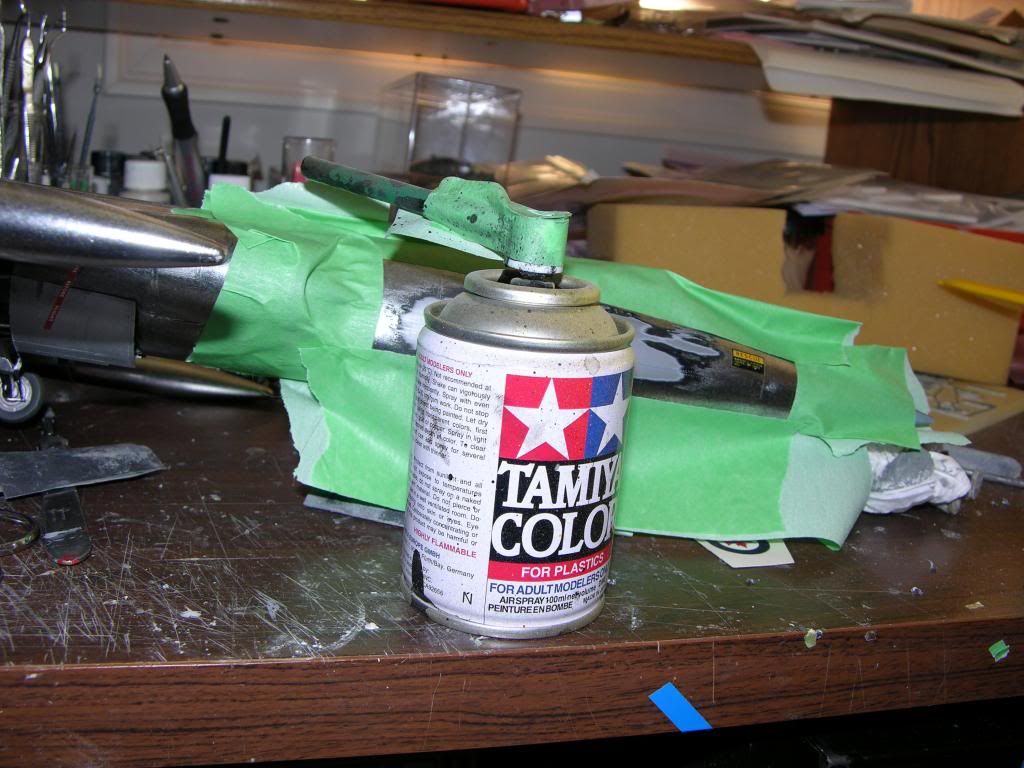
I pushed the drying time of the TS-14 using a small hair dryer(after each misted coat). The TS-14 does not require thinning after decanting and it goes on beautifully at 12-15 psi. Pressure is set with the trigger depressed before filling the cup with paint. The Airframe Aluminum goes on at the same pressure.
And NO, I'm not going to refinish the rest of the beast!!!!!
Barney
-
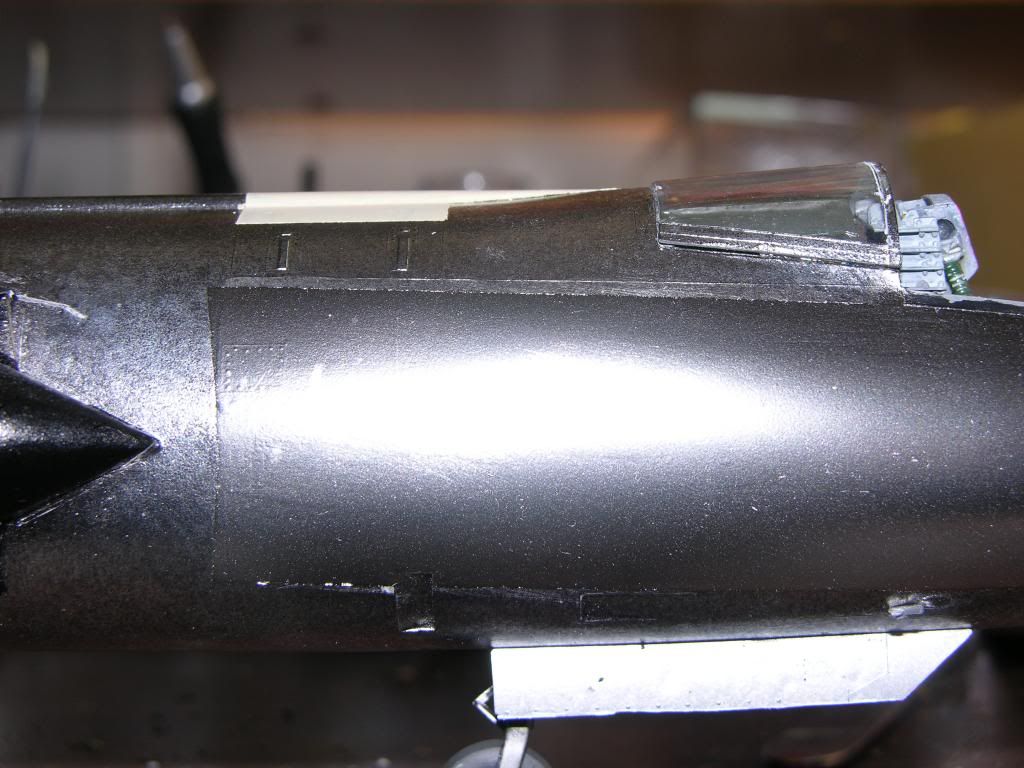
Here is the next batch with the Tamiya TS-14 rattle can modified to decant the contents into the airbrush paint cup,
Black Gloss coat drying..the flash on the camera makes the finish look very pebbly but it is flattening out as it cures and I'll have the Alclad Airframe Aluminum applied later.
I hope that all of this helps
Barney
-
Sorry about a second post but Photobucket is acting up. I'll add morephotos when I can get things working properly
Barney


For those of us who have flown
in General Discussion
Posted
My first was 08 July 1952..before most of you were born..in a Fleet 80 Canuck, Windsor Flying Club. Jim Pelkie had me cutting grass for about 6 hours in the old bird and on that particular day ran out of smokes while we were in the circuit. He had me do a full stop and taxi back to the club, got out while the engine was running and went into the office. I sat there for about 5 minutes when he leaned out the window and waved me away..so off I went for three circuits..no briefing..just GO. What a feeling.
Many thousands of hours later and 90 different aircraft..including dual in the Tutor and CF-104, I can still remember that "First"
Here is my 1:32 scale scratch-built Canuck CF-EAO.