


BK974
-
Content Count
578 -
Joined
-
Last visited
Content Type
Profiles
Forums
Calendar
Posts posted by BK974
-
-
My mistake...I was obviously affected by the toxic fumes of my paints when I wrote this... I did mean RF ALL the way...but the thread turned out nicely anyhow?
FO
-
Hello!
Bulding a Hase F-4G is very nice...Now I would like to tackle an F-4C in 1:48 scale. I do not find an hasegawa set though...only for F-4E or D...what is the difference, I know the E is for export, but is it possible to build a C from the D or E?
FO
-
Fixed it...with a "little" masking and some bad words... Thank you Jake for keeping me straight here...
It was quite embarrasing to make that mistake when I have the Phantom Guide right here...

But...Everything back on track...moving on!!
FO
-
Crap....
well...more masking----
FO
-
The Phantom has got colour on its upper side...
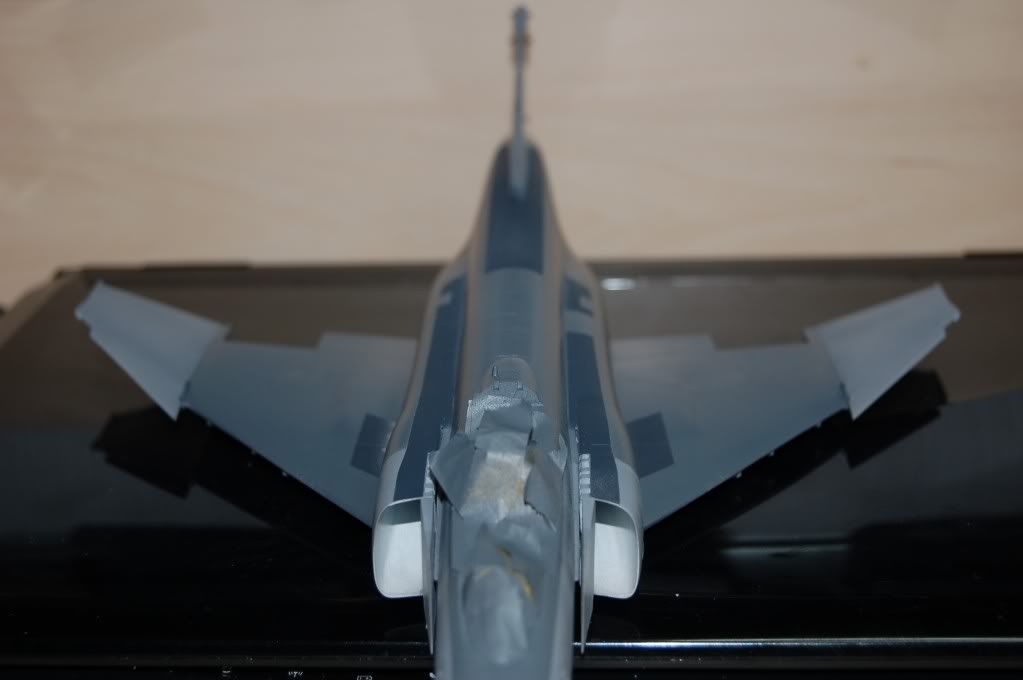
Walkways are masked, since I have heard that the decals are quite difficult...
FO
-
Well...have spent a few hours painting the burner cans today...
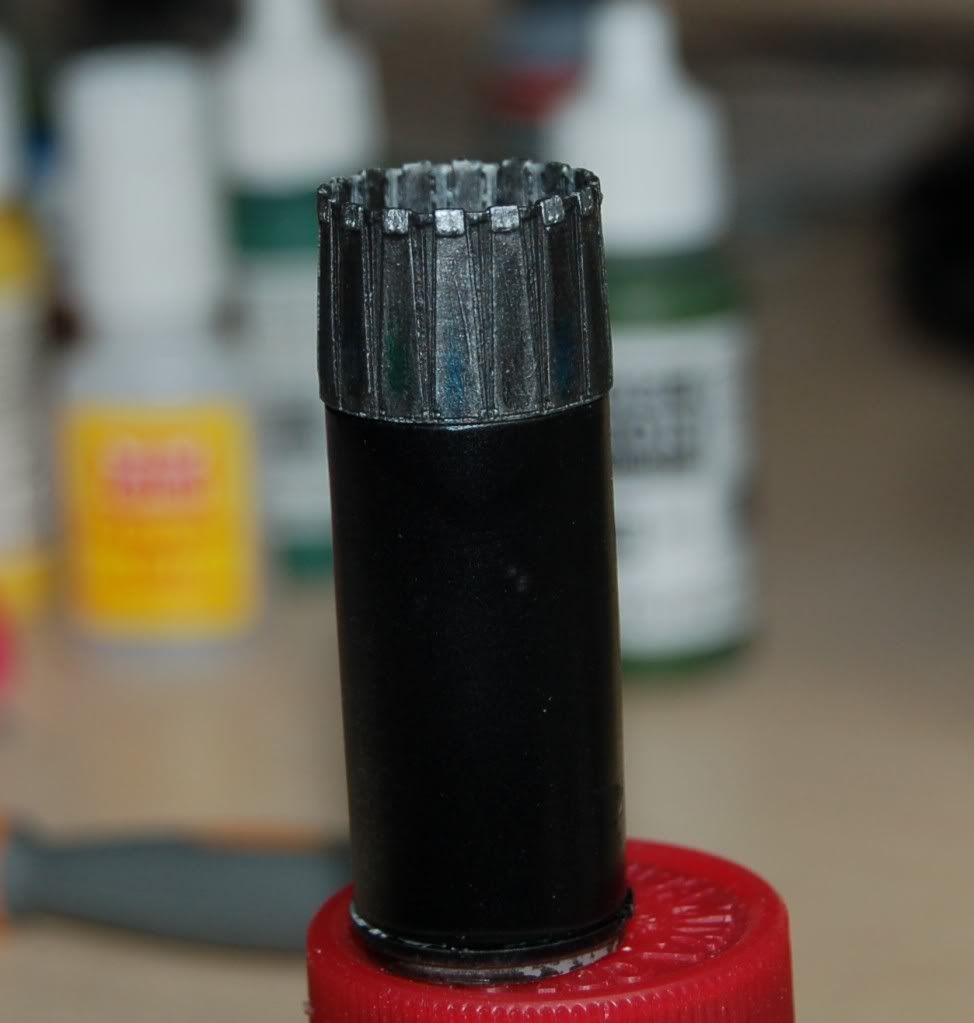
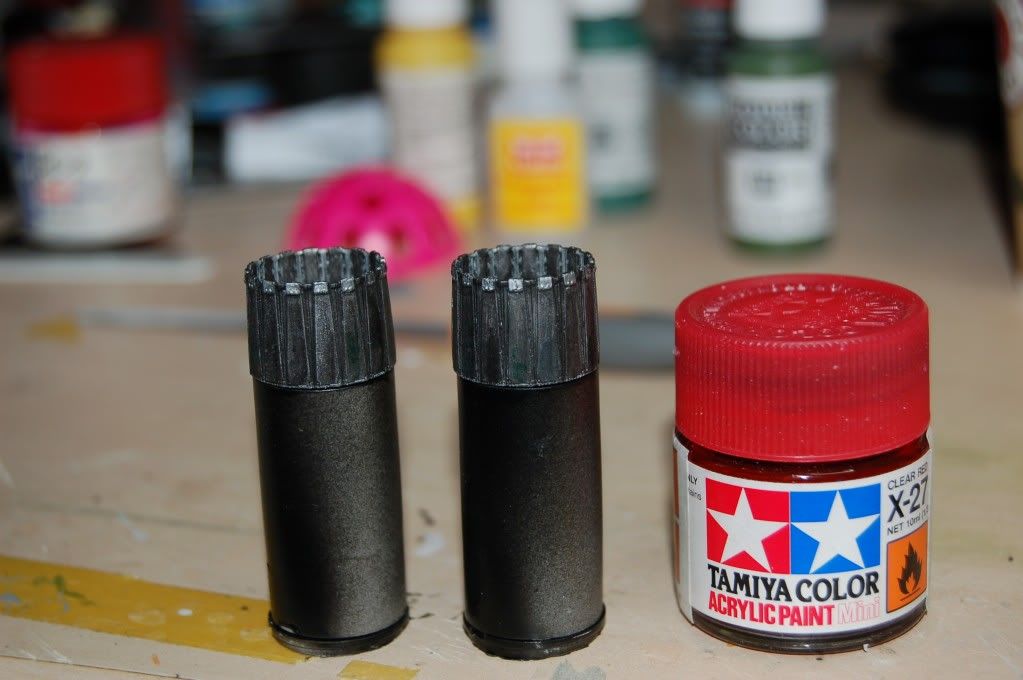
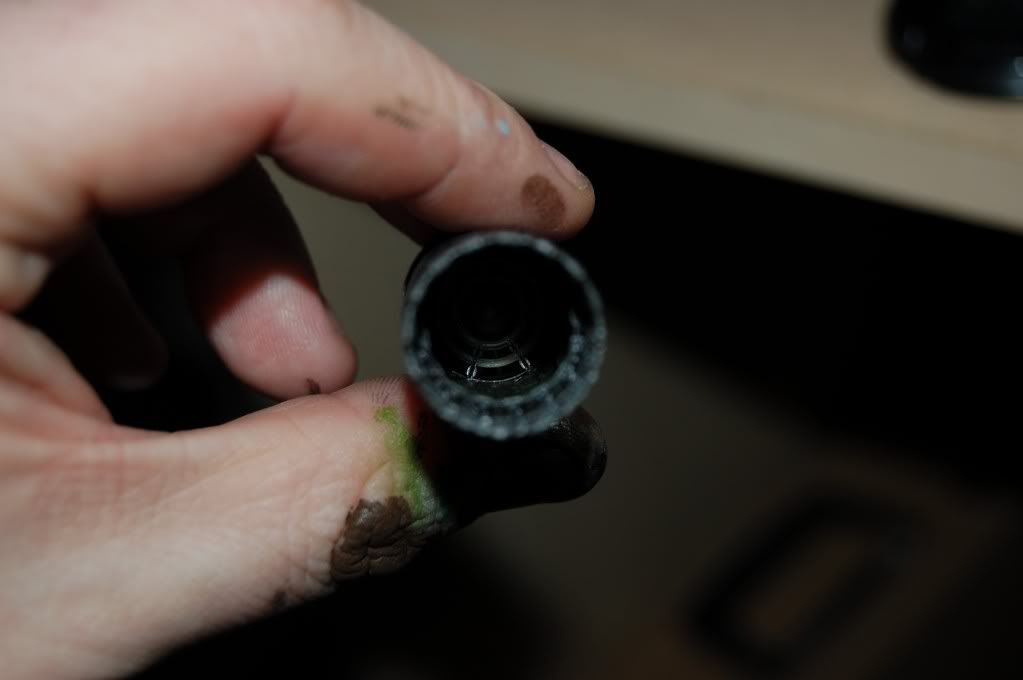
Hope you like it!!
FO
-
oopps...double post
-
ahh...thanx mate!! I have some antennas in PE so should be easy to install them when the whole thing comes together!
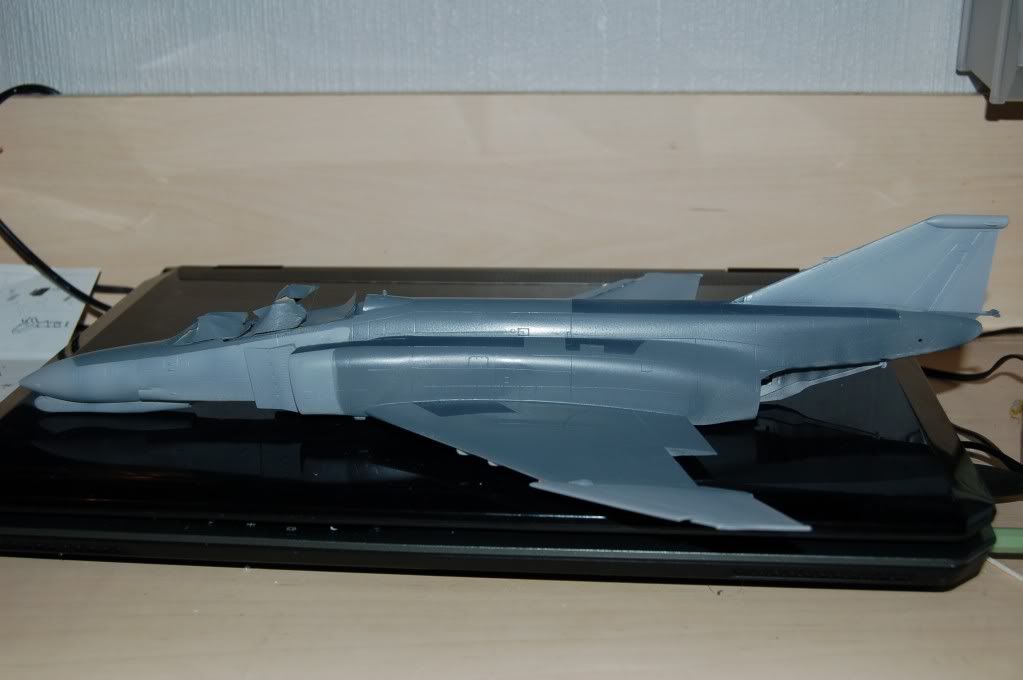
hings are going a bit slow..this week has been busy, but some progress!
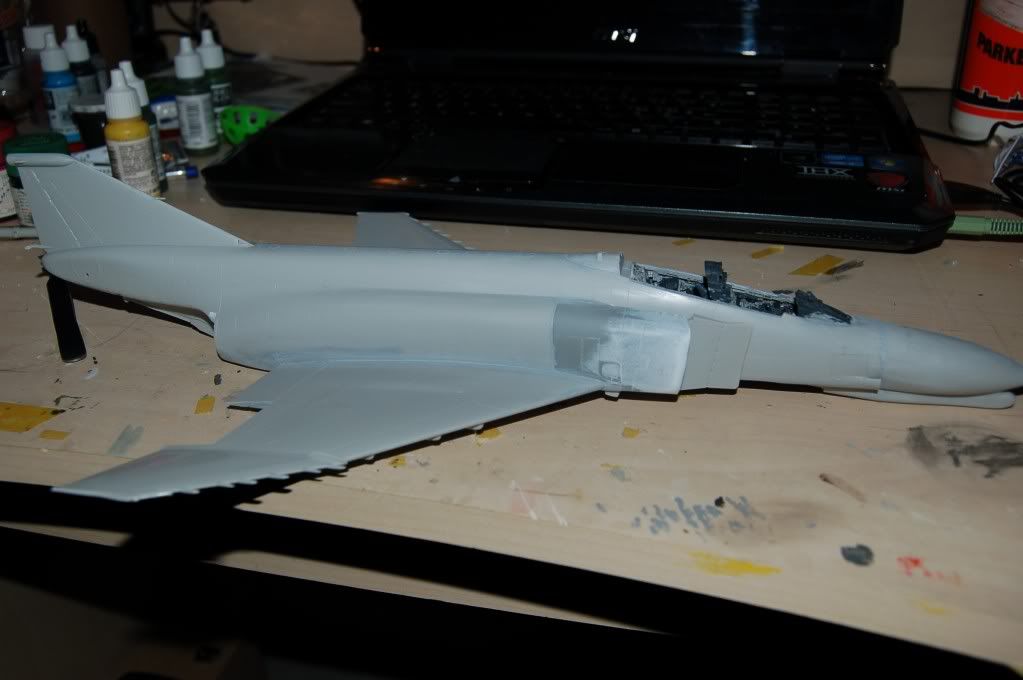
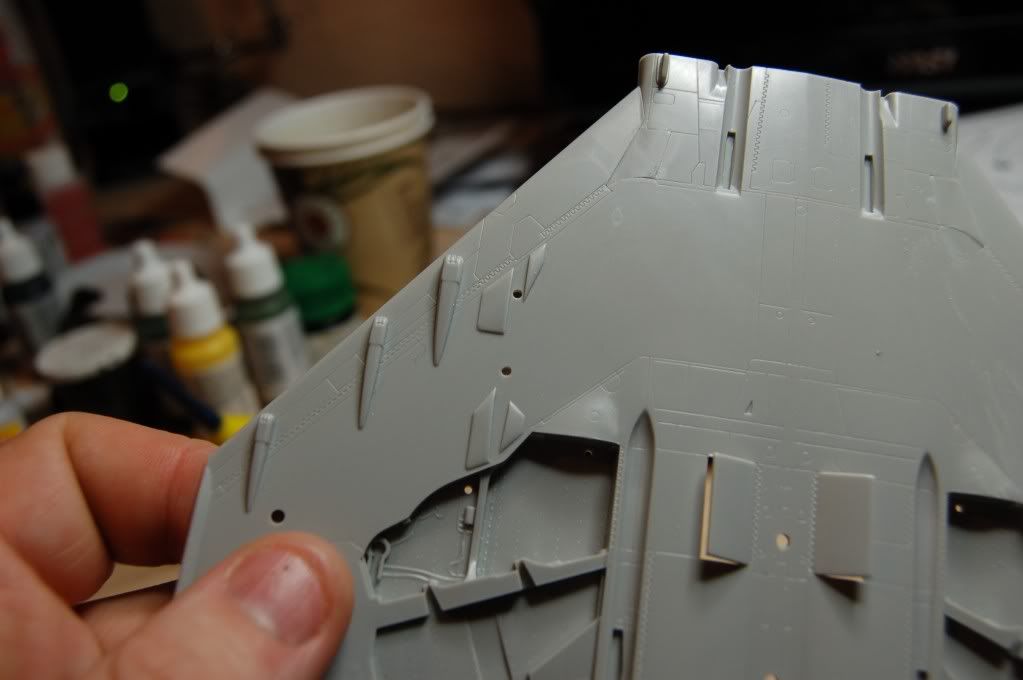
Wings on, not much putty needed!
The "business end" is starting to come to life
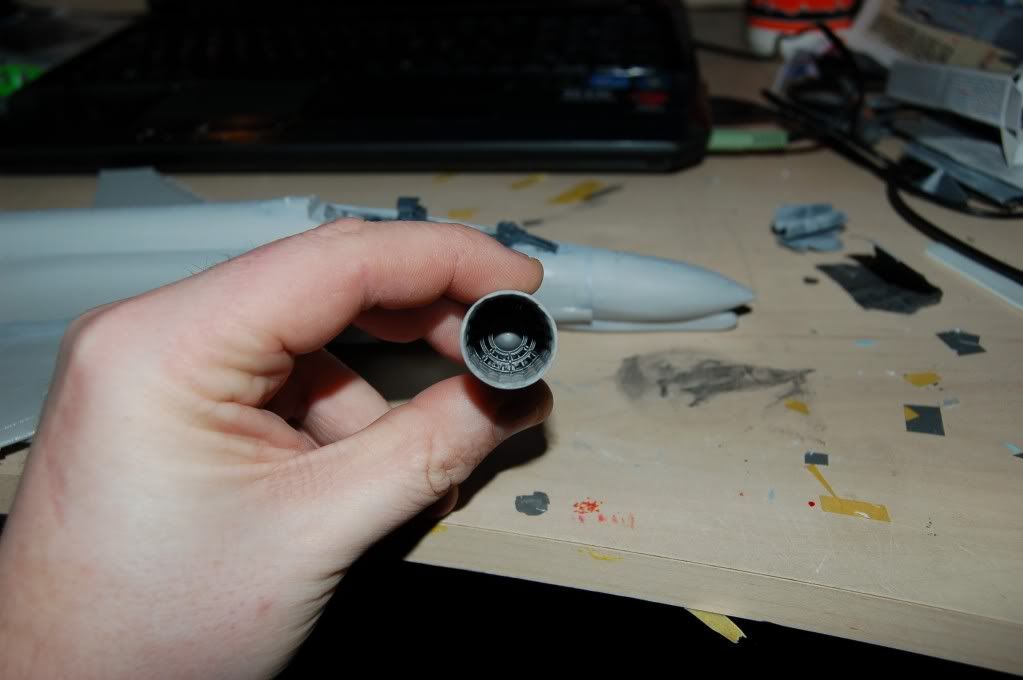
Lovey detailes in the Aires cans....
FO
-
Good morning Gents...
Been chipping away at the Phantom, will add pictures later today..
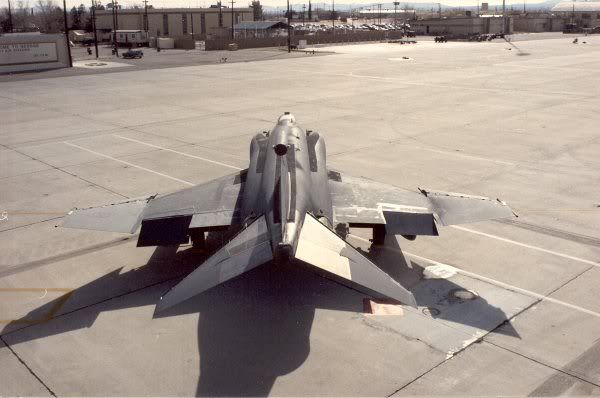
I have a Question...what kind of antennas is on the back of a bird from 1990 who hasnt got the "Doghouse" on the back?
Afterburner shows them devoid of any antenna...but that does not seem to match the pictures I see on the net..in the book.. so I got a little doubtful..
Thanx for any help!
FO
-
You should be called Merlin instead of Marlin after getting this kit to look so good!!
FO
-
Really liking it Jake!! When will the book for the Warthog and the Strike Eagle be available again? I need MOOOOORE!!!! heheh
Thanks for your comment Phil, I aim to please...hehe here is some more photos!
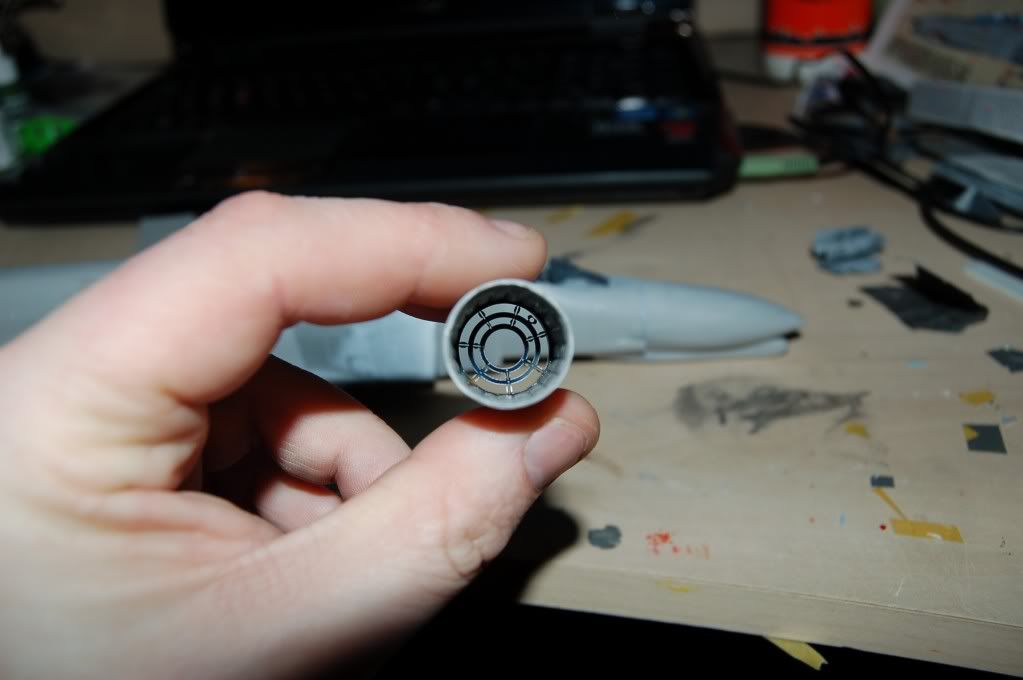
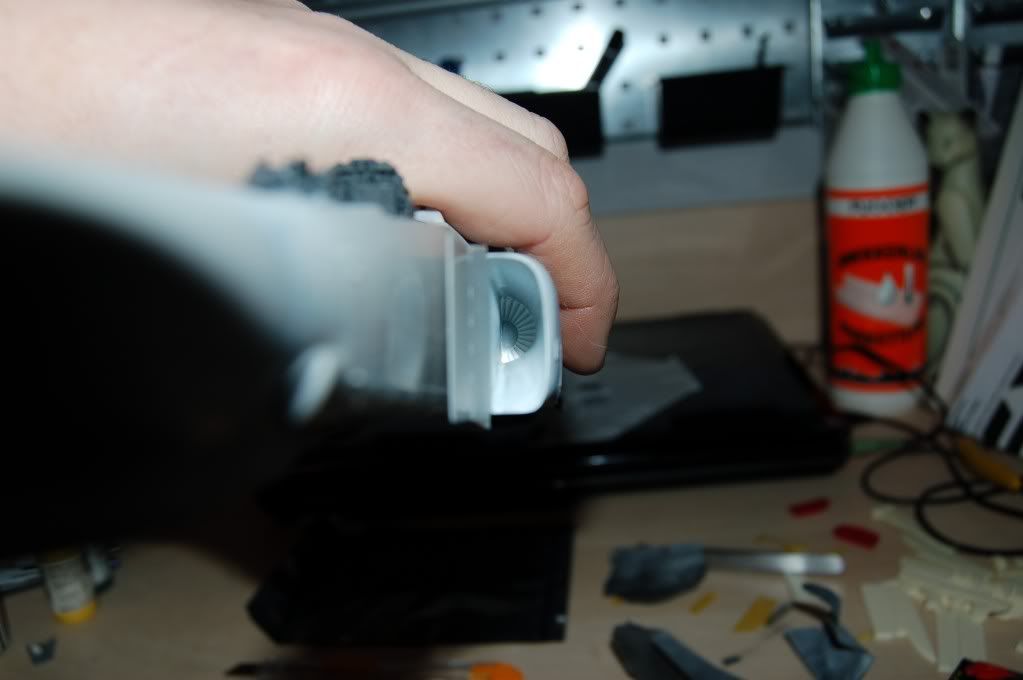
Got the True Details intakes yesterday.... they would be easier to fit if the fuselage was not already glued together!! But after a few hours I made it.
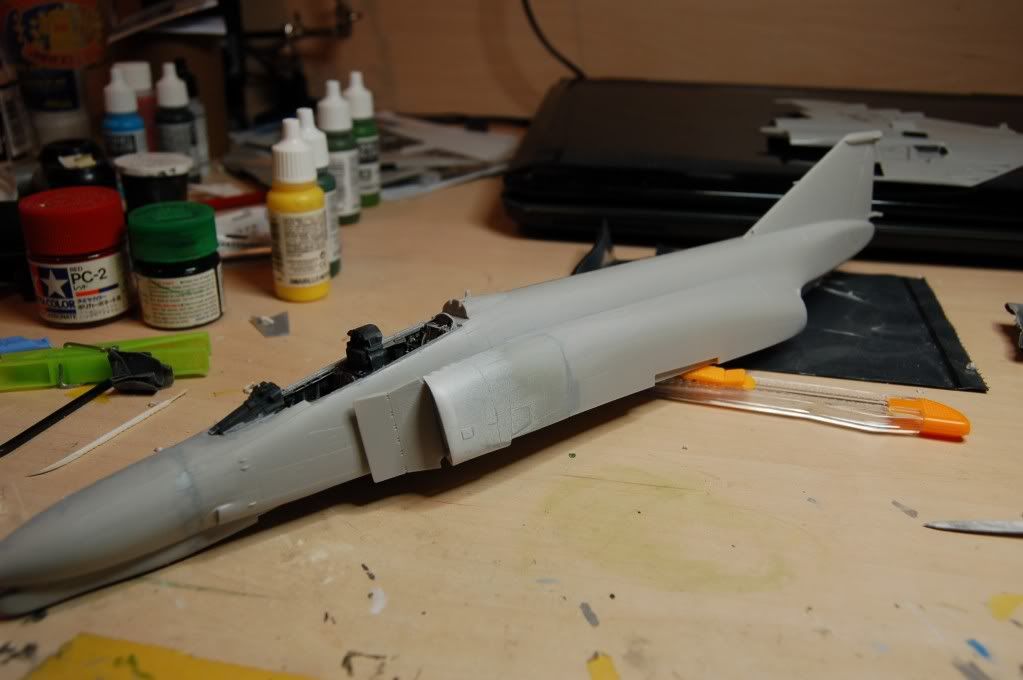
I have let the putty cure overnight and have been sanding away this morning...
Fitting is not to bad I think... but will be rubbing some more and have to rescribe a few lines..
messed up the white paint due to the cold weather...did not notice really before I had glued them down. So...FOD covers it is...
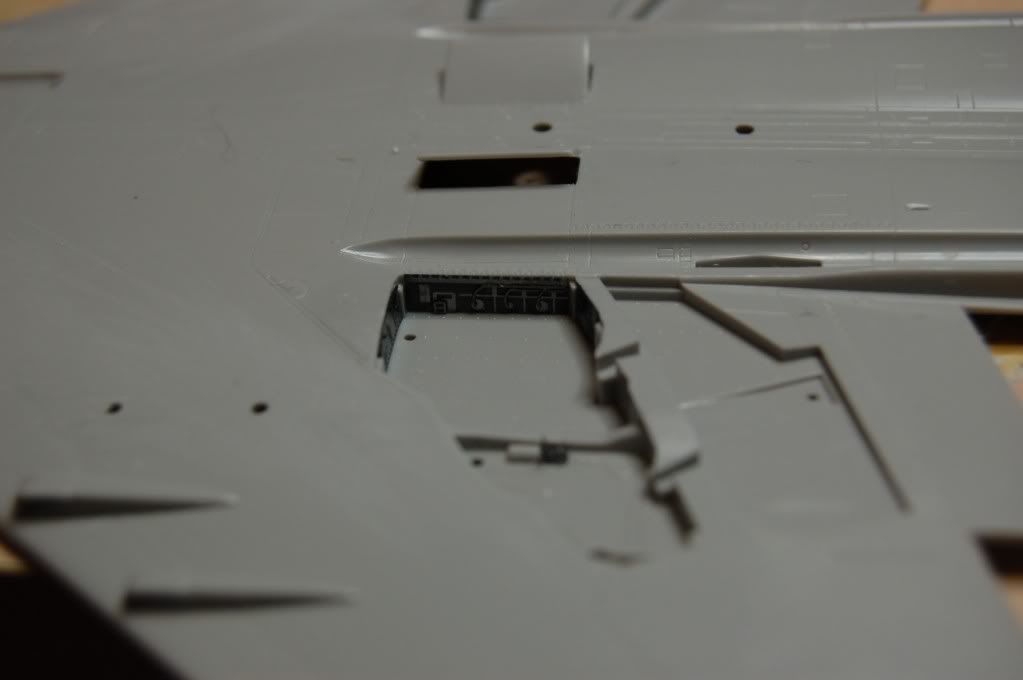
Some cute PE in the main bays, it does help a little..
FO
-
Hello Neo! Thanx for your kind words!
Yes In norway we do get bills even on saturdays....no rest for the wicked!!
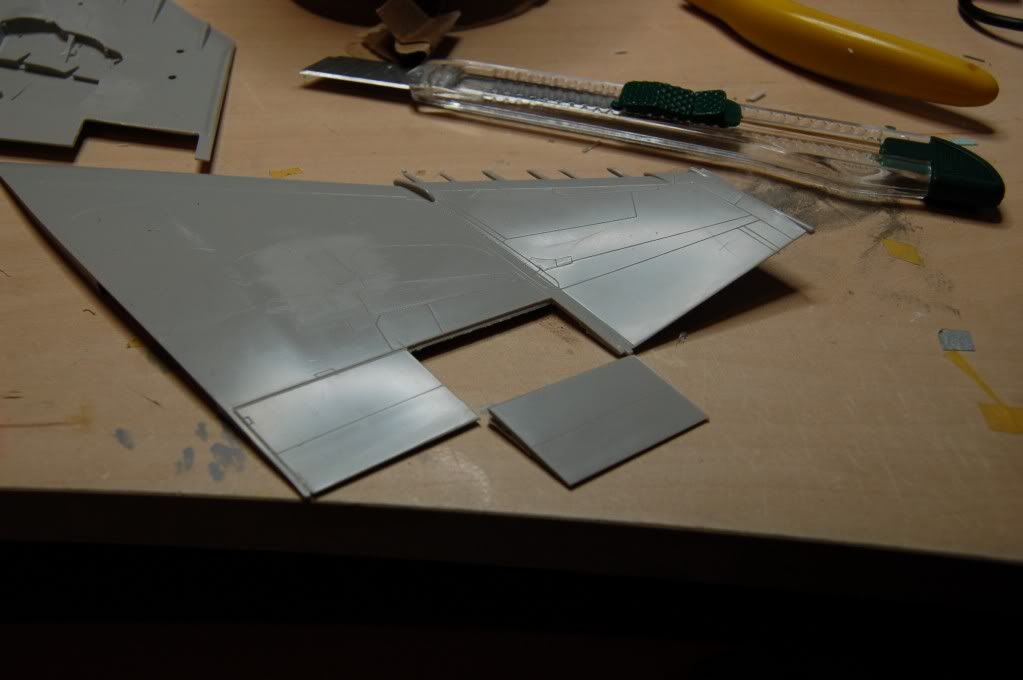
I use the little "box-cutter" knife to cut back and forth for a long time, then on the "sides" of the aileron I use a razor saw to cut all the way in. Then i use the little knife again on the place where the razor-saw doesn't fit, until the piece falls off almost by itself... It takes a long time but it works!
I can take a picture of the razor saw if you are interested?
Cheers
FO
-
I have put PE in the main bays...will take pictures later
Today Jakes book about the Phantom arrived.... I just have to say...Holy *bleep*!!
It is absolutely friggin fantatic..I recommend it VERY much!!!
FO
-
Now the cockpit is in the fuselage and the fuselage is safely glued together...
Time to start with the wings!!
This arrived in the mail!
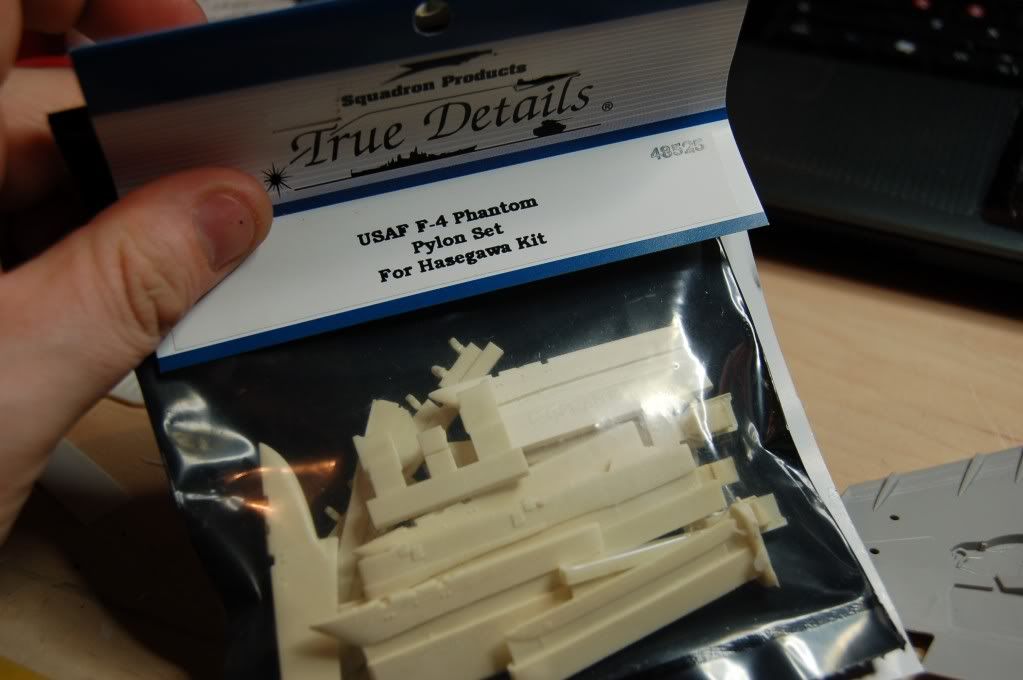
for the inboard pylon Hasegawa has "kindly" made Anti-sway braces for us...
But they do not fit the True Detail pylon..and is supposedly wrong in shape/size as well...bye bye!
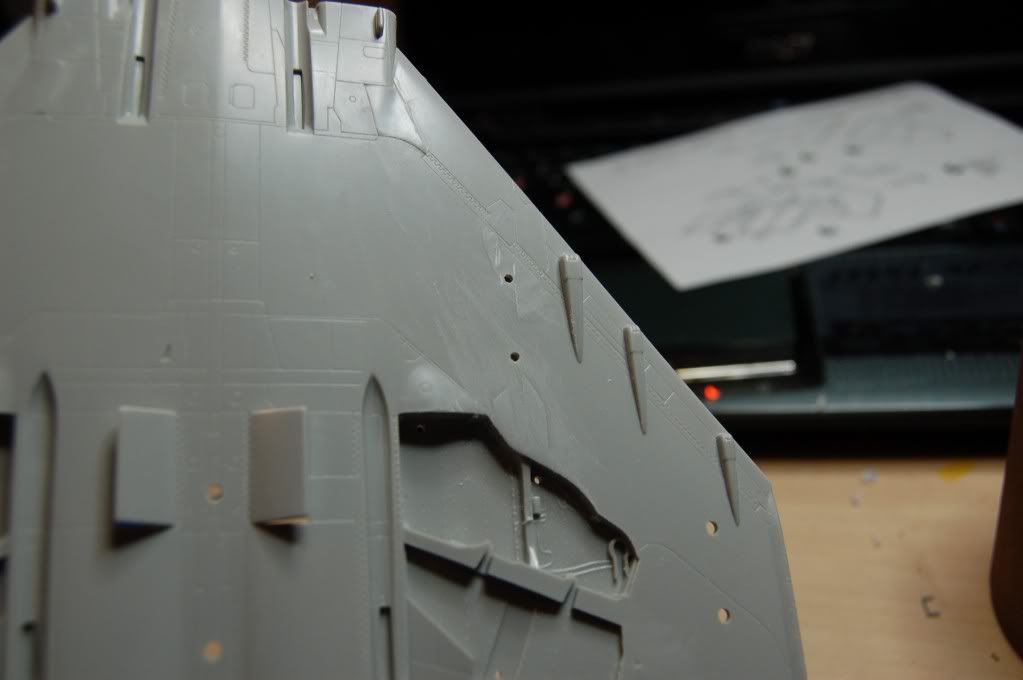
I have seen many pictures of the Phantom with its aileron dropped...
So I decided to try something similar...
Tomorrow I will put PE in the main wheel bays!!
FO
-
Thank you guys!! It really makes it worth the effort when one gets such nice feedback!
Pester away Marlin!! I will gladely help as much as I can, I owe you at least TWO favours...
Cheers
FO
-
Thank you Scot!!
Here is where I am at...
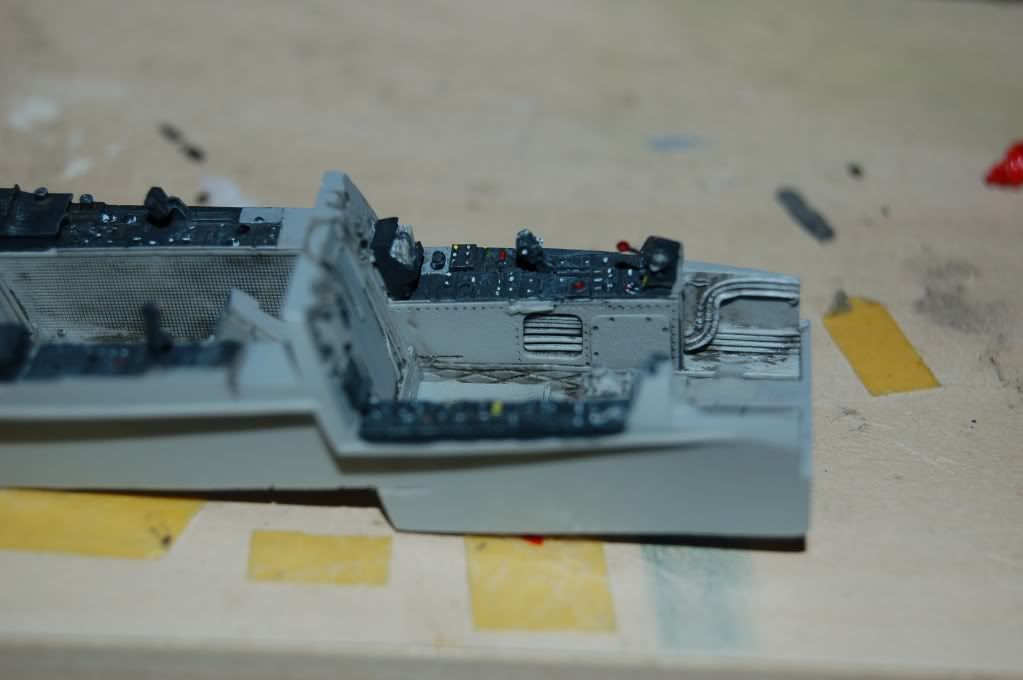
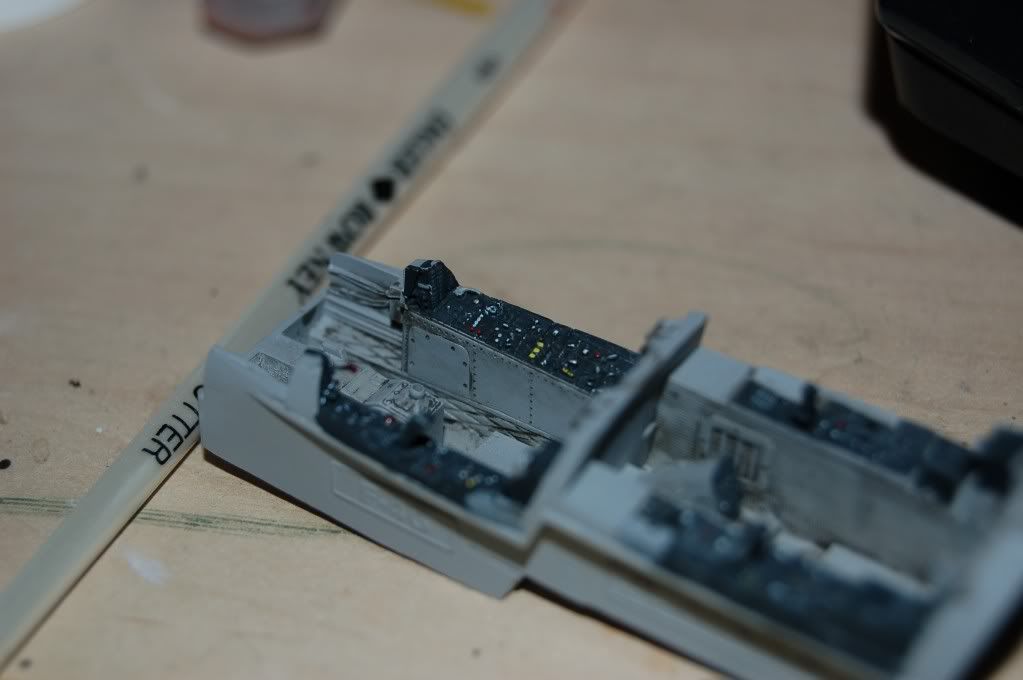
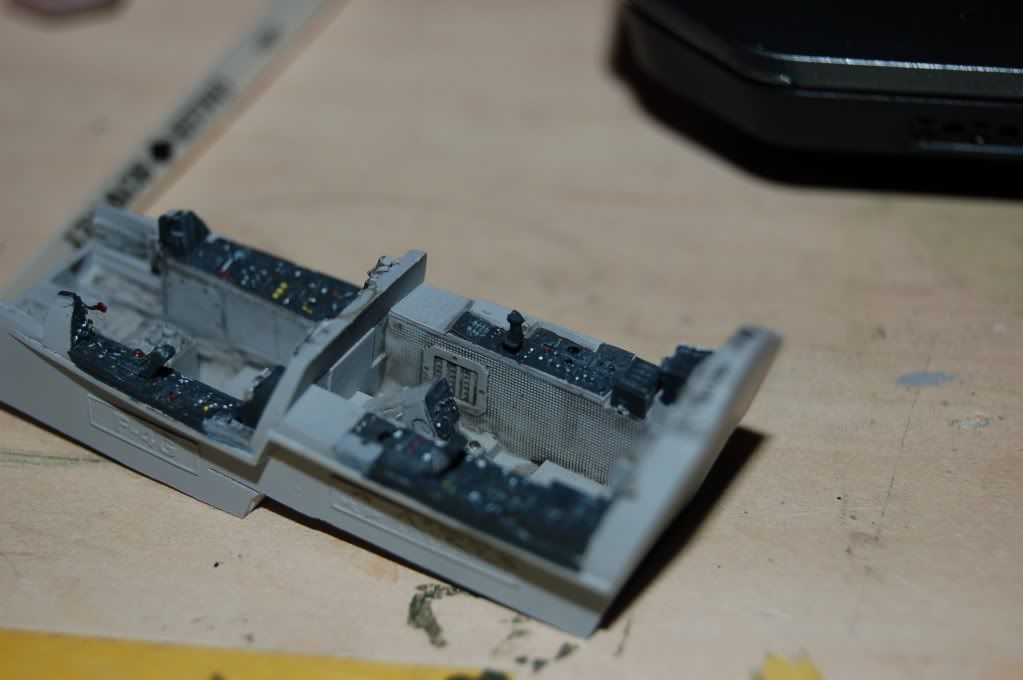
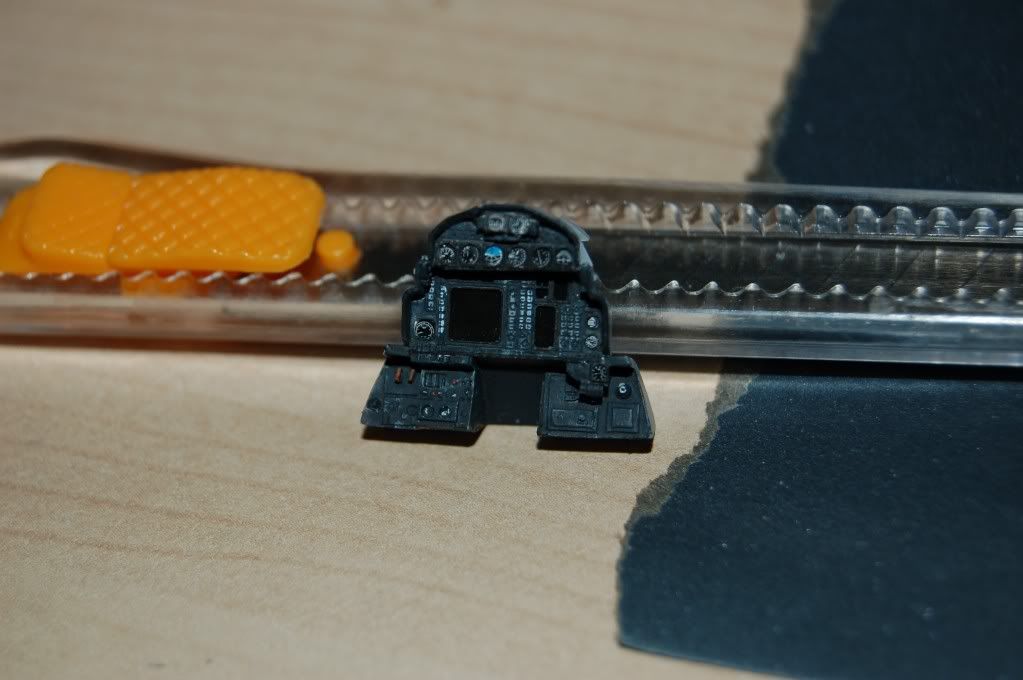
I had the Quickboost seats for the Phantom, but since this build was planned so that I could get more training with PE I decided to give the Aires seats that accompanied the cockpit a try...
Photo-Etch is difficult! But I learned a lot and now have even more respect for the guys who expert in this media...WOW... I did nont exactly nail it but it will do...
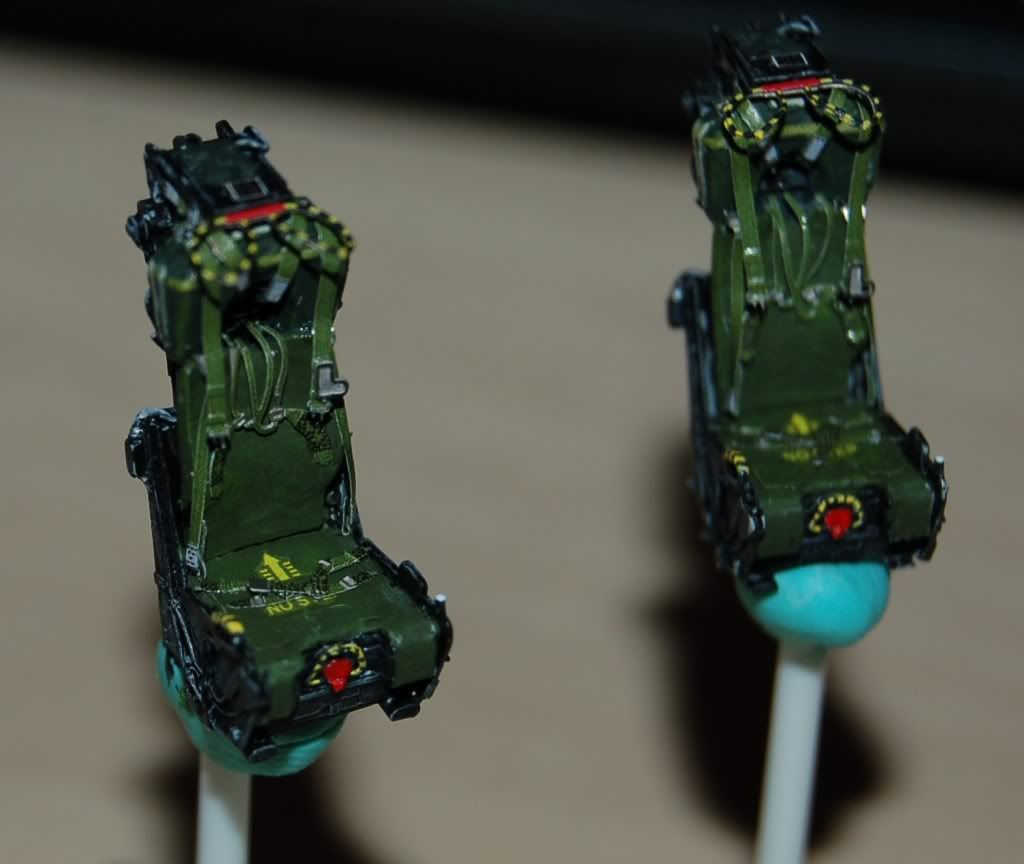
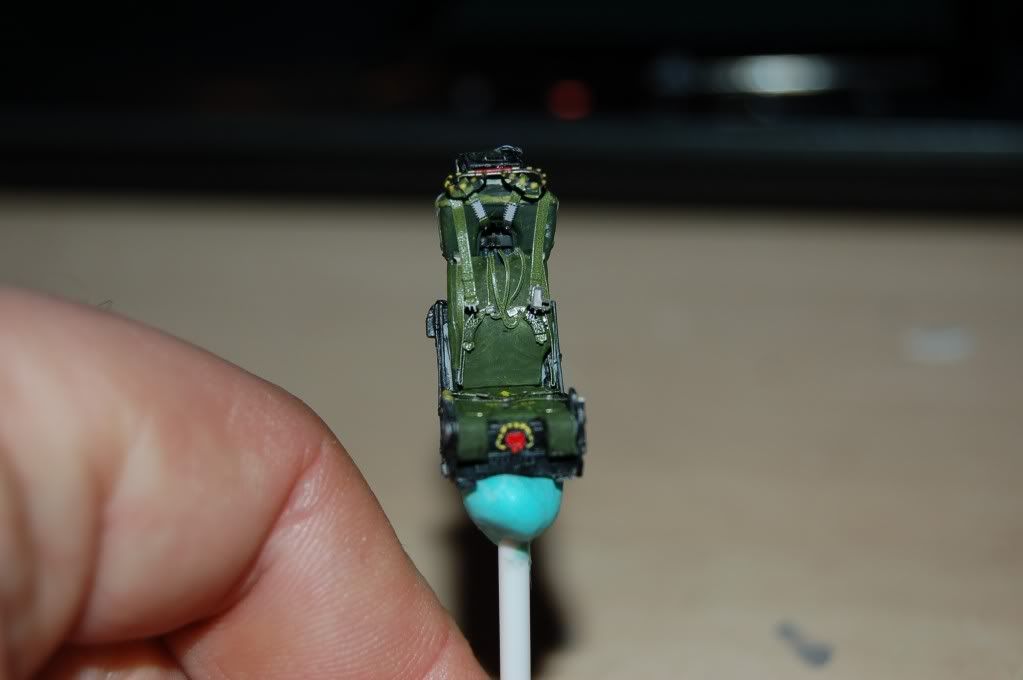
The seats are not glued in yet, there is some locking handles that will come in...but not untill the masking tape will be off the pit! Now...time to gett the fuselage together...with the pit in it...pheeew
FO
-
Thanx Marlin!!
You are great!!
FO
-
Shoot...i was not thinking...1/48 is what I am thinking of...
My bad...
FO
-
I am building an F-4G, and I would really like to have 4 AGM-88's on it...Does anyone have a couple of Tamiya HARM's they are willing to separate with? I will pay for them of course!
FO
-
It will be very useful and no doubt good reading Jake!!
todays news:....cockpit is getting there...
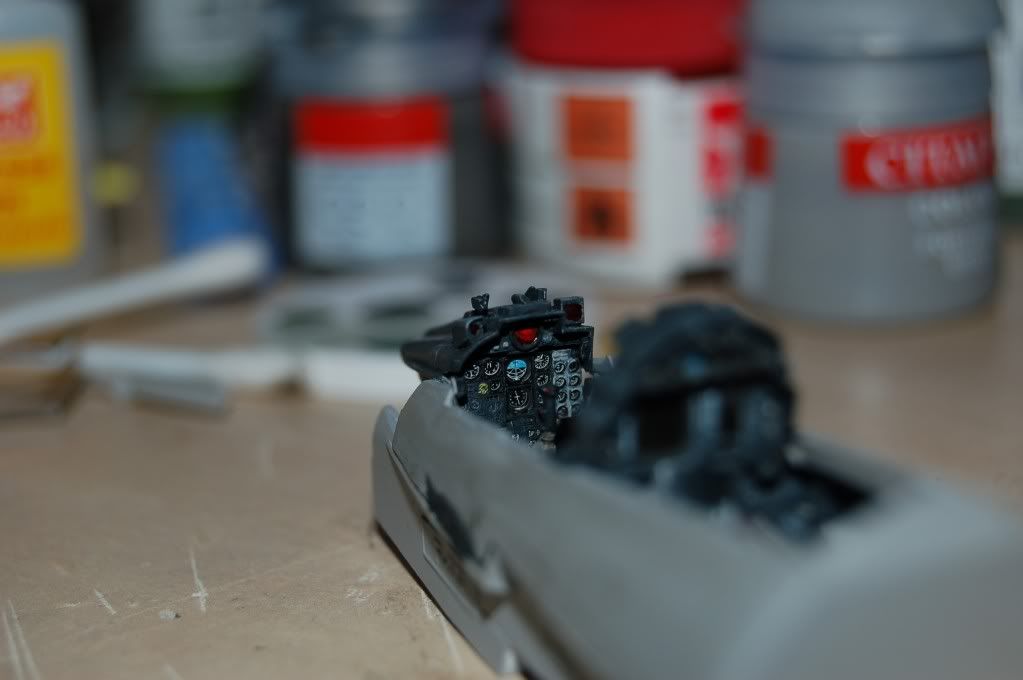
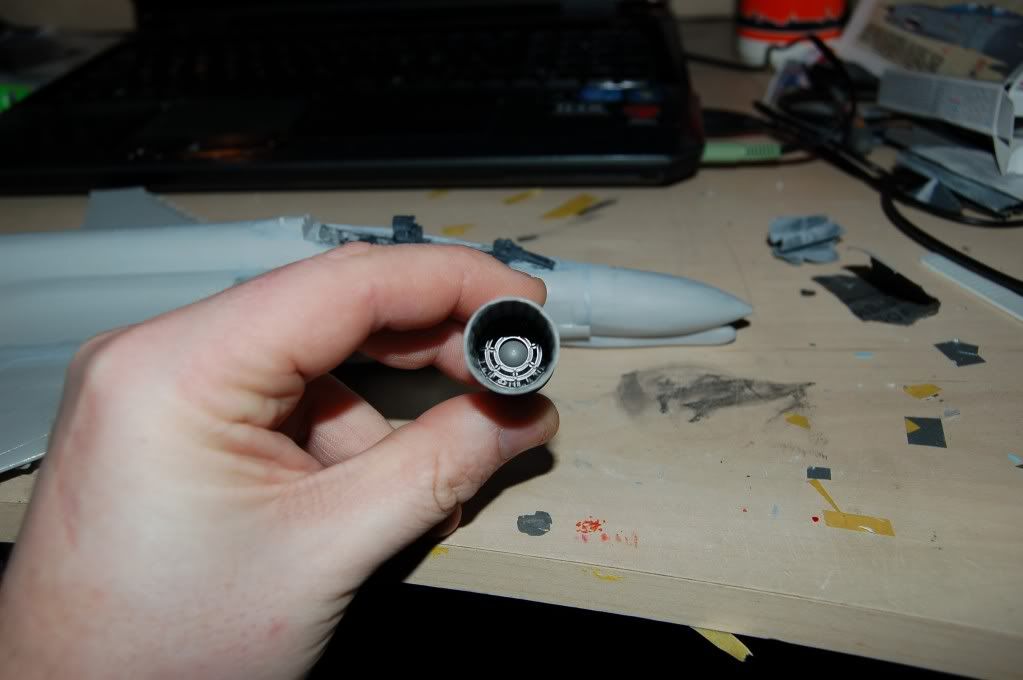
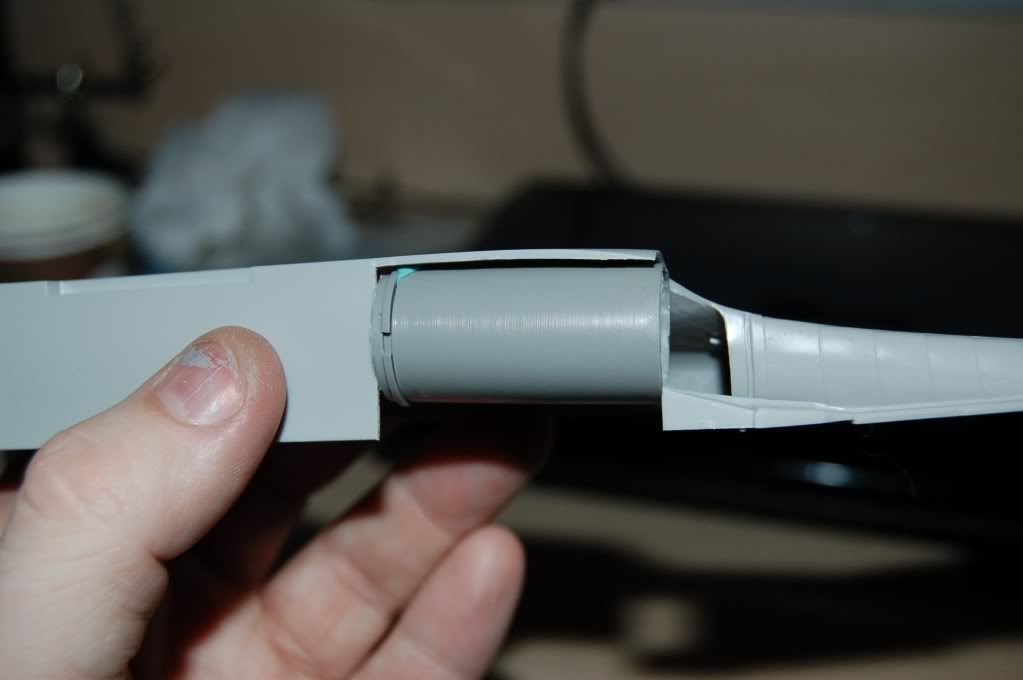
Checking the exhaust I ran across a problem... it collides with the bottom plate and I had to cut away 13mm of plastic!
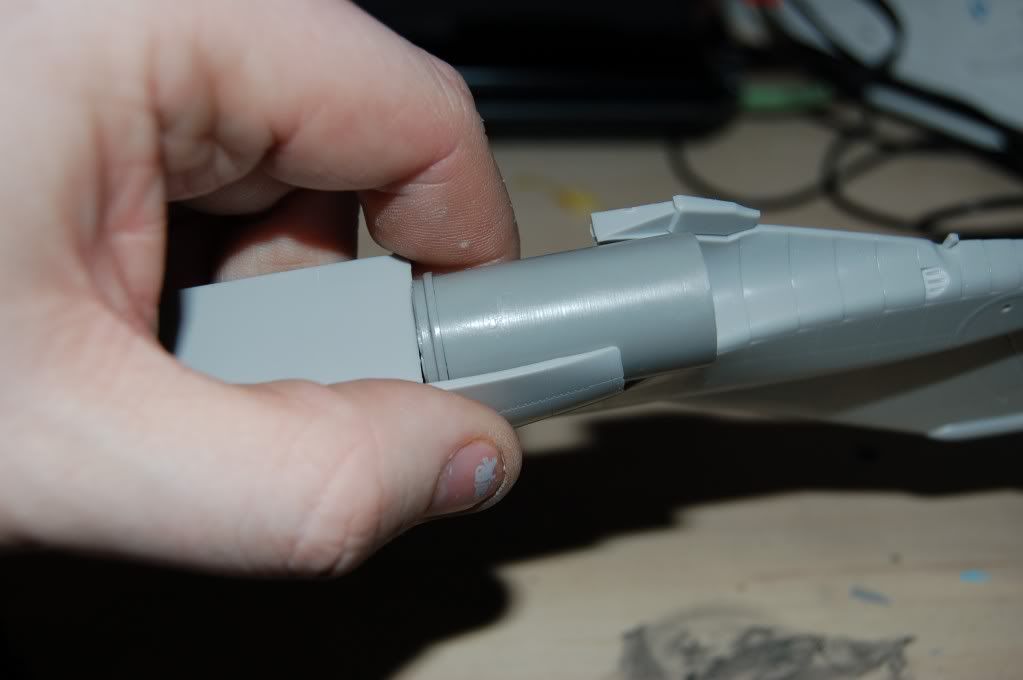
But after removal of plastic....niiice
FO
-
Thank you Sir..
Just ordered the book! It will be here a little late for this one, but the Phantom is so cool I HAVE to do more...
FO
-
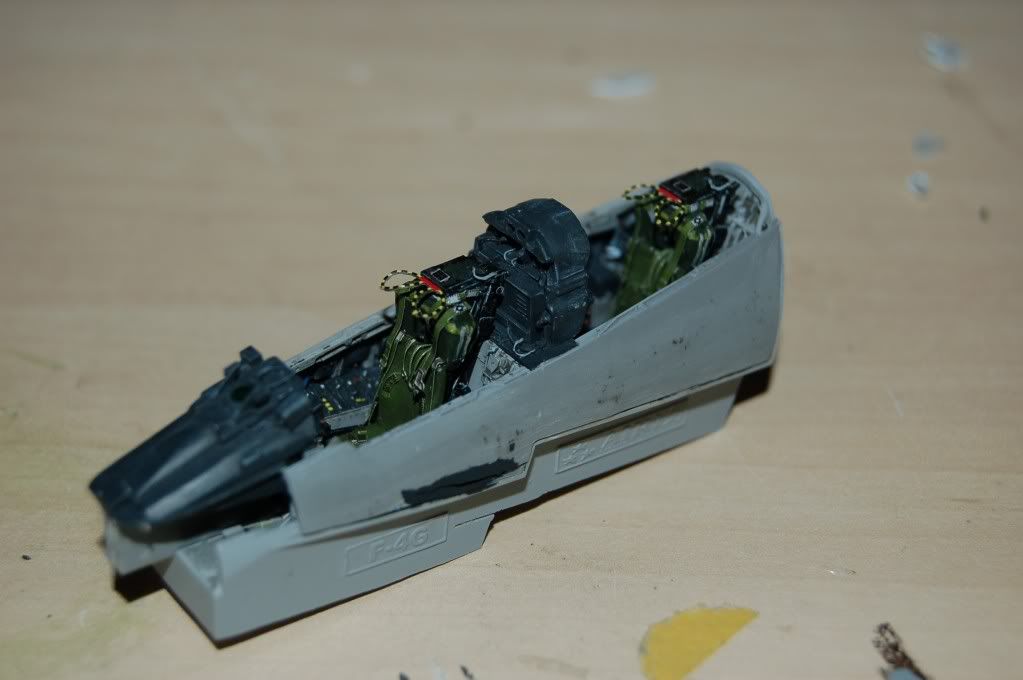
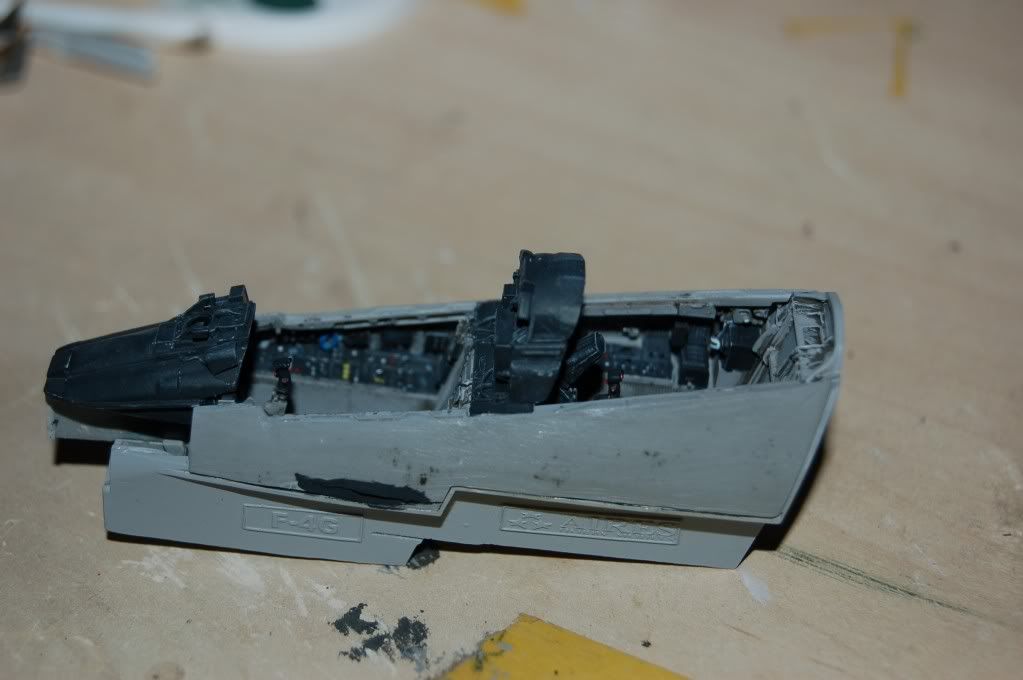
Thank you all for watching! Jake, You are probably right... I have used many hours trying to find good references online, but still the Aires pit is not exact button by button...have tried to fix a few things like the undercarriage lever now. I am now gluing it into the plane as I have used almost three weeks on the pit alone. I will try to find some books to improve on my next Phantom pit..
Neo, after this picture i sanded the rear end of the pit just a little bit more, and then it fitted nicely!
So, let's get the lump into the fuuuuselage!!
FO
-
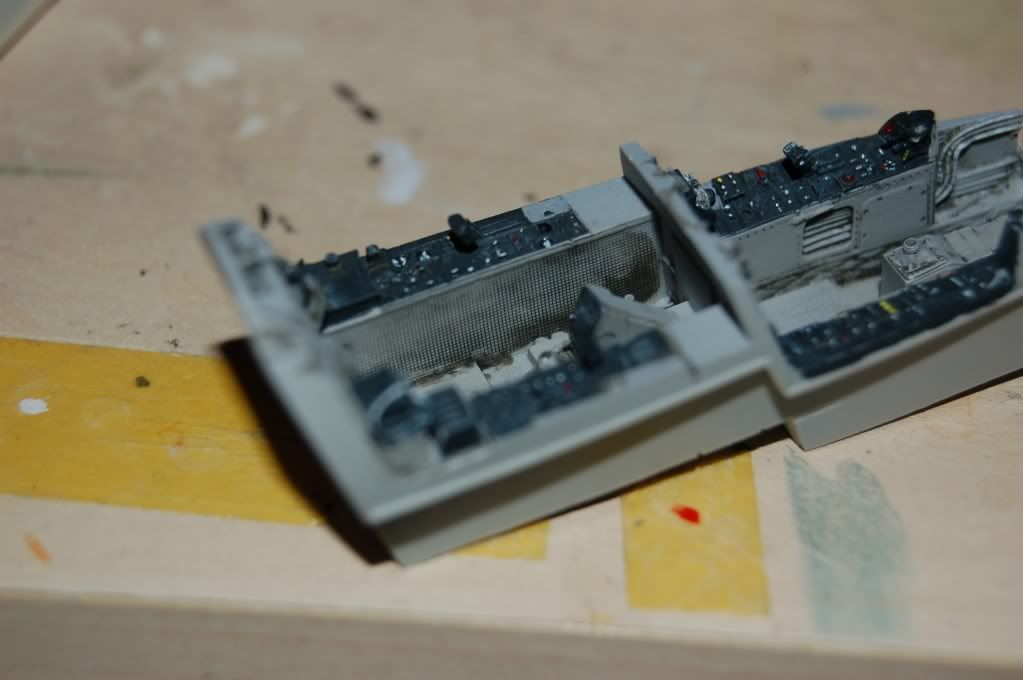
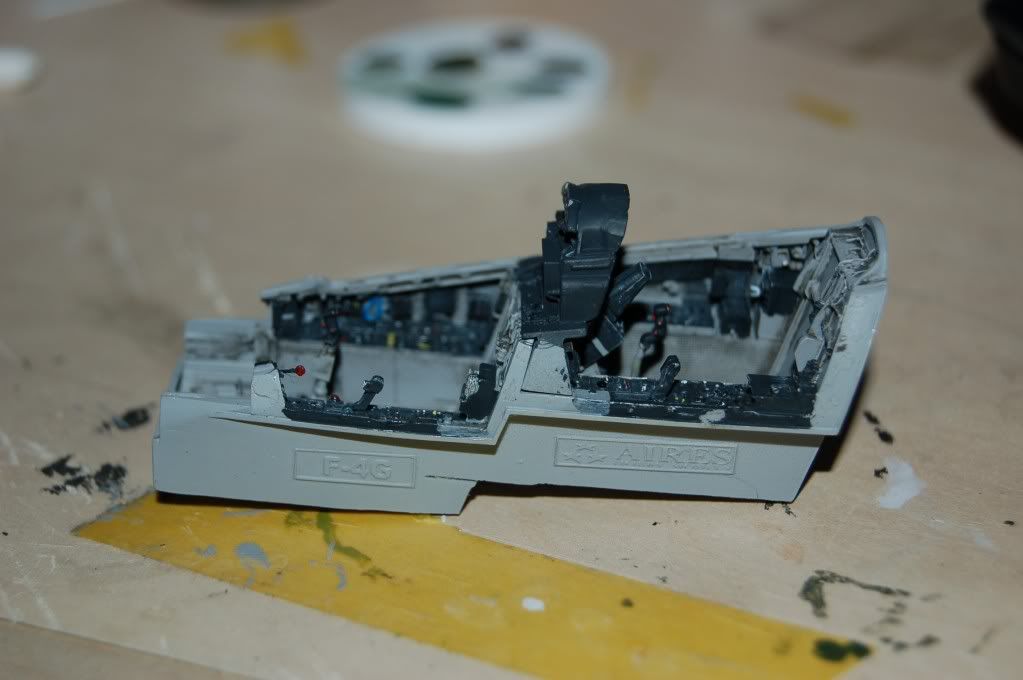
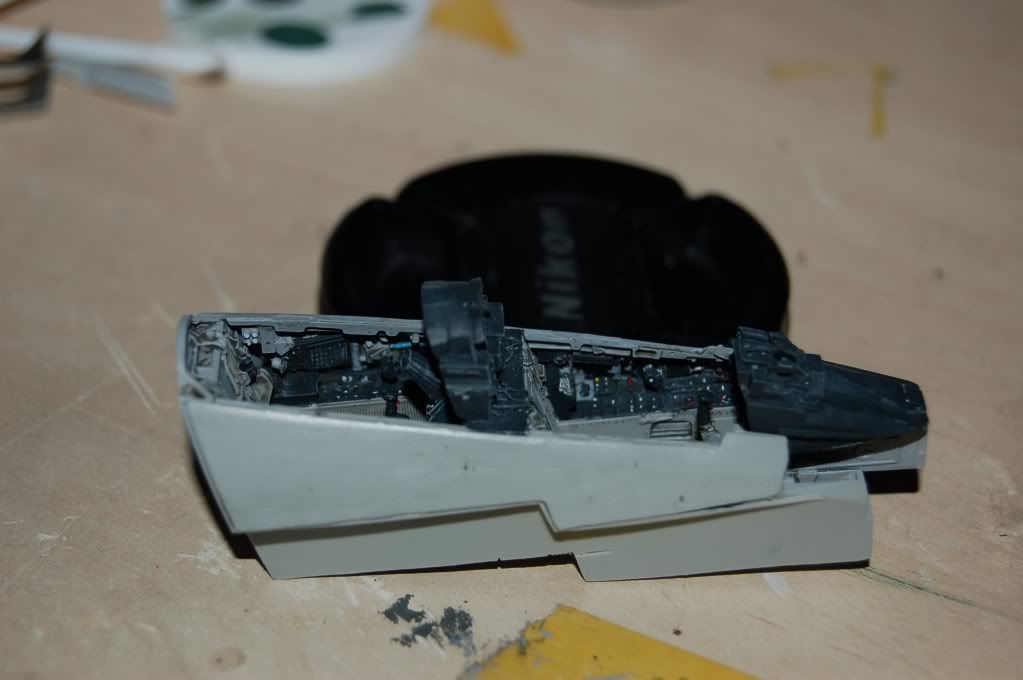
The tub earlier today..
FO
-
Okey
Just finished my F-86F of the Norwegian Airforce. So it is time to do something different. For 20 years I have wanted to do this kit, so with no inspiration to finish my two remaining Israelis, I started in earnest...
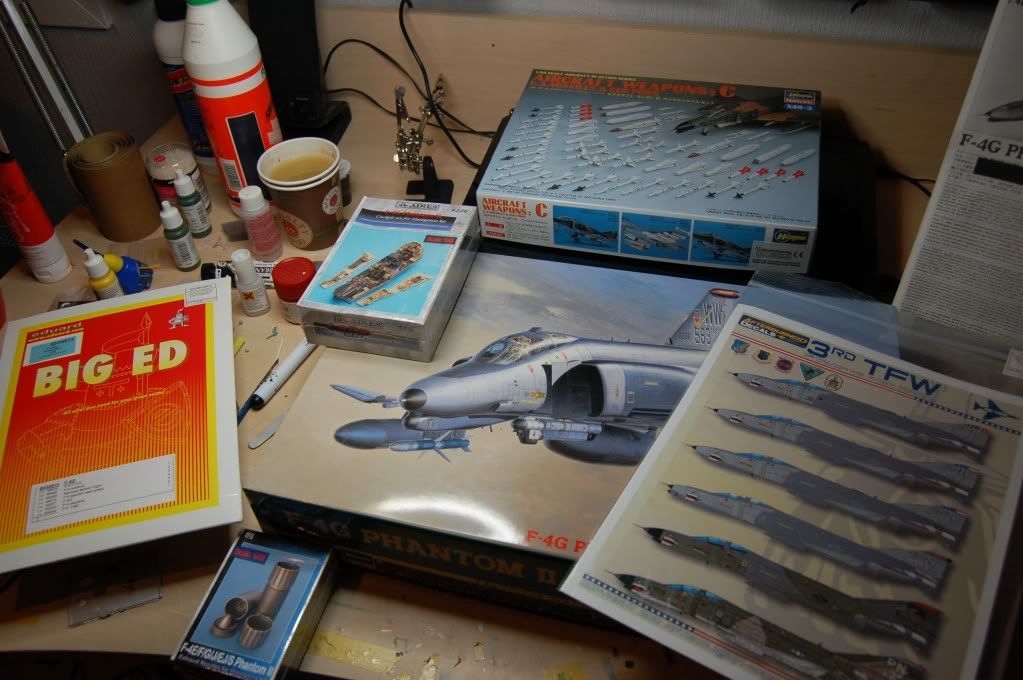
I should have enough work here...As I am not very familiar with resin and PE I figured this would be a great opportunity!
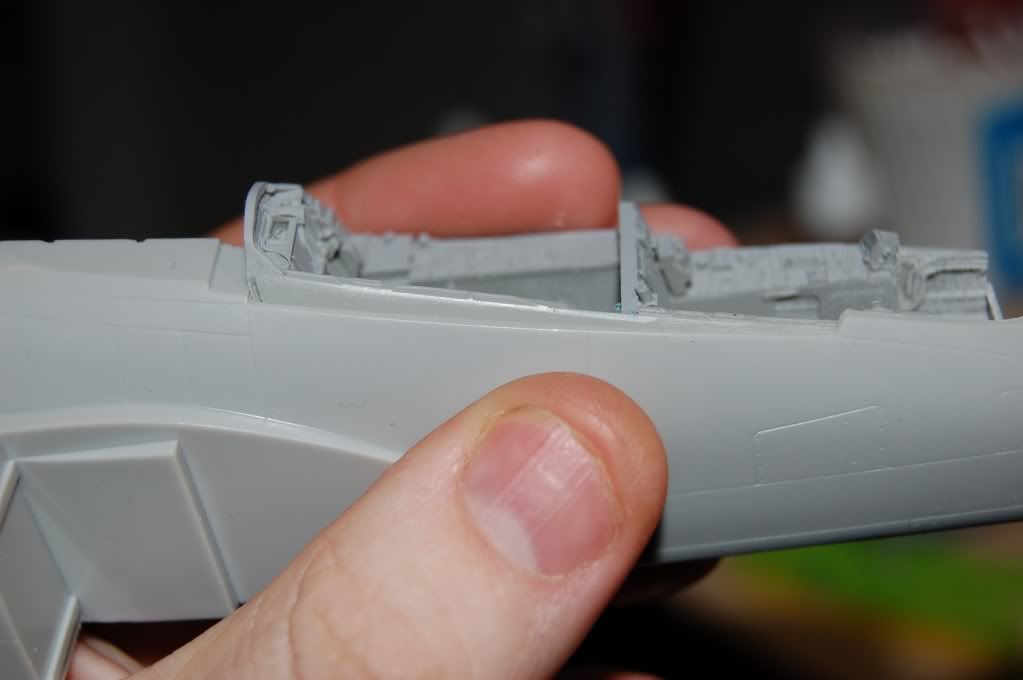
I had some trouble fitting the pit vertically...but it all came toghether with a little violence...(and sanding)
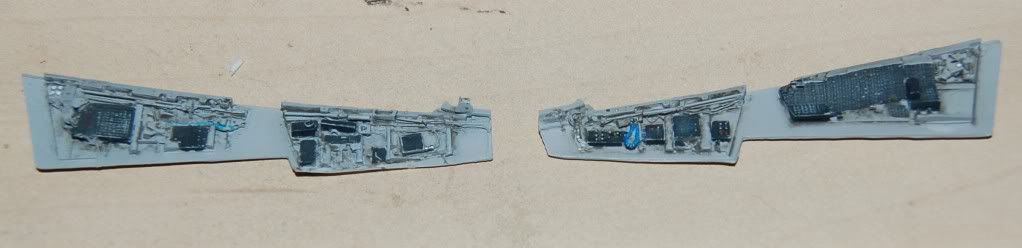
The cockpit sides
The WSO panel
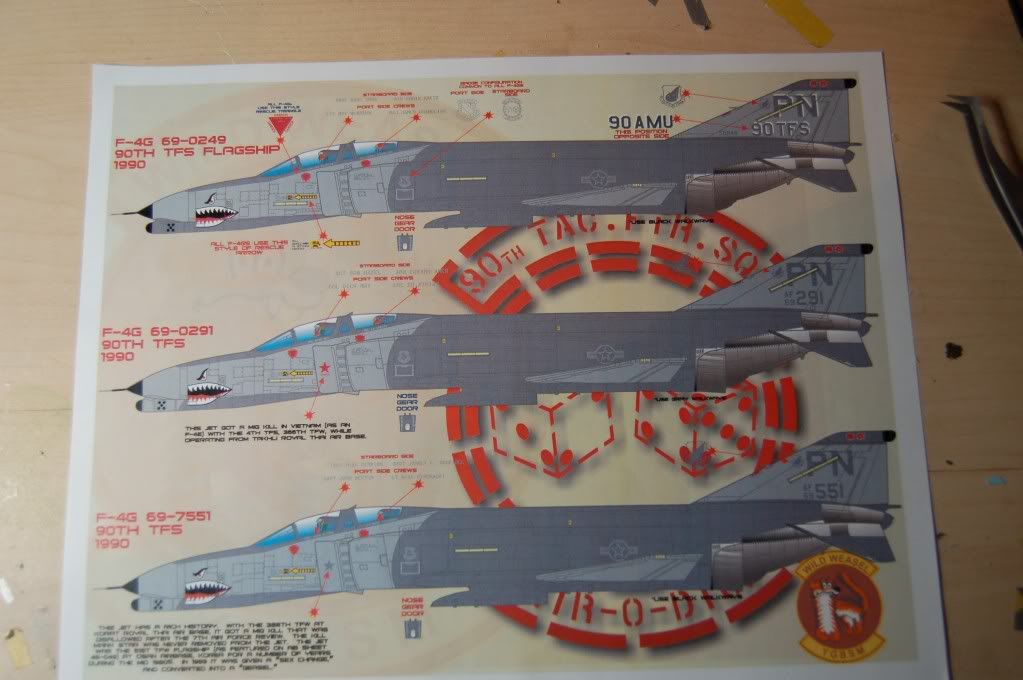
RF-4C/E
in Jet Modeling
Posted
Thanks Jay!!
That was just what I was looking for....but I screwed up my first post..
Phantoms are sweeeeet!
FO