


kiwifire
-
Content Count
152 -
Joined
-
Last visited
Content Type
Profiles
Forums
Calendar
Posts posted by kiwifire
-
-
Hi guys
this is my latest build a 1/35 scle huey cobra gunship
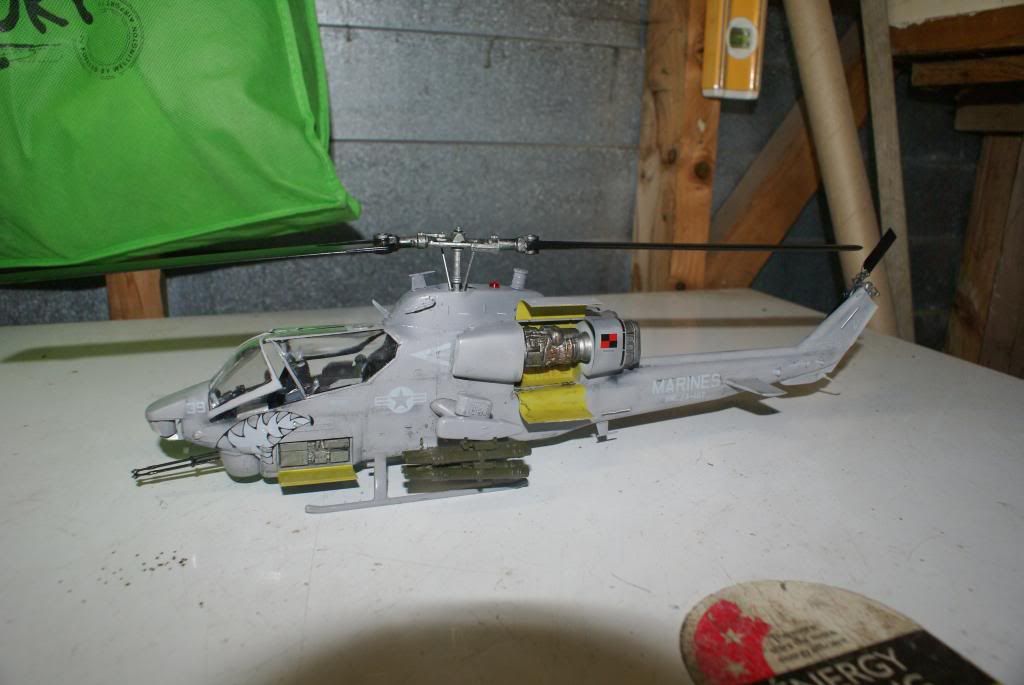
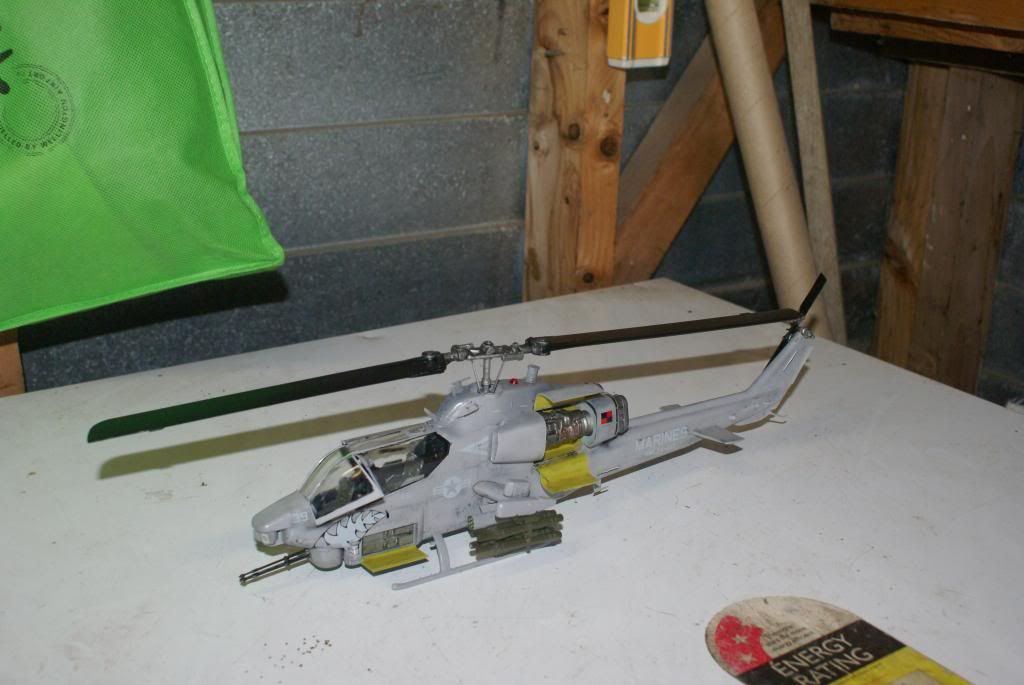
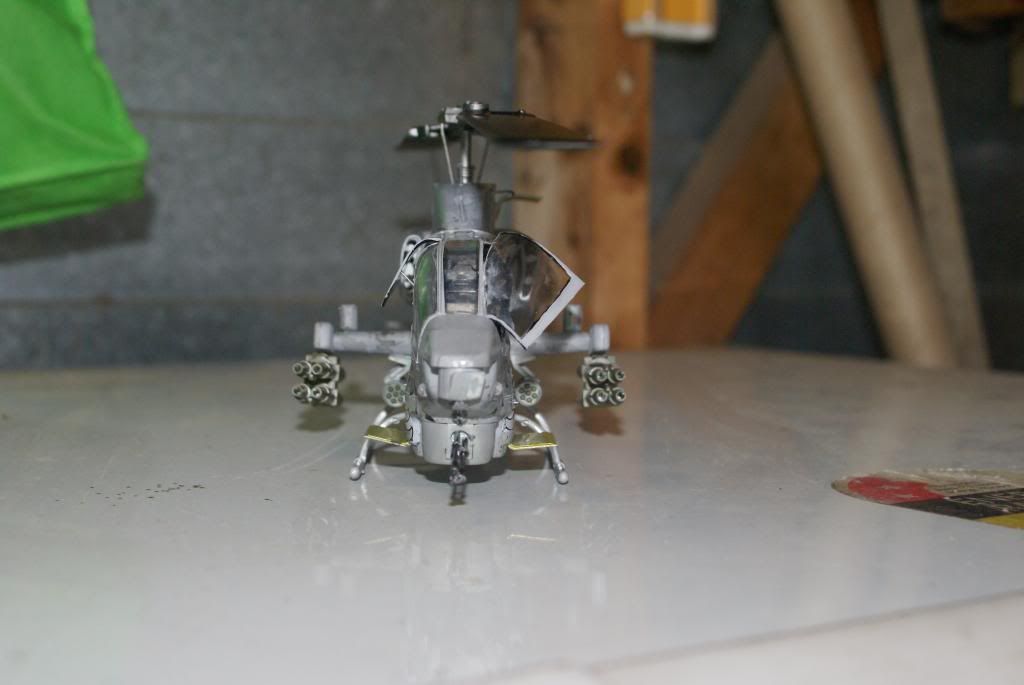
let me know what you think
craig
-
having trouble uploading pics from photobucket will try again later
-
I'd really like to make an ambulance model of one I work in. does anyone know of an ambulance kit that would be a good start? I want to make one with a ford cab and crestline box. I have had trouble finding an ambulance kit, let alone a specific one, so if anyone has ideas as to where to start If I make it from scratch. I have yet toscratch build anything and this would be a great experience to learn
Thanks, Dave
i am a first time scratch builder, i did a 1/32 scale scania fire truck of the nz fire service, all i can say for advice is take heaps of photos of the subject you are modelling off from all angles etc it depends on how detailed you want to go.
the other piece of advice is if you think you can with a bit of patients ( lol scuse the pun ) and some tender loving care and attention it can be achieved.
just remember to measure twice and cut once other wise the wallet will get hurt also.
good idea for a project though i would like to add a ambulance to the diorama that i have nearly finished.
good luck, all the best
craig
-
looking very good so far
well done keep it up
-
who would know what the next project is lol
i am doing a 1/35 cobra attack helicopter at the moment and still trying to finish my fire truck diorama.
space is getting very limited aswell lol
-
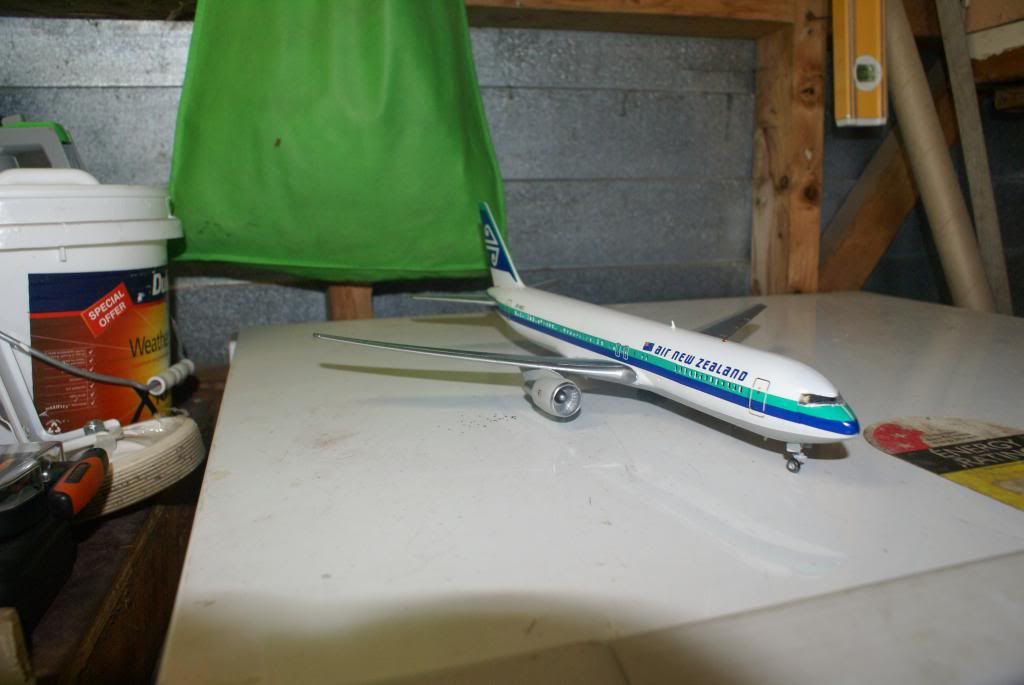
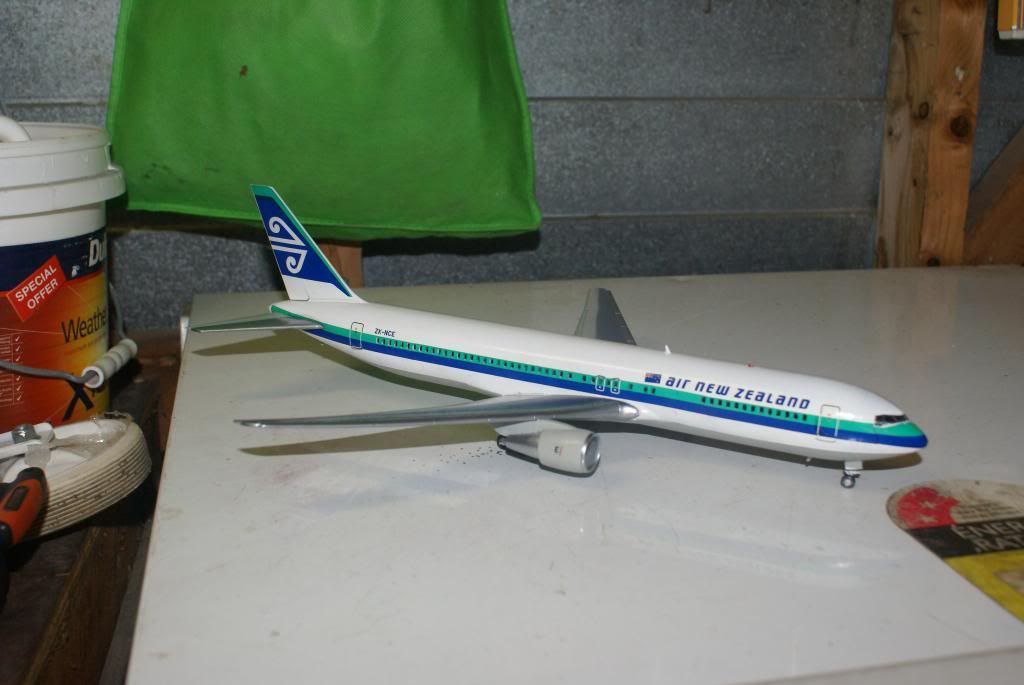
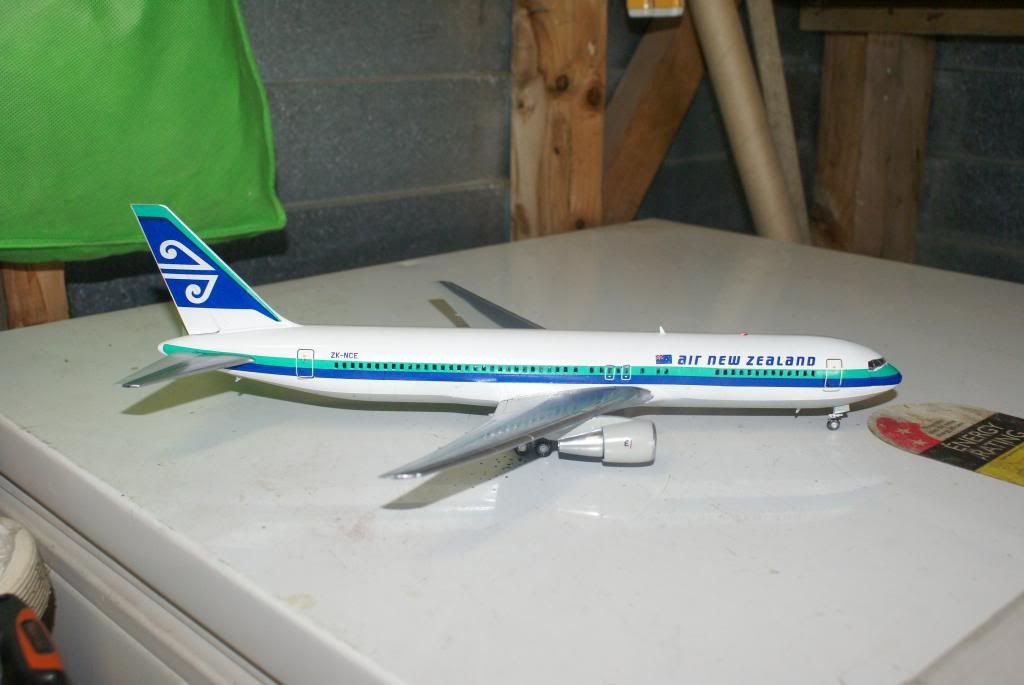
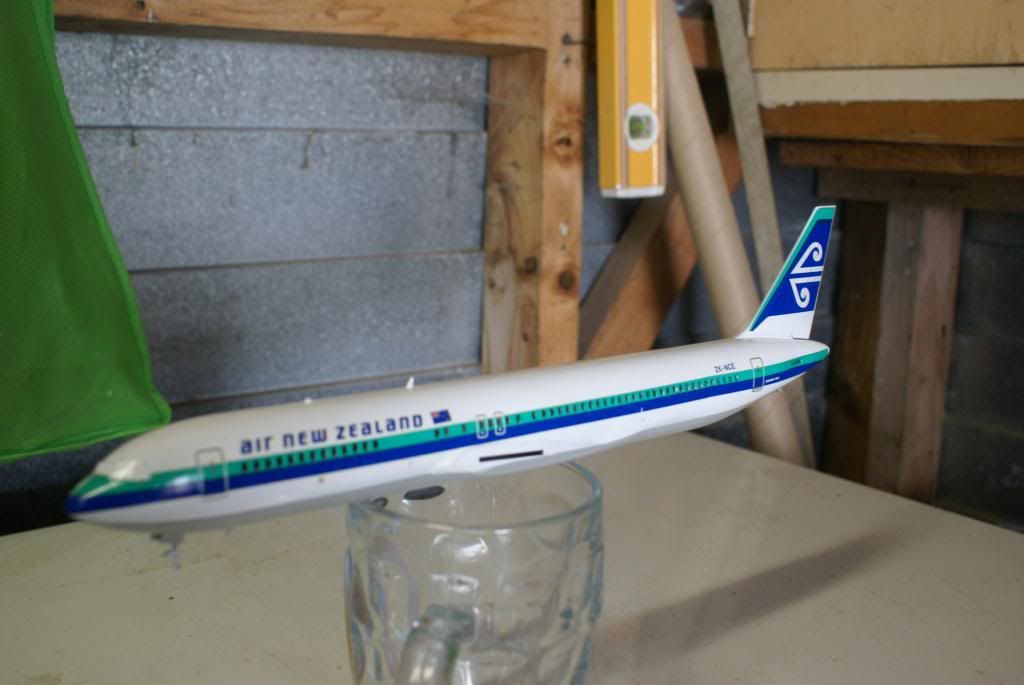
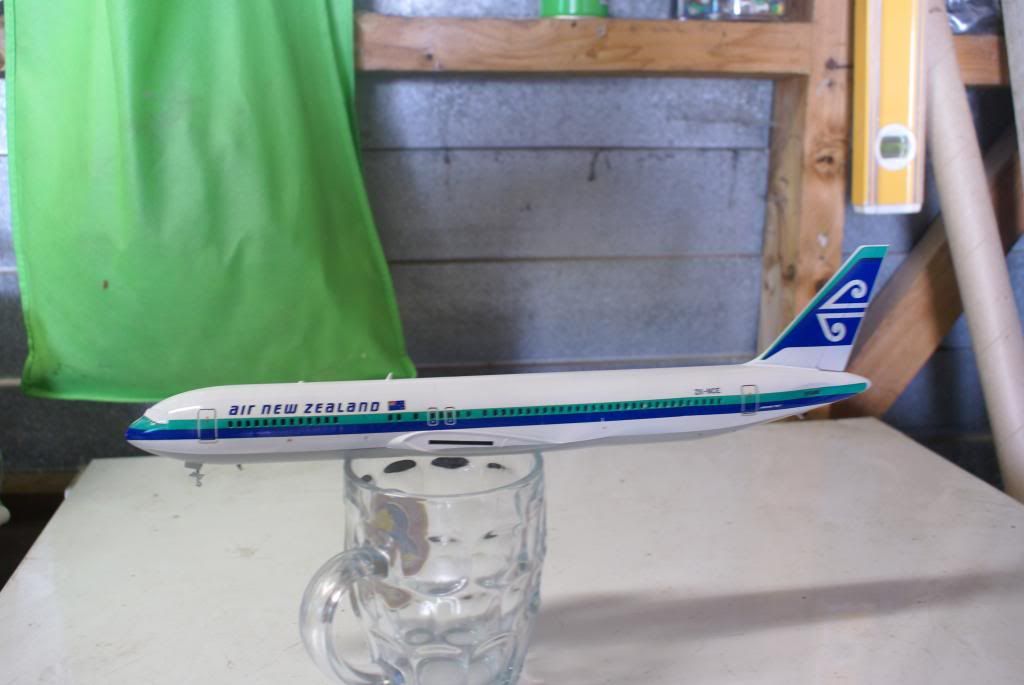
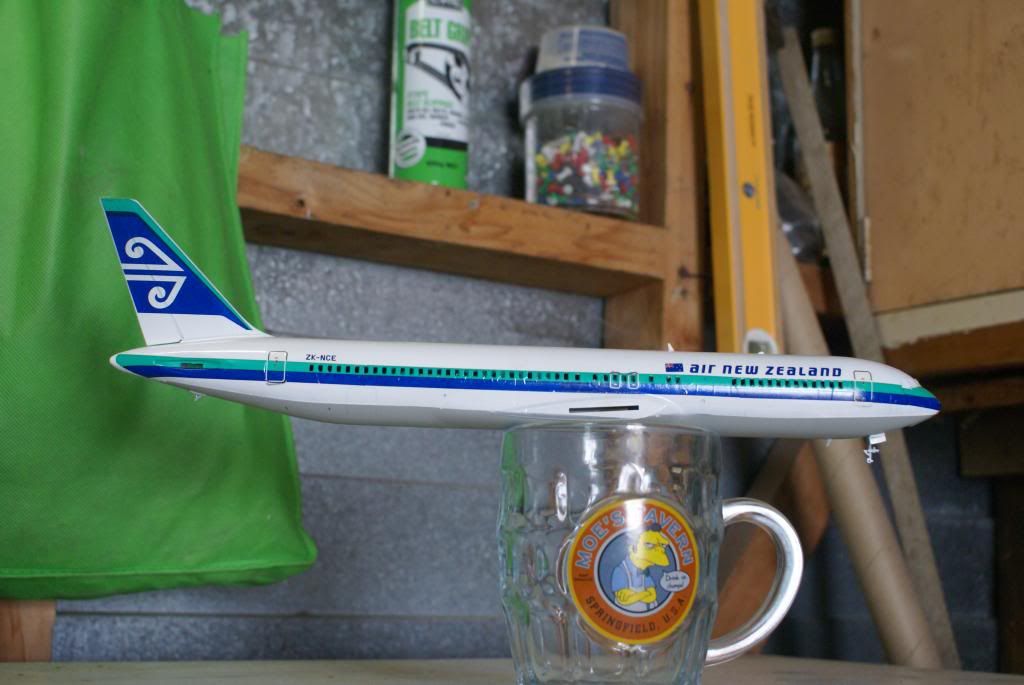
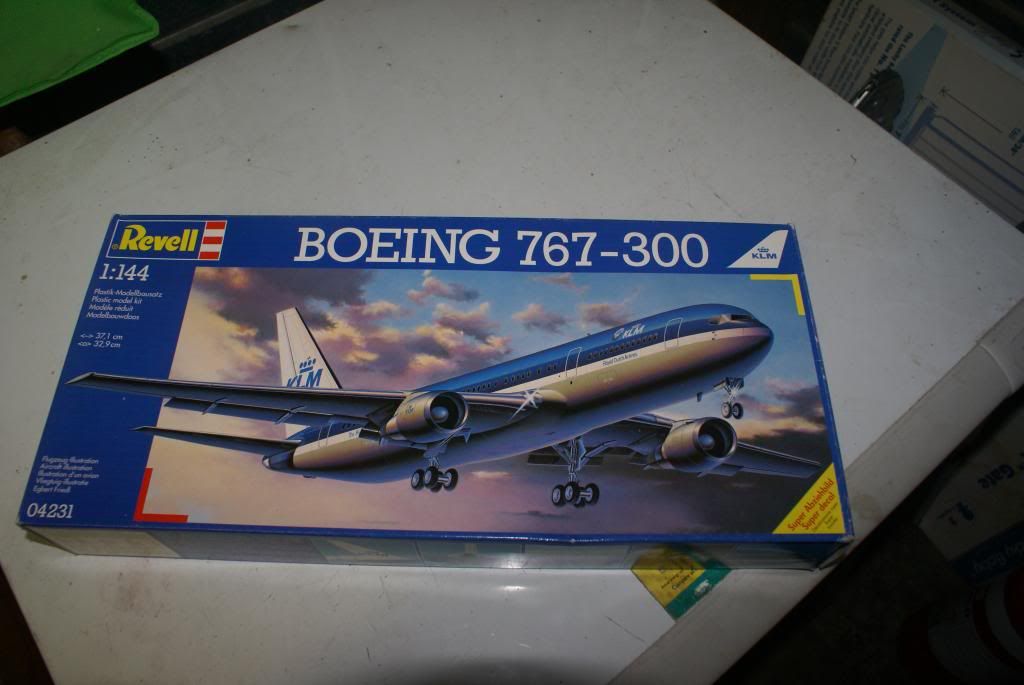
My completed entry - REVELL 1/144th Boeing 767 Air New Zealand
thanks for watching
-
well team the build is complete, i am quite happy with the result, it will look good in my collection,
looking at it now there is definitly room for improvement as with any project
fell free to add positive comments
i will put pics here and then in the completed builds thread
after taking these pics i discovered that the garage monster had eaten one of the nose wheels not very happy with that.
-
I transferred from Auckland to Taupo a few years ago. I think you have everything covered. The only thing would be to put the Hydraulic power unit onto a trolley with two Hydraulic hose reels mounted on top, one is for the spreaders and the other is for the cutters. There are hooks on each side of the trolley to hang each hydraulic tool. The left rear locker on the PRT has fold down ramps so the trolley can be wheeled in and out of the locker as a unit with the spreaders and cutters. It's a stupid set up but it is how it is done on most PRTs these days.
Edit:
Hi there Dan much appreciated, i would love to be career nzfs but had no luck each time i tried so i went volly, i am on a composite station with a prt in upper hutt
-
I am a career Firefighter and work on PRT
awesome handy to know,
there anything else missing other than what you have mentioned that i should do,
I am a career firefighter at wellington airport - where are you stationed?
-
awesome effort well done

-
Looking good, a few things you might want to add are; have the high pressure hose reel run off and placed ready in case the car catches fire, a fire extinguisher placed in a similar manor, hydraulic rams on the staging sheet, wooden cribbing under the car to stabilise it, soft protection (Kevlar sheets with magnets sewn into it) placed over the cut car pillars near the patients, hard protection (plastic or wood) on the staging sheet.
Hi Dan, thanks for the input and some really good ideas there i hadnt considered the soft and hard protection ( although i should have after having done the MVA PRT course ),
i am aiming to make the cribbing for the stabalisation for the car, and the extinguishers etc when i get around to it. i am also intending on having the tools actually in use by some fire fighter figures when i can figure out how to make them look correct.
I take it from your knowledge of equipment you have some experience in this area of MVA PRT?
-
coming along well so far, a good challange
-
hi there guys many thanks for the advice, i have been using micro set and after a bit of time and carefull patience the decal has conformed and looks better now,
thanks for all of the tips and its back to the table to get more of it done.
-
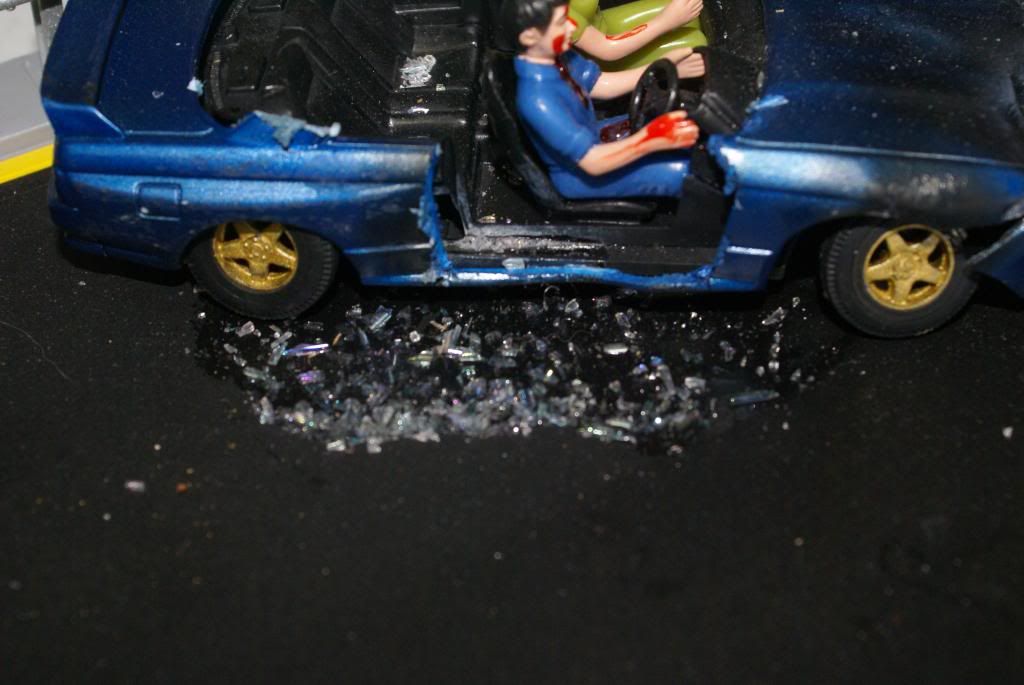
well guys alot more has been done in this diorama now and so far i am very happy with the end result
the car was damaged by heating over a candle to achieve the result that i wanted
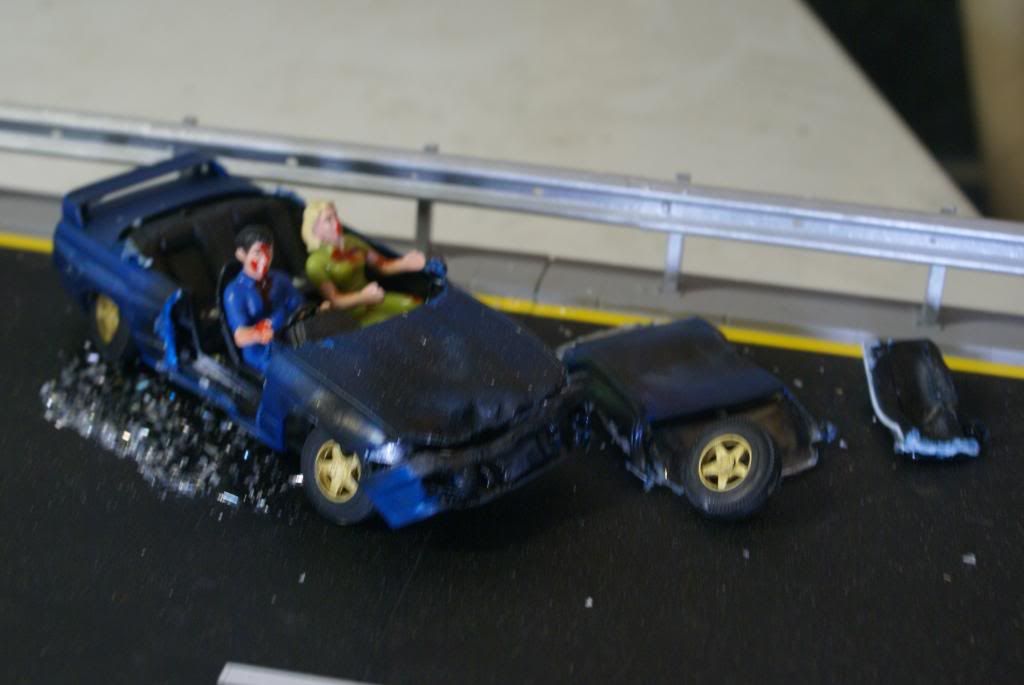
the roof was removed to simulate patient extraction by the fire service

to simulate all the broken glass i used a couple of handfulls of clear plastic beads and just crushed them up with a mallet and used PVA glue to stick it in place
i made up a salvage sheet using a piece of baking paper and painted it the colours i needed and layed out my cutting tools on that, the hydraulic lines are yet to be added

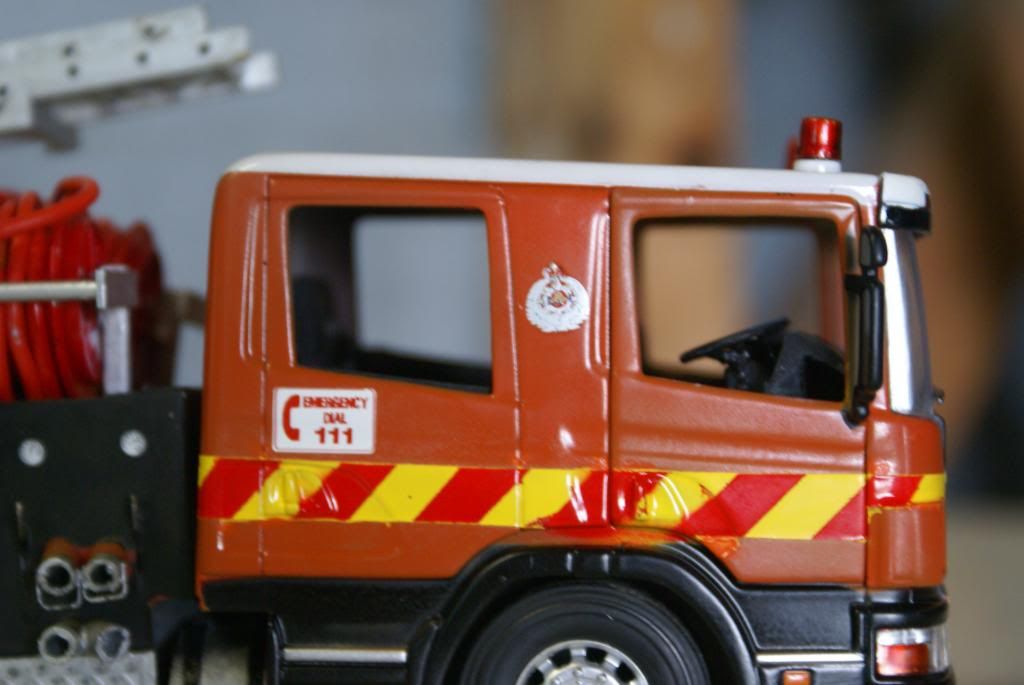
the decals for the truck came out ok, not to happy with the crest so i might re do it

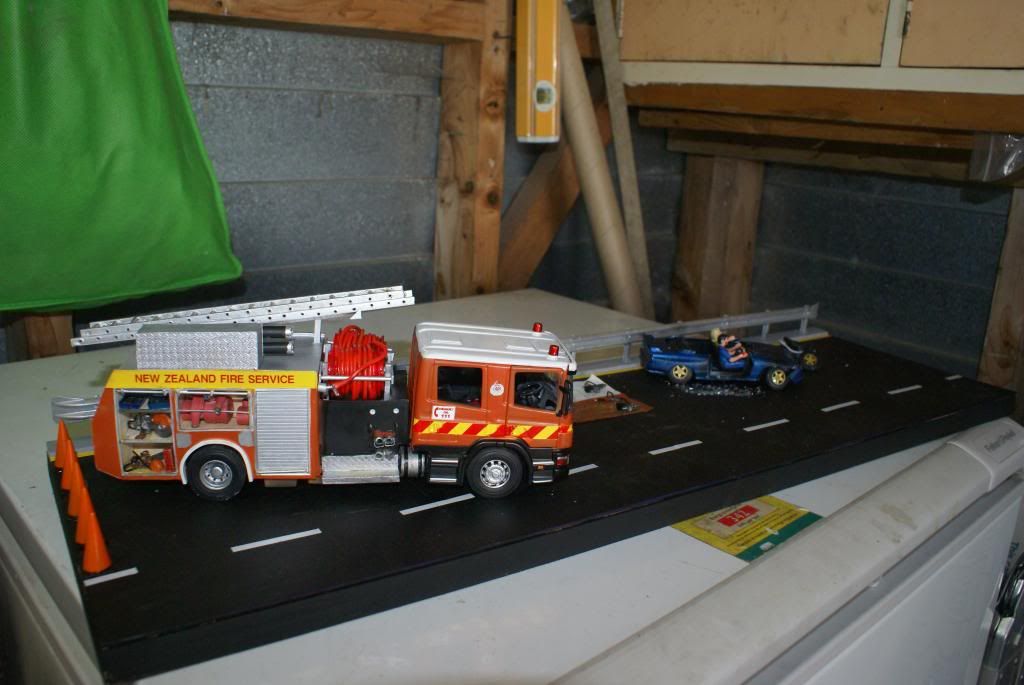
I then placed the truck in position to see how the finished product will look when it is all done, not far to go just some minor details to build for the truck and the diorama itself.
overall i am very happy for my first big project and scratch building attempt
let me know what you think
-
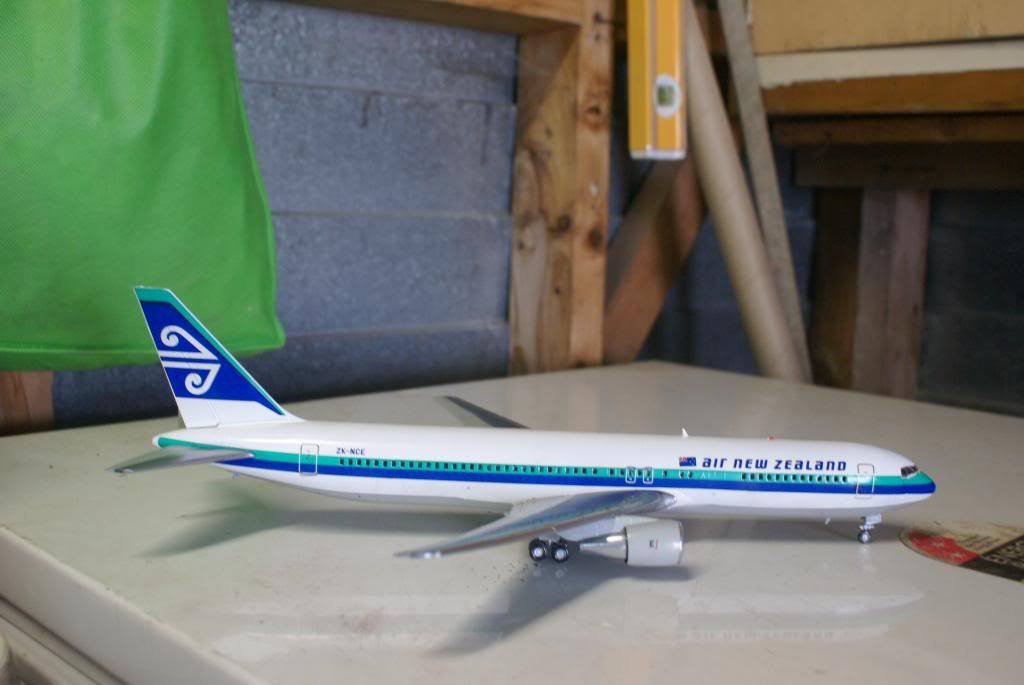
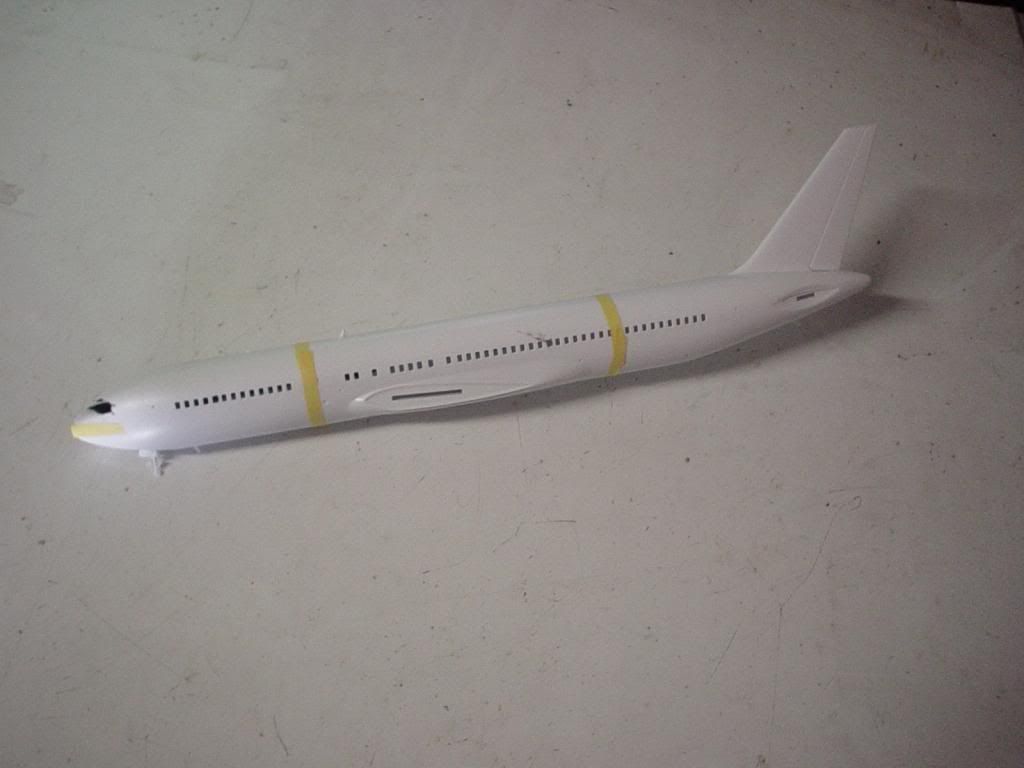
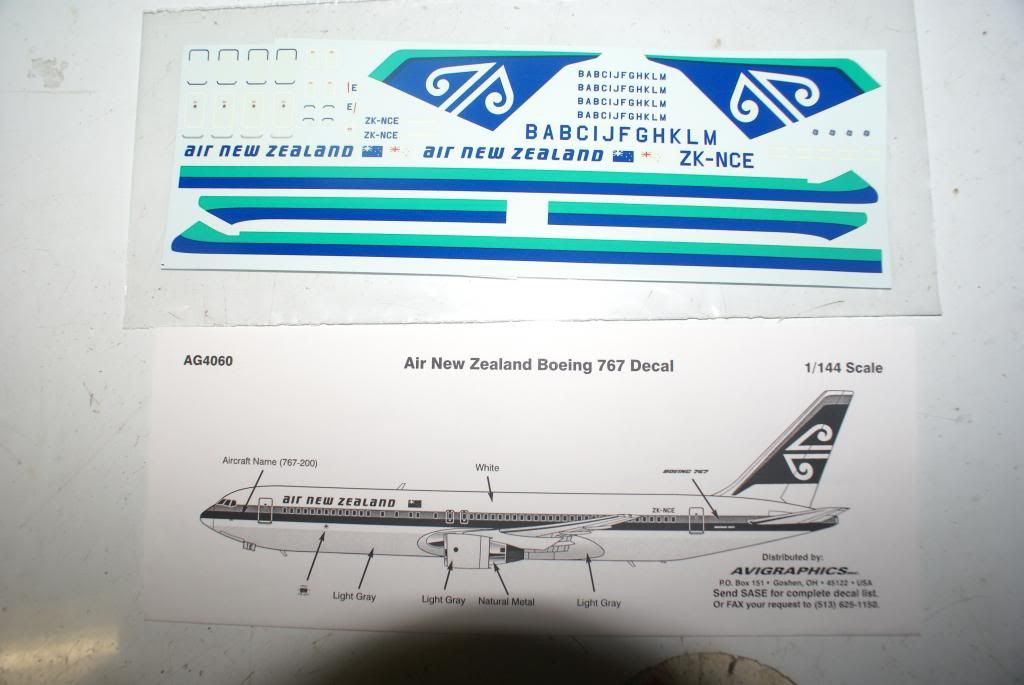
Hi there Guys, some more has been done on the beauty of the skies from yesteryear,
the decals have gone onto the main fuselage and after a few issues and a bit of trimming they are on with a reasonable result.
I did have some major issues with getting the colours to wrap around the nose but its getting there,
let me know what you think
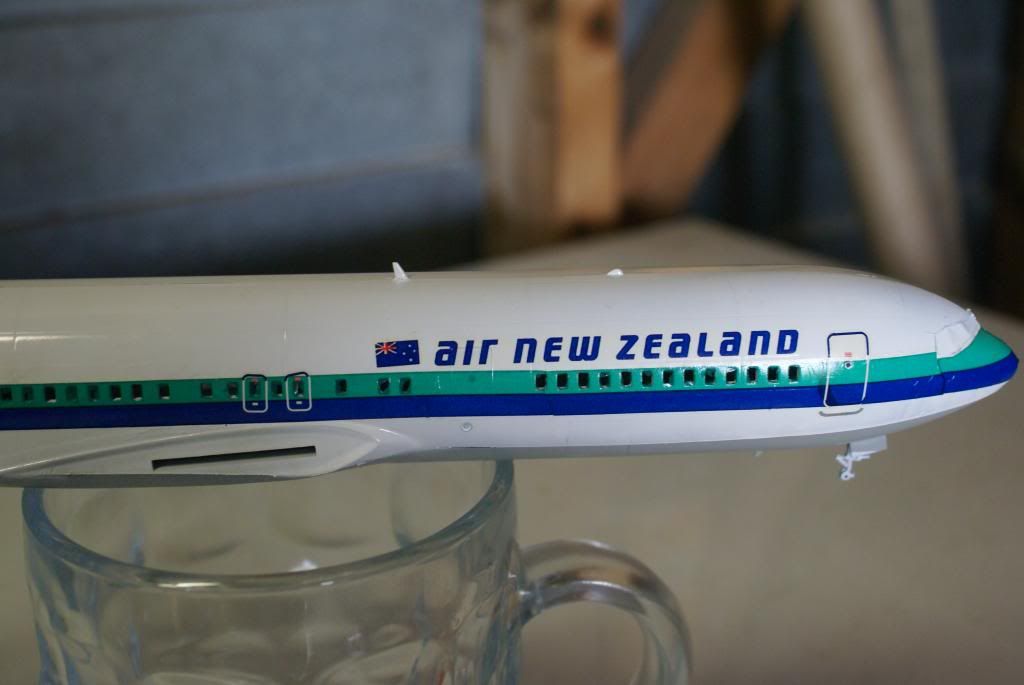
craig
-
looking really good so far , keep up the good work

-
the kit is coming along well so far had a few issues with the fit of some parts but getting there, i will take some pics this week and put them up
-
well time for another update, this time the truck is away getting decals done by a sign writer ( i have tried to get them as good as i could and as close as i could. )
while that is happening it is time to move onto the diorama of the set up that it will be displayed in.
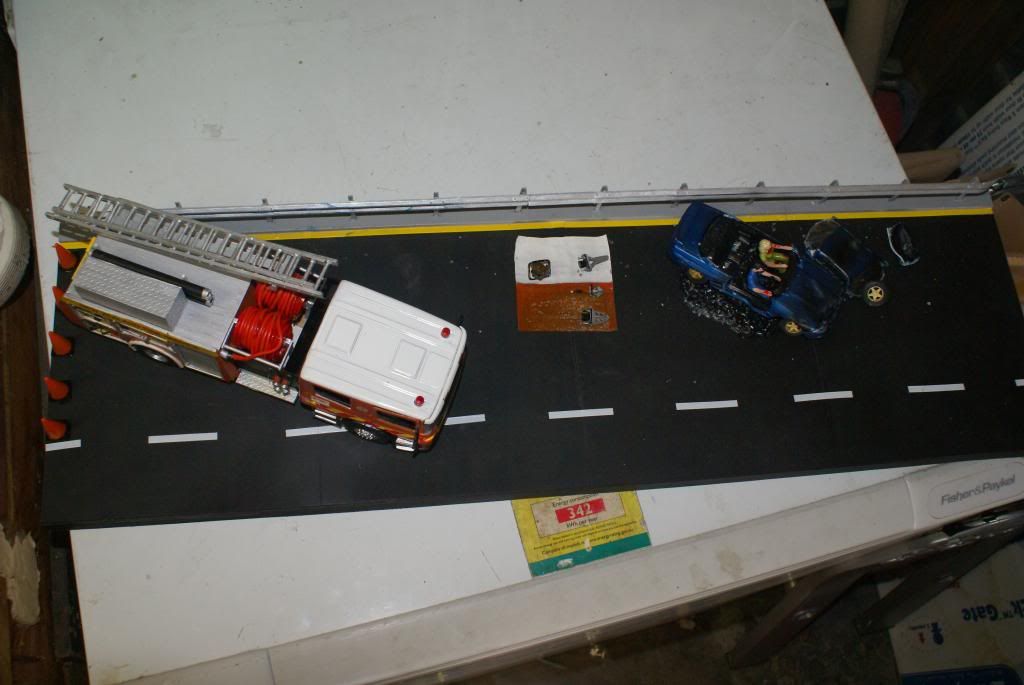
i have made a section of motor way using the Italleri road kit, i had to buy two boxes to get it long enough and made and painted it all up complete with the side barrier,
the look i am going for is something i have seen now and then during my time as a fire fighter and that is a drunk driver or boy racer showing off to girlfriend and has crashed the car and has had to be cut from the wreckage by the NZ Fire Service - we go to way to many of these calls.
for the boy racer car i used a 1/32 scale nissan skyline
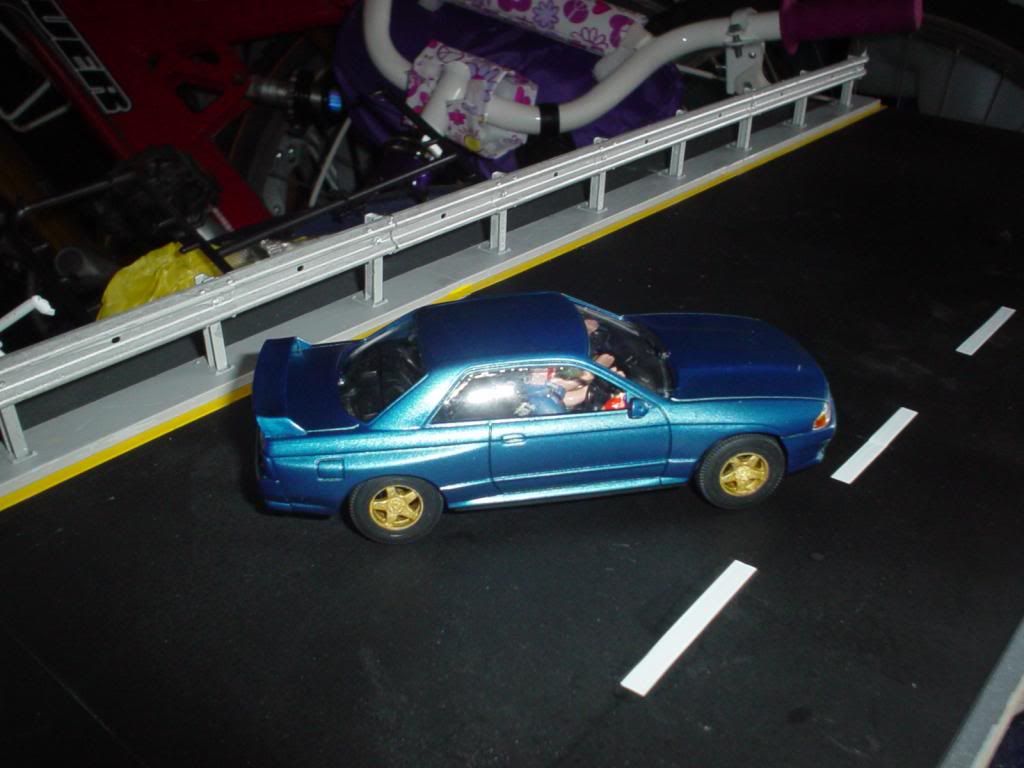
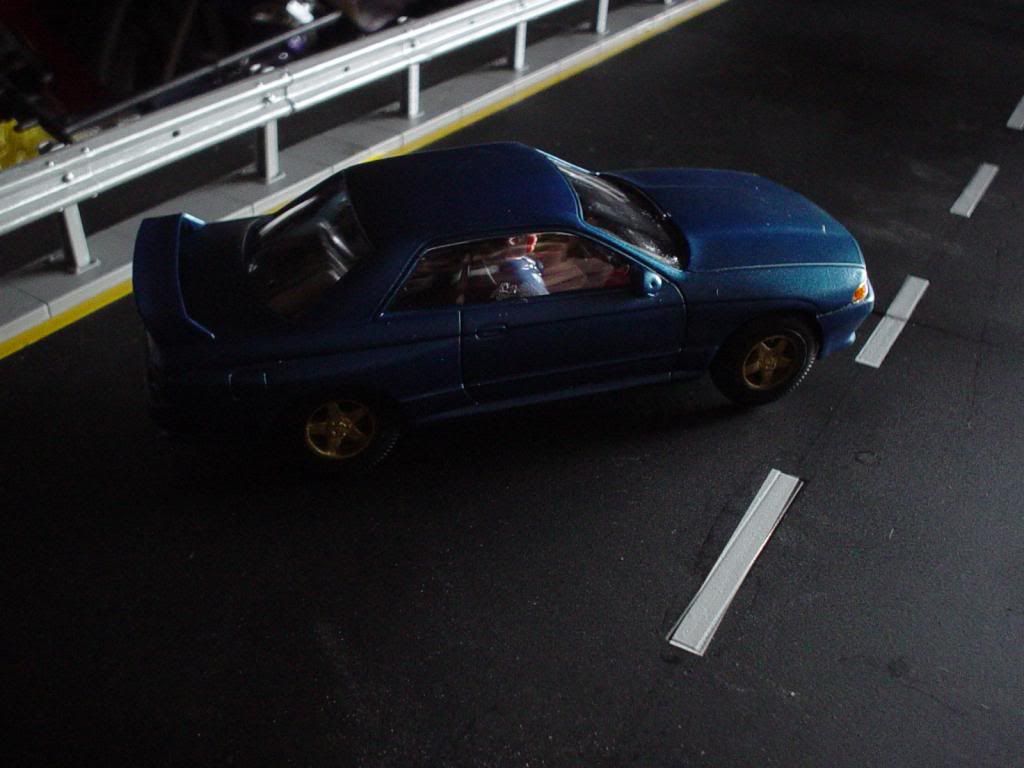
i added a couple of 1/32 figures from a SIKU tractor driver set that i found and they needed some mods to fit in the car and of course some injuries ( discretion advised )
the car will eventually be displayed with the roof cut off and the drivers door cut off

it may seem pretty gruesome but this is what we face as fire fighters and this will be used to try and educate young people about the dangers of drinking and then driving and also the dangers of speed
let me know what you think
there qill be a label that will be engraved to go with the display - i have to think of an appropriate message yet
what i have got so far is
The Faster you go the bigger the mess
how does that sound? any advice on messages will be greatly appreciated
-
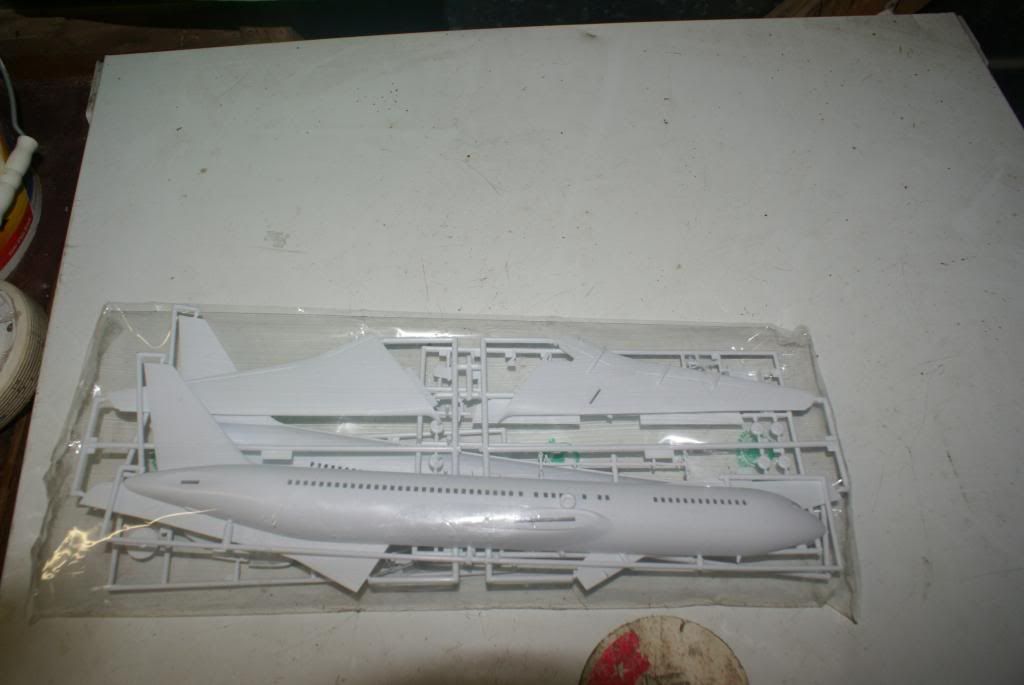
Sorry for the delay in posts guys, things have been pretty hectic around the joint at the moment, been doing some study for a course so i have to take a break for a bit,
what i have accomplished so far isnt much but its a start anyways,
the wings and the other parts have been put together

the fuselage had been painted black on the inside to give it a bit of a shadow look and then joined together and let to sit for a while
then i place the pieces in a rough lay out to see how big the aircraft is and i must say its a good size
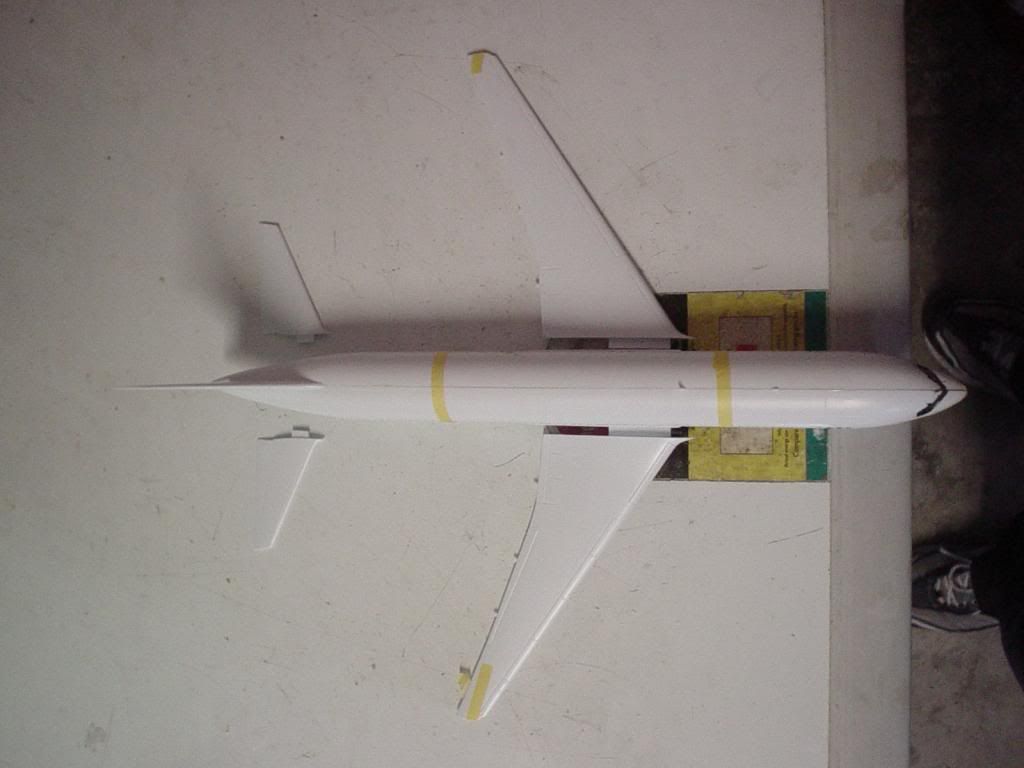
i will try and get some more done soon
-
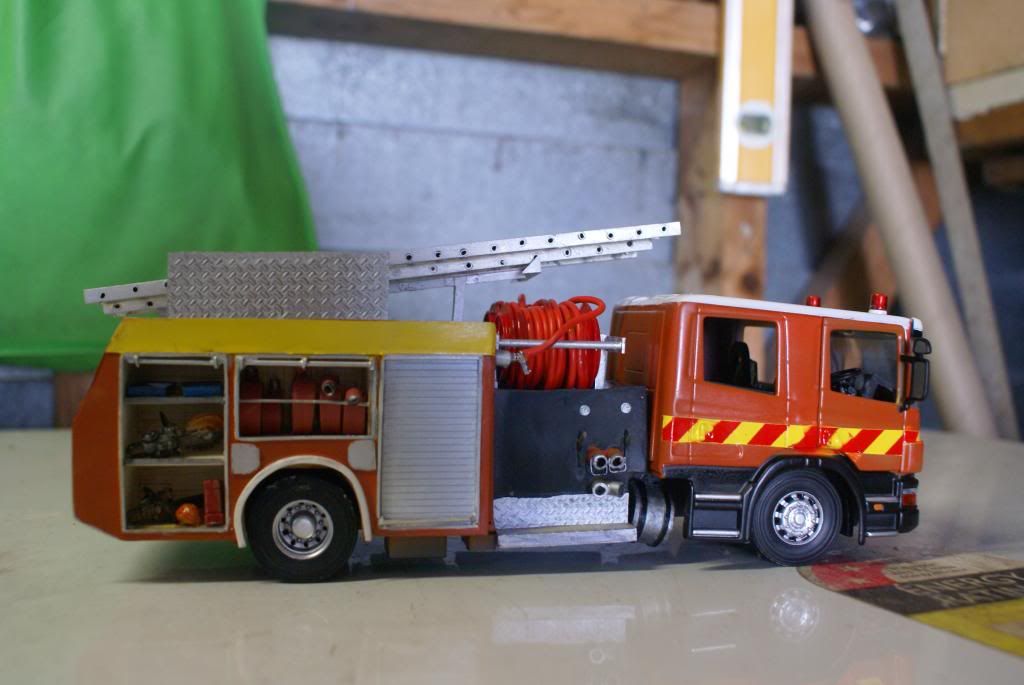
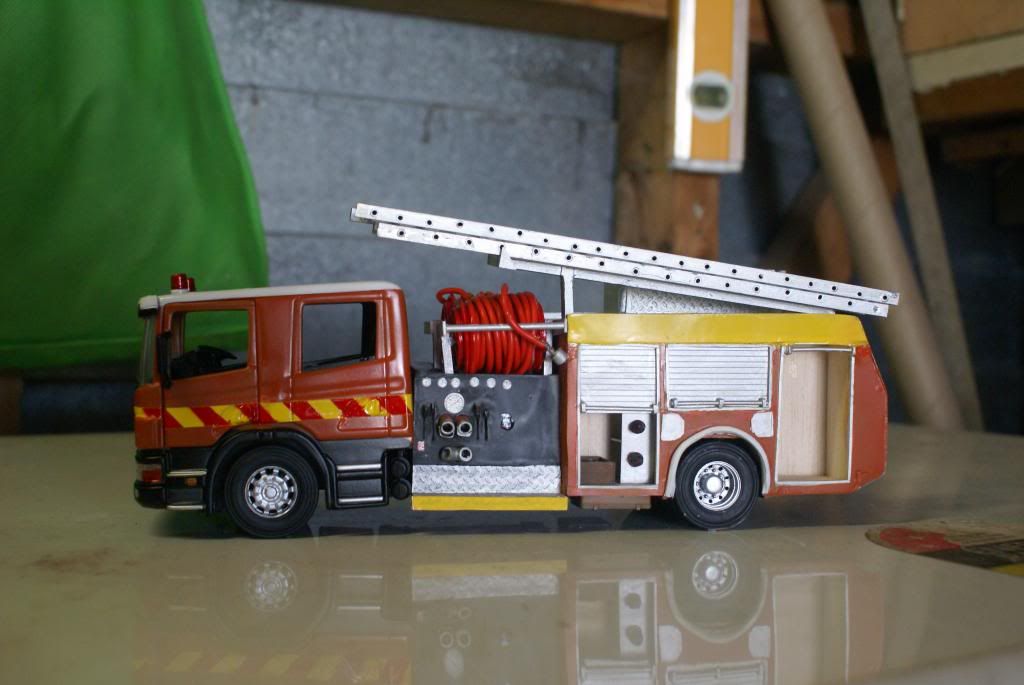
well guys the truck is pretty much finished except for a few details that will be added later when time and money permit.
the lockers have been stowed with equipment and one has been left empty on purpose as this would have had rescue gear in it and this will be out on the diorama that comes next
let me know what you think, i know that it is not as good as some of the models on here but i am a first time scratch builder and am reasonably pleased with the first efforts i have come up with
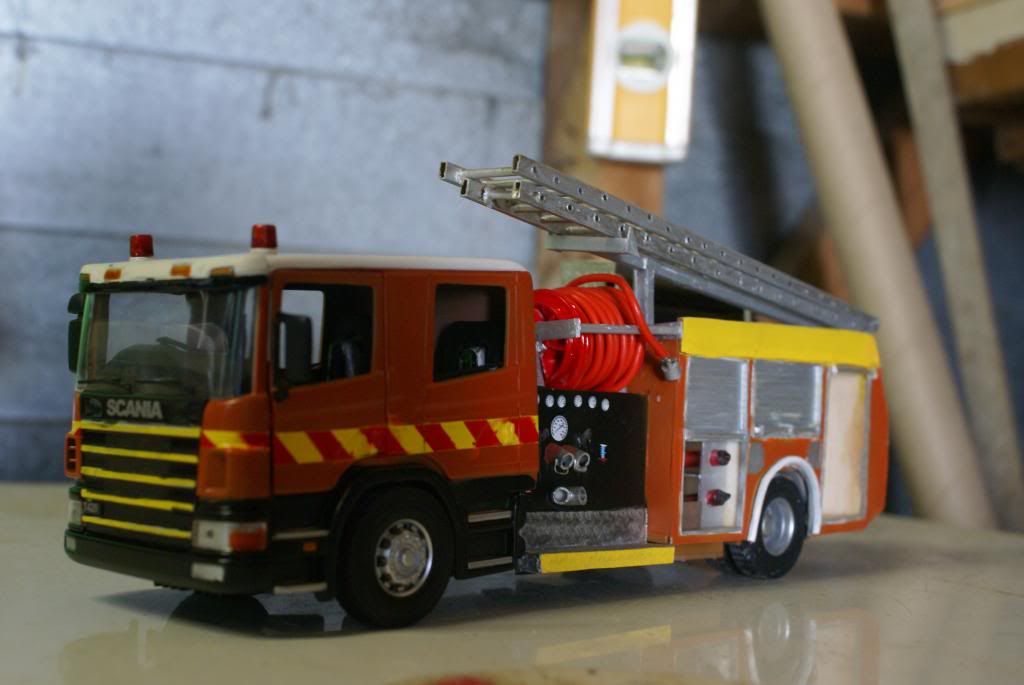
feel free to comment and all adivce is appreciated
-
Hi guys this is my entry for the GB
A Revell 1/144th scale Air New Zealand Boeing 767 with decals from the old era of the airline
i will be getting onto this as soon as possible
-
revell 1/144th Boeing 767 - Air New Zealand
-
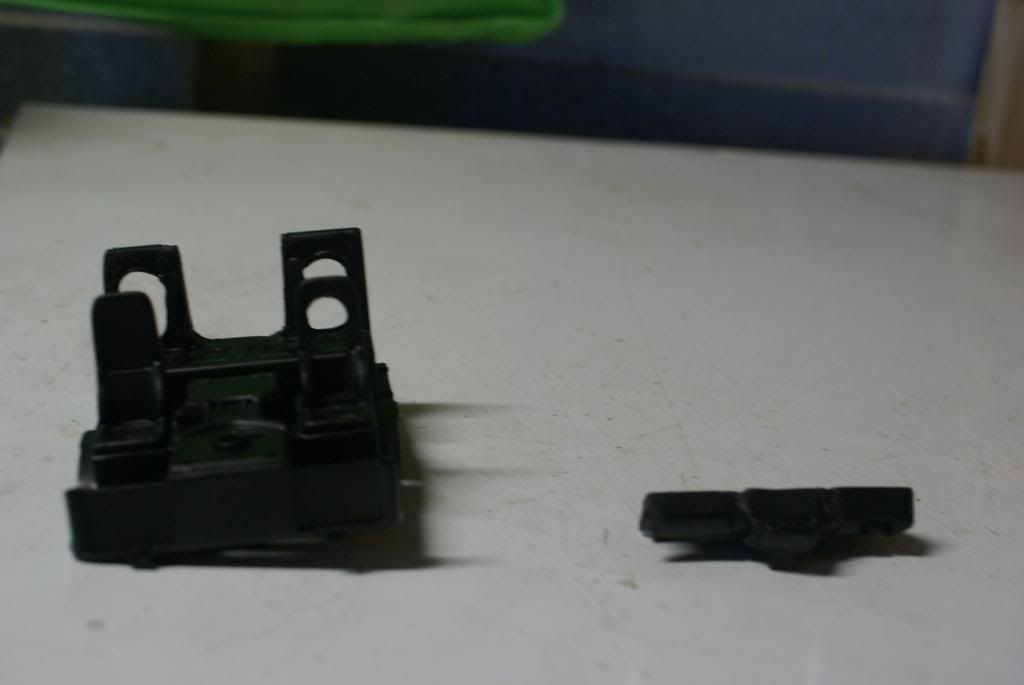
well guys some more of the truck has been done, there is still a heck of a mount of tidying up and detailing to be done, but it is nealry there then onto the diorama from there
the cab interior has been done and is awaiting details such as BA sets and radios gear etc
the rear section has had the stripes added and the rear step also some touch ups on the paint to go but there is little bits every where
the ladder and gantry and the tool box have been added to the roof along with the 2 lengths of suction hose

the hose reels have been added and there again is some paint to be touched up in places
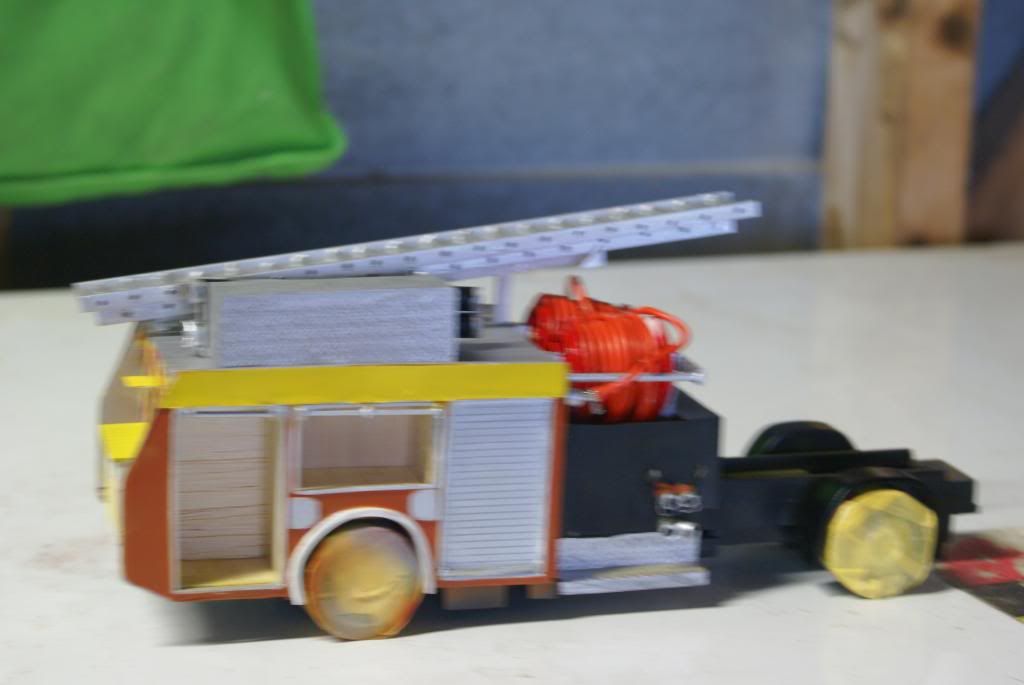
i added the cab to the model so i could see how the finishsed product is going to look and for my first attempt at scratch building i think that i have done ok, i am by no means a professional builder i am just a fire fighter with a passion for fire trucks and the modelling hobby
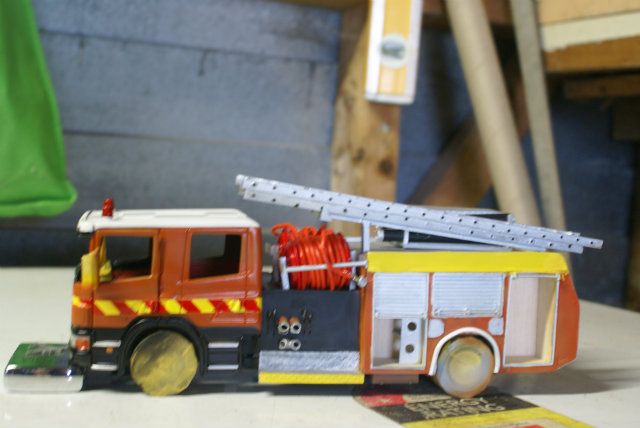

keep watching and let me know what you think
-
looks very good, coming along nicely
:D


Fire Fighters Stair Climb
in General Discussion
Posted
Hi Fellow Builders from around the globe,
I am a fire fighter in New Zealand and in 2015 i am going to be climbing the auckland skytower in full fire fighting gear to raise money for the Leukemia Foundation here. this challange comprises of 51 floors and over 1000 steps.
all moneys donated goes to a great cause, if you are in a position to help that would be great, the link to my fundraising page is below
thanks again
craig
https://secure.leukaemia.net.nz/registrant/FundraisingPage.aspx?registrationID=839423&langPref=en-CA