


zaktwist
-
Content Count
239 -
Joined
-
Last visited
Content Type
Profiles
Forums
Calendar
Posts posted by zaktwist
-
-
On 12/01/2017 at 2:58 PM, salvador001 said:
Hey Zak, that looks tremendously awesome. Love all the detail you are adding. The rivets looks great. What are the size of rivets you are using?
Thanks.
Rod.
Thanks rod. The archers rivets- I used some from their 'n' scale and some from the 0.4mm sheet. The microscale rivets are larger but don't have a specific scale.
-
Hi folks
Just a small update, lost my mojo over the Xmas period so slow progress.The nts unit..... Version 15 or 16 who knows... It's starting to resemble the real deal now, pics are a little crappy but hopefully you can see the adjustments I've made. Also sourced some mirror paper (the same stuff used on two way mirrors) to use on the left side camera glass, will post pics shortly.
Began riveting the tail and boom, looks a little messy at the minute as I'm using humbrol's decal fix. This leaves a gluey residue but has a much stronger bond than microfix/sol. I'm using a two different sizes of archers rivets and Micromarks rivets for the larger rivets.
Also scratched the tie down thing on the centre of the boom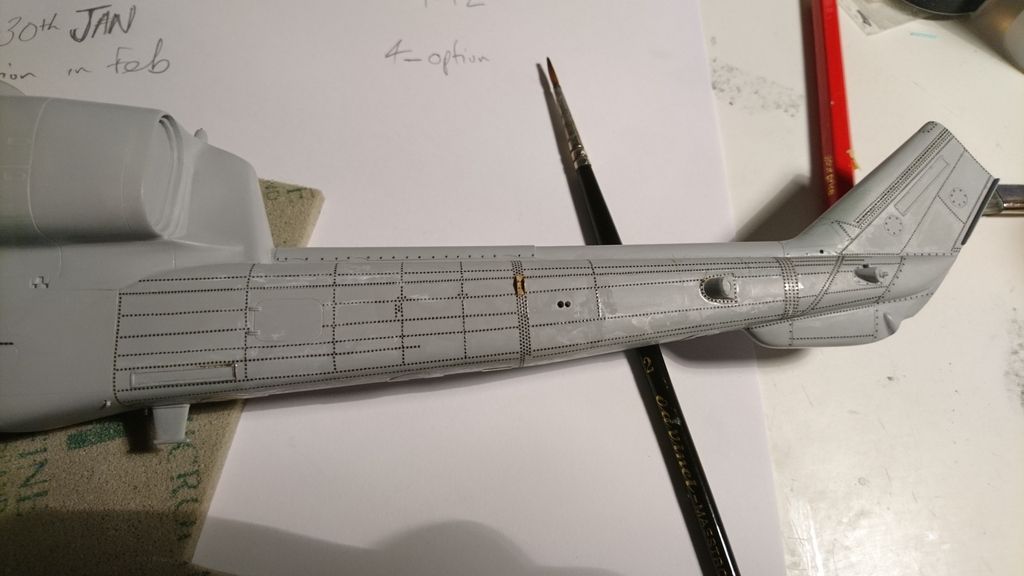
More soon
Zak -
On 03/01/2017 at 11:02 PM, usmcski6502 said:
Outdoor shot:
Wow that is one nice model! Yea I think I'm going to have some custom made, still unsure of what airframe tho....
-
On 18/11/2016 at 5:26 PM, usmcski6502 said:
No doubt, by the time you're done you're going to have the most accurate Whiskey out there. Watching with great interest, keep up the good work! I used to work on 'em, so if you need any ref pics, let me know.
Semper,
Ski
Thanks for the kind words dude, really appreciate it, hope I can continue to do it justice! R.e ref pics, I'm still undecided on what scheme I want, I'm thinking I may get some custom made mask/decals so any ref pics of whiskeys serial numbers, markings etc that you've worked on would go towards helping me decide. Also any pics of the main rotor would be good, specifically the blade tips as I think the academy kits blades are incorrectly shaped
Cheers
Zak
-
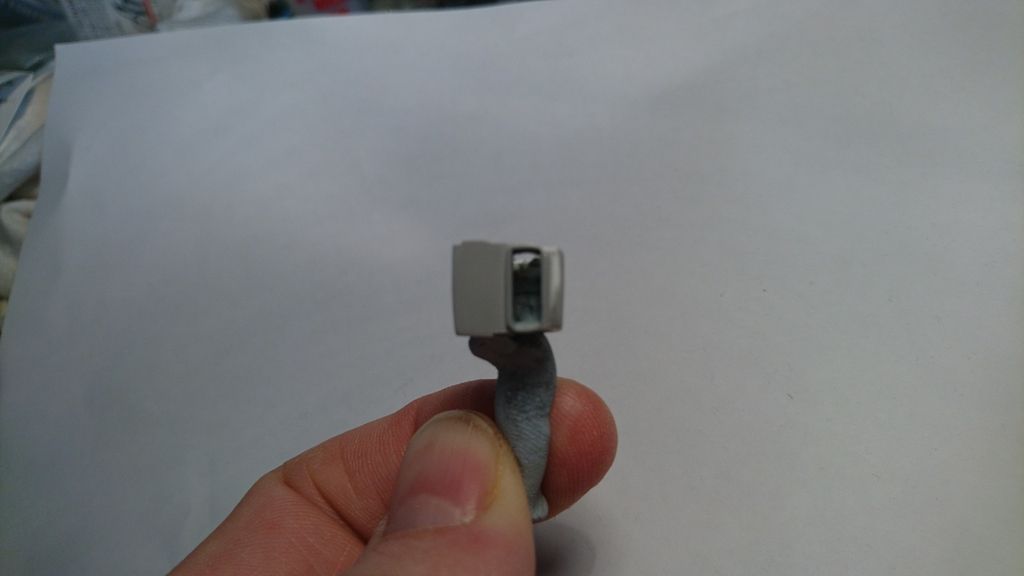
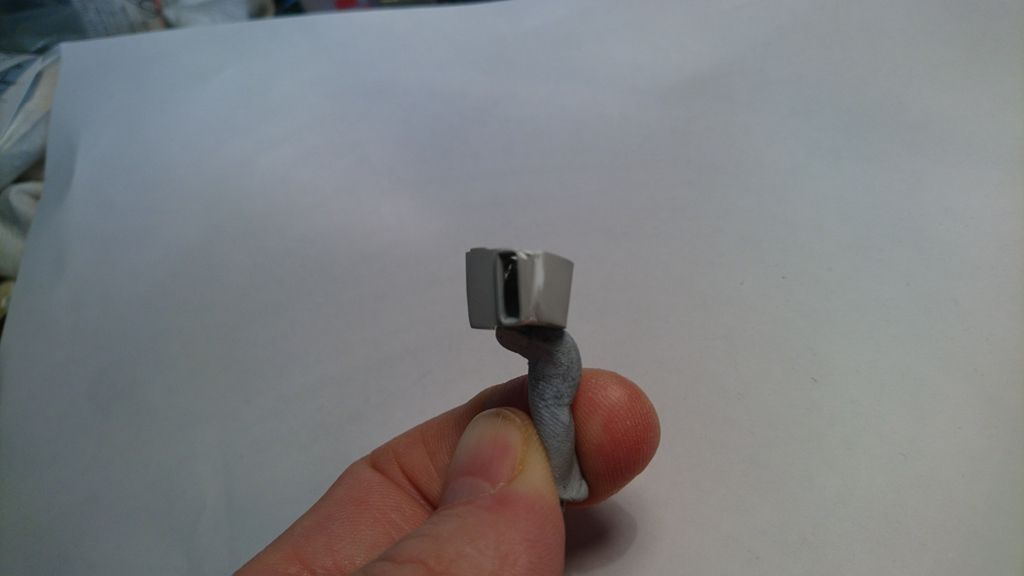
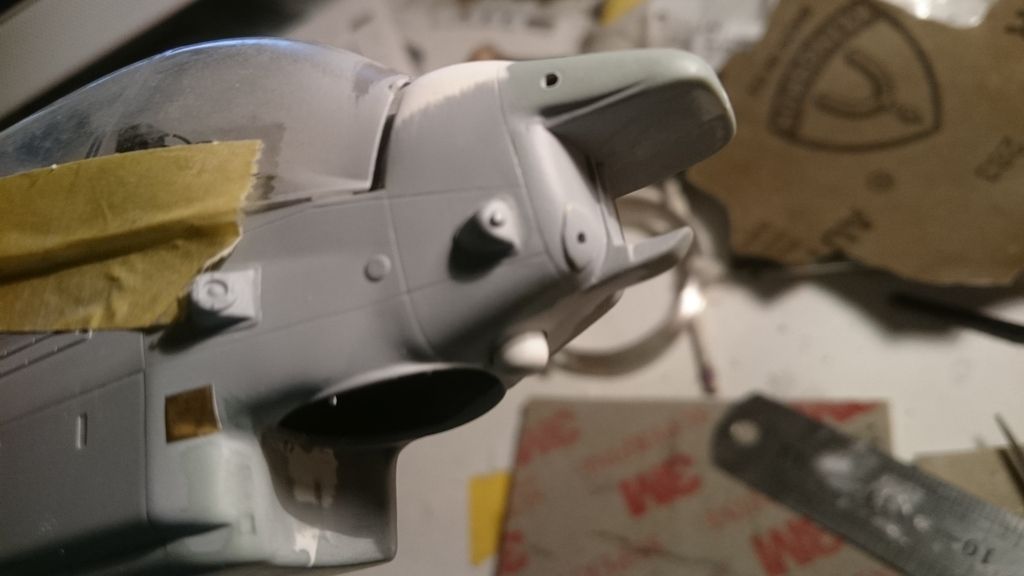
Hi folks. Im racking my brain on how to create the canopy seals on my current AH-1W build. Im specifically talking about the black/grey rubber seals on the interior of the canopy (see photo)
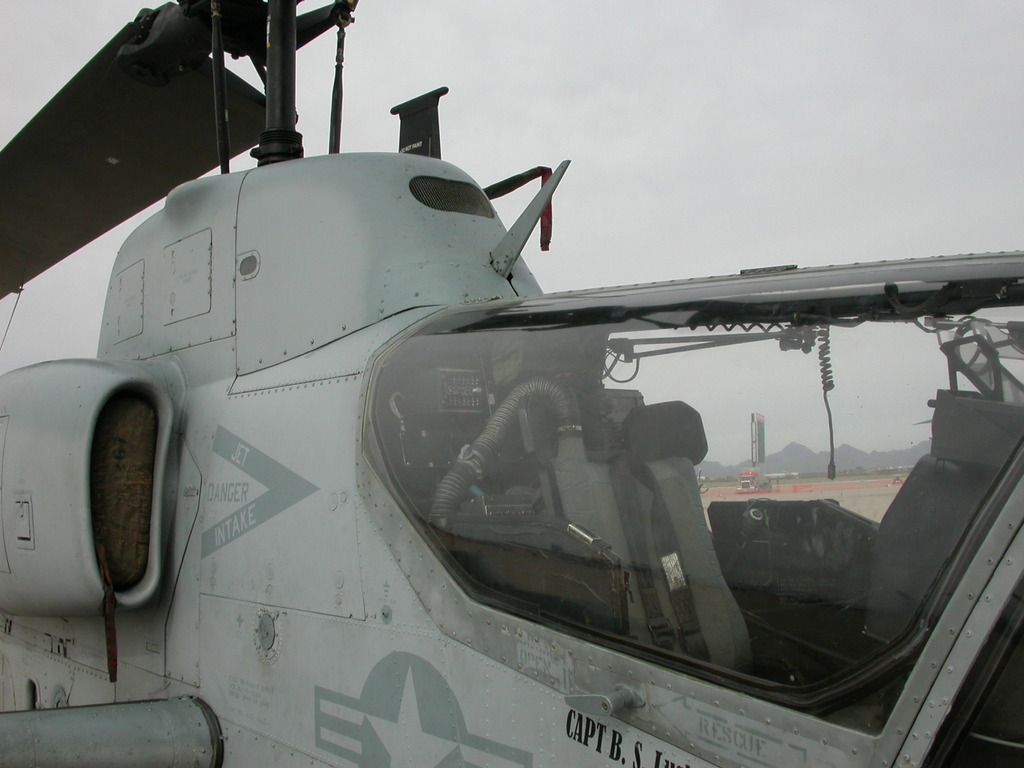
I'd rather not paint them on as I'm after a more 3d effect so any ideas/suggestions on what material to use would be helpful
Zak -
Exposure to UV light can effect white paint. gunze do a 'UV cut' clear lacquer that may help, I've not tried it though. another tip is to add a small amount of blue paint in with your white paint. Not sure of the science behind this but I believe it puts the white on the blue side of the spectrum as apposed to the yellow side which many white paints fall into, if that makes sense
Zak
-
58 minutes ago, salvador001 said:
Looking so damn fine, wonderful job. Are you going to use the fireball ALQ-144 jammer? The one this kit brings is not that good.
Rod.
Thank Rod. Yes I'm using the fireball ALQ, it's pretty darn nice.
Zak
-
Hey chaps hope all are well.
Not much to show at the minute. Much of my modelling time has been spent on rebuilding a few elements (3-4 times...) The nts unit is being scratched again as my first (or 5th...who knows) effort was quite abit out, same with the skids.
Also have a few goodies on order as well which will hopefully add a few nice touches to the finished kit but I'll reveal those at a later date.
Added extratech PE washers to the belly drainage pipes, pipes made from aluminium tubing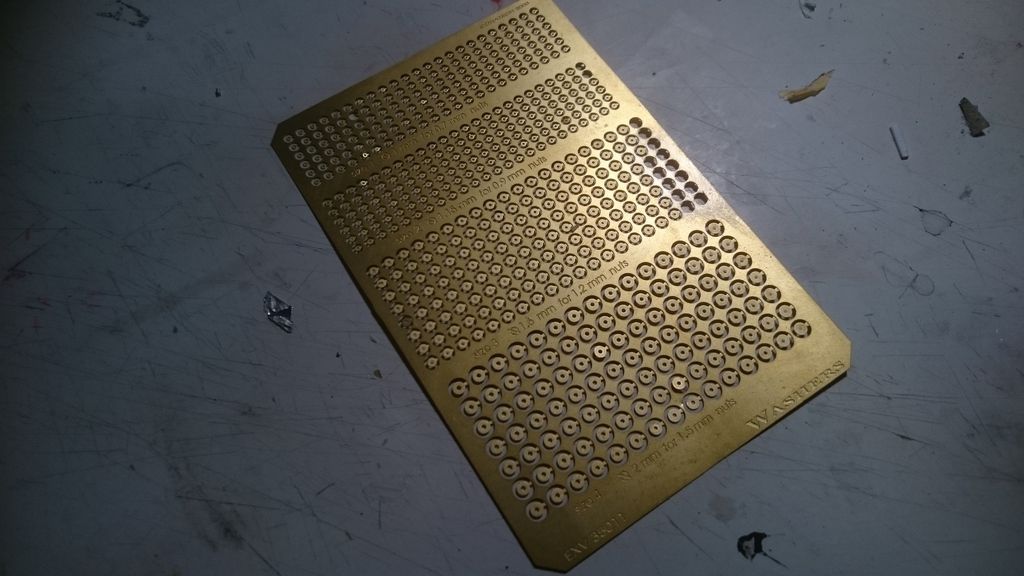
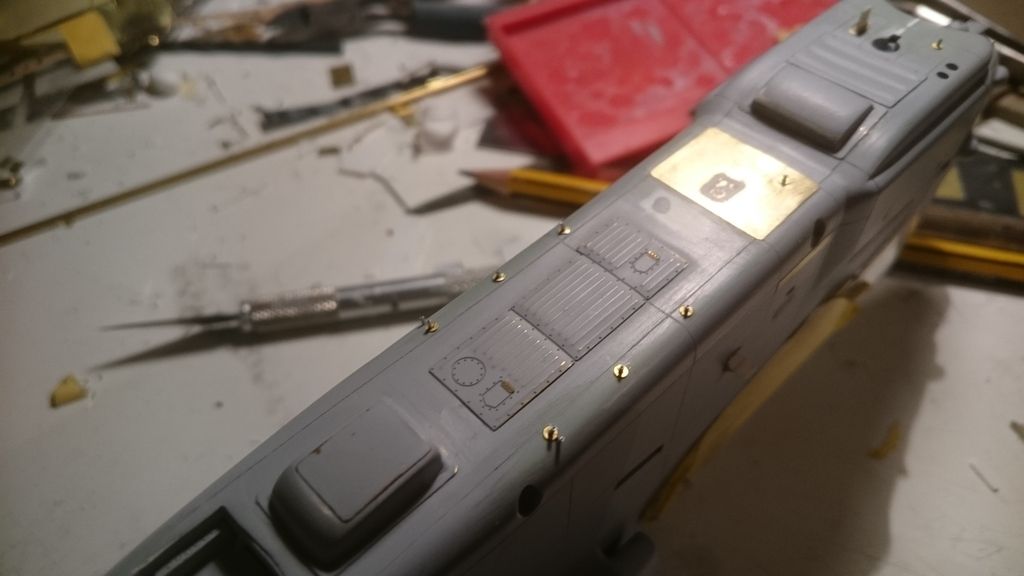
Detailed the nose drainage pipes with telescoped aluminium tube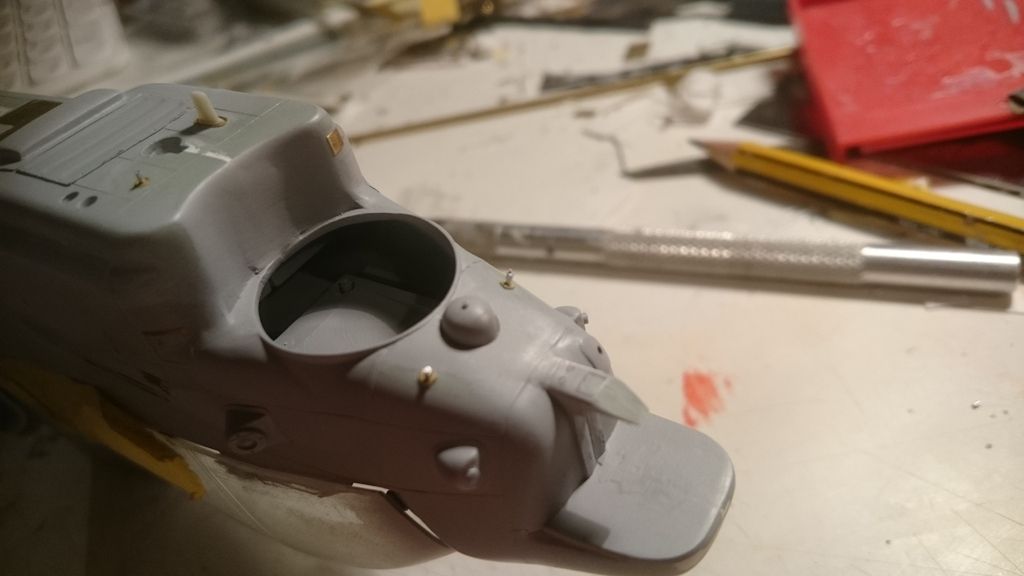
Built the m197 cannon. This took a good couple of hours mainly to get it lined up correctly but well worth the effort when completed. Really need to grow another pair of hands....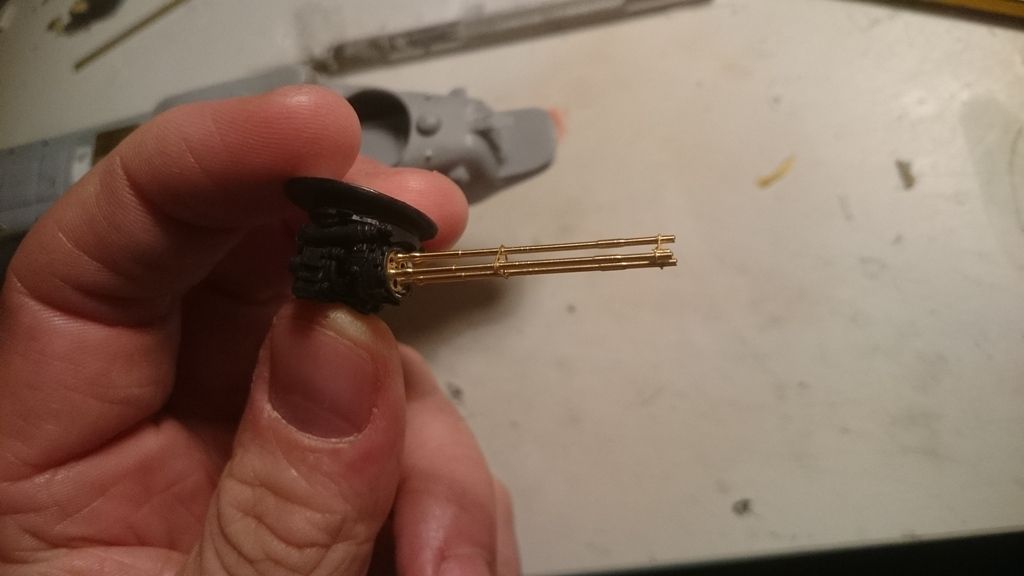
Found some spare eduard PE hinges which look much better than before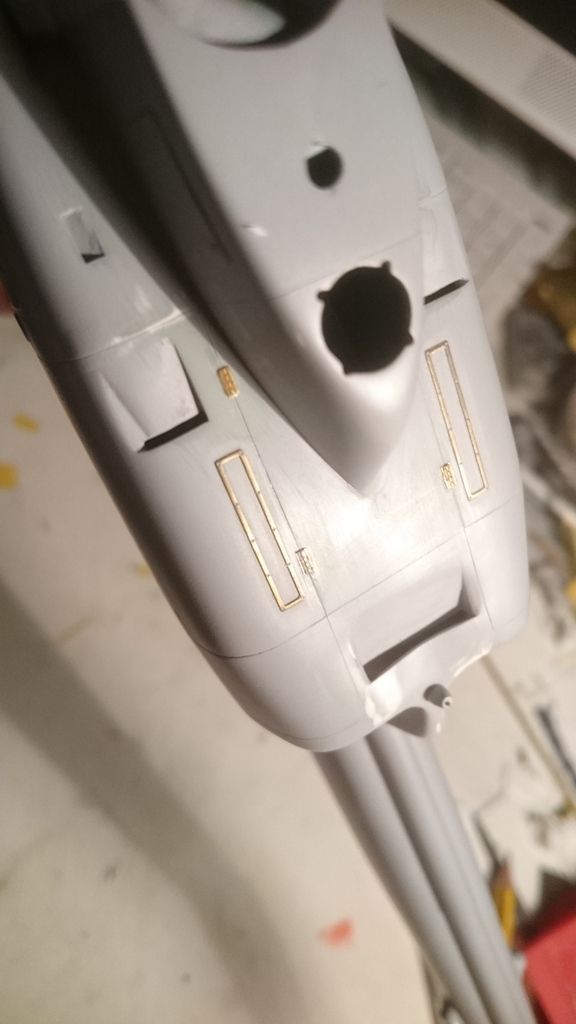
More soon folks, thanks for looking and commenting guys!
Zak -
35 minutes ago, salvador001 said:
Wow. Where did you get the photoetch from? Is it eduard?
Looking great.
Rod.
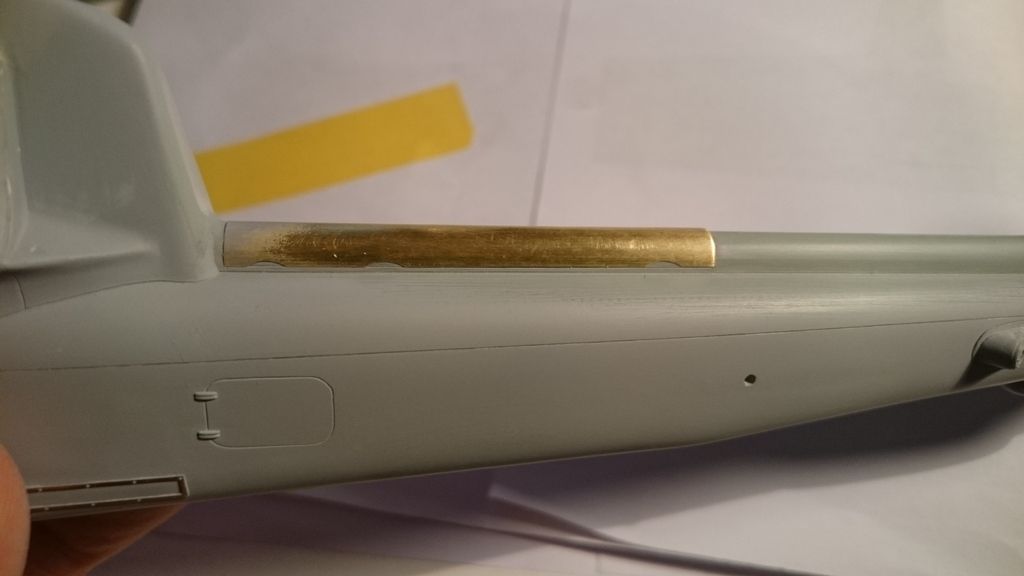
Thanks Rod. the vast majority of the brass on the belly i made from brass shim ( the rectangular and circular panels). a few parts are from the eduard exterior set but they have chopped up and reshaped as the eduard set is incorrect in some areas
Zak
-
On 31/10/2016 at 4:33 PM, usmcski6502 said:
Ooooh, man, this just gets better and better! Looking great, keep 'em coming.
Semper Fi,
Ski
Thanks dude!
-
Real nice dude
-
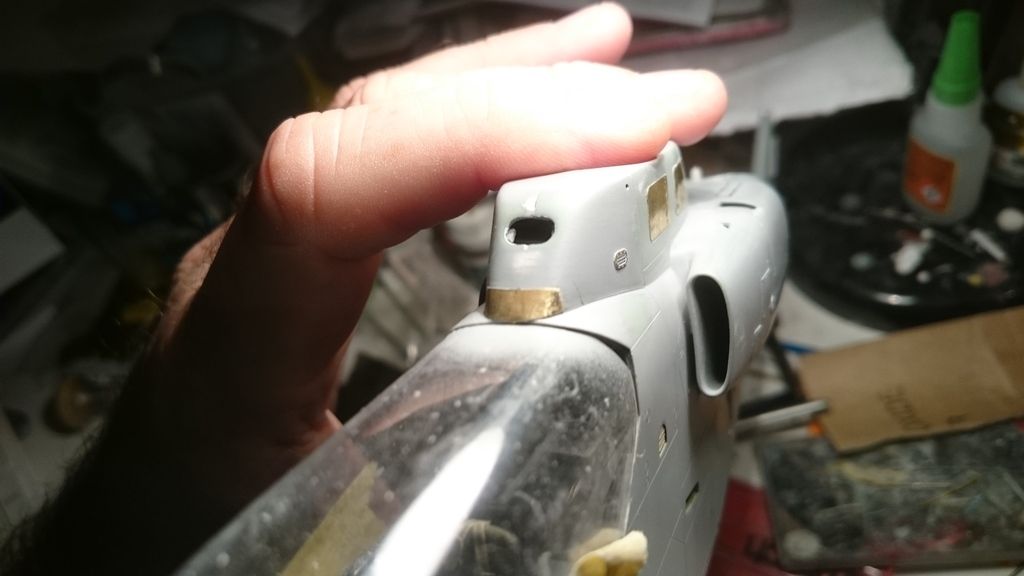
Hi chaps. More work on the belly. Aerials are from the spares box, added x2 aber hex nuts on nose
Remade all of the steps as kit ones are to short
Kit aerial was reshaped and attached with epoxy glue. Additional inspection panels added to the boom
Attached skids but removed them shortly afterwards as the didn't sit correctly. Think they'll need rebuilding from scratch....bugger
Cheers folks
Zak -
I would try making a template as you said or use something with a substantial curve to it then gently heat up the blades over a pan of boiling water ( wear gloves!). then bend the blade over the curved object. this worked for me
-
Love these kind of pics. This project may only be possible for someone with a particularly acute case of AMS....so Oliver ;)
-
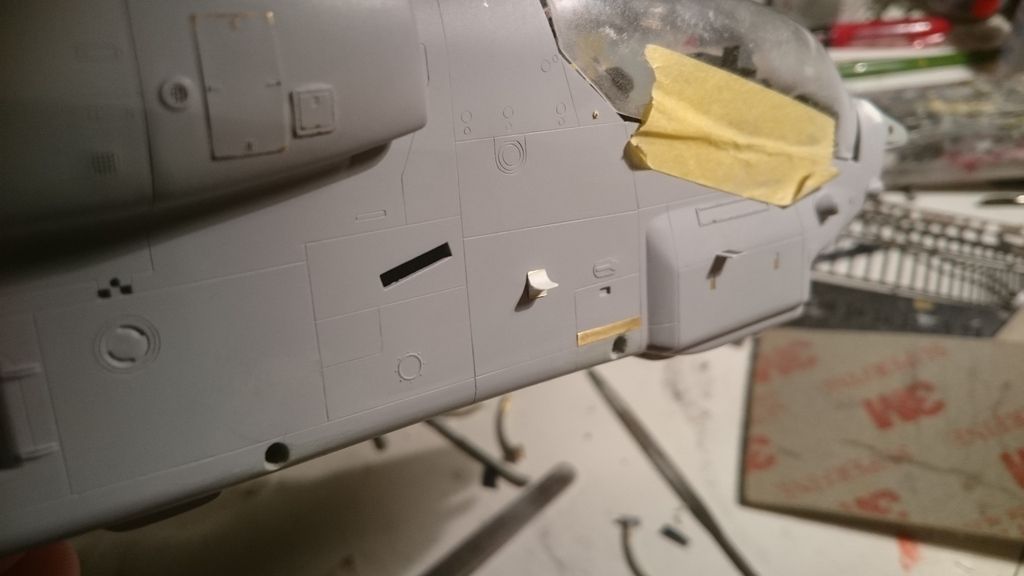
Continued work on the belly eduard, scratched elements and added panel lines.
-
Great stuff, will be buying a 1/35 version most definitely
-
On 24/10/2016 at 6:17 AM, salvador001 said:
Oh man, you are doing one FINE job, i love it.
Keep it on!
Rod.
Thanks Rod! Ive hit abit of a modelling rut but should hopefully be back on it soon
Zak
-
Great stuff, going to be an amazing diorama
-
Thanks dude
-
Beautiful stuff norbert
-
Awesome Ramon. The rails and rollers are great
-
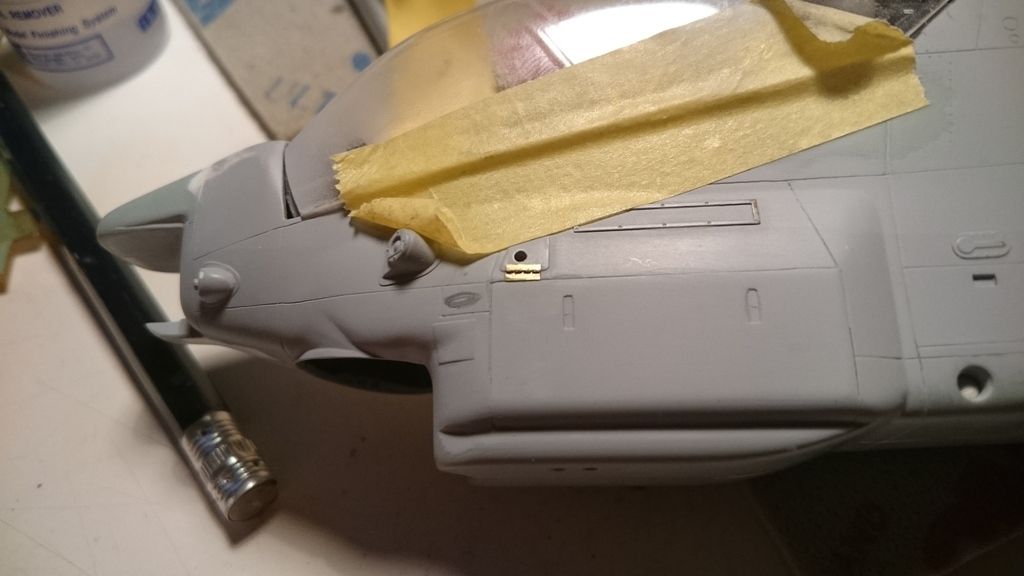
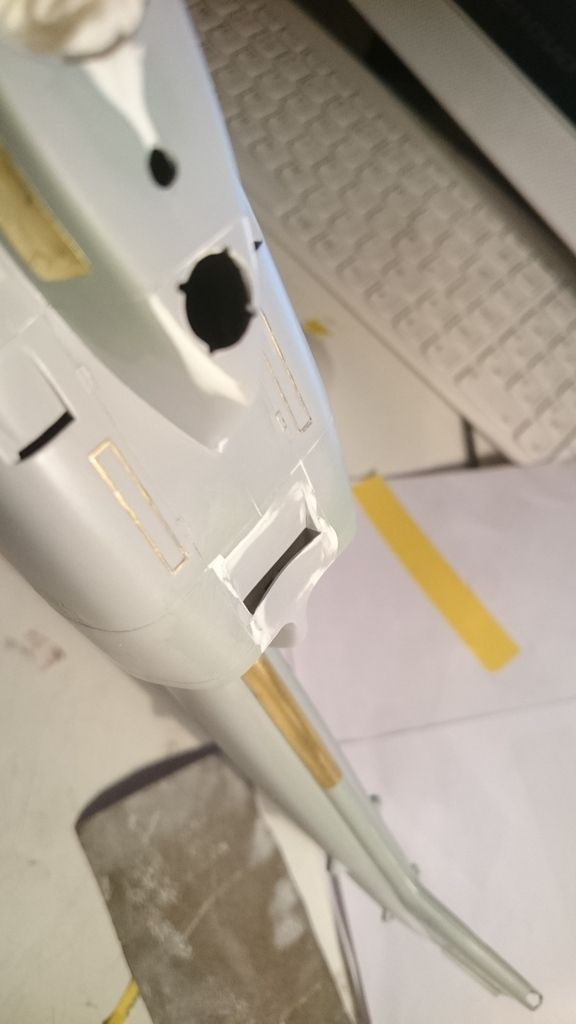
Another update, man I'm enjoying my time off! I've got a pretty full schedule as of next month so I'm hoping to get the bulk of the work done in the next few weeks.
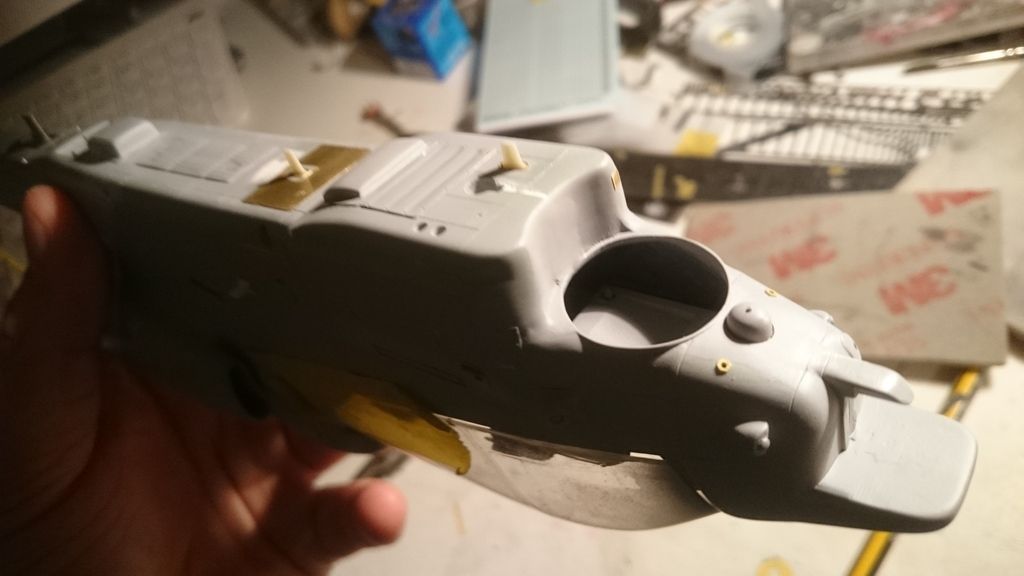
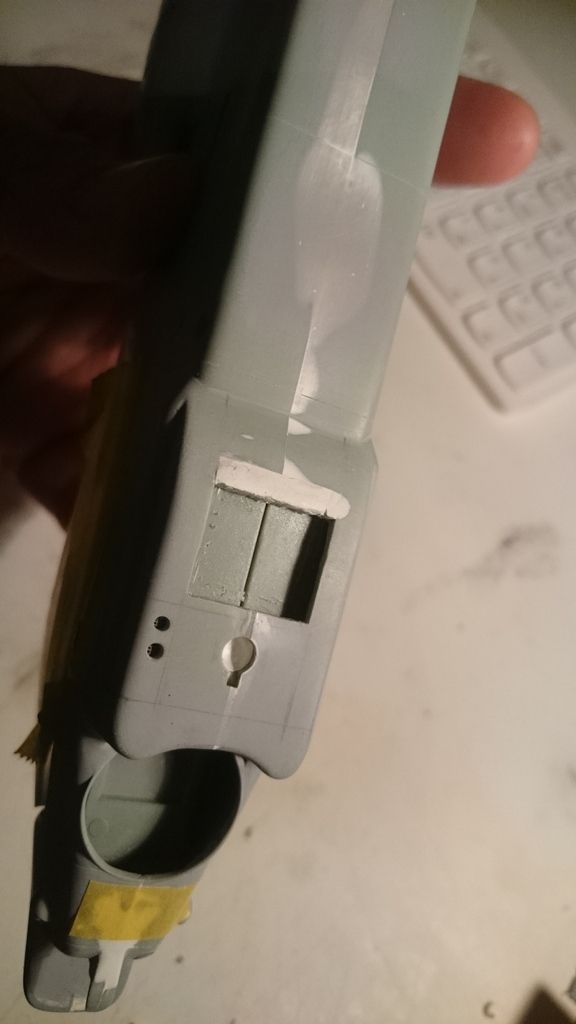
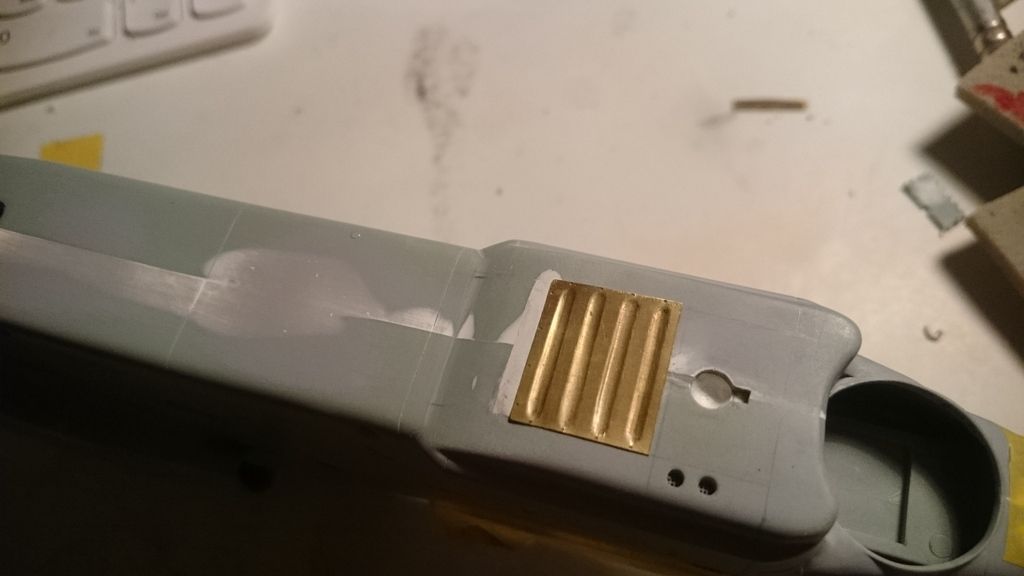
Focusing on the belly details. Im using a mixture of eduards PE and scratched stuff here. Eduard calls for this piece of etch to have the raised bumps convex but on looking at refs, they are concave.
(it's the panel directly behind the search light)
The PE is also too large so it was cut and the concave detail added from the other side, contrary to eduards instructions.
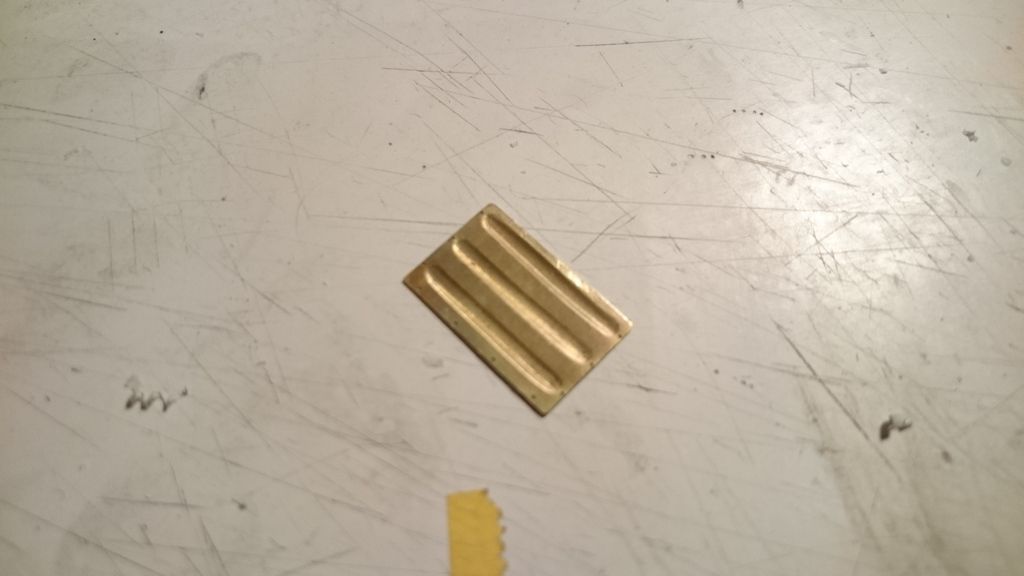
Next plastic was cut away from the belly to fit the PE section, necessary so the concave detail can sit inside it. Also Drilled out the two cooling vents (think that's what they are?) and added brass mesh then drilled an opening for the search light.
Test fitting (photo was taken before I cut the PE to the correct length)
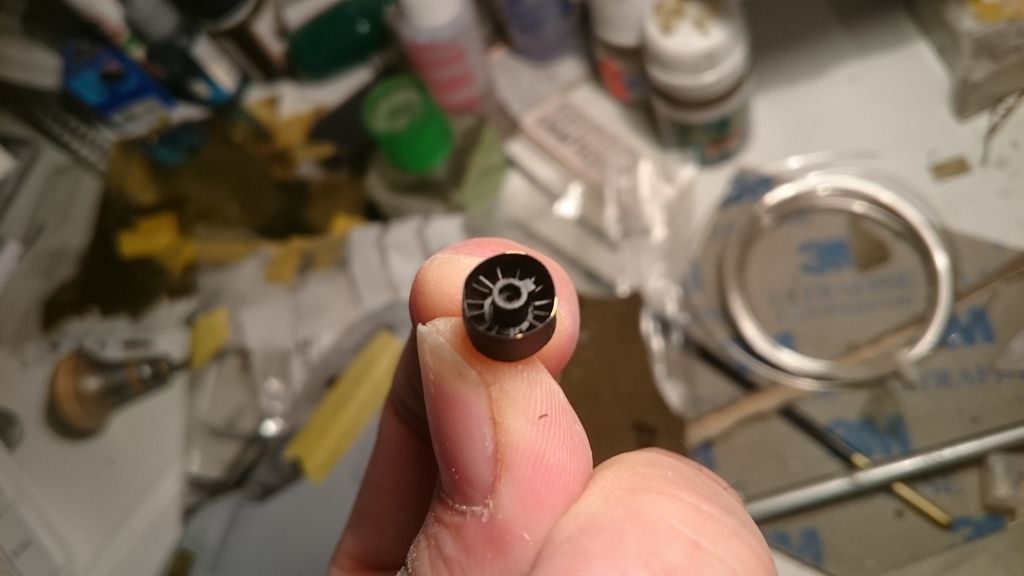
Made the oil cooler fan, still needs tidying up
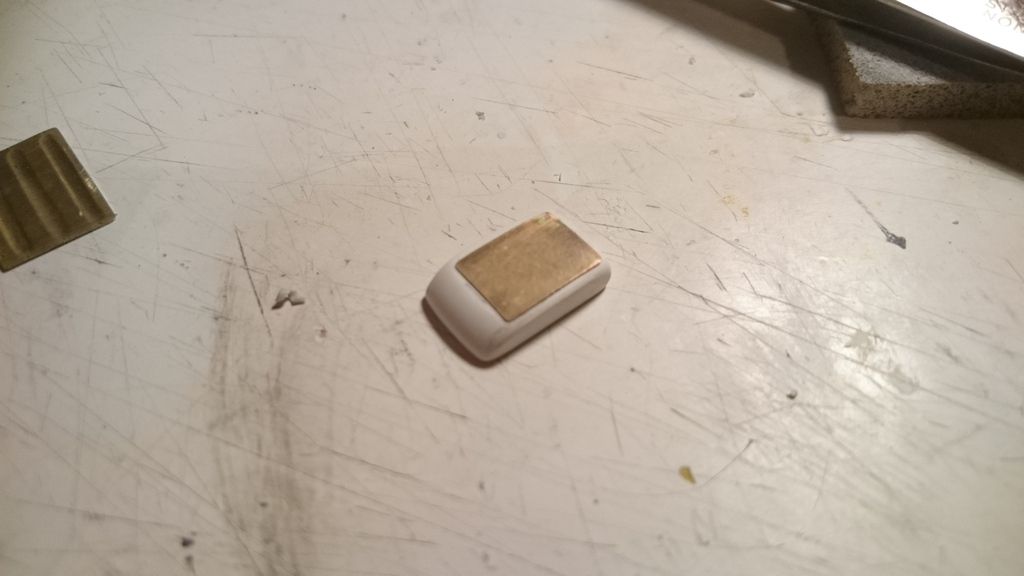
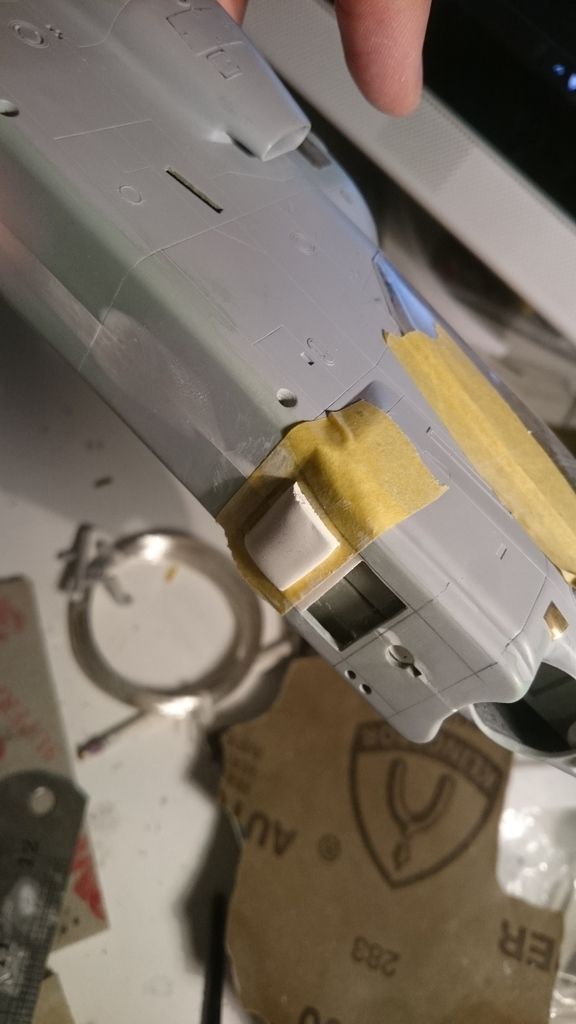
Test fit. Also made something with milliput, don't know what it is but I made it!
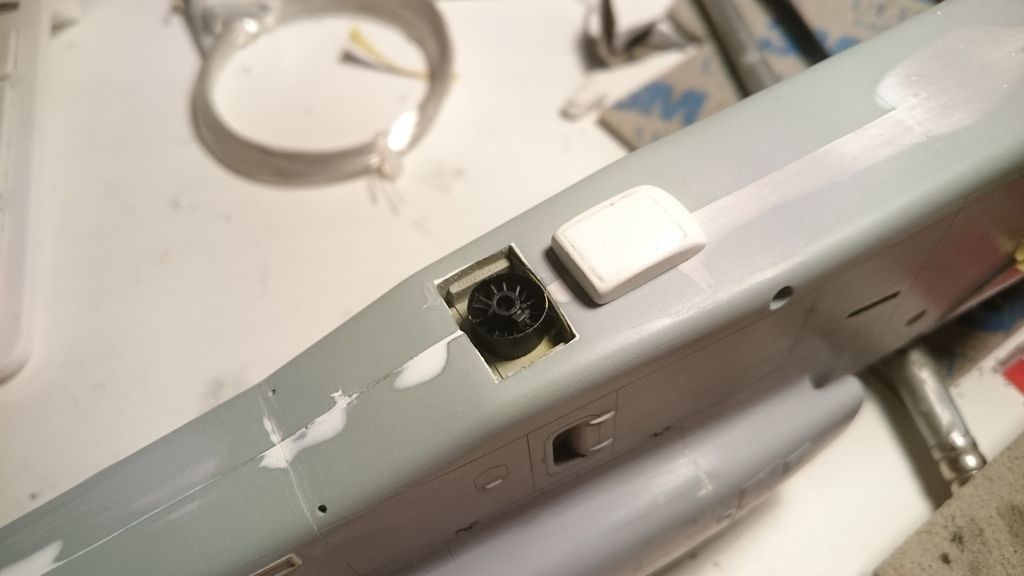
Added brass panel to the 'thing' (if someone wants to chime in with what it is that'd be cool 😁)
Made another thing (seriously, someone chime in here!!!). Just the rough shape at the minute, it'll be removed and sanded when dry.
Scratched the exhaust housing aerial
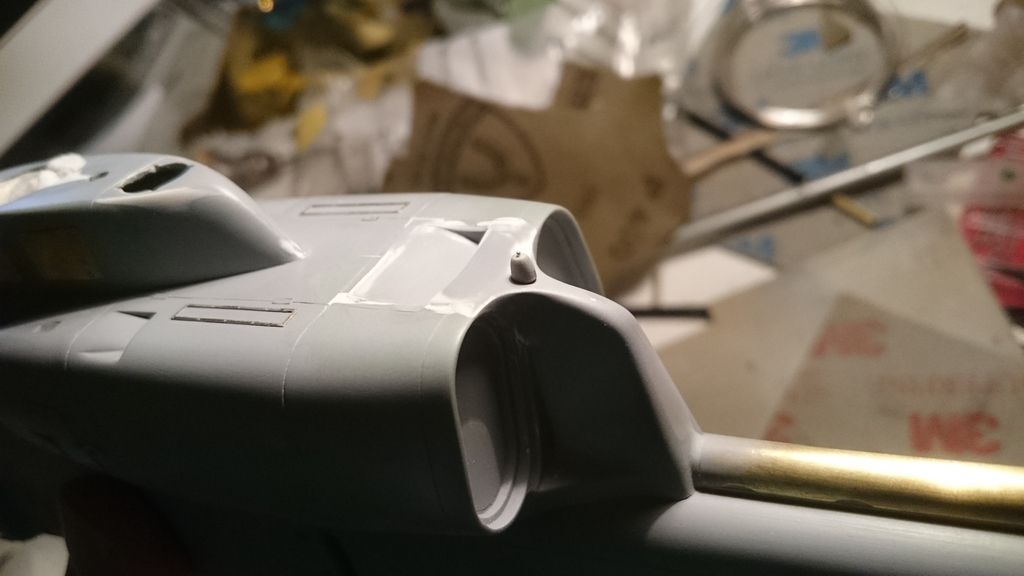
Scratched the nose radar dome, thing. This protrudes from a hole in the nose on the real deal so I Drilled a hole which is slightly larger than the dome itself, looks much better than if I'd just stuck it on
Another missing panel added (keep finding 'em.....)
Added tiny piano hinge decal from archers, handy to have a sheet of these around....
Finally, test fit the nts unit and cannon faring just to check overall profile shape. Looks a lot better than the standard kit if I don't say so myself!
Cheers for looking, more soon
Zak
-
3 hours ago, salvador001 said:
Great work Zak, i love it.
Will you re-rivet the fuselage?
Rod.
Oh yes, I've got a stash of archers and microscale rivets, going to take a while!
-
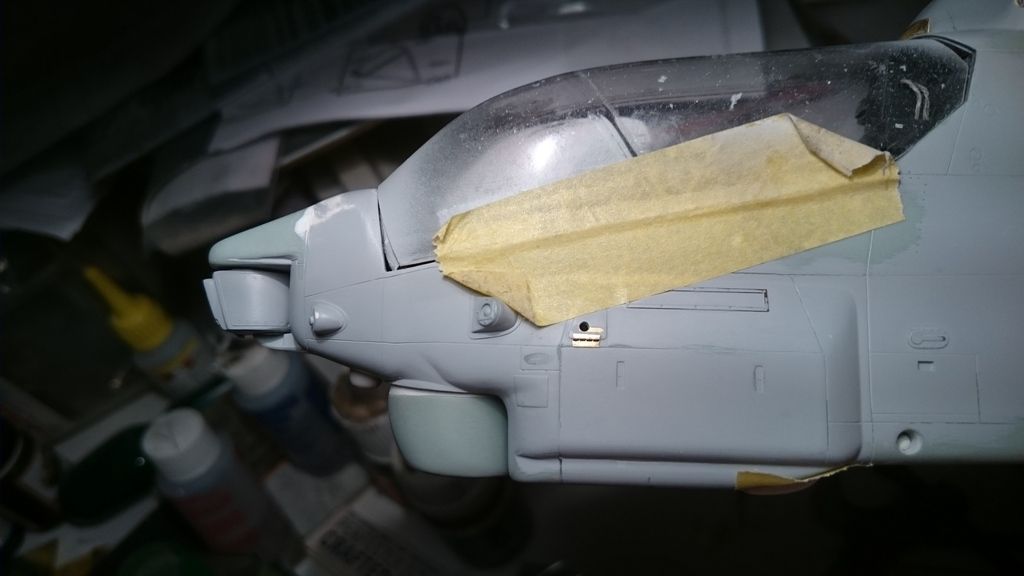
Hey chaps.
Re-made brass access panels to replace the plastic card ones I'd made previously.
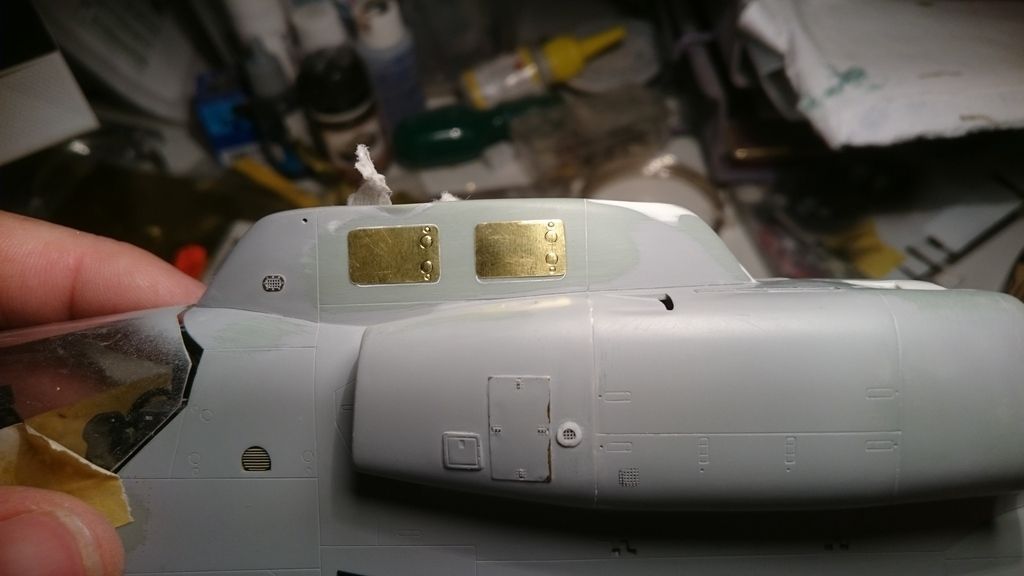
Filed in curved notches on the boom panel, tiny attachment hooks fit within the gaps which I'll make out of brass and attach when I'm closer to painting stage
Continued work on the vent, not convinced this is entirely accurate but I've very little reference material to work from. Good enough for me anyhow
Scribed numerous missing panel lines and begun general reshaping of the tail
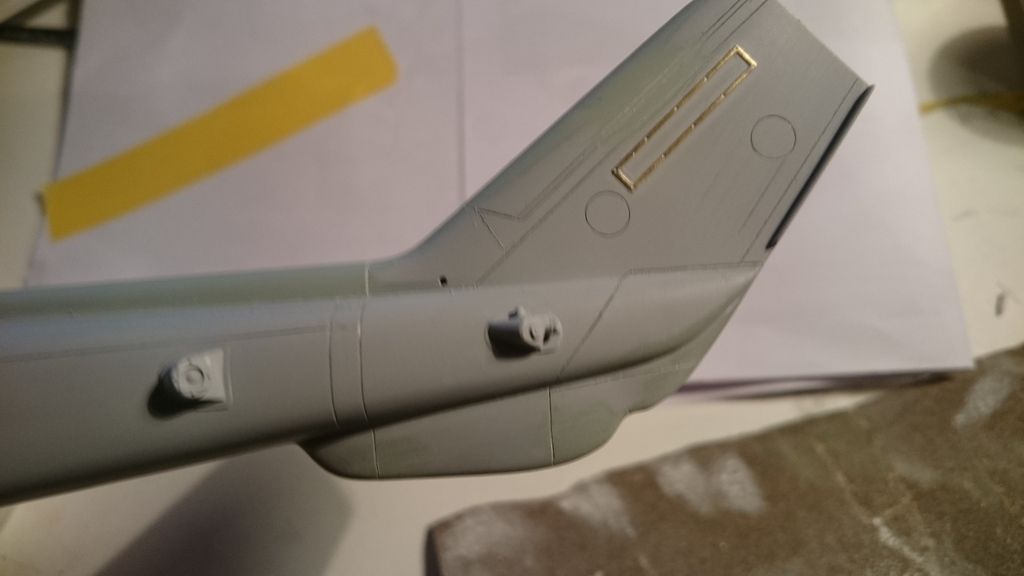
This is in need of some serious reshaping to match the real deal, quite a few complex curves which I may not be able to create....
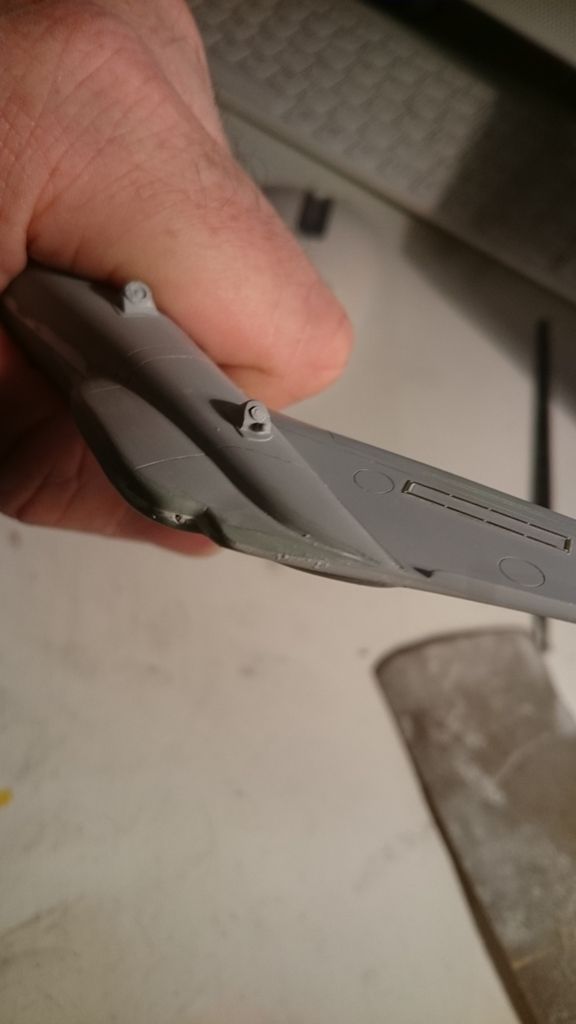
Gonna have to strip back the layers of Mr. Surfacer aswell shortly due to the panel lines getting a little clogged from spraying and checking for errors. Thanks for looking people!
Zak


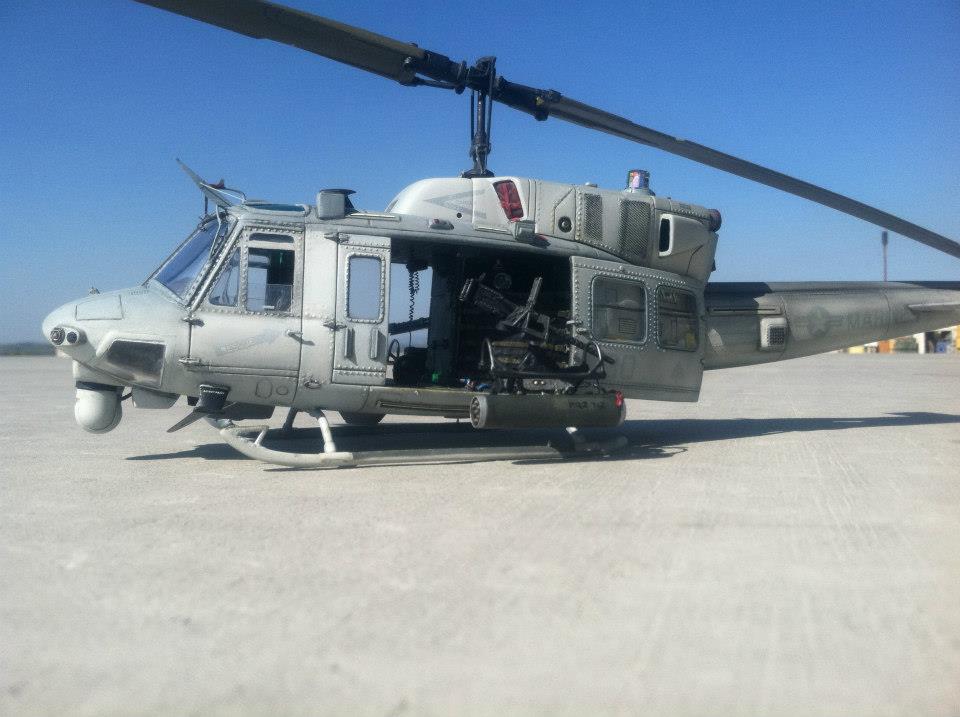
Academy AH-1W nts cobra
in Helicopter Modeling
Posted
The rivets are all water slide decals from microscale and archers, good products, check them out