


Whiskey1968
-
Content Count
76 -
Joined
-
Last visited
Content Type
Profiles
Forums
Calendar
Posts posted by Whiskey1968
-
-
Well, I am back from our Vegas vacation, I bought a Dragon Firefly Vc at Hobbytown USA and a figure kit (modern Inf. Iraq).
Back to the topic.
I have started the Bradley, no pics yet though. I have the road wheels started, the interior started and some portions of the hull and chassis together. The interior color I have used is Model Master RAF Sky Type-S, and exterior color will be (Tamiya's) Dark Yellow for the base, then a coat of Desert yellow and finally Buff. I do hope the colors work out.....if anyone has any better suggestions please fill me in.
Will post pics soon.
Darryl
-
I will be doing multiple builds for the GB.
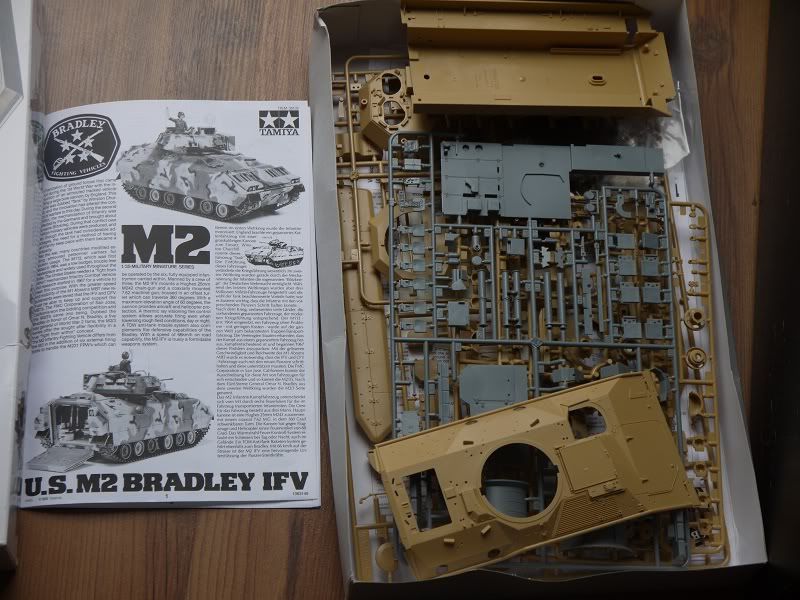
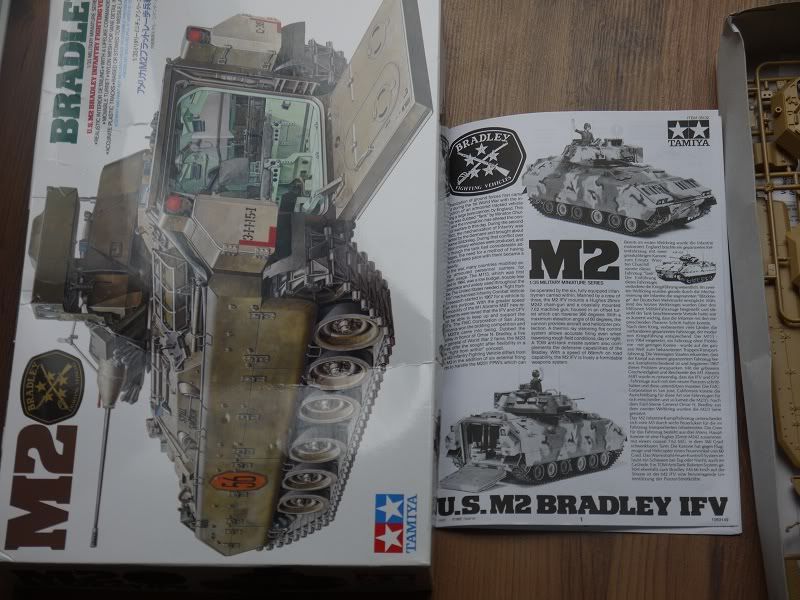
First off, I will be building the Tamiya M2 Bradley w/interior (kit 35132). I opened the box this morning and started (the tracks and road wheels are on the bench), seems to be a good kit from what I read. It will be OOB, not sure if I will do it for Desert Storm or NATO. Any suggestions or information on this vehicle is much appreciated.
My other build is still up in the air, I am hoping to pick something up on vacation in Vegas in a couple of weeks. Hoping to find some modern artillery for a second entry.
Darryl
-
Great, thanks.
Darryl
-
Is it possible enter multiple builds? I have a few kits and I am trying to decide which to build for the GB. If not, I have a hard choice to make.
Darryl
-
I will be, just haven't decided what I will be building yet. I am going to Las Vegas in a few weeks and may pick something up there to build. Will post an entry at that time.
Darryl
-
Excellent work so far. That is actually my next bench project. Just finishing up a "Panther II" kit. I'll def be watching this thread for tips and pointers.
Darryl
-
Are you spraying it with an airbrush? If so, are you using a retarder?
Darryl
-
Hobbytown USA on Sahara Ave and RarePlaneDetective on Western Ave should take care of any concerns you may have about leaving Vegas again with excess amounts of cash!

Enjoy!
Bjarne
Sounds like the place for me...lol. Thanks!!
Darryl
-
The missus and me are heading to Vegas in late May, are there any good hobby shops, military museums, etc that I can visit during my vacation?
We are there for 8 nights and staying at Treasure Island. My main interest in the hobby shops is basically to grab a couple of armor kits, some modelling tools, resin/photo etch upgrades and most definitely some washes that I don't have direct access to here in Newfoundland, Canada.
Thanks
Darryl
-
Gents
I am on this now.
Keep you all posted.
Great, will be looking forward to entering my 1st GB ever, should be a blast.
Darryl
-
Non-alcohol beer or near beer!
-
Triple Ditto...Great tool, I use it all the time. A light touch is way too heavy....I pretty much put no pressure on it at all, and use its own weight for pressure, more than that and it could cause major damage. I may have to do the scribe a couple of times but rather that than ruin the model. Still practicing with it as I have only had it for a few weeks, but I really don't know how I have done without it.
Happy modelling!
Darryl
-
B-1 Nut had posted some kits for sale. I purchased one kit (M1A1 Abrams). Very nice guy, good seller, its been a pleasure Jed, thank you Sir!
Darryl
-
Mike - I will mod the GB, although if anyone is willing to co-moderate, it would be appreciated. I think we will say a start date of May 1 to October 31, which gives everyone 6 months to get their build done.
Darryl - the GB is on the modern era (post Cold war) - essentially any armour that was in service 1990+. Thus, if you want to do a Tiger tank, great - only it should be in the markings of however was using it in front line service after the Cold War. Sign up is easy - post what you are building in the GB forum that will be set up and keep us up to date with how you are doing.
Grant
Ah great...thanks Grant!
Darryl
-
Hi folks. I have been looking for info on this group build on the site (I am fairly new to the site and never took part in a GB before) but came up empty. Only have a few questions if you wouldn't mind answering them please.
What tanks or era is the build concentrating on?
How do I sign up for this build?
I read the GB rules and Guidelines, so I am familiar with the process. Basically just need to know what to build and how to sign up.
Thanks
Darryl
-
I do believe I have it solved now. Advice from folks here, as well as some advice from local airbrush artist
 .
.My current set up is now:
Compressor -- regulator/moisture trap -- 15' plastic coiled tubing -- inline water trap/desiccant -- 10' Iwata hose -- Iwata airbrush.
I hope this works out, wasn't expensive at all, $23 for the trap and plastic coiled tube. I was advised to clean the coiled tube, depending on the amount of use, at least once a week and replace it every couple of years. The trap/desiccant has beads inside that change color when they need to be changed...refills cost $4 for package of 2....I was told, depending on amount of use, humidity etc...they need to be changed every couple of months.
I will also have a fan, thanks again Ryan, cooling the compressor.
With all the advice and modifications in place, I think I have a winner....hopefully
 .
.Thanks every1 for all the help....much appreciated.
Darryl
-
It indeed does Plastic...thank you Sir!!
Darryl
-
The moisture trap is located next to the compressor. The line to the gun is quite long, around 8-10 feet long. This problem only started very recently, while painting a Jadgtiger (already assembled)for a friend. It took quite a while to complete and during the long process of painting the moisture started. Could I have just run the compressor too long?
I am thinking of buying a filter which attaches to the gun itself, a clear plastic tube with beads in it....the beads are made of a moisture absorbent material. A friend of mine told me about this filter and he has it on his guns as well with no moisture problems at all.
It does run quiet, but gets rather warm after about 20 minutes use. Will have to measure the temp, but I can bet it is over the suggested 20 degrees above room temp
Will try to take it apart and let it sit for a few days to see if any moisture that is there will evaporate.
Thanks for the advice!!
Darryl
-
Hi folks. Have a question regarding the operating temperature for this compressor. I looked but could find no info on the normal operating temp because I noticed it was pretty hot, not enough to burn but hot none the less.
Also, I am getting moisture in either the line or the compressor itself. I start the airflow through the brush and a small bit water comes out tip, splatters or spiders, then goes away until I restart the airflow again. This started happening this evening, happening sporadically not all the time. The moisture trap is dry as a bone....anyone have any ideas?
Thanks
Darryl
PS: Found the operating temps, just need to find out what or were the moisture is coming from.
-
Have a look here My link , it provides a few option to remove paint from kits. I have tried the Windex and easy off oven cleaner. Both work well, the easy off works faster. The options listed in the website work without harm to the kit itself.
Good luck and keep us posted!
Darryl
-
Bought the Cyber-Hobby Dragon 2 in 1 Super Value kit 9111 (Pz. Kpfw.III Ausf. E-F). Seems like a good kit for the price and includes 4 figures (German Infantry).
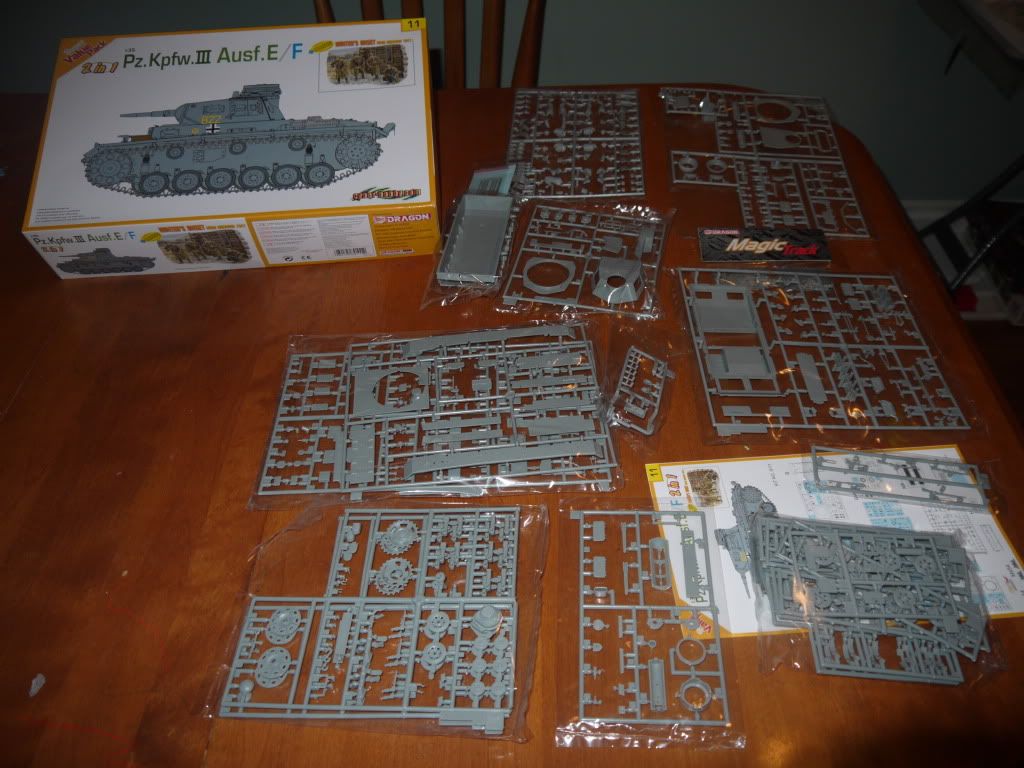
Has anyone done this kit before, perhaps provide some tips or advice on building this kit?
Thanks
Darryl
-
-
Ah, that is were I went wrong. One medium coat, I should have put a second coat on and let dry for a day. Got it! I had a can of Testors Gloss and used it on a model that got destroyed and was unfinished
 . I will get more and try it on my next project. Thinking about the Tamiya Panther V (kit # mt223). It was my first time using Future, I need to practice with it on some scrap (which I now have), in the mean time I will def get some more Testors Gloss and use that.
 Thanks Joel!
Darryl
-
Very nice work, love the paint job
.Darryl
Tamiya 35132 M2 Bradley IFV
in Armor/Targets Group Build
Posted
Well....after getting so far into the Bradley I find that there is a part missing from the kit. The part is not essential but it is supposed to be on there and I will notice it myself. I am having to switch my current choice for the build to an M1 Abrams. Starting it tonight.
Will have to wait until my replacement part arrives from Tamiya.
Whiski