

USMC6094
-
Content Count
424 -
Joined
-
Last visited
Content Type
Profiles
Forums
Calendar
Posts posted by USMC6094
-
-
okay everybody, I am back with an update and pictures.
progress has been slow, but I've made strides toward the ever anticipated first coat of "Desert Pink" lol
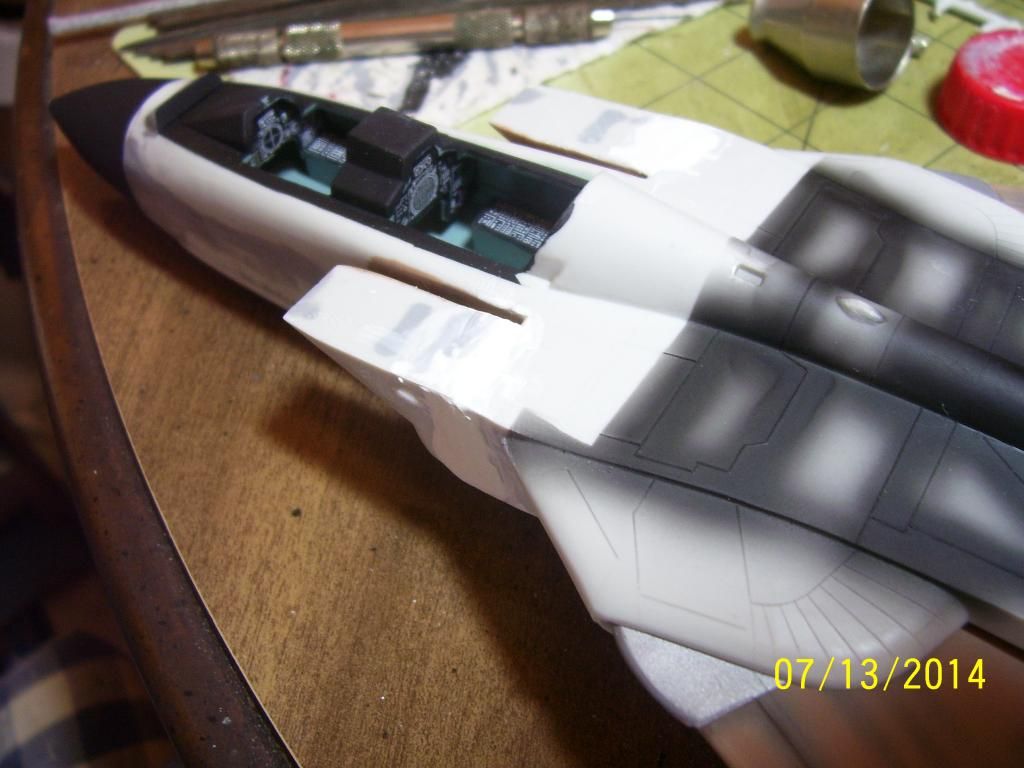
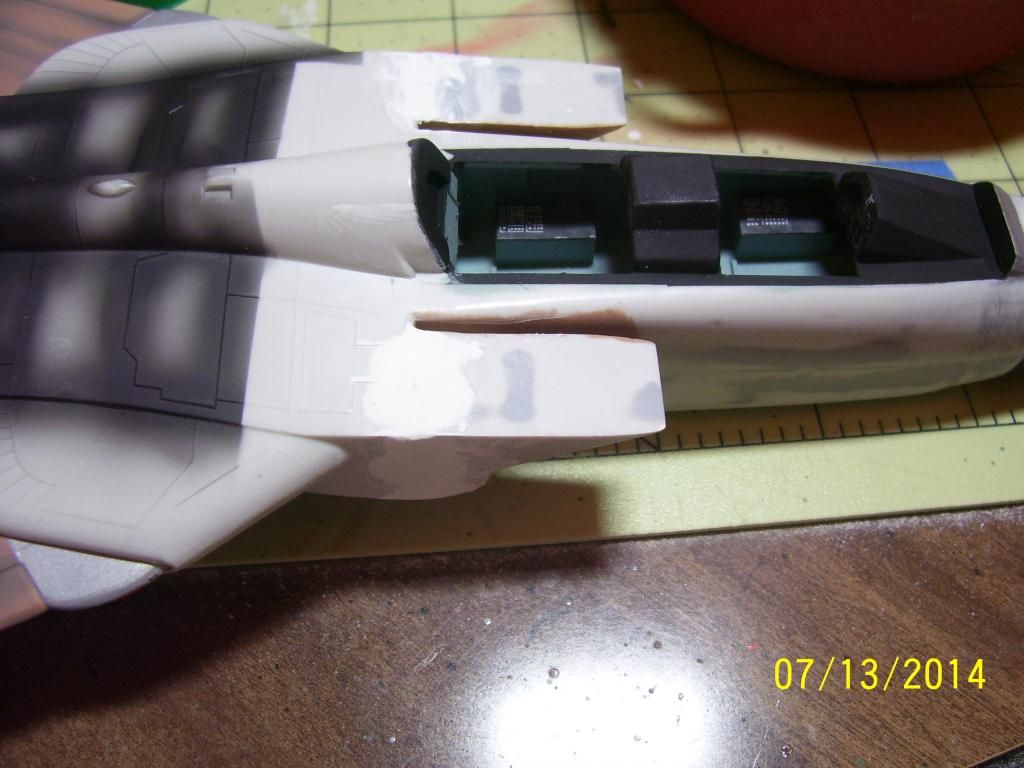
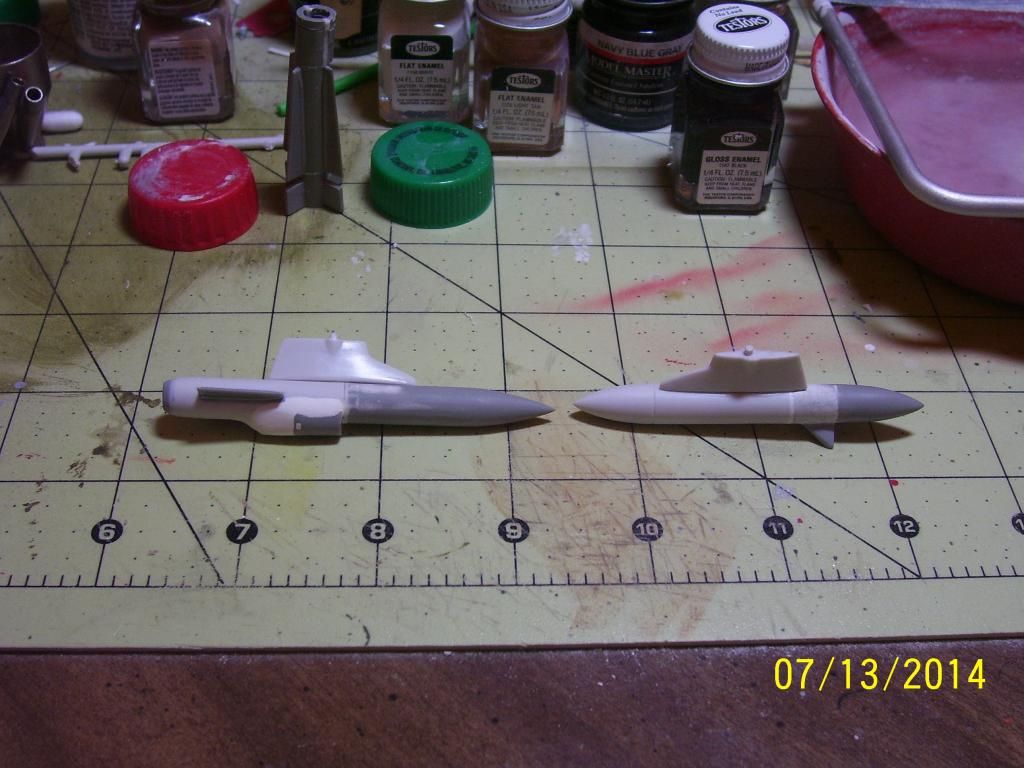
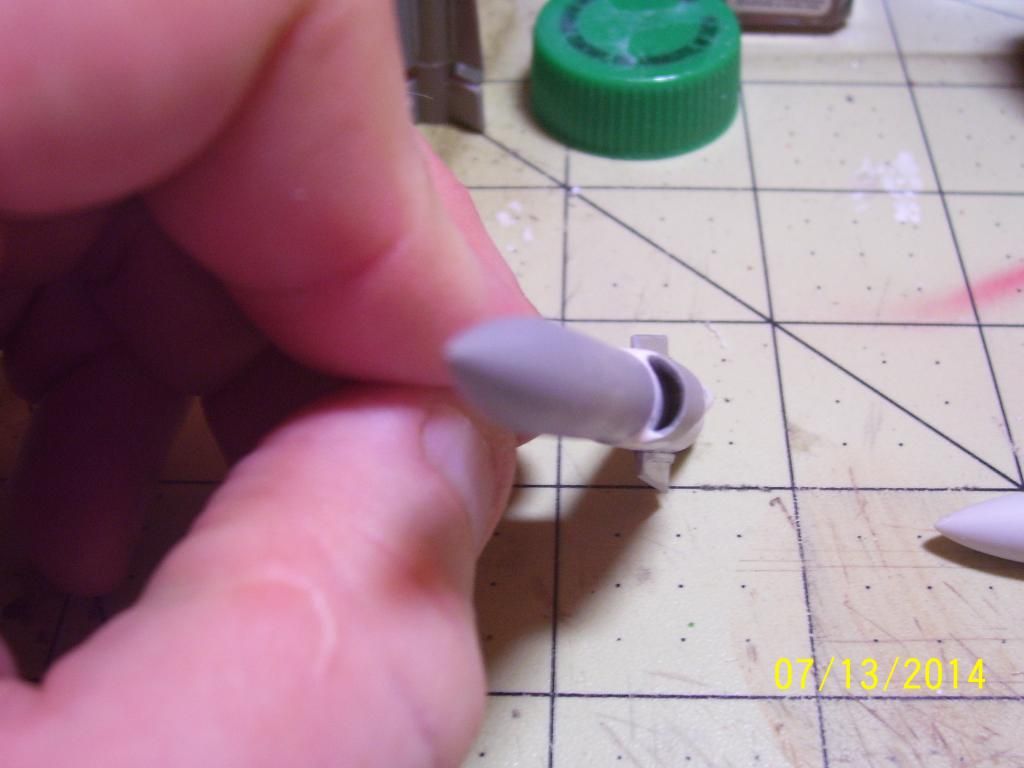
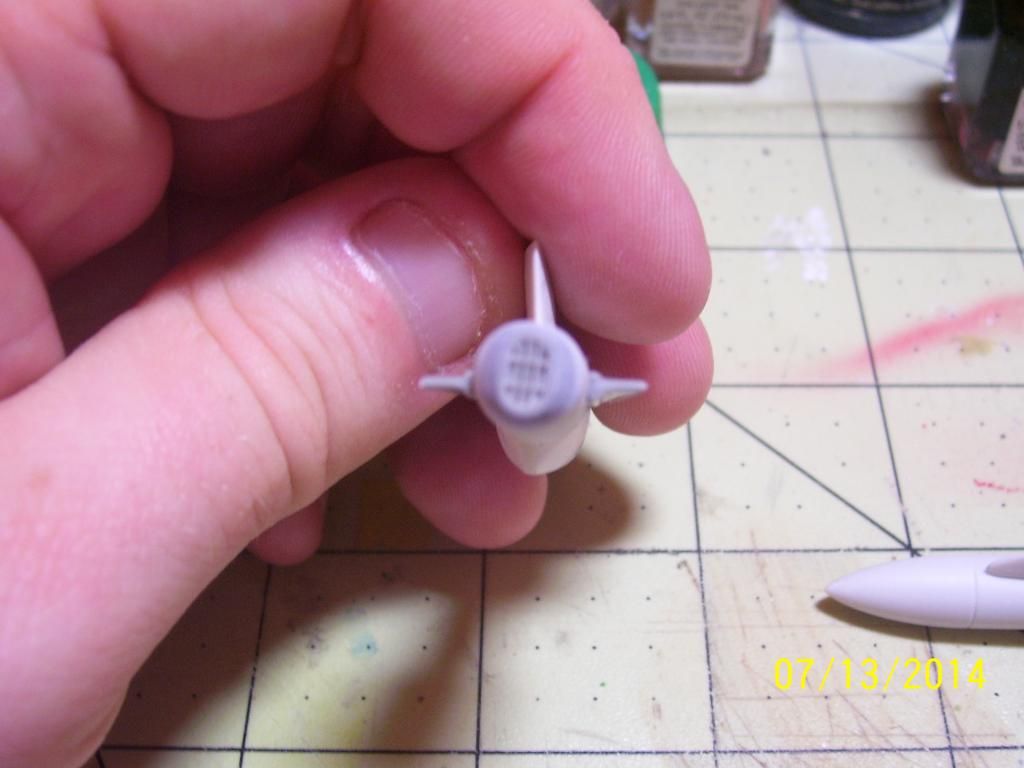
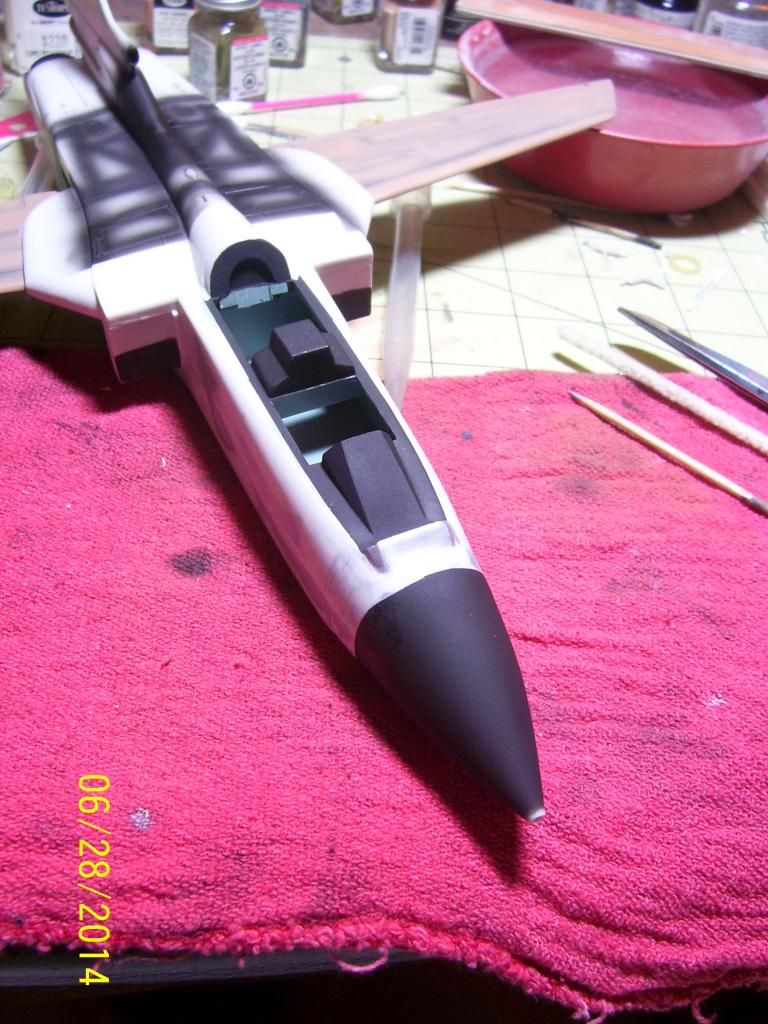
I have gotten the crew permanently seated in the cockpits, the wing pylon pivots have been strengthened for a good friction fit, I salvaged the belly pylons and have built two Hasegawa Mk-84 two thousand pounders to occupy them.
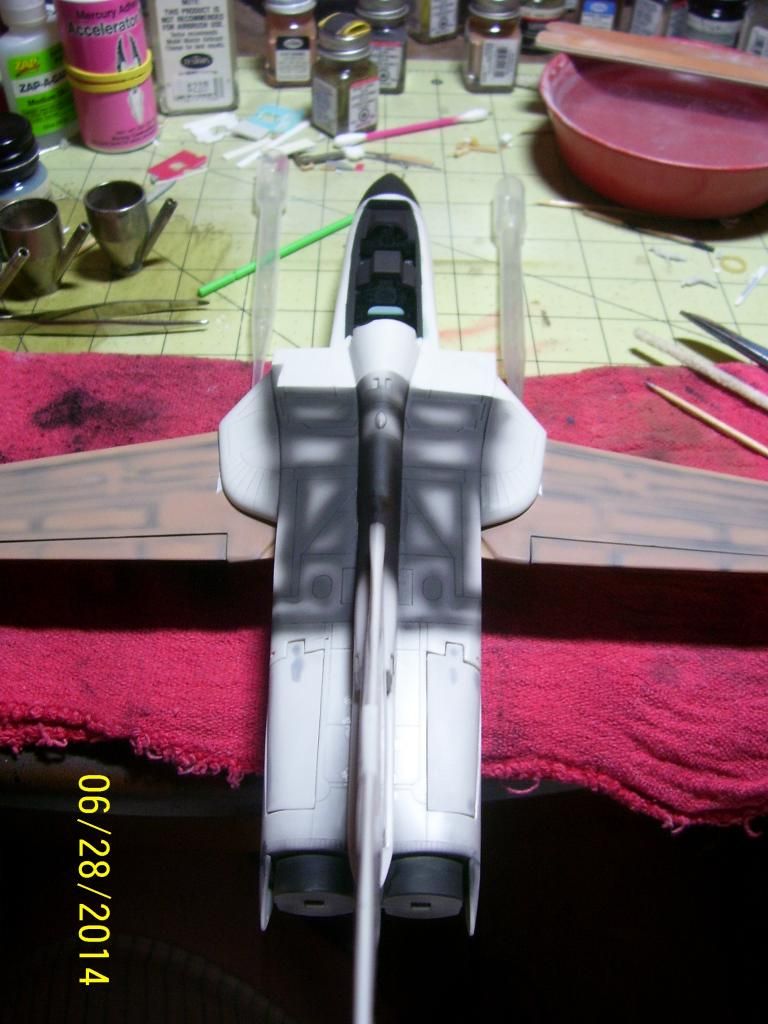
first some overall shots of everything but the belly pylons.
Over head shot of the front offices
Over head of the whole build
from the side
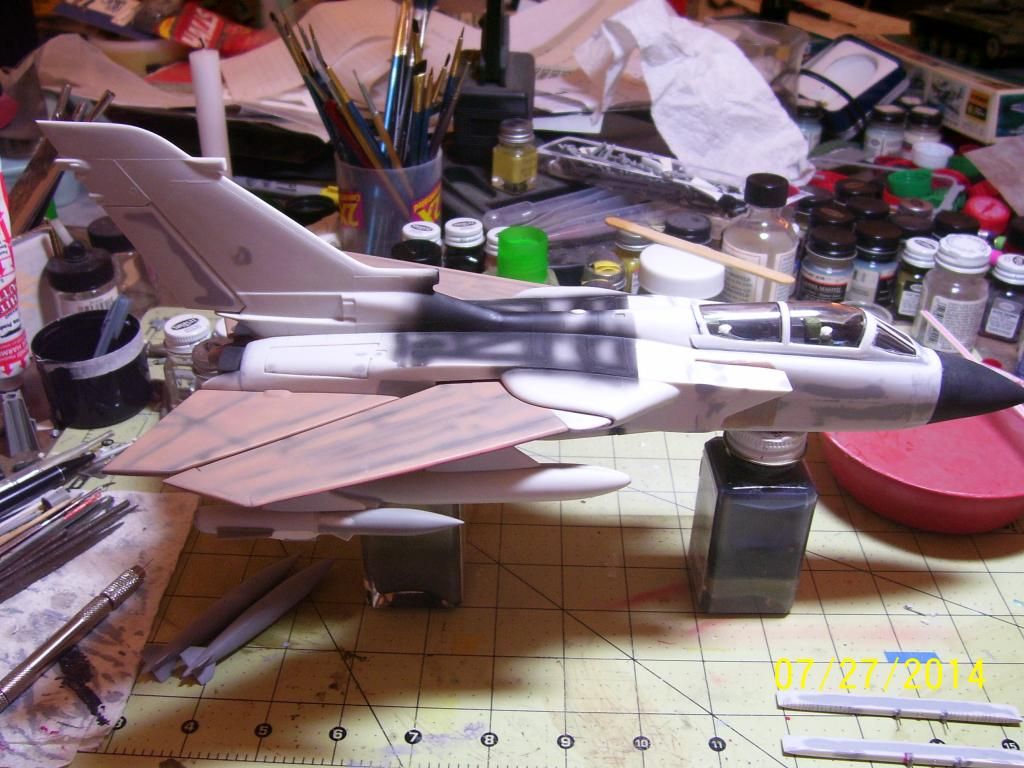
and back
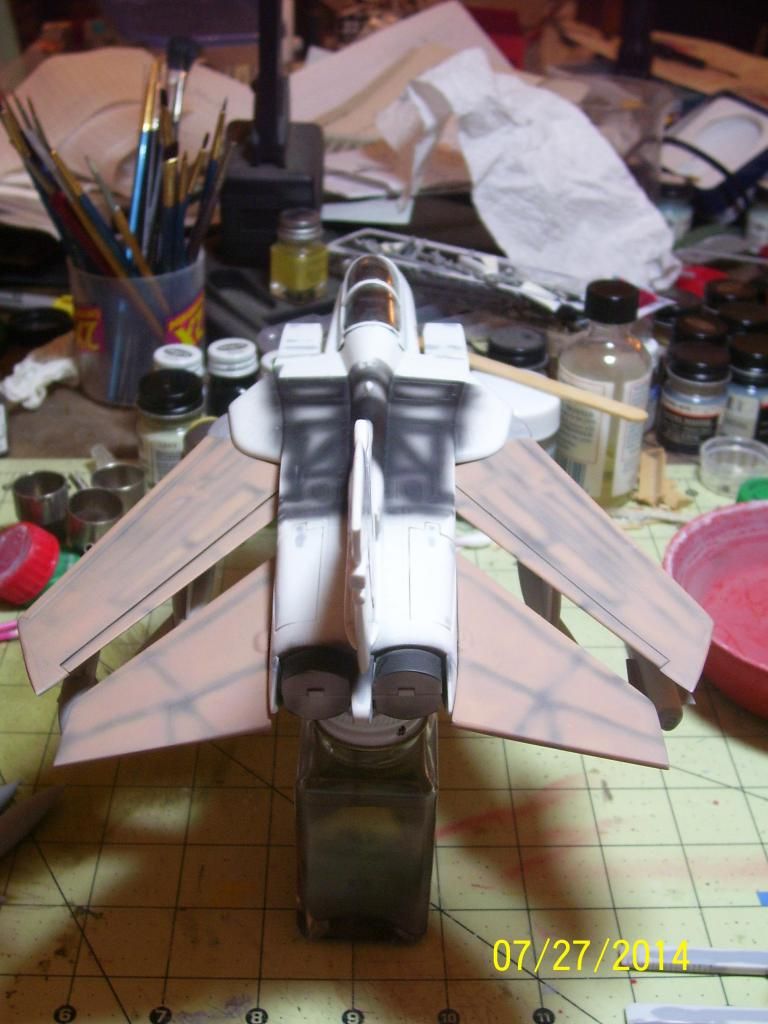
front
-
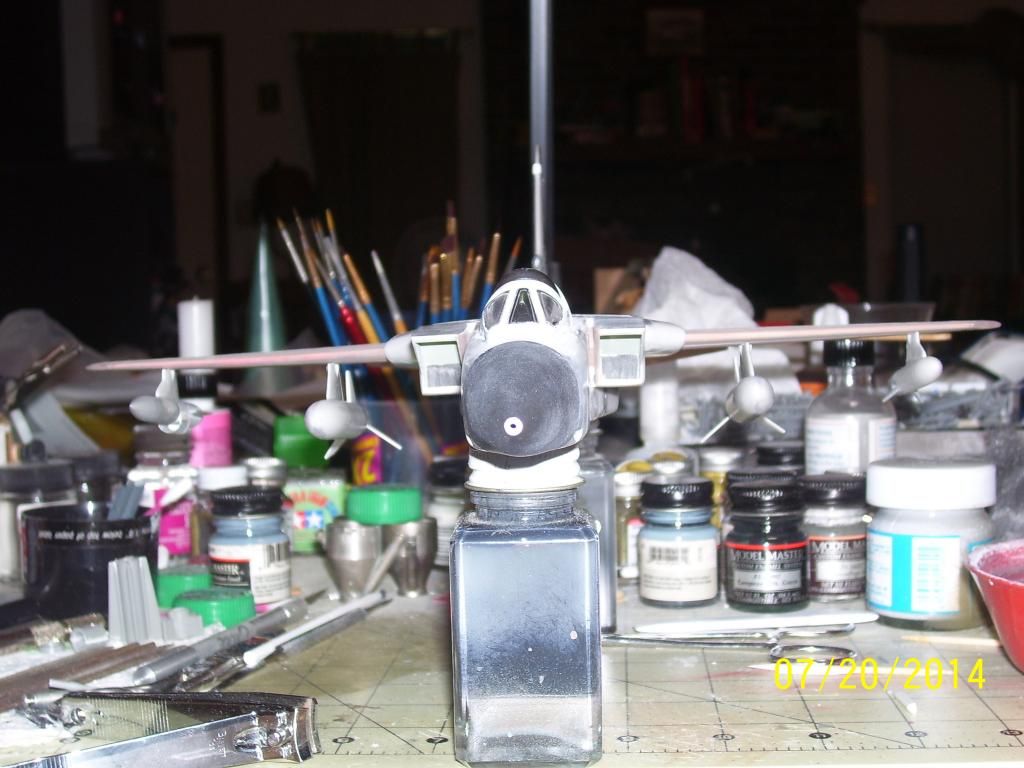
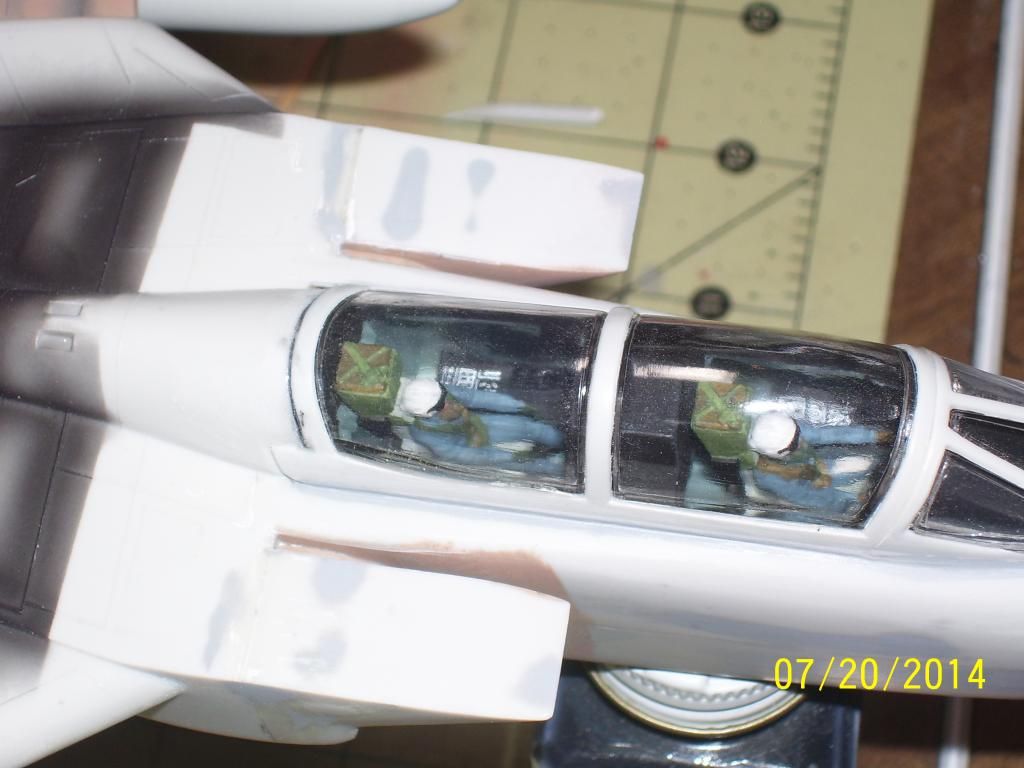
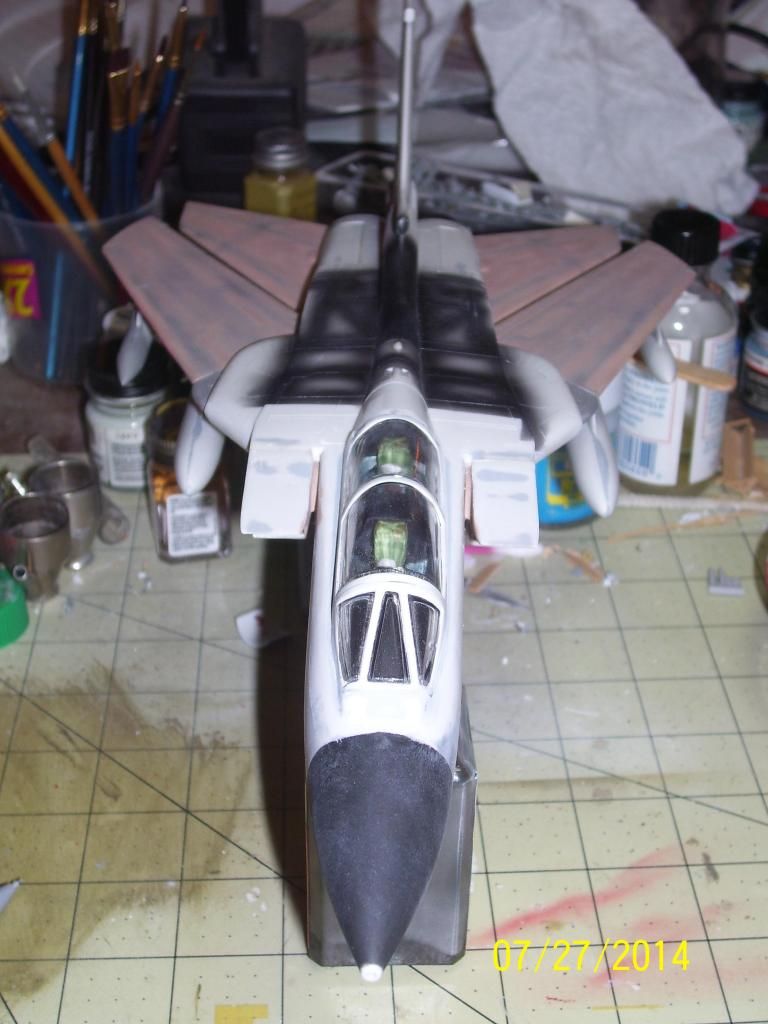
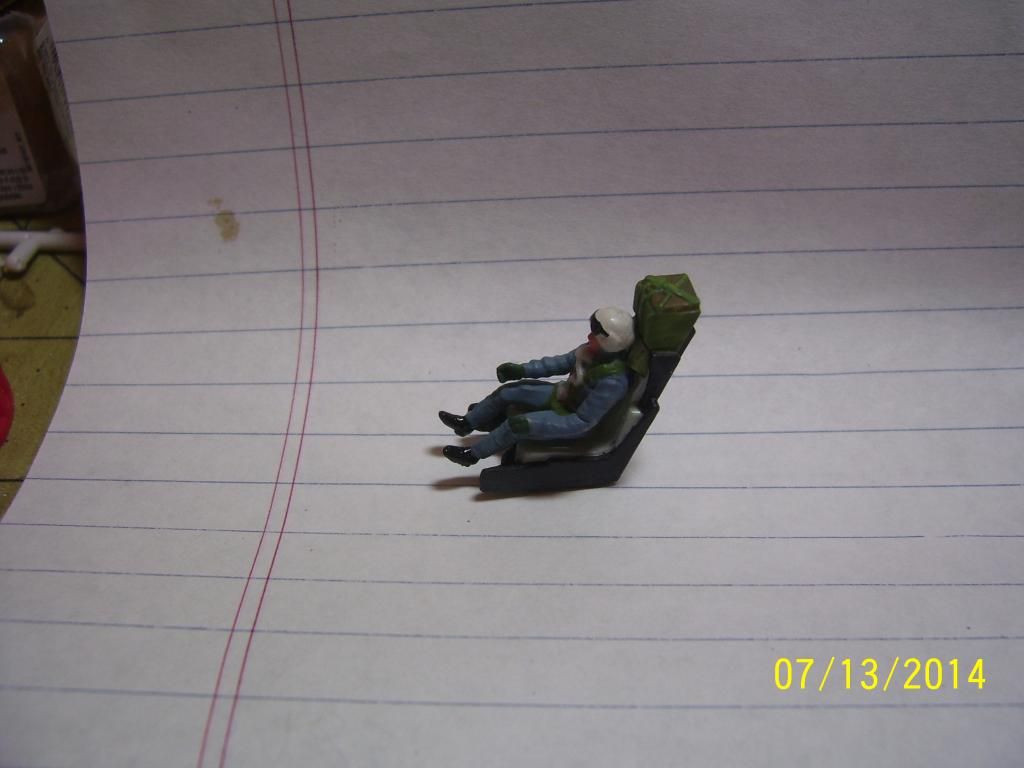
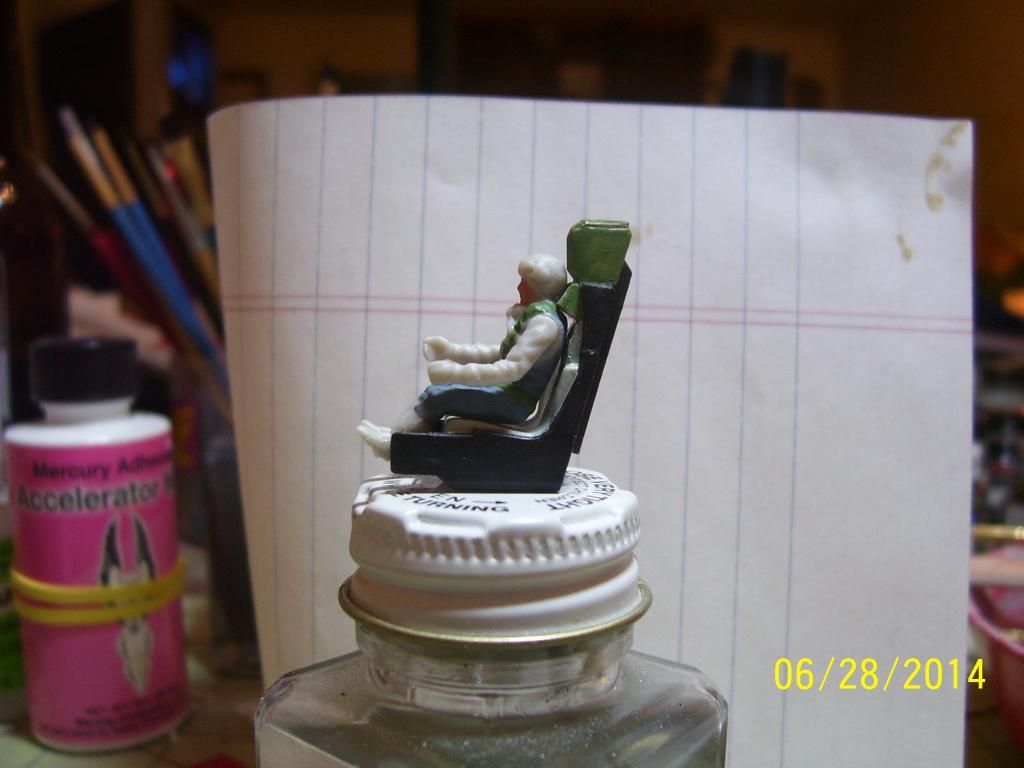
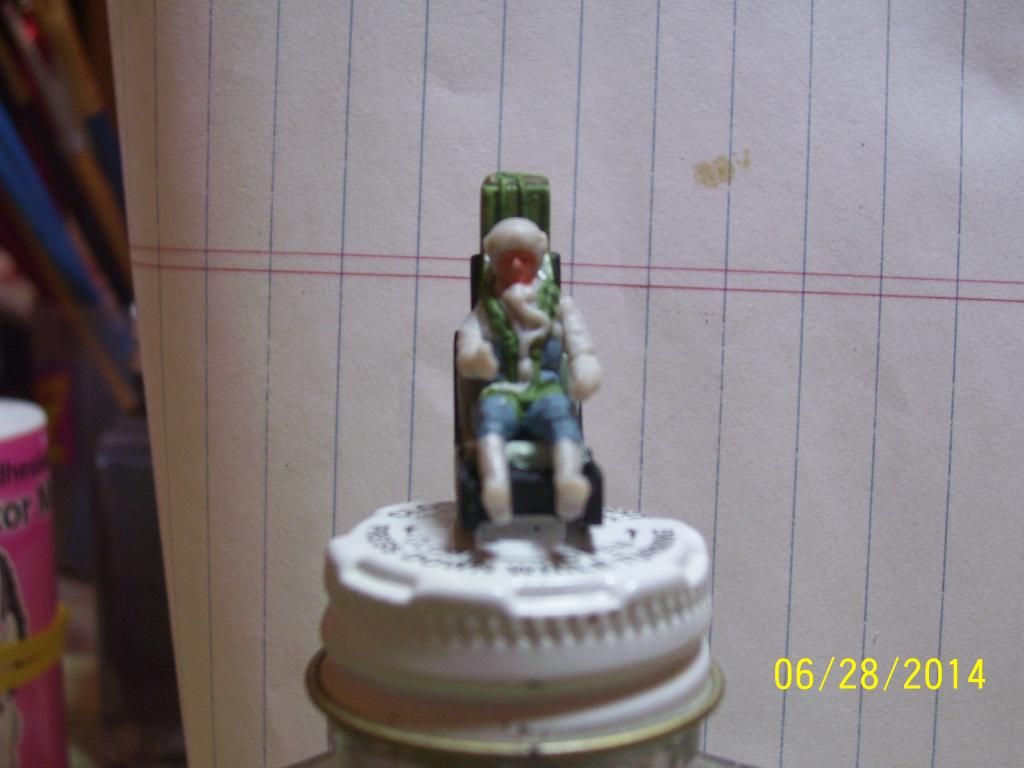
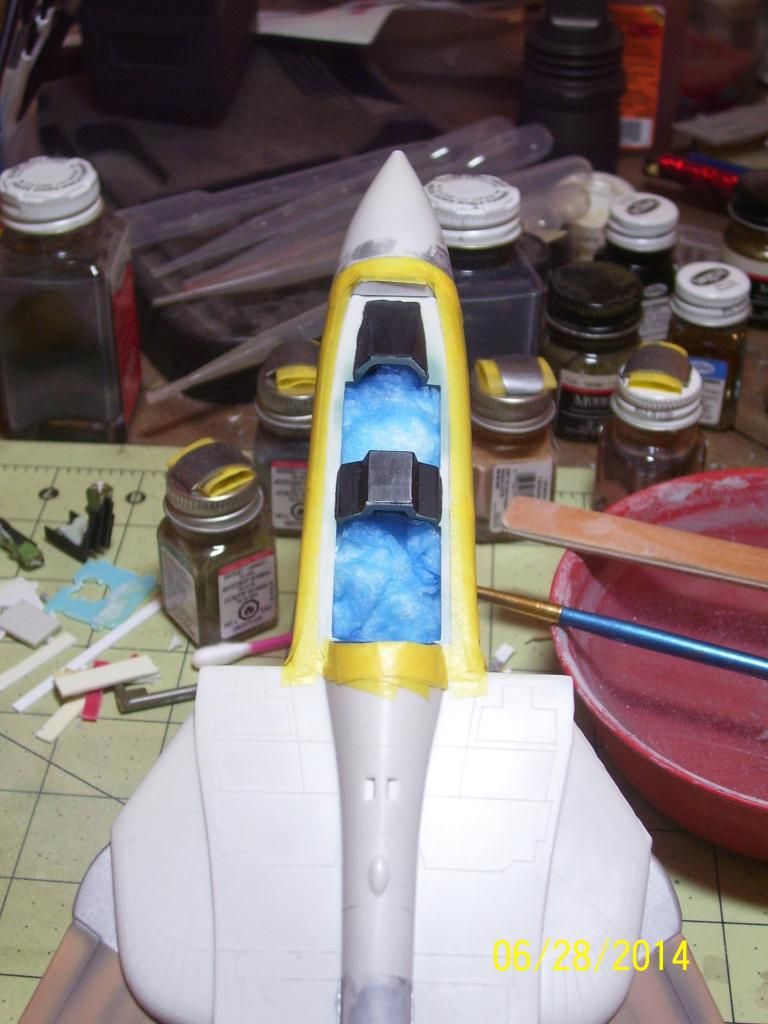
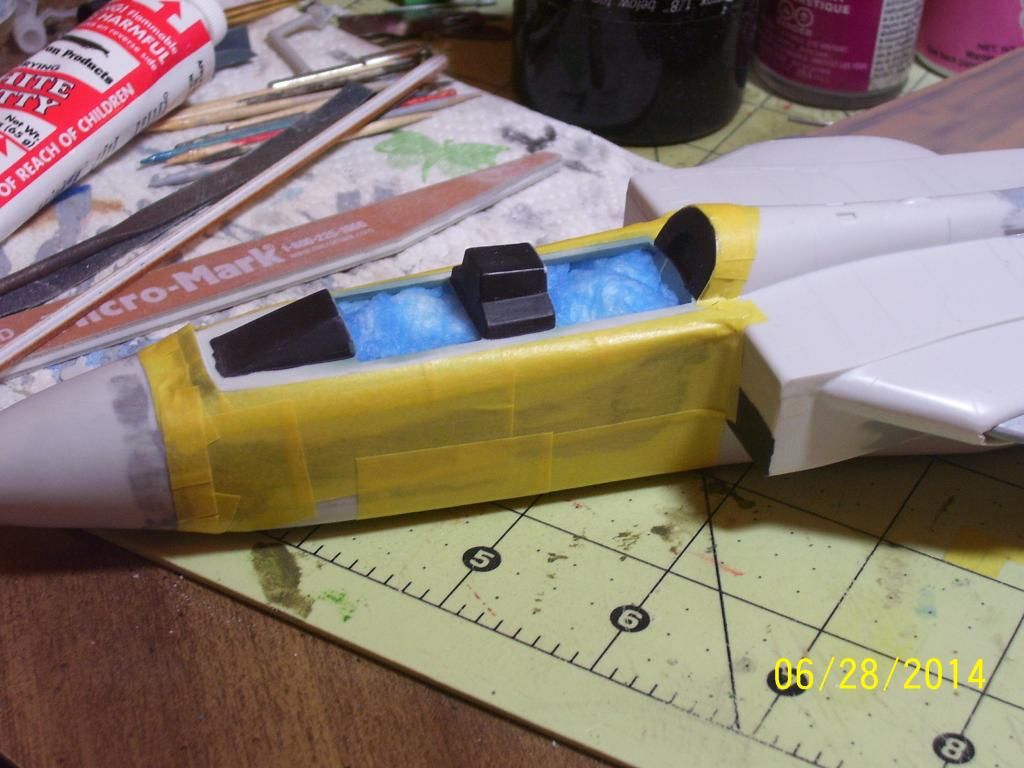
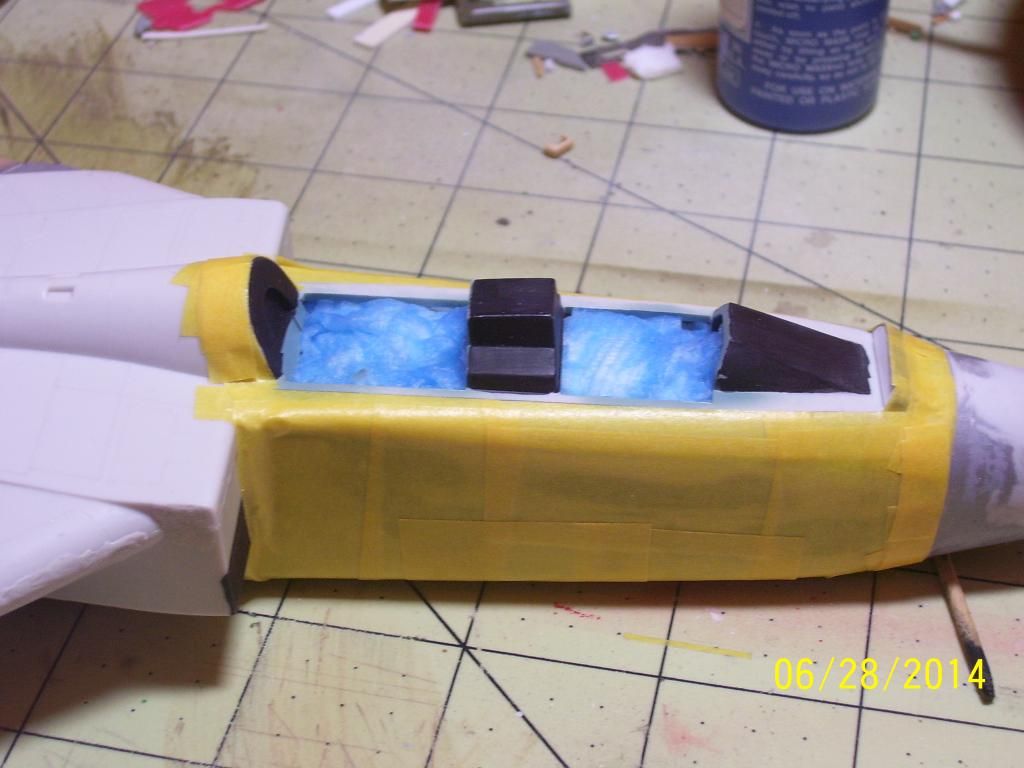
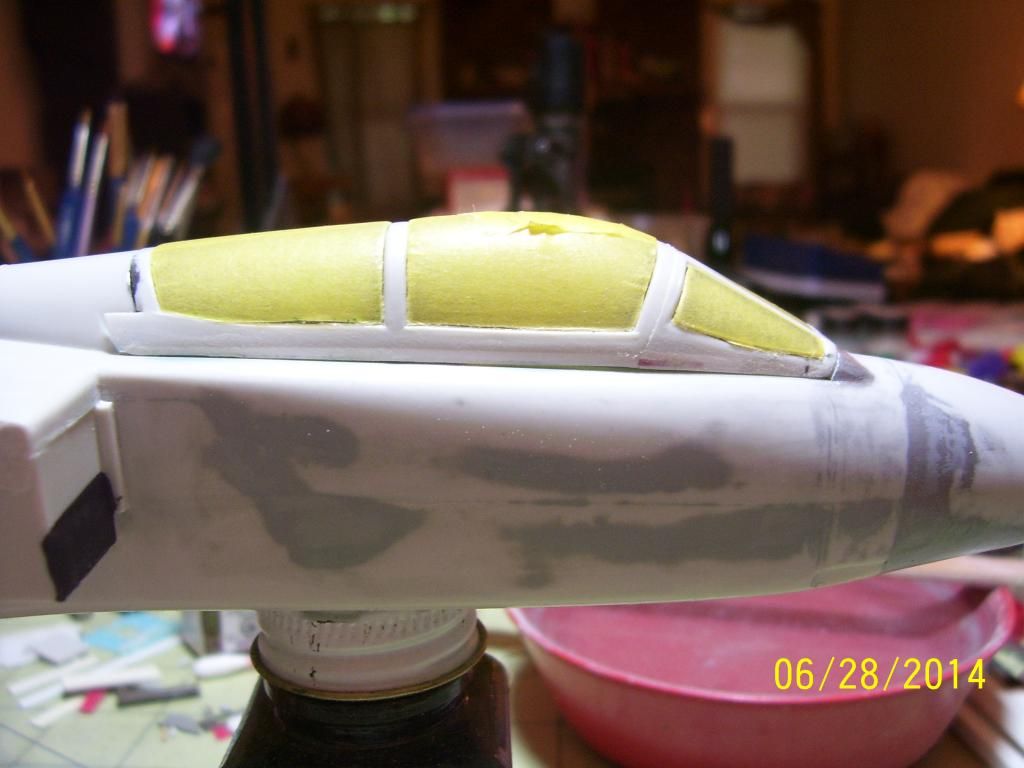
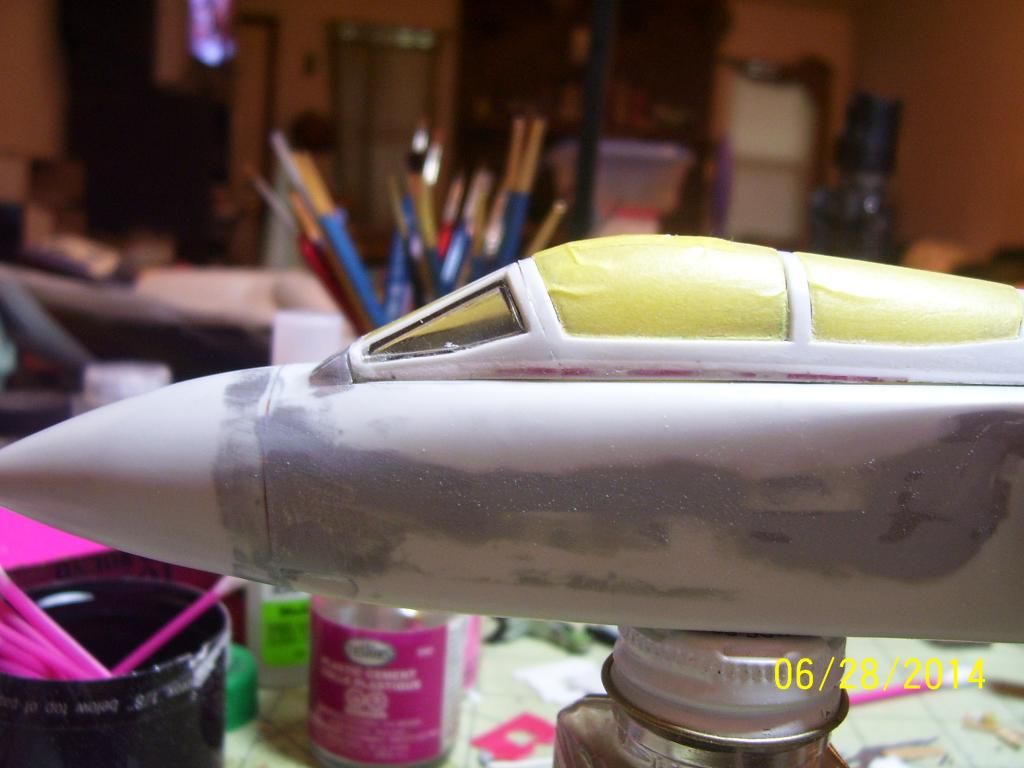
So the intakes are filled and I have finished the aircrew and installed them and thier seats in the cockpits.
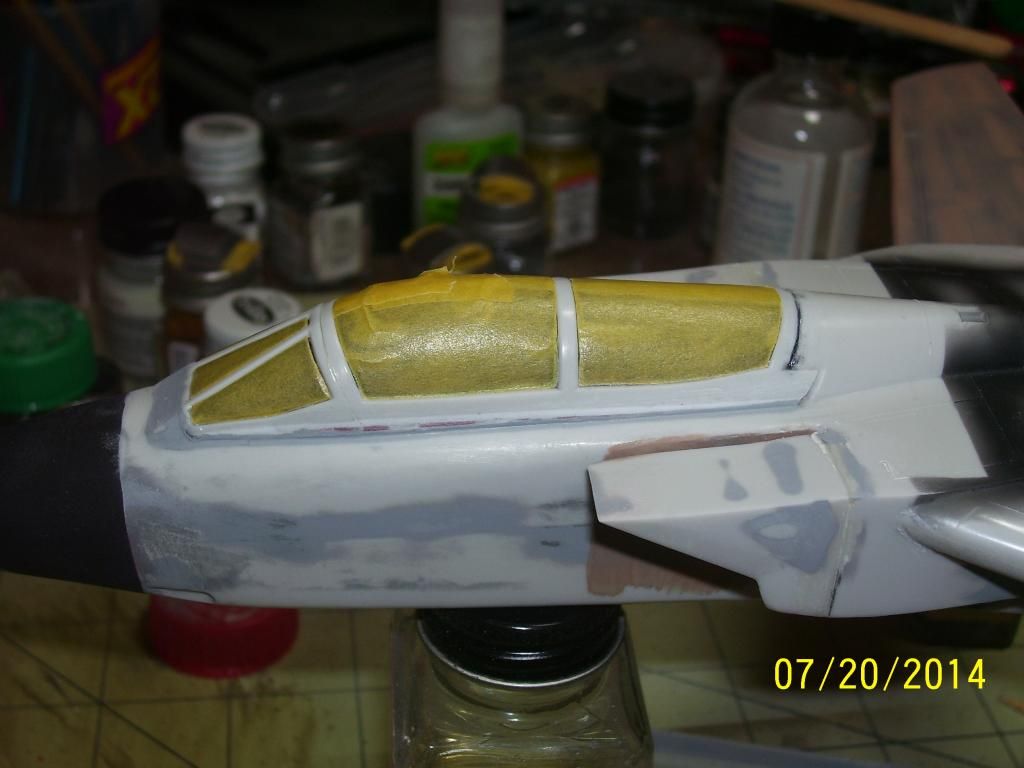
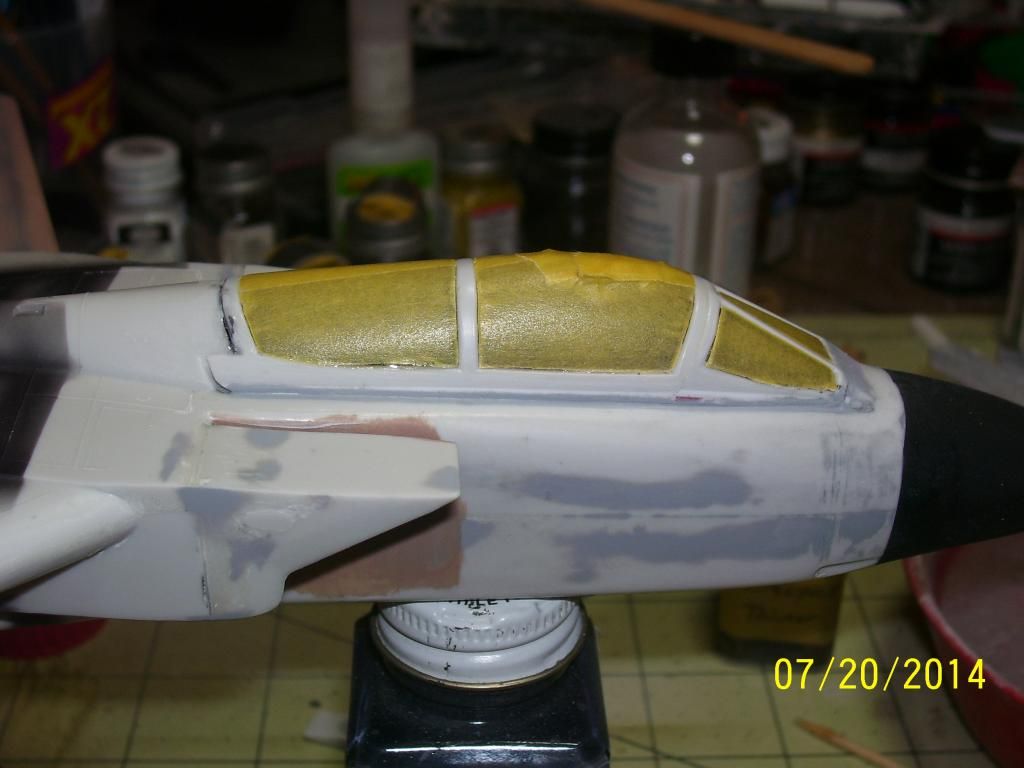
Next came the canopy assembly, it is now installed and being faired into the surrounding airframe.
-
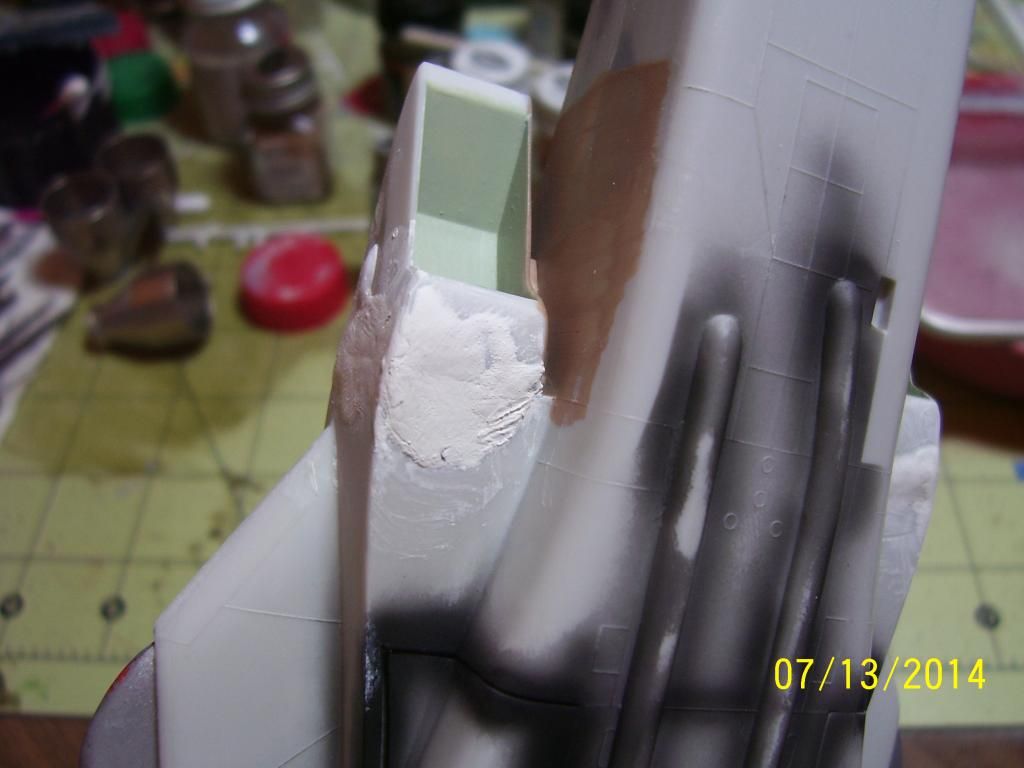
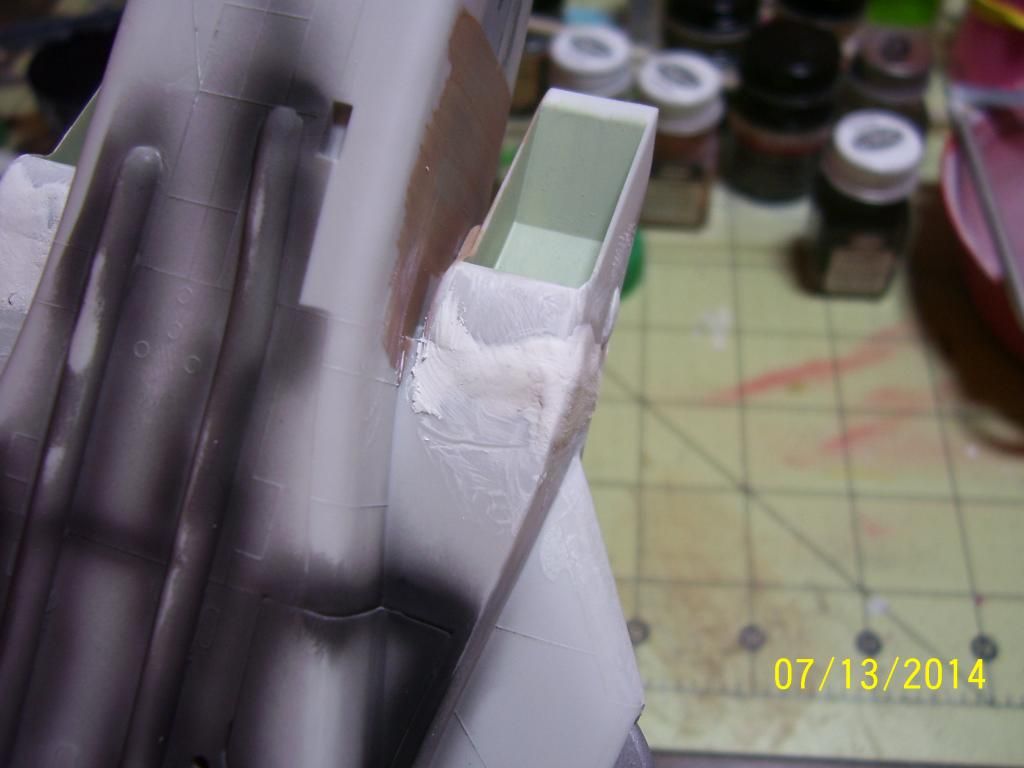
thanks fellas, I ran into a major snag with the intakes, the Milliput wouldn't cure , so I scraped it off and put thinned Testors putty in its place, gave it a day to dry and it didn't cure or eat into the plastic

So I CA'd it and will have them both filled and ready for Mr Surfacer tonight.
-
Thanks Joel I think everything after this one will rate as a shake and bake model lol
-
Looks really good so far, cant wait to see more progress
-
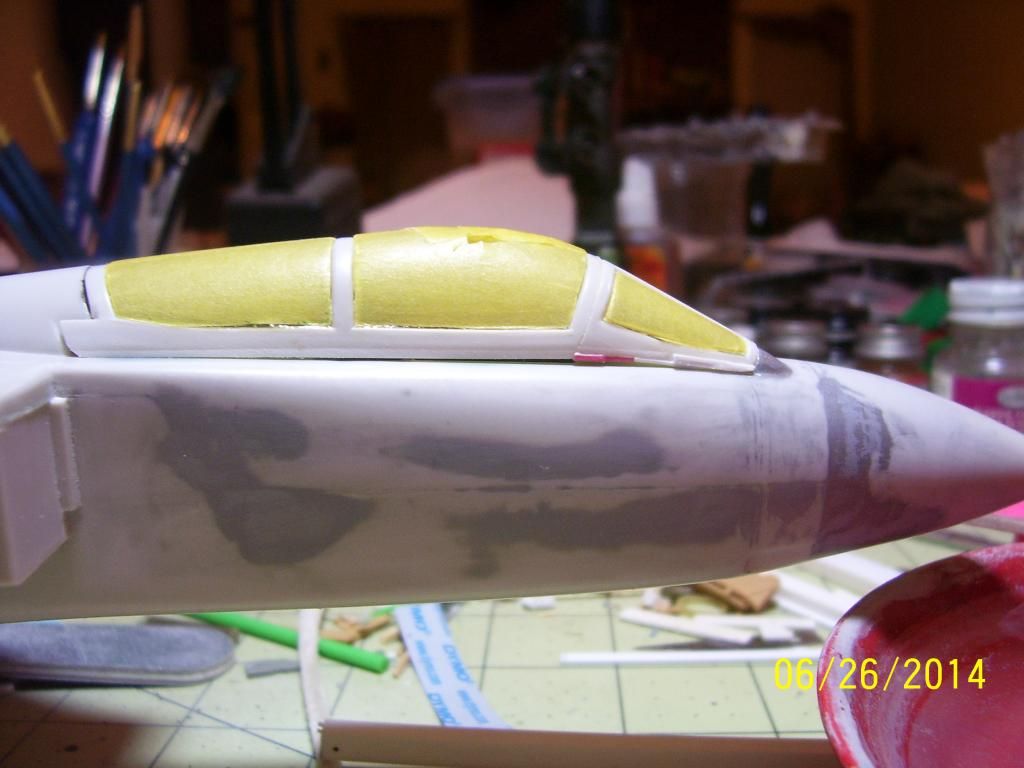
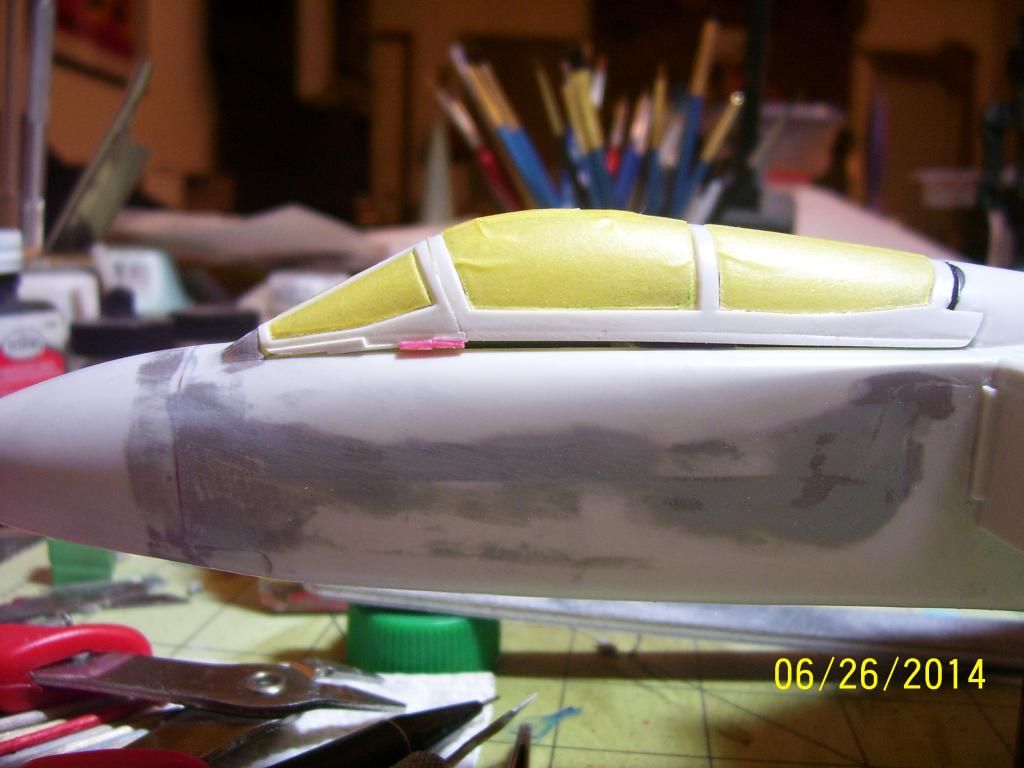
and last is the intakes, there was a MONSTER seam on both sides so I used Miliput super fine to fill the initial gaps, once sanded they'll get the usual regular putty treatment for all final filling and fairing.
-
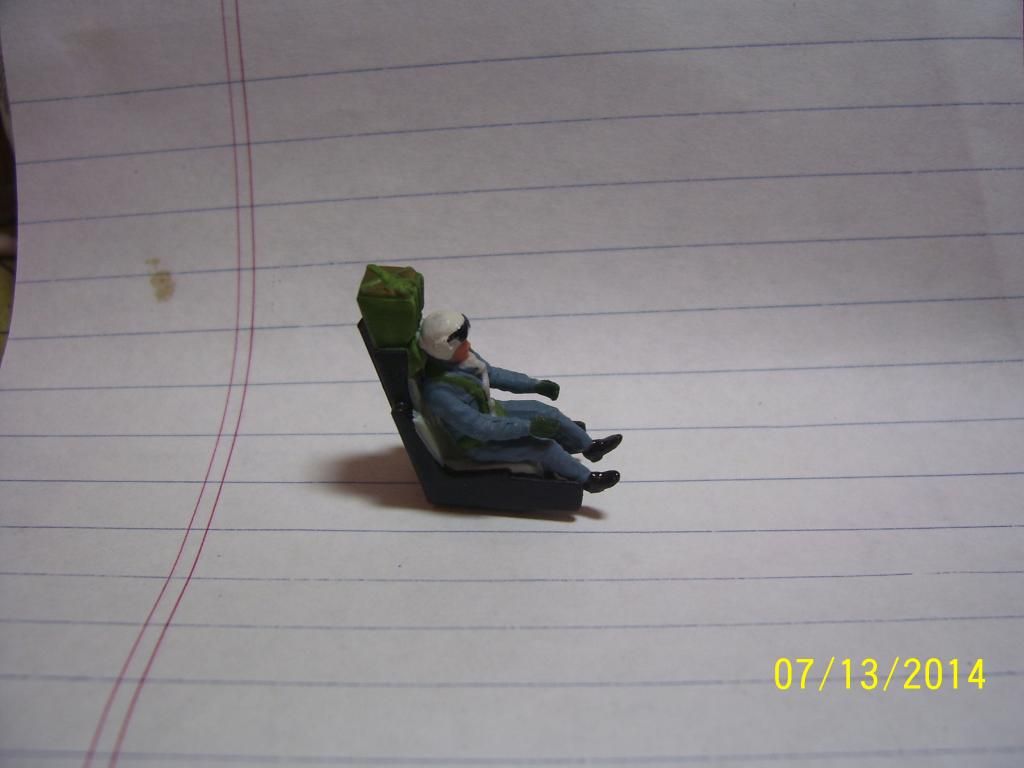
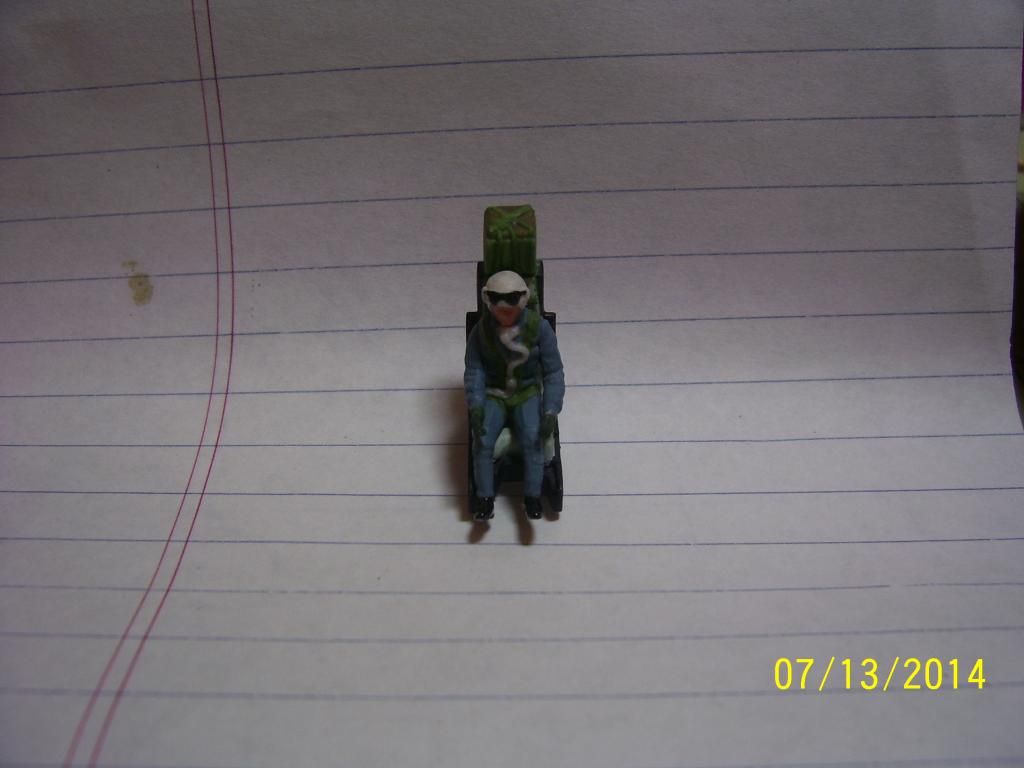
Next up is the figure that's closest to being complete, again I only pre-90's reference material and went with the blue-grey flight suit for that reason, the next one I do will be right since now I have the correct color information.
-
made some progress the last few days.
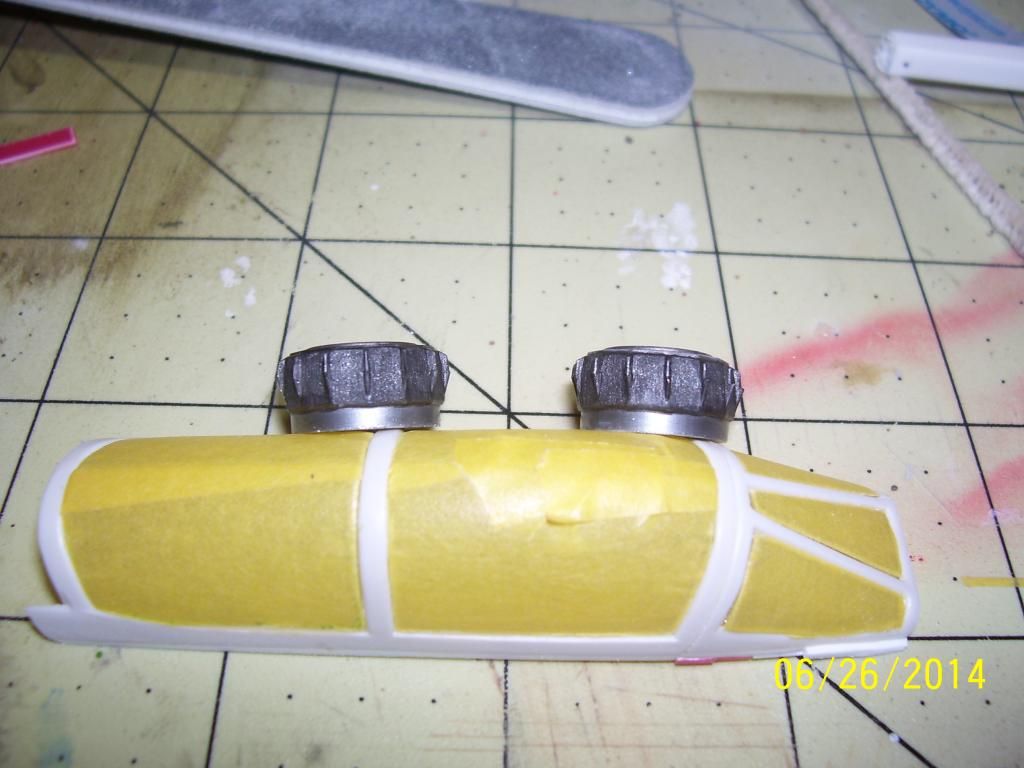
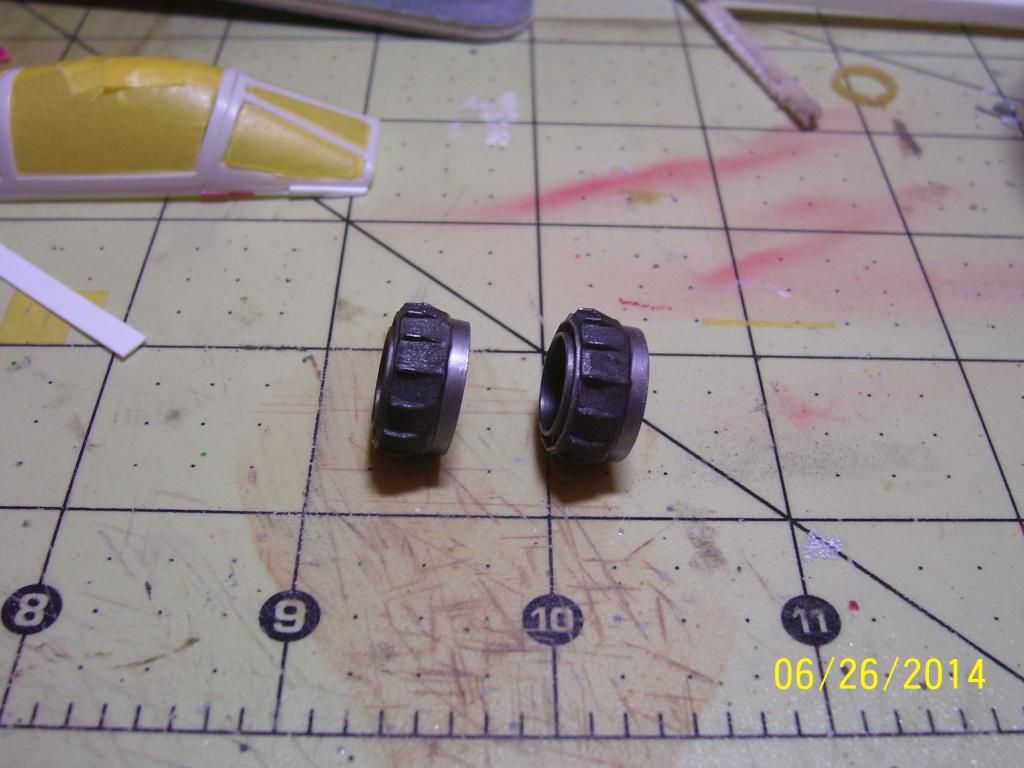
Got the out board pylon pods completed, theyre a mix of kit parts, robbed parts from a Monogram F-14 and putty.
I've also attached the pylons to all the pods and fuel tanks as well finally attaching the last major parts to the fuselage, the intakes are going to be the last major head ache before I can begin painting and finishing.
Anyway, here are the newest pictures.

I know the ECM pods are WAY off, but I have no references for them and did the best I could with what little I had to work with, that being said, the longer of the two I took artistic license with just because, and my cousins ought to like it, so there it is lol.
-
PM sent about the 48th RF-18 and F-16A Plus
-
The aircrews flying suits worn on DS by the RAF were tan in color,the was a few olive colored suits floating about but generally tan.We haven't used blue gray flightsuits since the 70's
thanks spike, unfortunately I didn't have color photos of any current RAF flying gear so I guessed, but its too late now and the blue kind of looks nice and it adds some contrast to the cockpit colors.
The way its looking I'll be back behind the bench Monday night.
-
Thanks Joel , unfortunately I wont be able to update anything until after the weekend, I'm house/dog sitting and we have a tropical storm or possibly a hurricane on its way, so once this is all past I'll be back to it
-
I'm not worried about the black over powering the future coats of paint, I plan on trying a few different things and on using more than one shade of sand/tan/brown before I seal her up for decals.
I also got started on the crew. My final decision on flight suit color was MM Navy blue grey, it just seemed to have the right shade to me.
-
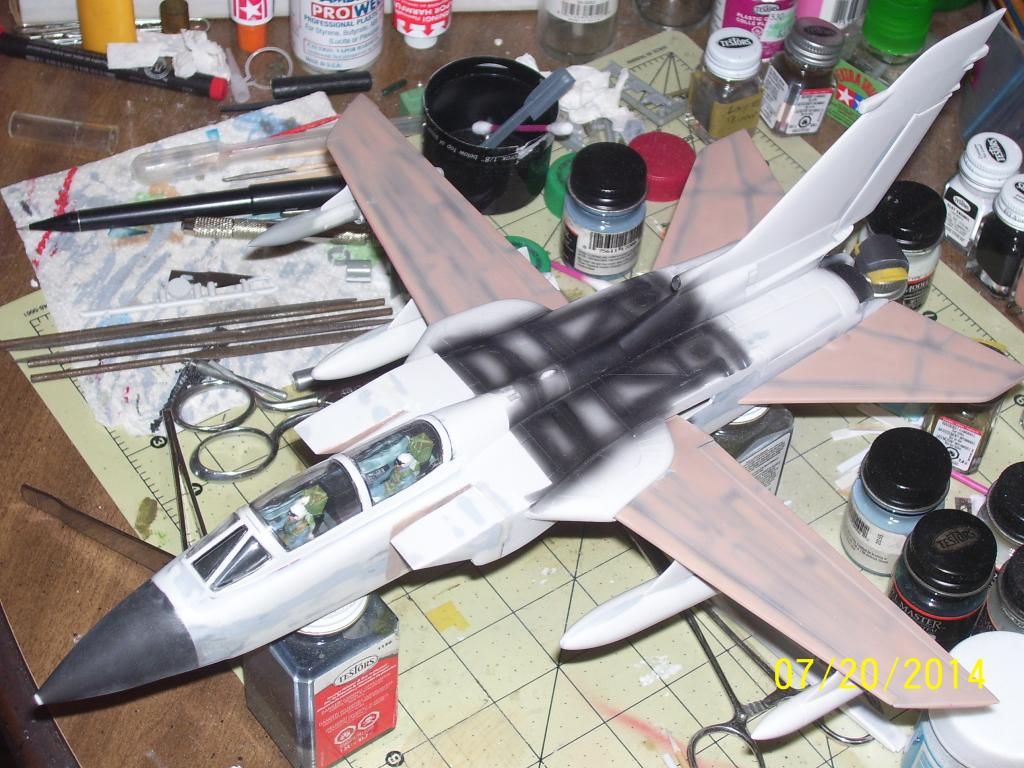
Now the after
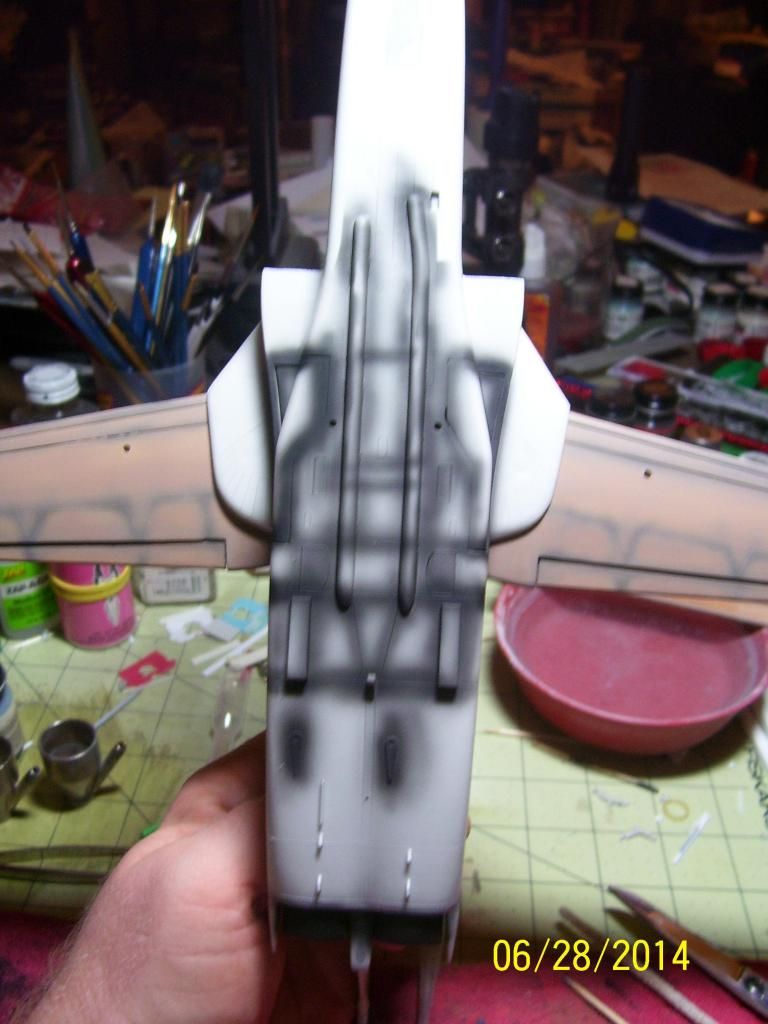
while I was at it I preshaded the radome as well as the upper and lower fuselage
And I decided to skip the belly racks, they are a nightmare and I didn't do them as well as I could've, so she'll be slick except for drop tanks and ecm gear.
-
cranked up the Badger last night, I laid down a good covering of really thin black paint on the cockpit sills and instrument panel shrouds as well as the fuselage top, bottom, and radome.
I masked the pits with paper towels and Micro-mask and the outside with Tamiya tape
I thinned the paint more than usual and sprayed at about 12 psi making multiple passes until I had a nice even cover
-
the pretty lady is my GF, she's in Alabama so the picture is the next best thing, lol
thanks for the compliment on the gap filling, after I finish this one I'll be pretty close to an expert on seam work
-
only canopy work today............
Filled the lower forward sections of the windscreen frame and will fair it the rest of the way in when I attach it to the fuselage. '
-
Now don't over judge my scratch building skills lol, this is just my attempt to make the kit look better in my eyes and using the references I have, so be gentle :blink:/>
Heres the other rack that's almost complete
Now I have to track down some British ordnance in 48th scale, anyone know where I can find some or who makes aftermarket British ordnance
-
I have the distinct feeling that I now know what it means to attempt to polish a turd..........
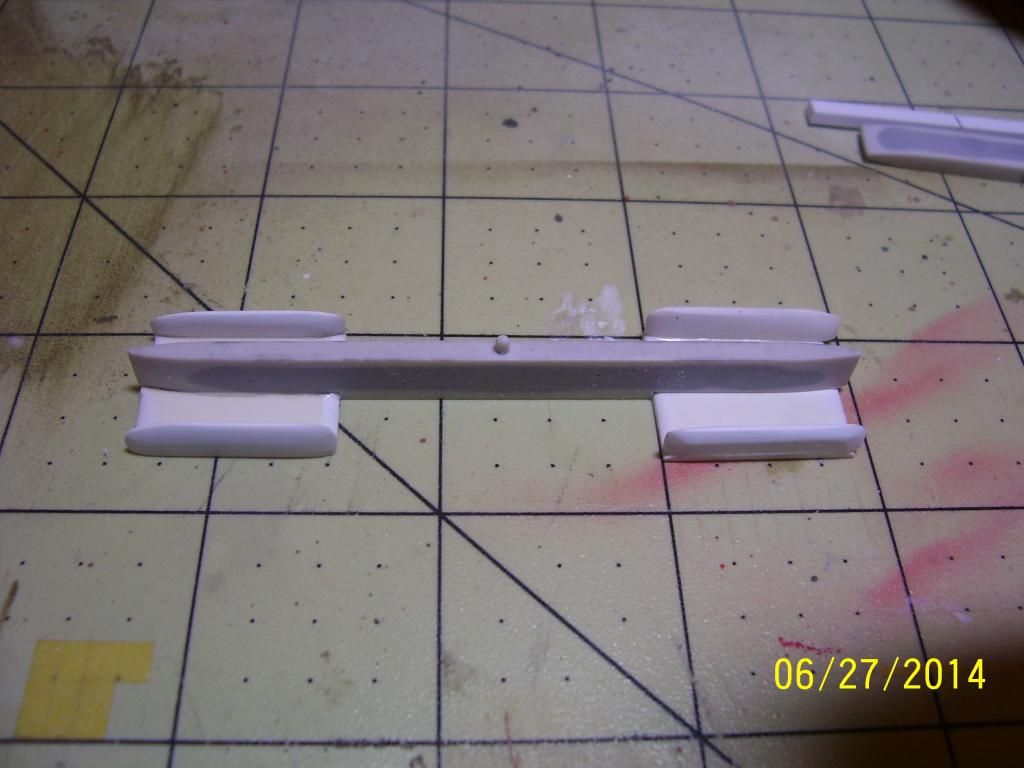
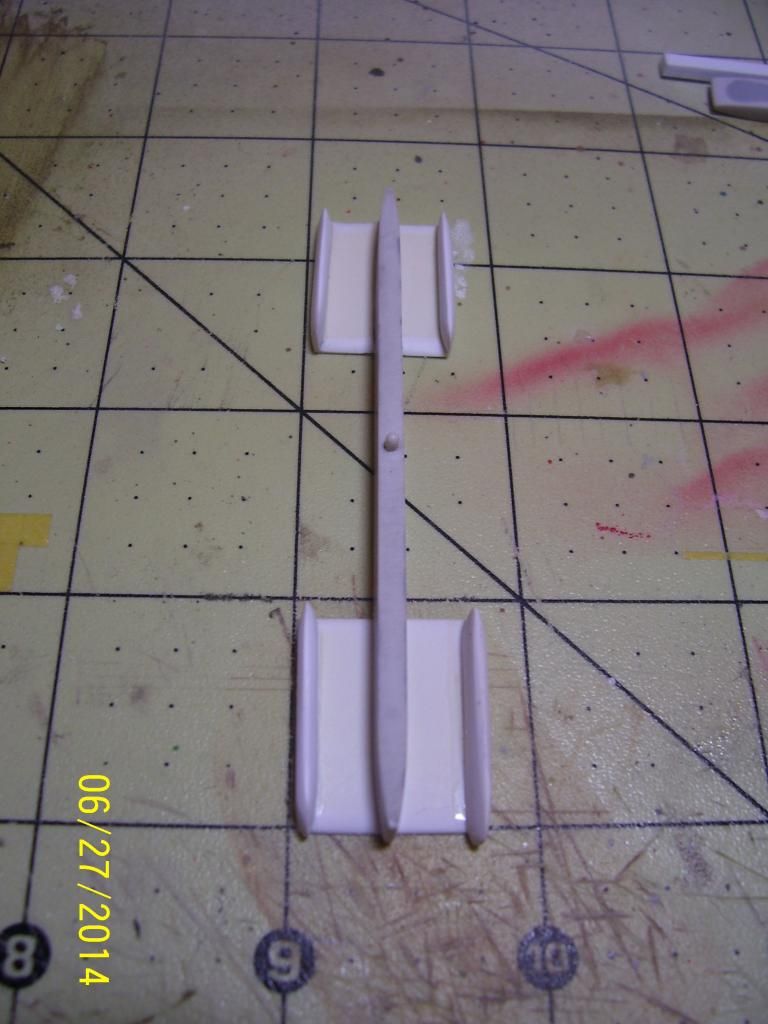
I got to work on the belly racks last night after I decided I couldn't let them go looking like they do straight from the box.
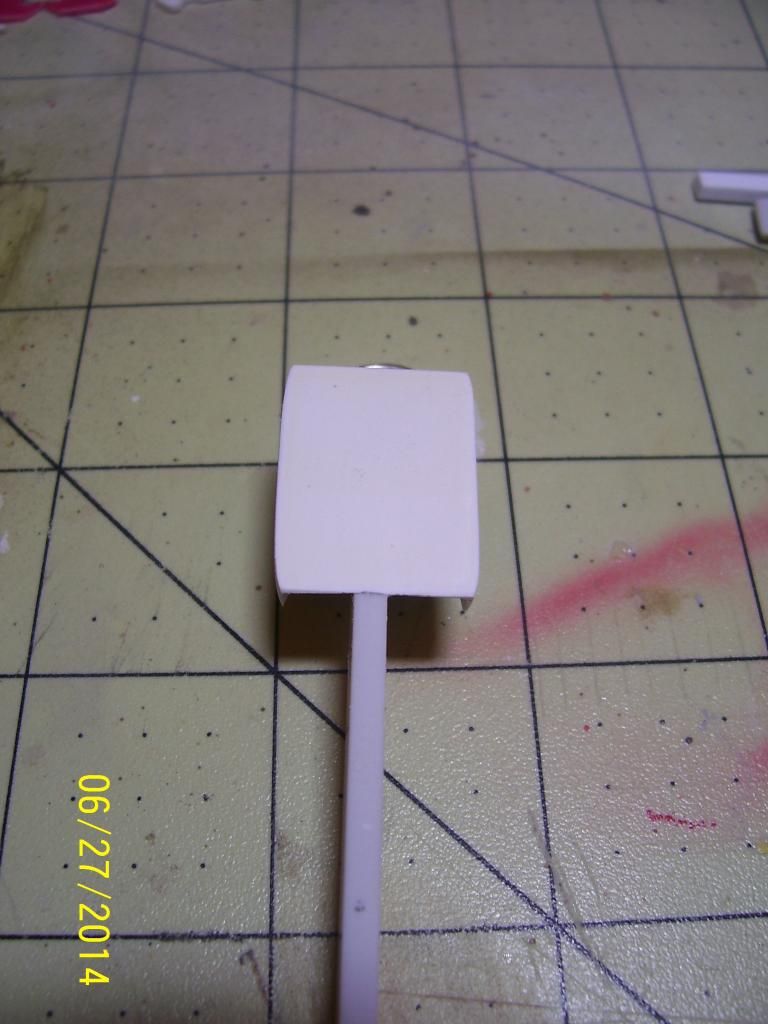
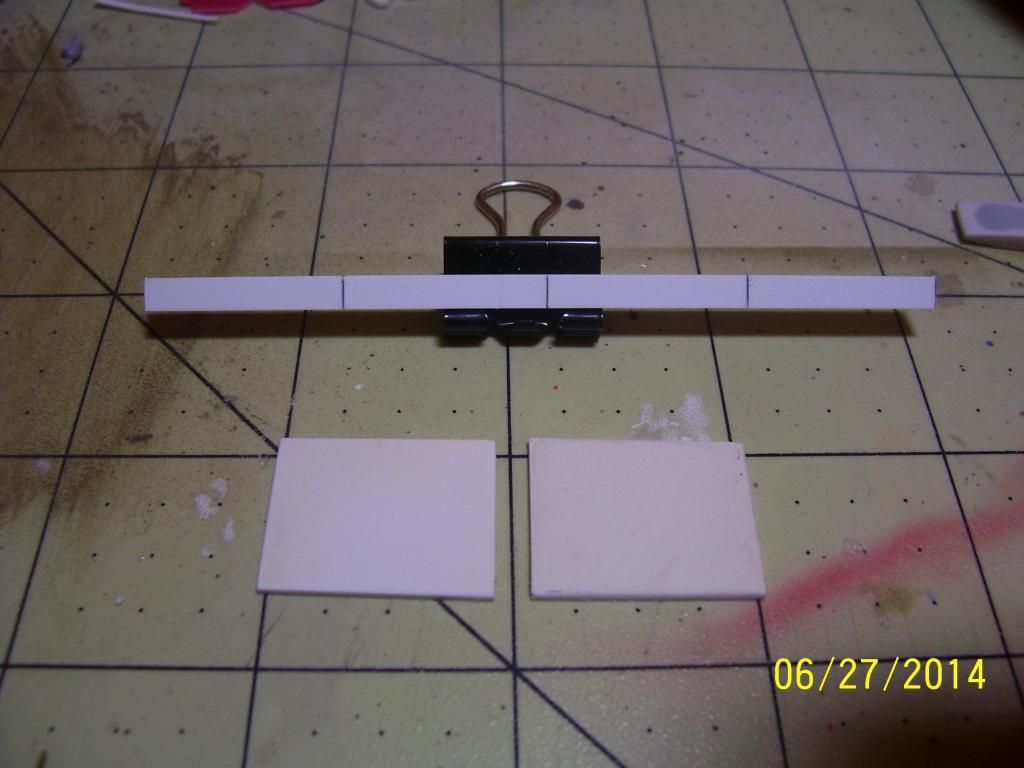
I used some .050 sheet stock to make four pallets (2 per rack) using the old Monogram kit as a guide.
Here is the straight from the box belly rack.
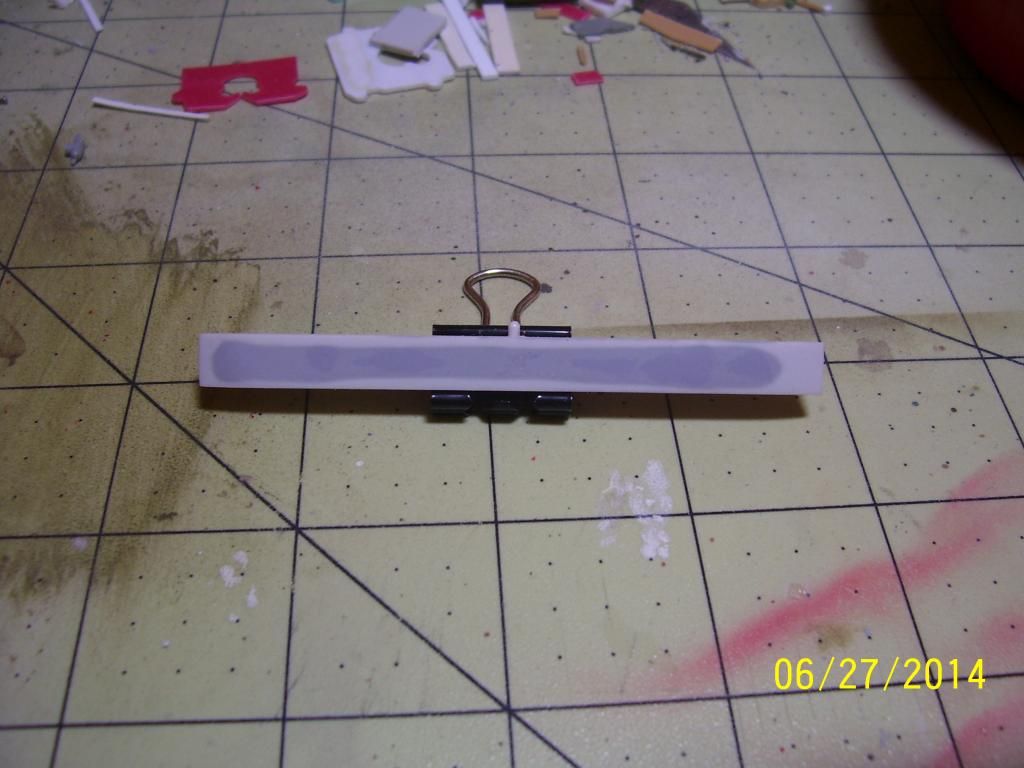
And here is the sheet and strip stock I used to make the pallets and their strakes.
-
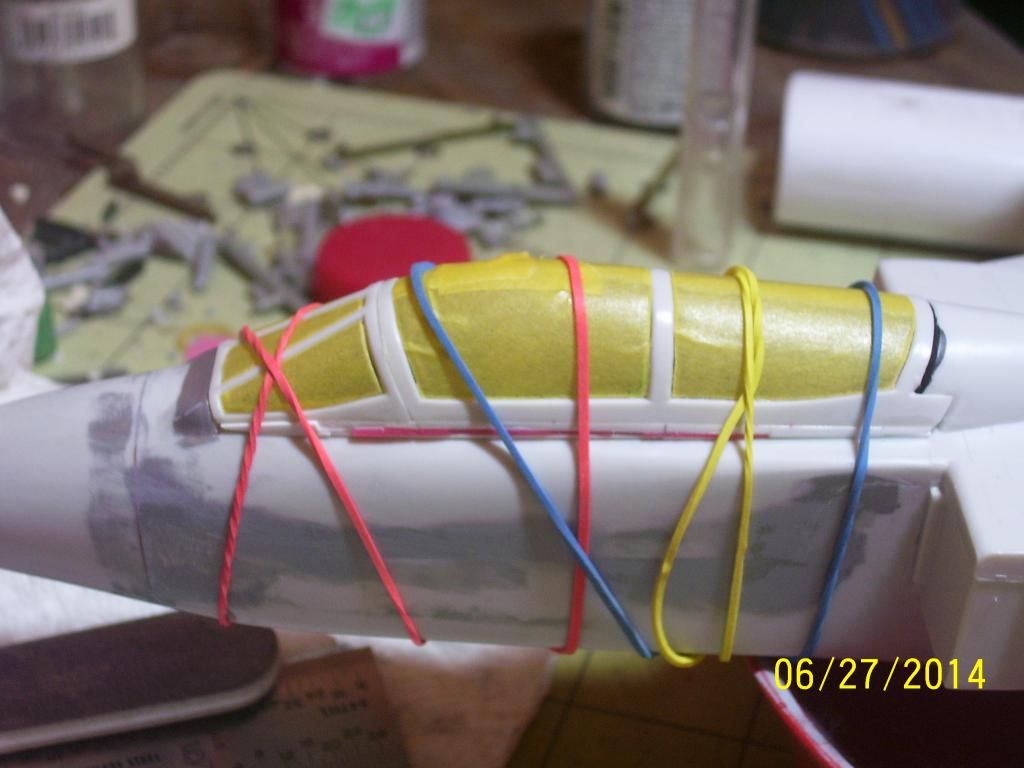
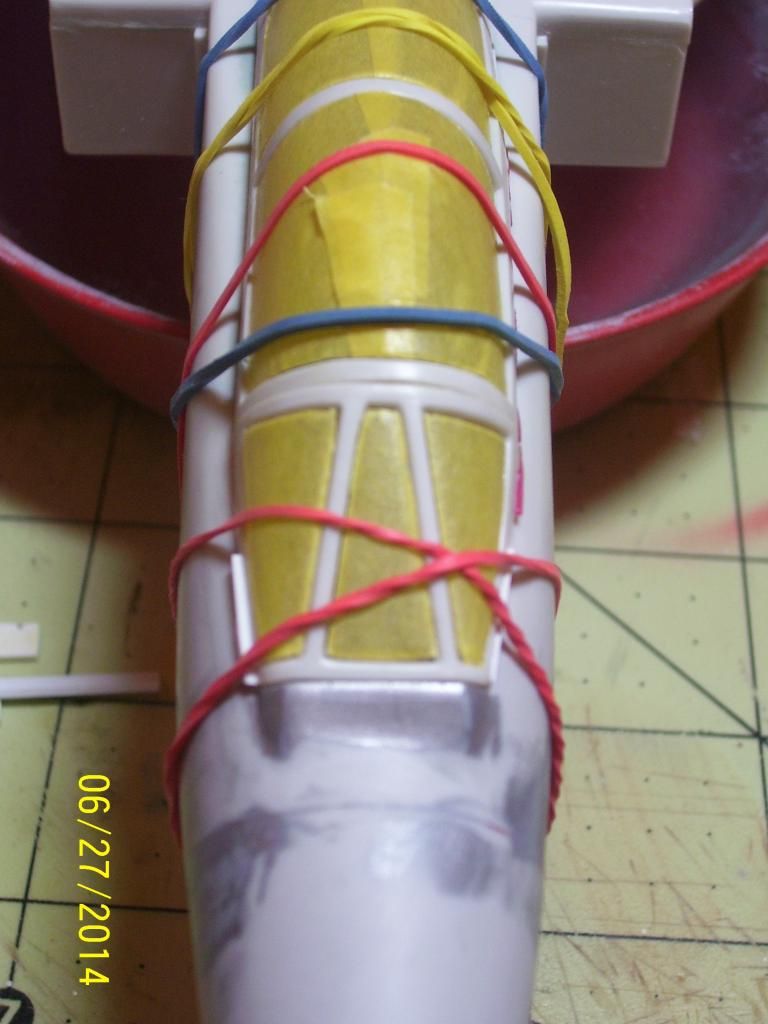
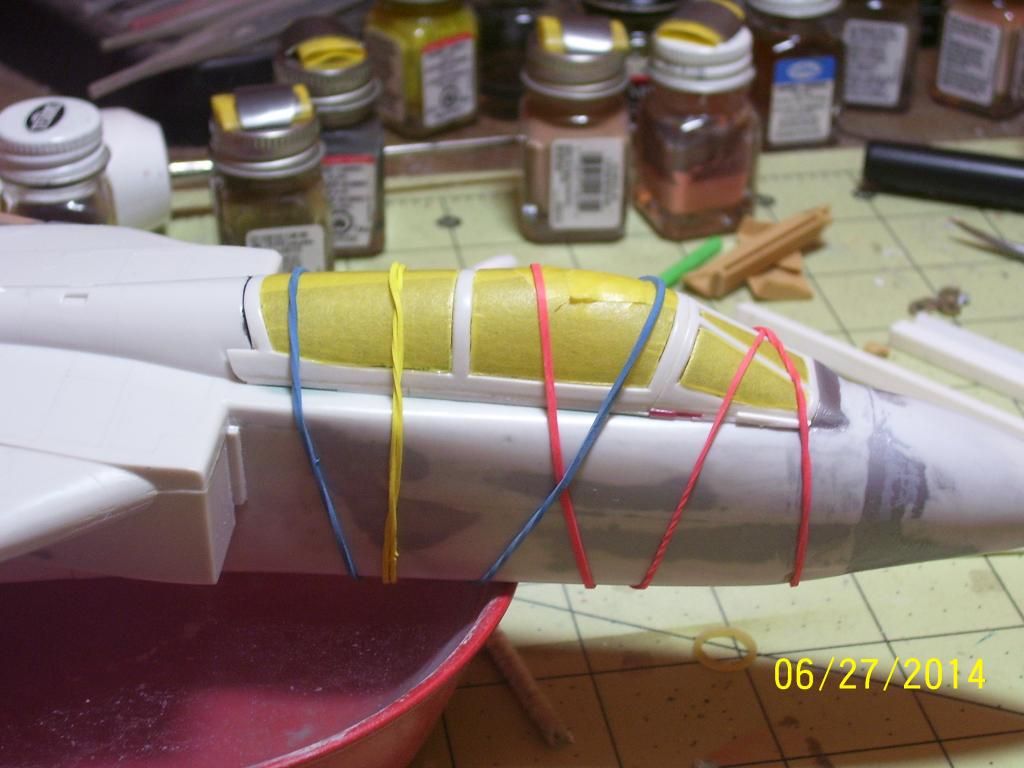
After I got the gap pretty well filled, I used rubber bands to pull the whole section tight and squeeze the softened plastic into place and fill the tiny gaps I didn't want to CA
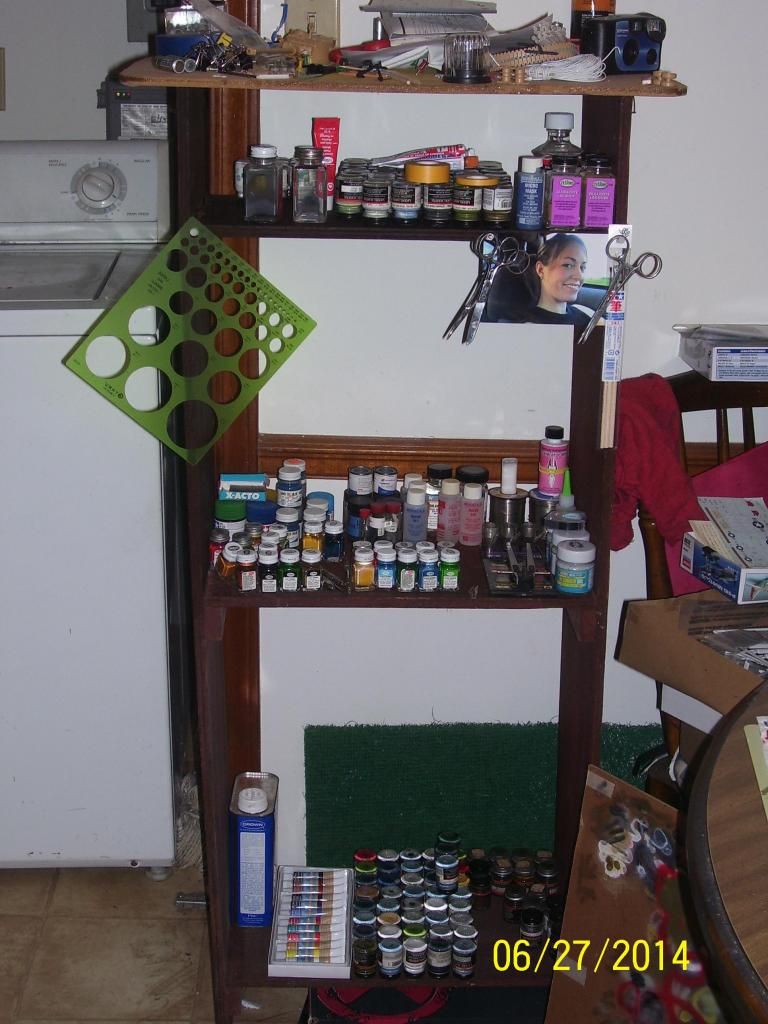
And here is the shelf I put to use that has given me all my work space back
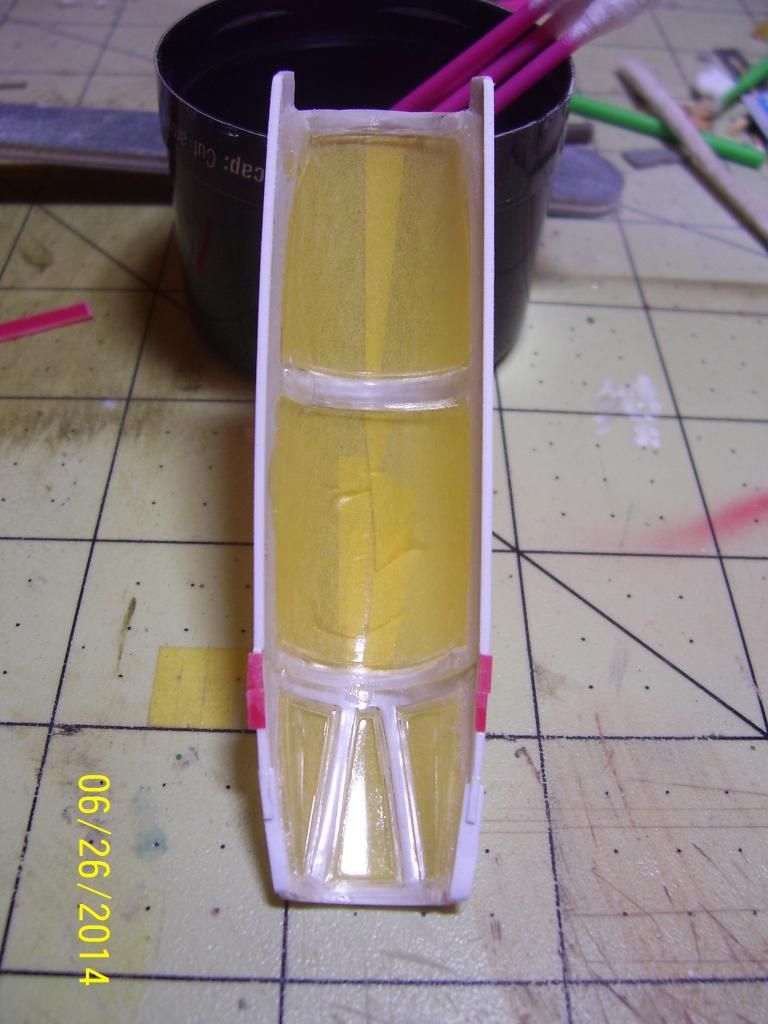
The canopy assembly is currently set and has putty drying on its frame cover the low and uneven spots from the filling. The seams on the wing shoulders are also finally filled and curing.
More pictures to follow
-
then closing the gasp between the canopy frame and the sill
I used strip stock and plastic scrounged from a bread bag tie
-
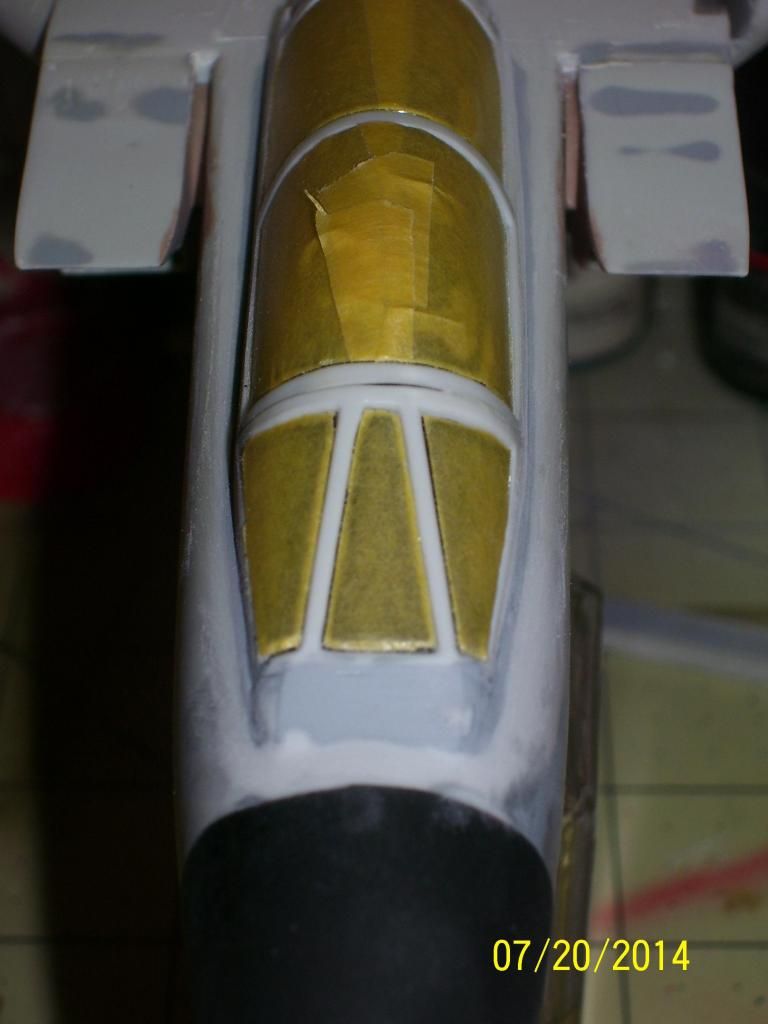
okay, progress, progress, progress.........
First the exhausts, MM Metalizer brushed on
-
made some progress the last few days. I'm taking the silver paint I used to final check all the seams off in preparation for preshading the fuselage.
The jet exhausts have been painted with MM Metalizer and set aside, the ejection seats are coming a long and the canopy/windscreen assemblys seam work is slowly getting closed up.
I spent the last two days cleaning up my work area and going through all of my paints and giving a good mixing before putting them on the new shelves I picked up earlier this week. Now I can almost find everything lol
-
Me too I'm tying to sort of reintroduce myself into the hobby,well more correctly I'm just trying to finish something.
After having an health issue time ago, any kit I started in recent years ended up in the trash

 />
/>Iggy
 />
/> />
/>I can understand, I've been a full time college student for the past two years, school, studies, part time work, and school are all I've been able to do, by the time its all said and done most days I wouldn't get time to get to the bench, but this summer, I'm at the bench and getting ready to start a new job, so I'm making the time this summer
-
On another note, I thought I would give you fans of this self abuse I'm indulging in a run down of the specifics.
All assembly has been with Testors liquid cement and Ambroid Pro-weld. The Testors I use for smoothing putty as well as most of the parts assembly. One bottle is straight cement, the other is a mix of the liquid and tube cement. The Ambroid is just for trouble spots like the vertical tail attachment.
Fillers range from Plastruct styrene odds and ends, to Squadron styrene stock, to putty (Tamiya and Squadron white) to three grades of Mr. Surfacer. I've only CA'd two places on each wing and used it no where else.
There isn't going to be anything non-styrene or that didn't come with the model in the build except two figures of British aircrew a member here was kind enough to send me.
All paints used are either Testors little bottle or Model Master enamels. Once I get to the weathering stage I'll decide what I'll use there, but it seems like I'm in a nice DEEP rut of filling and sanding.
More to follow


Desert Storm Tornado
in In-Progress Pics
Posted
Now for the story of the salvaged belly racks.
I tried to make these look like the ones that come in the old Monogram 72nd scale kit of this aircraft, yeah that didn't work out too well so I decided to build the kit in clean configuration, only carrying a payload on the wing pylons, that is until I did some looking and found that the Tornado did carry single bombs on the belly pylons. Now before there's a heart attack, I know that most times you see an IDS loaded for bear its carrying LGB's, but since I have no 48 scale LGB's she got "dumb" Mk-84s.
The pylons got my attempt at scratch building hacked off, filled and cut again for a set of Hasegawa sway braces, locating pins made from straight pins, ejector feet made from straight pin heads, and holes drilled in the sway brace feet for the brace foot pad pins.
The 84s got cemented and put up for a day to set, then I drilled out the fastener holes that secure the finned rear sections to the forward sections of the bombs and scribed the rest of the raised detail. The scribing came out okay, but not as well as I would've liked, but for my first attempt at scribing a circle around the outside diameter of a bomb it could've been worse.