-
Content Count
120 -
Joined
-
Last visited
About P-40Ace
-
Rank
/\ Sukoi S-37 Berkut /\

Contact Methods
-
Website URL
http://
-
ICQ
0
Profile Information
-
Interests
1/48 and up WWII bombers, and fighters.
-
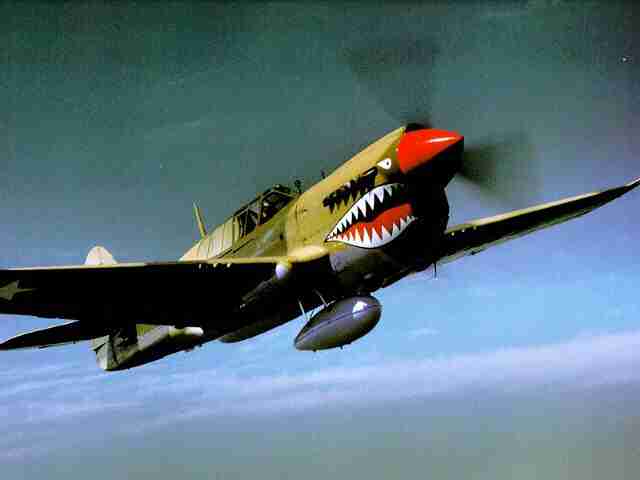
I was thinking of putting real lights in the plane before i finished the wings up and all, but couldn't find a small enough light to look to scale under the glass piece :) ... so I did alittle touchup and cheated with Photoshop after the picture was taken. :)
-
last one...
-
Here's a couple of earlier in-progress pics...
-
top-nose view...
-
nose view... the sharkmouth decal doesn't look warped or messed up in real life as the pic would make u believe...
-
YEAH!!! I finally finished it after 1 and 1/2 years of hard work. The pix aren't great, but i u can catch some of the work i put into it... the model was finished at 1 am last night. :unsure: There were no decals for "Nola" available to me, when I began the project and so I created them on my comp. using Adobe Photoshop and Testors Decal Maker. I added several additional details to the cockpit for more accuracy and to provide some interest. I added a radio headset, which I drapped over the Pilot's control stick, I modified the seats with new cushions and seatbelts, and added a rear
-
wow, that's amazing dude! Nice, nice, work! Keep it up! It's just too bad that most of it will be hidden once you close the fuselages up. Make sure you do take LOTS of pix before you close the halves up with it all painted and stuff!!!! ;) ;) -Ace
-
Ok thanks guys. Yup, it's just one piece....Thought about contacting the manufacturer to get a new one, but i did a pretty good job on the frame, and didn't wanna have to do it over. Anyways, I will have to give those a try. thx Ace
-
The other day I was working on my North American B-25 Mitchell's nose canopy, and after I had the frame painted, I accidentally set it over a can which had some drying superglue in it. Anyway the next morning when I came down to check on it, the entire canopy was covered in the dried white fumes fom the superglue. I was able to rub some of it off with a dry cotton swab, but most of it is still visible and makes the canopy look awful. Any suggestions? Thanks, Ace
-
Wow. Looks great. :) Nice job -Ace
-
Nice job. :wacko: ...Would love to see some close ups of the cockpit. :blink: -Ace
-
Nice job. Keep up the good work. Ace
-
Hmmm... I definately agree with the others.... I would lay some newly stretched styrene or sprue in the gap and let it get hard, and than sand it over, and if there are any smaller cracks left after that, fill them in with some gap filling superglue. :huh: Ace
-
WOW! :D Nice job Bill! :( That is one beutiful build.... :lol: Ace
-
Thanks, Marcin Ace


