


WW2nut
-
Content Count
120 -
Joined
-
Last visited
Content Type
Profiles
Forums
Calendar
Posts posted by WW2nut
-
-
Thanks Holmes! Glad you enjoyed it.
Joe
-
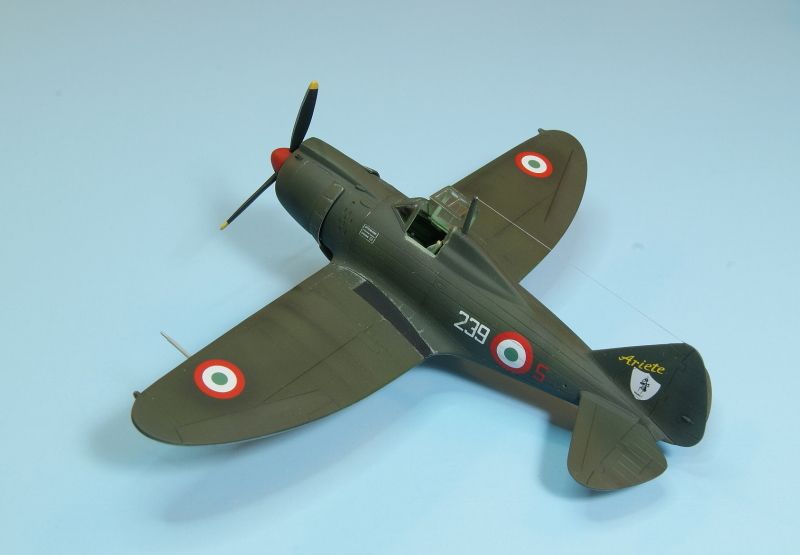
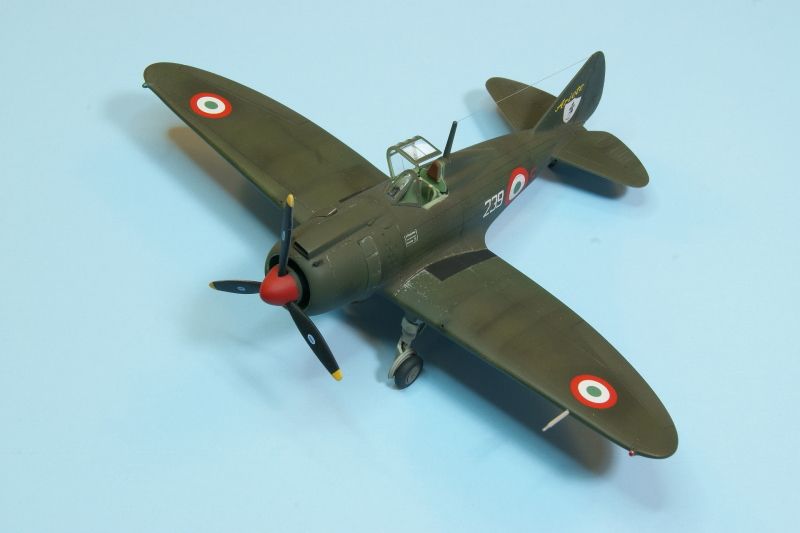
Well the OOB build of the Sword 1/72 scale Reggiane Re-2002 is done. Having built the inline engined Re-2001 a few months back I can say I think this kit is even better. Its also quite a different airframe. Often it seems when there's a change from an inline to a radial there's not a lot changed aft of the firewall. In this case the fuselage is completely different...much more chubby from nose to tail. I think I like the look of this one a bit better...but don't call me a chubby chaser! ;)
It was a trouble free build that most anyone should enjoy. The usual small challenges one might expect from a limited run kit, but its very buildable and fills another small void in 1/72 world!
Decals are from the kit and the Sky Decals Re-2000 series sheet.
Joe
-
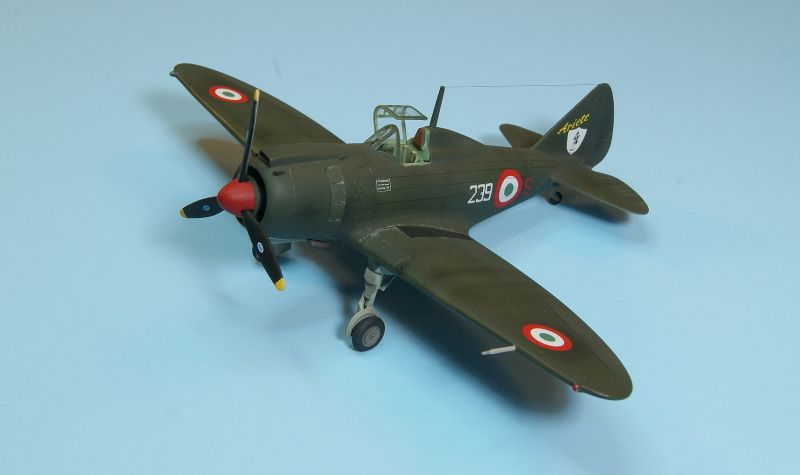
Well the OOB build of Sword's 1/72 scale Reggiane Re-2002 is done.
It was a trouble free build that most anyone should enjoy. The usual small challenges one might expect from a limited run kit, but its very buildable and fills another small void in 1/72 world!
Decals are from the kit and the Sky Decals Re-2000 series sheet.
Joe
-
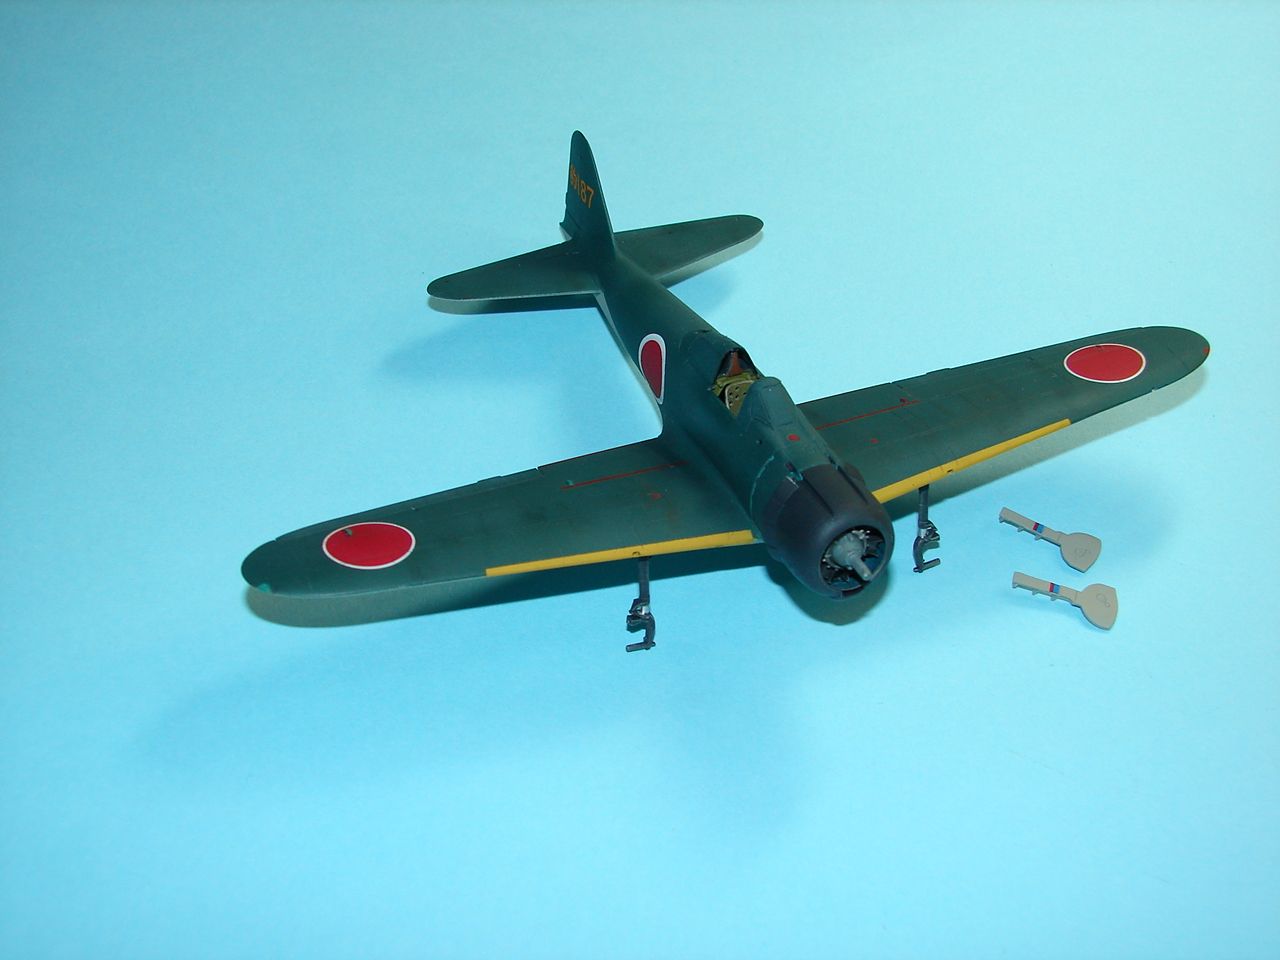
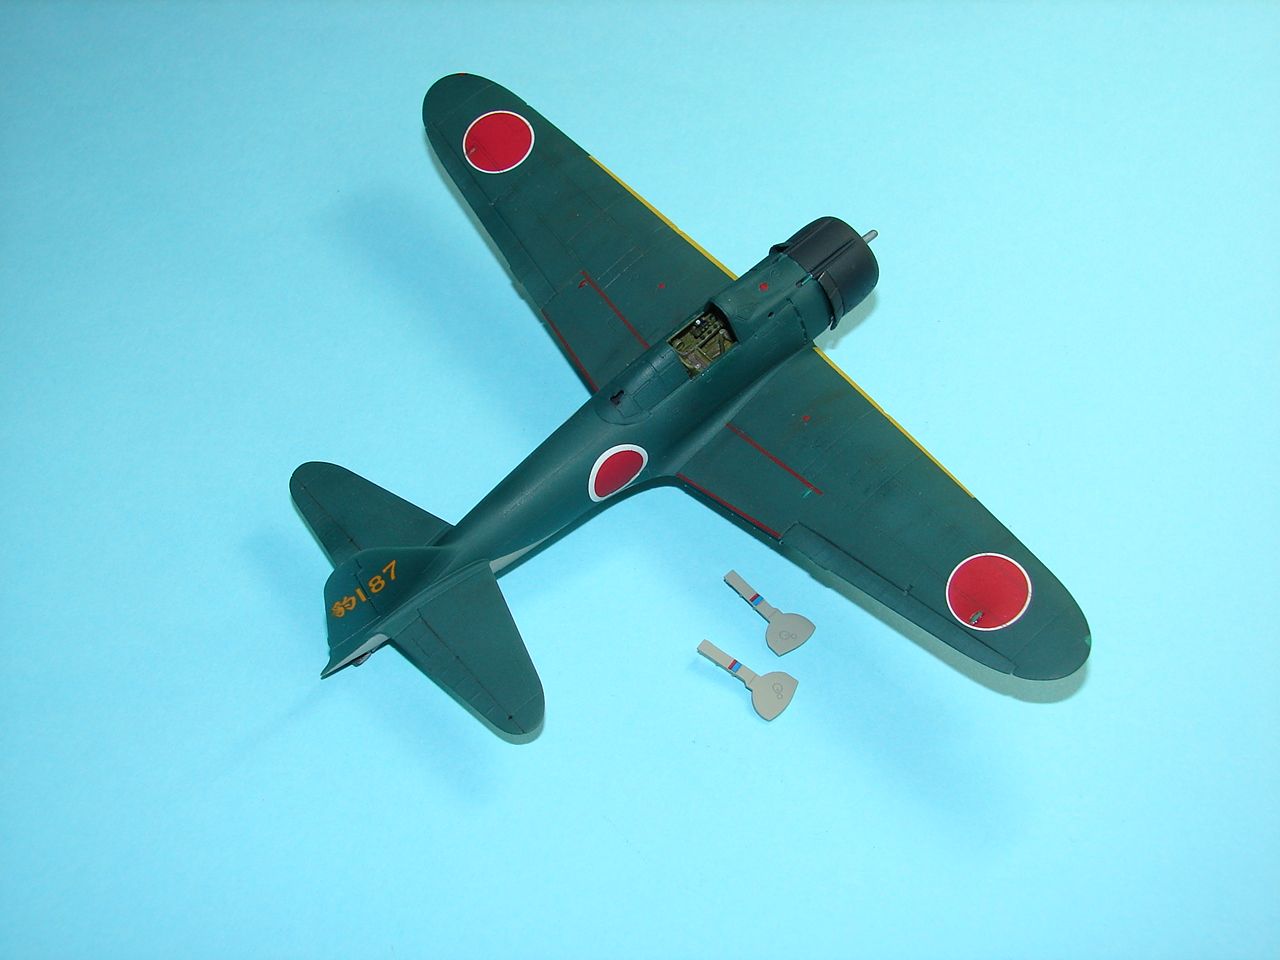
I've been slow on this one but have picked up the pace again. Fines Molds 1/72 A6M2 is truly a superb model and though it does not fall together, most of the challenges have been self induced. The paints are all White Ensign enamels except for the cowling which is Model Master's Acrylic Gunmetal. I replaced the kit seat with a resin example in addtion to adding PE seatbelts and instrument panel...I will also be adding brake lines and inner gear door retraction arms. The rest is from the box.
The weathering is incomplete and I have to add all of the small bits...then a final flat coat and that will wrap it up. I'll post more pics when its done...hopefully next week.

Happy Modelling all!
Joe
-
I've been slow on this one but have picked up the pace again. Fines Molds 1/72 A6M2 is truly a superb model and though it does not fall together, most of the challenges have been self induced. The paints are all White Ensign enamels except for the cowling which is Model Master's Acrylic Gunmetal. I replaced the kit seat with a resin example in addtion to adding PE seatbelts and instrument panel...I will also be adding brake lines and inner gear door retraction arms. The rest is from the box.
The weathering is incomplete and I have to add all of the small bits...then a final flat coat and that will wrap it up. I'll post more pics when its done...hopefully next week.
Happy Modelling all!
-
Thanks Ken! I highly recommend the Prisma Pastel pencils. You can get them at any art or craft store. I got the technique from studying Steve Hustad's work. He is an amazing modeller and has some really great weathering techniques. I think you can google him to see some of his work.
Joe
-
It's an interesting little store...to be honest I don't know how they make rent there...very expensive in Old Towne!
Joe
-
Thanks fellers...glad you enjoyed it. F-15, are you talking about the store in Old Towne? If you are, yes, it is!

Joe
-
Ooops..fixed the typo! Thanks Polo!
Joe
-
What was your choice of paint for the metal finish? Model looks great!
Joe
-
Here's my Academy 1/72 scale P-39Q with some improvements. The cockpit and rear decking were detailed from Eduard PE and scratch, landing gear/gear doors got the same treatment and I replaced the awful main wheels with ones from my spares box. I also fixed the nose gear by moving it to the very front of the nose bay and I made a new forward nose gear door from thin plastic card. I added nose guns from metal tube and drilled out the nose cannon barrel and engine exhausts. A small "splitter" was added to the engine air intake and I got rid of the silly looking drop tank belly shackle and re-scribed that area. Finally, I re-shaped the gun vents on either side of the nose. This a/c served with the Tuskegee airmen in Italy in 1944. Decals are Aeromaster and paints are acrylics with pastel and MIG Pigments used for most of the weathering. The paint chipping was done using a silver Prisma Color pastel pencil.

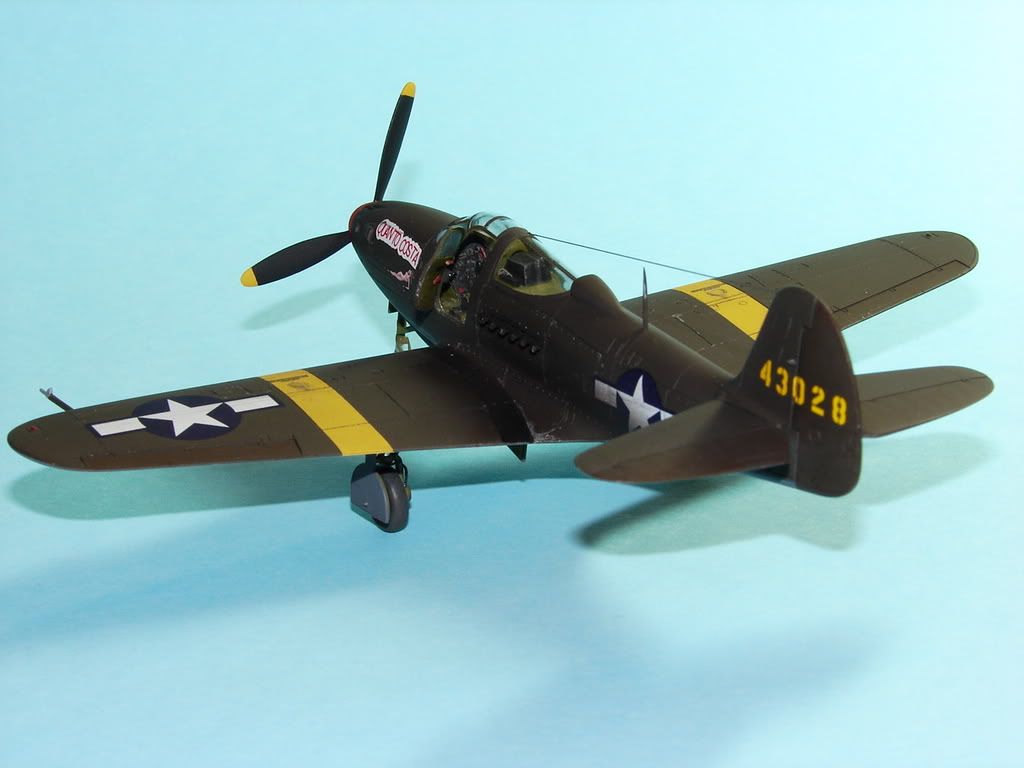
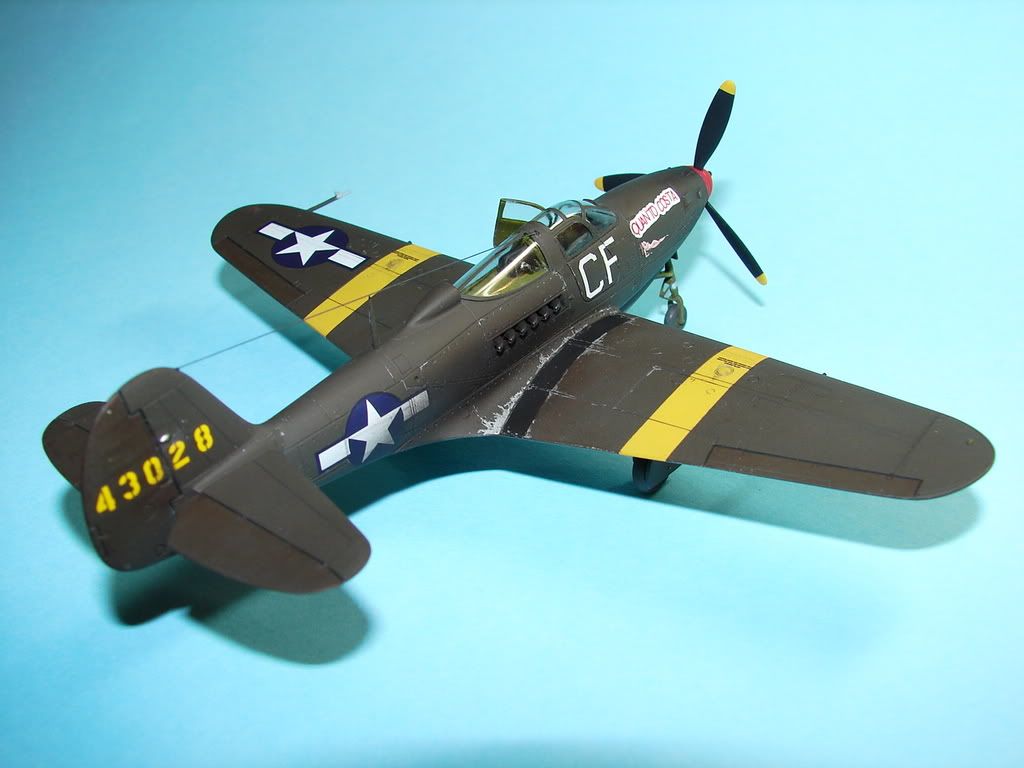
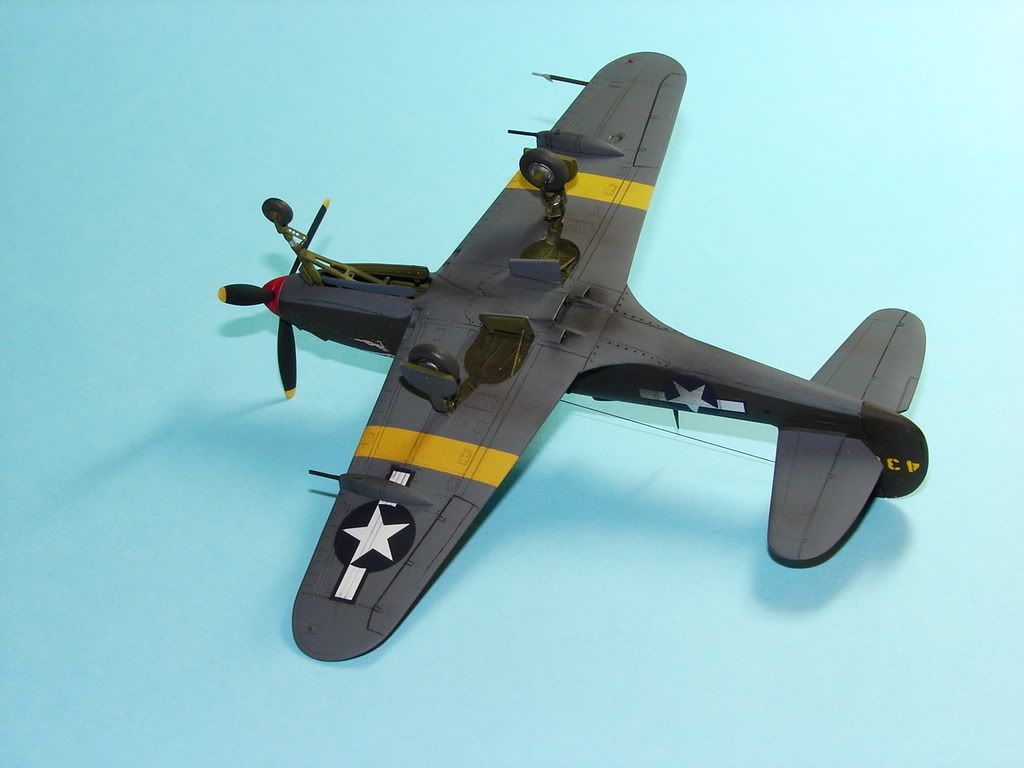
Joe Youngerman
-
What scale? What kit??
-
Great looking model! 2 1/2 days...are you kidding me? Wow...I'm barely done with a cokpit by then. Great job!
Joe
-
Thanks for the kind words all...glad you liked it!
Joe
-
Excellent build...superb finish!
Joe
-
Here's my 1/72 scale Italeri Ju-87R-2 Stuka built mostly out of the box. I improved the dive brakes, and added a gun/bombsight on the glareshield. Decals are a mix of kit, Third Group, and Superscale. Paint is a faded custom mix of RLM 79 over MM RLM 78.


Happy modelling all!
Joe Youngerman
-
Thanks guys...pretty boring paint scheme I'll admit...but I wanted to do a civilian bird. I plan to do another later version in German or Italian markings.
Joe
-
Here's RSModels tiny 1/72 scale AVIA FL.3 in Czech civilian markings.
New exhaust stubs, tail brace wires, aileron control horns and cables, seat belts, and cockpit backrest were added to make the model more accuurate.


-
nice work on the 190 ww2nut. i'm workin' on a 1/48 trimaster A8 right now. i got a question for you, i notice that you have an open canopy, does the wire from the canopy to the tail section stay tight like that, or should it have slack in it? not trying to point anything out, just an honest question. i'm gonna put the wire on mine, but i'm wrestling with how it will look all loose. thanks for sharing.
Saltydog....Good question actually...there is a tensioner coil in the top of the canopy that kept the wire taught even when the canopy was open. This is not true of all 190's though. The 190's that had the "blown" hood or canopy did not have this feature and the wire went slack when the canopy was opened. You will see this in many photos of later 190D-9's and Ta 152's.
Hope that helps!
Joe
-
Thanks for all the kind feedback guys! ;)
Joe
-
Just finished this one this morning. It's Hasegawa's 1/72 scale 190A-7 with Cooper Details landing gear and wheels/doors, True Details and Eduard cockpit, new gun barrels from tubing, new Pitot tube,and antennae from scratch. The decals are from Kagero's book on JG 1 and EagleCals. Paint is ModelMaster enamels and acrylics.
Hope you like it,


Happy modeling all!
Joe Youngerman
-
Great job on the pics Konley...there's a lot going on in each and they look great.
Just a couple of details about the Akagi attack that have been wrongly reported/depicted by historian's and Hollywood over the years...the Akagi was not full of aircraft on it's deck at the time of Best's attack...only CAP fighters had been spotted on the deck and just a few of those were present. The Japanese did not service aircraft on the deck as the US Navy did. The myth that the decks of the Japanese carriers at Midway were full of aircraft is very wrong...though it made for great drama in the movies guess. The first and third bombs of the Best led attack missed...barely, and caused only minor damage. It was Best's skills as a bomber pilot that planted the 1000lb bomb that doomed the Akagi. It went through the deck and exploded in the upper hanger, (Japanese carriers had two hanger decks).
The Akagi's damage control personnel were unable to get a quick handle on the fire which ensued...poor fire supression systems and a lack of damage control capability ultimately destroyed the Akagi from just a single direct hit from Best's SBD...a truly remarkable hit!
Joe Youngerman
-
Thanks for the kind words Sergey...your builds were of great help along the way. There were things I would do better along the way next time but overall it was a very fun build. The Vector kits really raise the bar for detail in resin kits!
Joe
-
OOO, Good pics KSL! It really looks like the spinner should be silver rather than white as the painting instructions suggest. Hmmm, maybe it was changed at some point.
Here are a couple of the finished photos...


Happy modeling all!
Joe Youngerman
Airfix Spit F.22 - not what it seems, it seems
in Props
Posted
Here's mine...excellent kit and a joy to build. I replaced the poorly detailed wheels...also replaced the exhausts gun barrels with SBS resin parts and opened up the entry hatch. Decals are from Xtradecal.
Joe