


1981
-
Content Count
25 -
Joined
-
Last visited
Content Type
Profiles
Forums
Calendar
Posts posted by 1981
-
-
All this 1/100 Scale talk is making me itch to get going with this 1972 Entex 747 SCA / Enterprise piggy-back project....

-
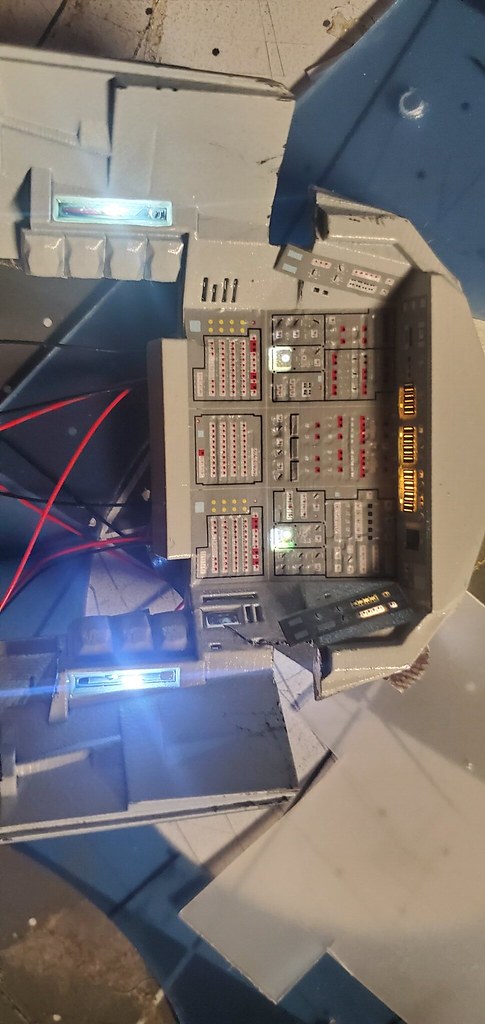
Homer, sorry for the delay. Here is a view of the top side. I have more LEDS coming to finish it out. Here again used warm white for the switches and breakers and bright white for the cabin lights. Not the thin translucent sheet over the fuse panel on towards the aft. There is a small sliver behind the two warm leds at the front too. I set the leds with Testors clear parts glue, then cover it with silver paint followed by flat black to seal the light in. The wires will be routed off to the sides, but there is plenty of room from them to pass between the outer shell and the flight deck assembly. Still trying to figure out the best way to hide the wires for the under-the-dash cabin lights. Anyone reading, you really want to make sure you primer the clear parts really well to prevent light leaks. I have some light leaks that I can't get rid of now that I have progressed to this point, but I don't think once it is all lit up it will be terribly visible. Hell most of this isnt very visible when its all closed up, but it is well worth the effort I think.

-
-
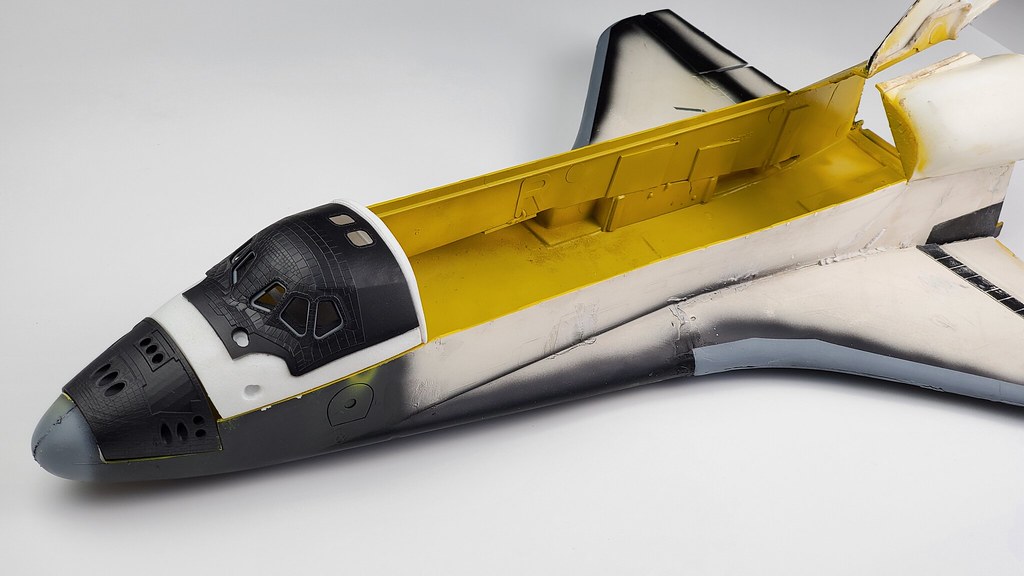
I'll go into more detail about this in my thread, but for a first try, im ok with the flaws vs the over-all look. Some decal placement mistakes were made and I wish that I had put the decals onto a thin transparency to keep them flat. They sink into the dips of the control surfaces. Tomorrow when the glue dries I'll show you the top side of the roof so you can see how the micro leds integrate
-
-
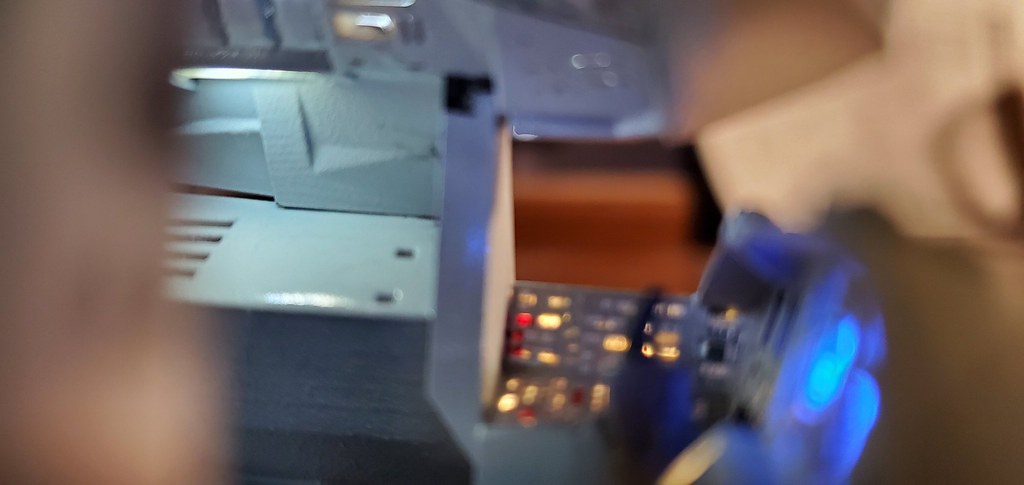

As requested here is another view of the flight deck light set up which I am still developing. First I painted everything flat black ( interior surfaces only so that I wouldn't have issues with tape sticking to the outside for wire management purposes ) then I painted it light gray, added a light gloss-coat for decal adhesion. I filled all the 'holes' with Testor's clear parts glue, then added translucent film as a backing to disperse the light evenly. I used 3v Micro led lights from Ebay. all and all there will probably be a total of 40 +/- lights on 3 circuits (BRIGHT WHITE cabin lights, WARM WHITE switches and breakers, BLUE monitors) Turns out the Revel decals from the latest revel orbiter edition just about fit your 3d printed deck. Some alterations were needed, but not many. in some places the decals shrank.. causing a head ache. Not perfection, and probably not terribly true to life, but I am happy with the look.
-
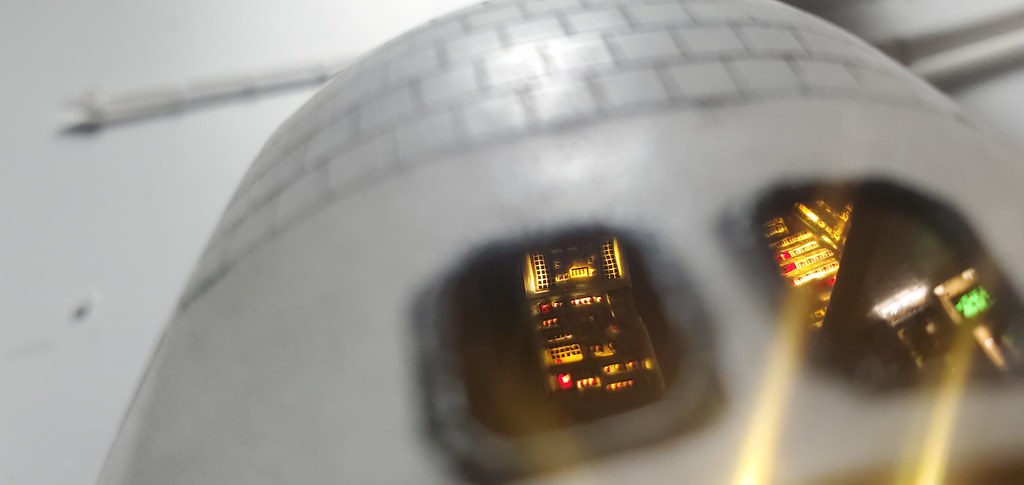
Those belly panels are looking awesome. Here's a peak of the flight deck on my build. Hopefully I can get the new string up and running soon and update it.

-
That's pretty sweet. oms look good too.
-
K2 Pete, you are the hubble guy. It's an honor. I came across your build on a google search several months ago. Awesome. So check this out.... a few years ago, my mother in law brought me this box of documents. I will have to get the back story again, but basically the contents of the box is a massive amount of years of someones work on hubble. There is an incredible amount of data in here. Over-head transparencies, hand written notes, all kinds of stuff.


-
Thank you. I am considering moving this over to the Real Space forum. When I set this up I didn't know what the heck I was doing.
-
As I began to get deeper into the project, my brother surprised me with the Flight Deck set from Homer's spare parts. I had no intention of putting a flight deck in this thing, and also was going to build it with the bay doors shut. But, once I got the flight deck, I was blown away by the detail, and subsequently discovered these forums. I decided to go all-in and have the option of swinging the bay doors open. In the mean time I finally landed a win on Ebay and scored a Monogram stack that came with some older detail parts, many sheets of after market decals, and a spare Revel Orbiter.

By the time I had found the forums, I had already gone ahead with putting some of the 3d parts together by trial and error. I made some of my own mistakes, fitment was a struggle, and a lot of risky re-work had to take place. The more I worked to learn the parts, the more I realized that perfection was going to be a difficult target to achieve with this build. Considering the state of the orbiter, I will have to do my best and use this a learning process for a future build which will take more time and patience, and by the looks of it will also have more parts from you folks available than are currently available. The goal here is to get a good looking result for my old nostalgic shuttle, and learn how to really go to town on the next one.

Once the paint starts hitting the 3D parts, life begins to take shape. This stuff gives me goose bumps.

Later on I would discover that clean parts, and effective primer are key for the 3D parts. Also, prepare to do some VERY light sanding with 1000 grit sand paper to help remove some of the printer lines.
No the sheet styrene patches over the BB Gun holes inside the 'R' wall of the fuselage. These will cause some head ache later when trying to fit the payload bay back into the Orbiter, causing more surgery.

... More Goose Bumps.
-
Hey there K2Pete, I am trying to figure out how all this works. It took me a while to figure out how to link to Flickr. I also can't seem to figure out how to post from my phone. When you say Real Space forum, is that thread affiliated with 'Real Space Models'.com ? I will try to master the art of multiple photos without posting some many times at once.
-
-
Couldn't help it, had to start sawing as soon as I got home. Mind you, at this point I had no Idea what I was doing. I ordered the parts and began work long before I realized there was a build forum underway on here.

-

Fuselage undergoing extensive filling and repair when the first parts arrived. Note the main gear strut still in place under the wing.
-
-

Took this photo just after unboxing my first Shapeways order, the Beanie Cap, Beanie Cap base and RCS on orbit module from "Homers Spare Model Parts"
-
-
Hey there, I finally figured out how to get a string going, and started adding photos. Just click on my name and go to "Space Shuttle restoration" if you want to check it out. I am much farther along in the project that where I left off on the thread so I will be updating rapidly. Just know that I bought the parts and got started before I knew that there was a forum. I was really flying blind in the beginning.
-
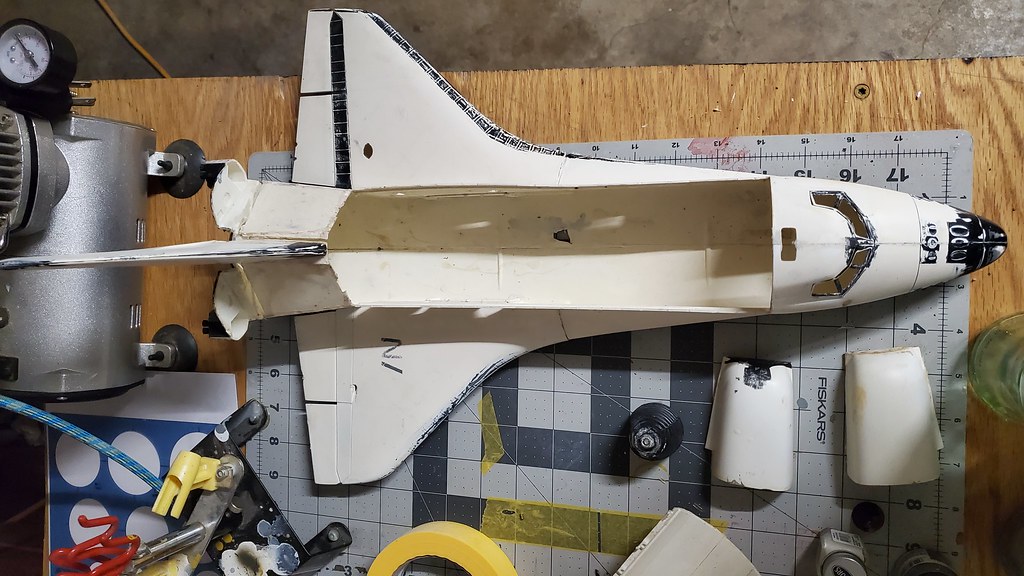
So here she is in all her glory. Dirty, dejected, shot full of BB holes. Some of the raised line panel details are still visible. Nothing lines up right, and some disassembly and reassembly will be needed throughout the project. My budget is $1000. I took a side job doing some product photography to pay for the cost of the project. The original dream was to simply spruce up this orbiter and slap it on some SRB's and a Tank that I thought wouldn't be too hard to get a hold of. Many lost Ebay auctions later, I would learn that getting your hands on a stack is not easy or cheap. From there I would use the stack to model various art projects I have been day dreaming about for years. Then... one day I stumbled upon 'Homer's' tiled beanie cap on Shapeways.com and it was a slippery slope from there...

-
Last year my little brother found, and returned to me what was left of my old beat-up 1/72 Monogram space shuttle I attempted to build, and then attempted to destroy out of frustration when I was a kid. There were enough parts left somehow to inspire enough of a spark to start this project. With the covid19 quarantine leaving me with little to do and little to blow money on, I have followed several of you down the rabbit hole that is 1/72 space shuttle super detailing. The ultimate goal is to turn my trashed orbiter into a super detailed Discovery, and eventually stack it on the boosters and tank that this kit originally did not have.
-
Homer, Shapeways is going to get me divorced. I've dropped 250+/- there on my orbiter already. I hope you get some cut of that ! So far got your base, cockpit,beanie cap, fore bulkhead and inflight 'hotdog' rcs mod. also grabbed ssme's, oms, dock from the other folks. learned some unexpected skills already, like cutting half inch glass window panes. These creations of yours are incredible.
-
Thank you, will def get a thread going. Just received my ebay win of multiple decal sets, full monogram stack and an extra revel orbiter. sad site the revel.. gonna be a better quarantine now. work shop looks like a very disorganized rockwell factory
-
Hey folks, first I want to say THANK YOU for all the amazing things you've put together for the shuttle. The 1/72 Shuttle has been an obsession of mine since I first saw the prop in the movie ET. I've been a shuttle fan my whole life, driving to florida for launch after launch until the end. Recently my brother unearthed my old beat up 1/72 monagram and he returned what was left of her to me. Since then I have purchased pretty much every part you folks have on shapeways, and have began tinkering. I recently discovered this blog and if it's cool with you would like to join the discussion and share my build. This build has provided me with much needed therapy during the stress of covid, and I cant thank you enough for providing me this experience. -Simon


1/200 Hasegawa Space Shuttle
in Real Space Modeling
Posted
Hotdog, any chance I could get ahold of a set of these decals and the ET wrap ? Definitely willing to pay $