

Corky
-
Content Count
32 -
Joined
-
Last visited
Content Type
Profiles
Forums
Calendar
Posts posted by Corky
-
-
Very pretty!
-
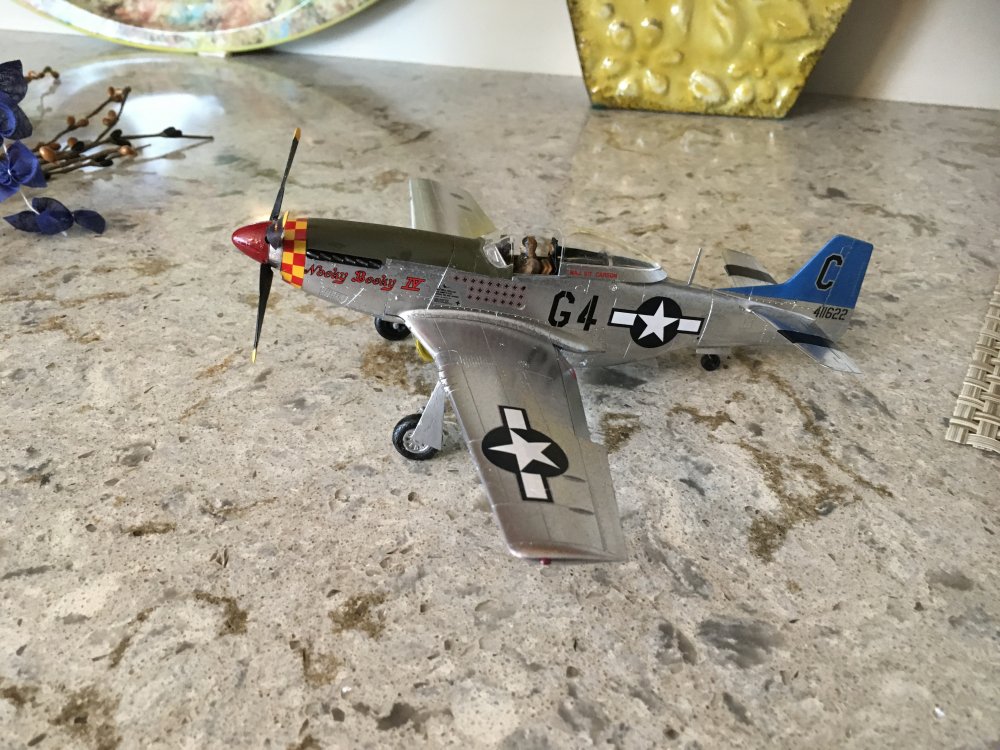
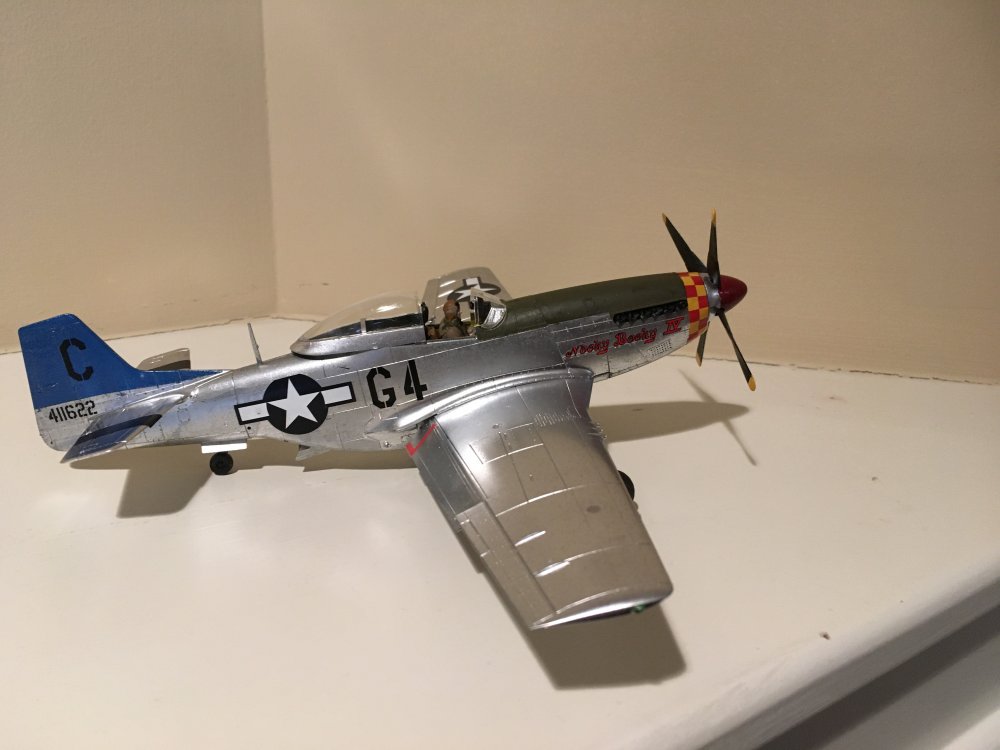
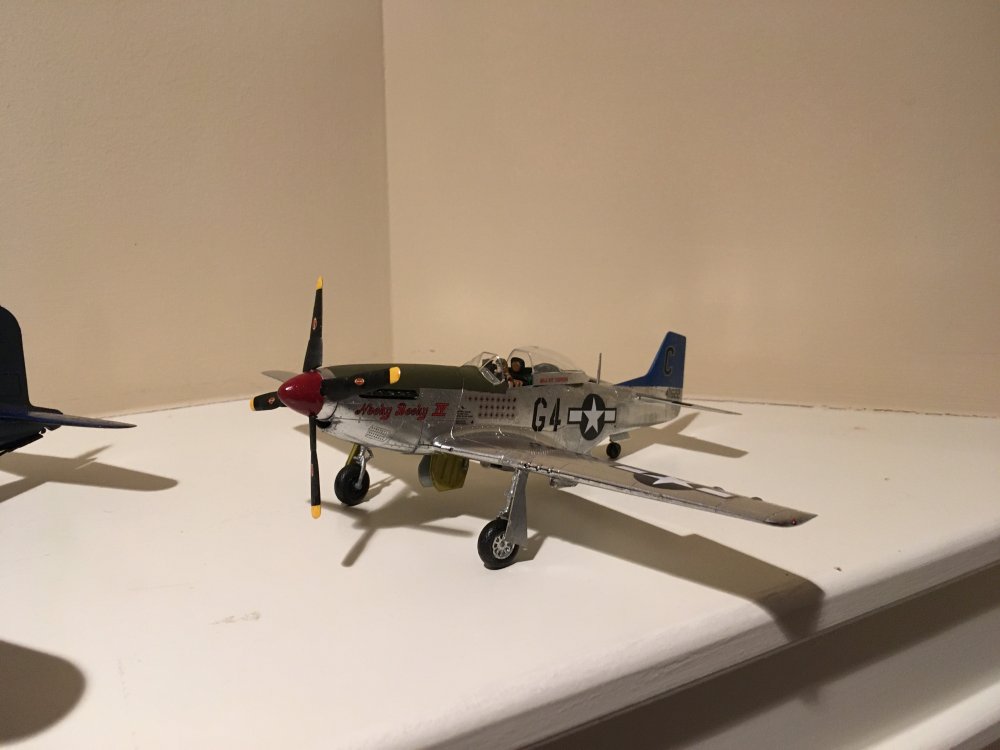
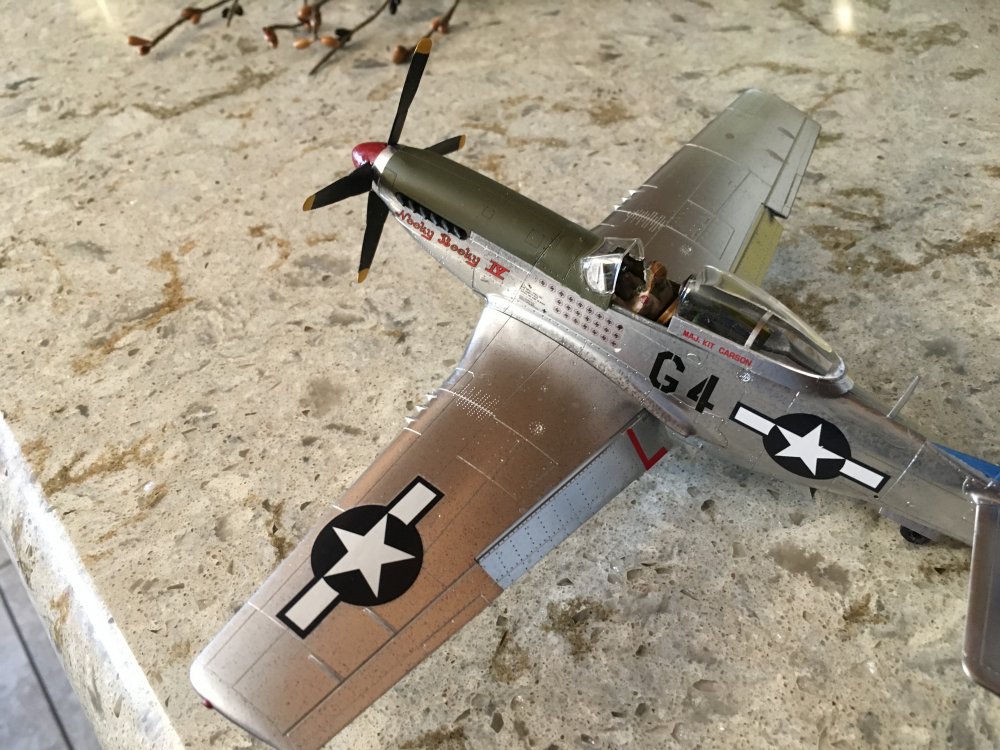
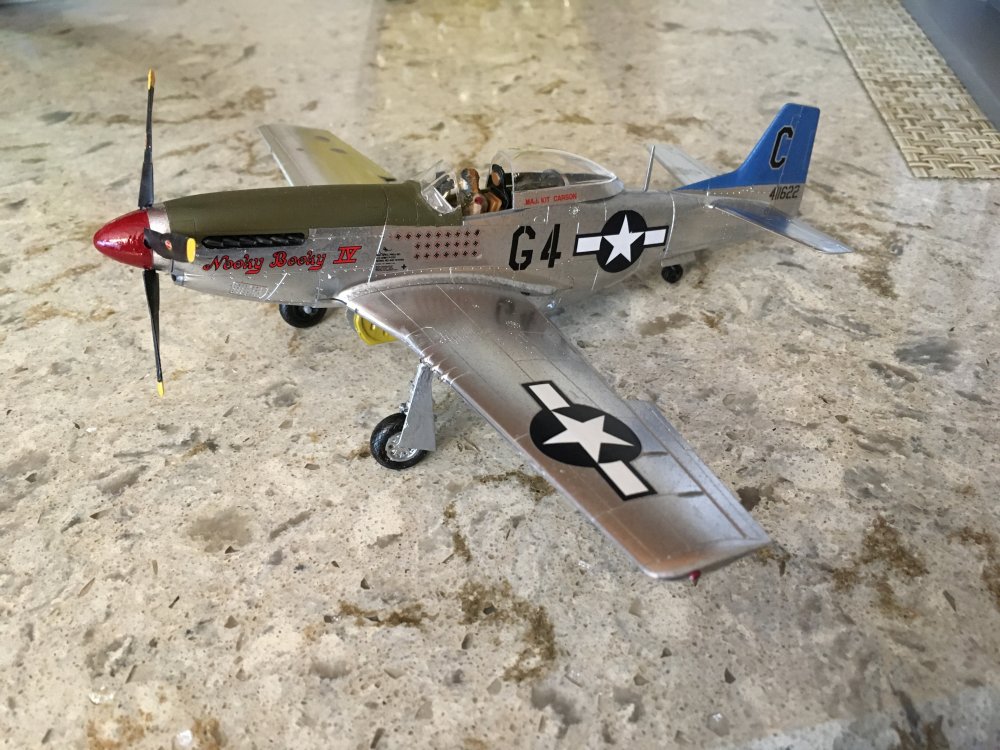
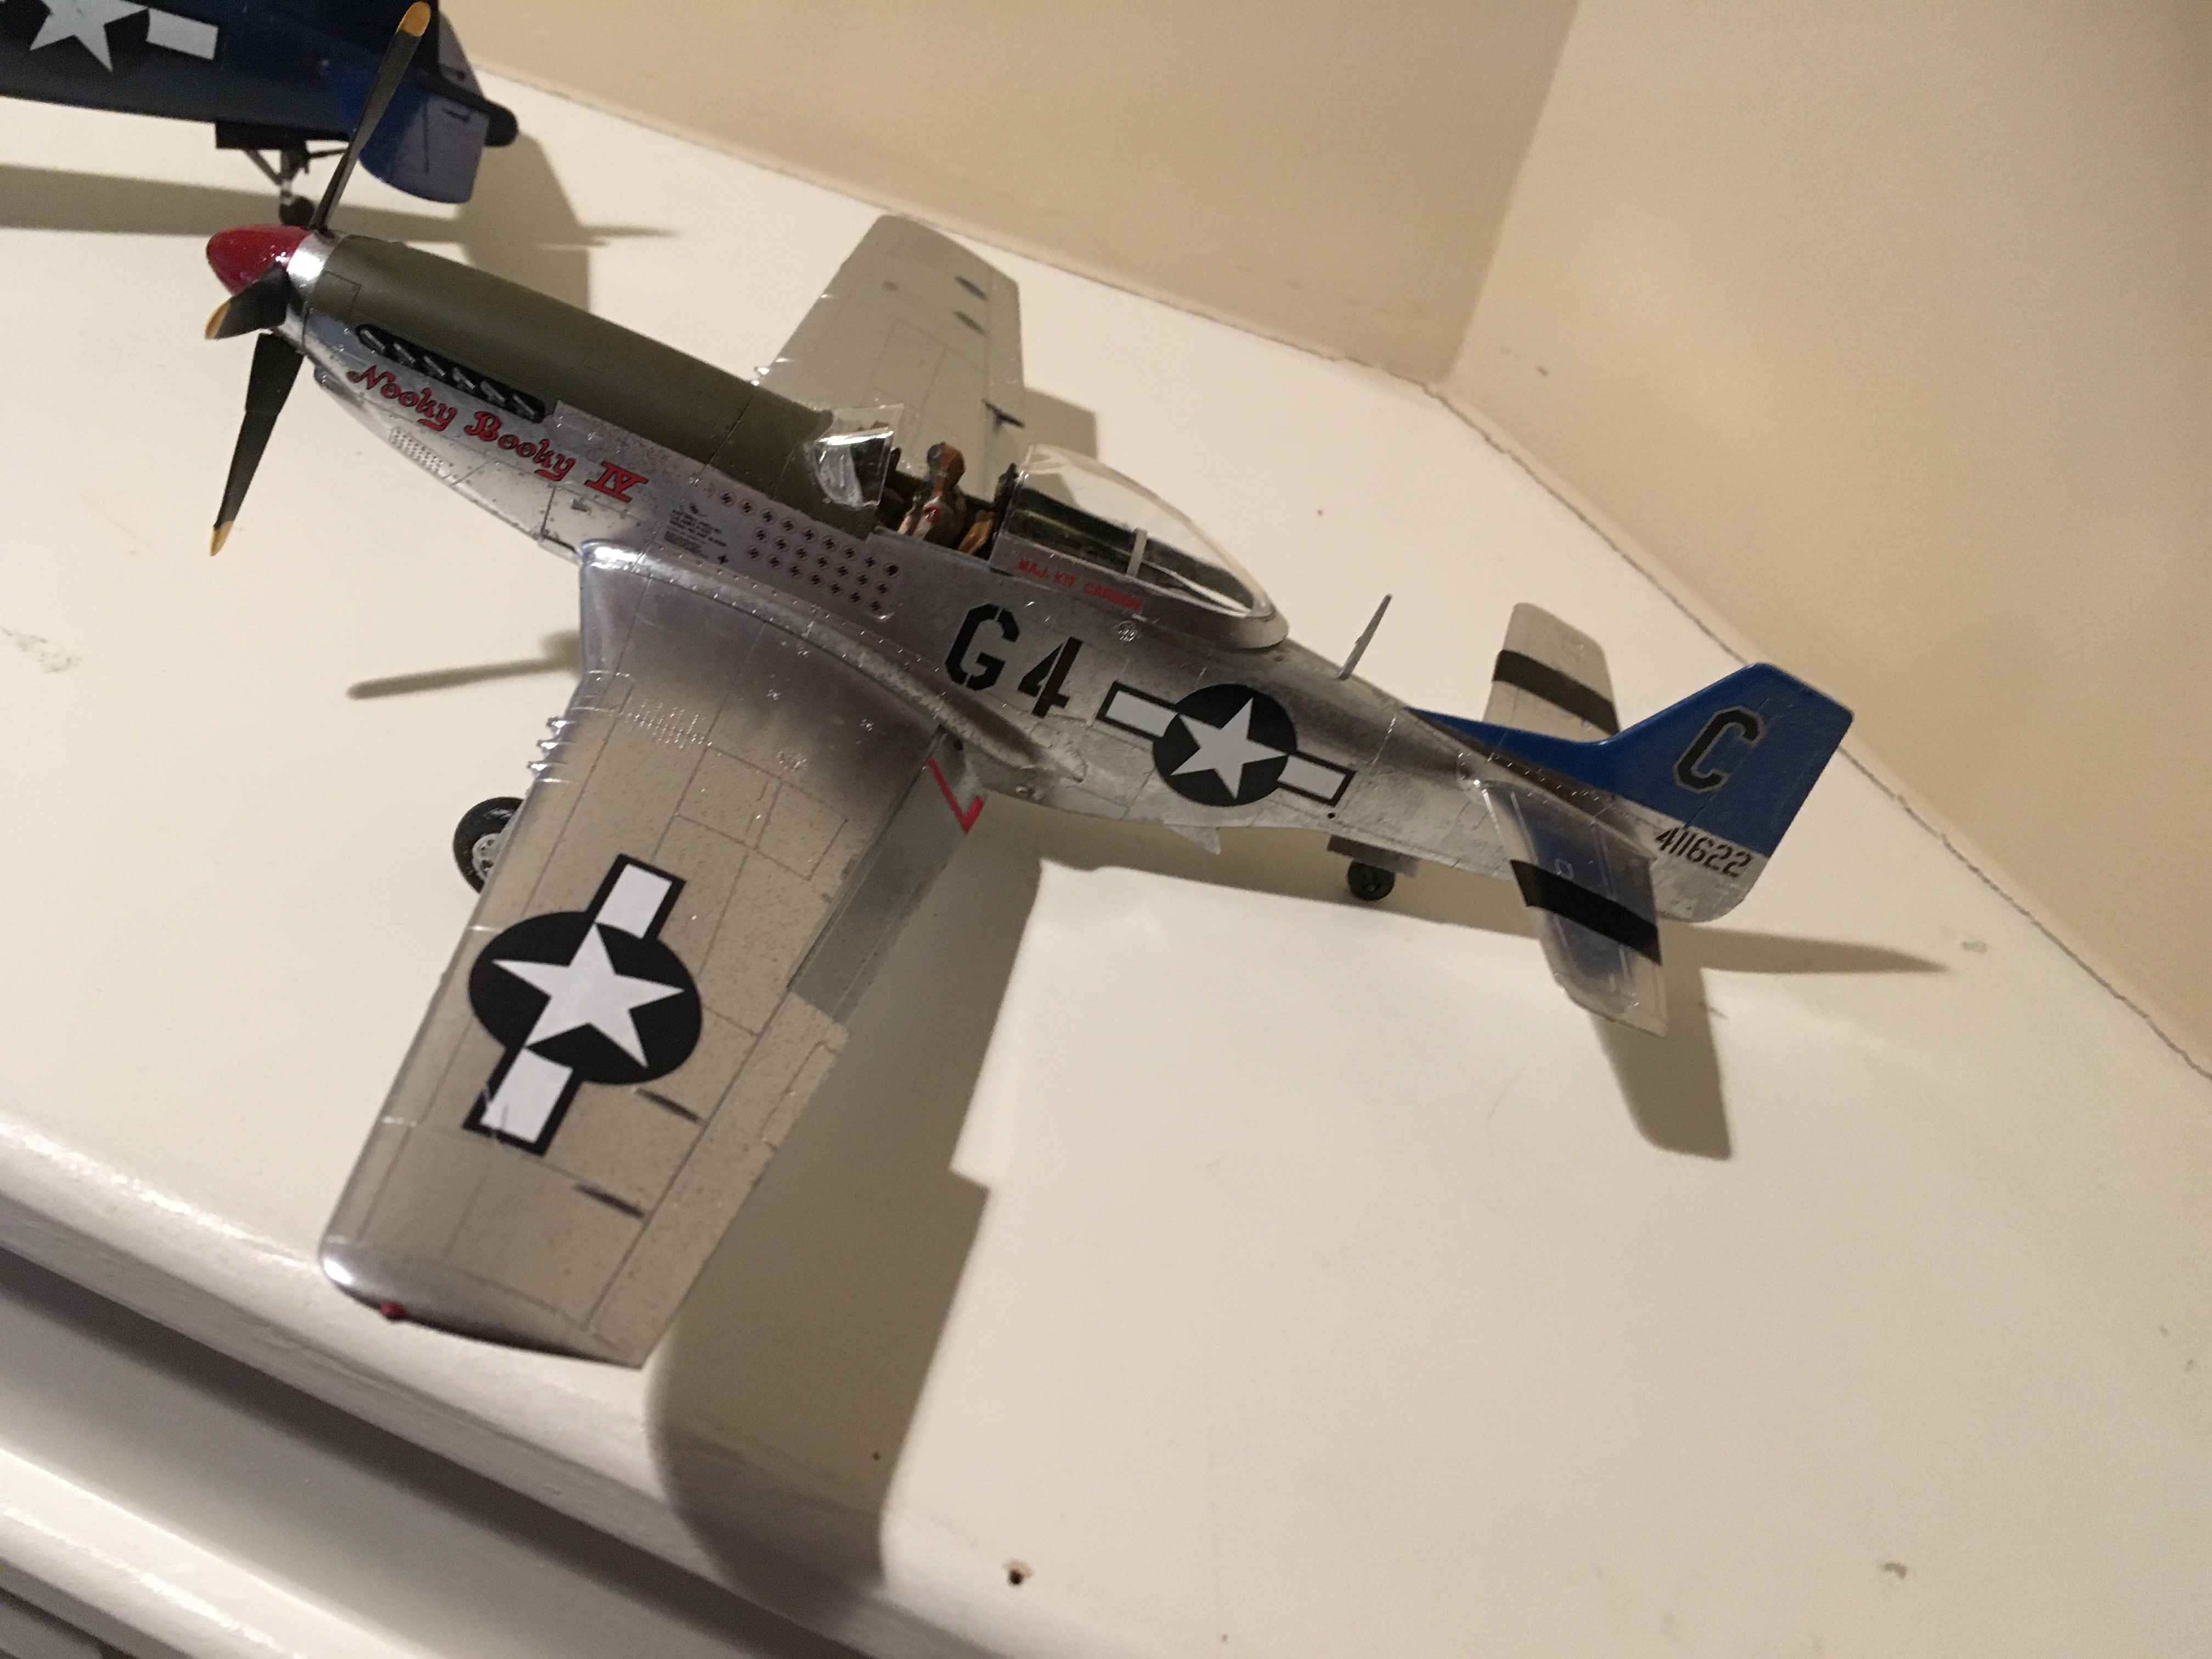
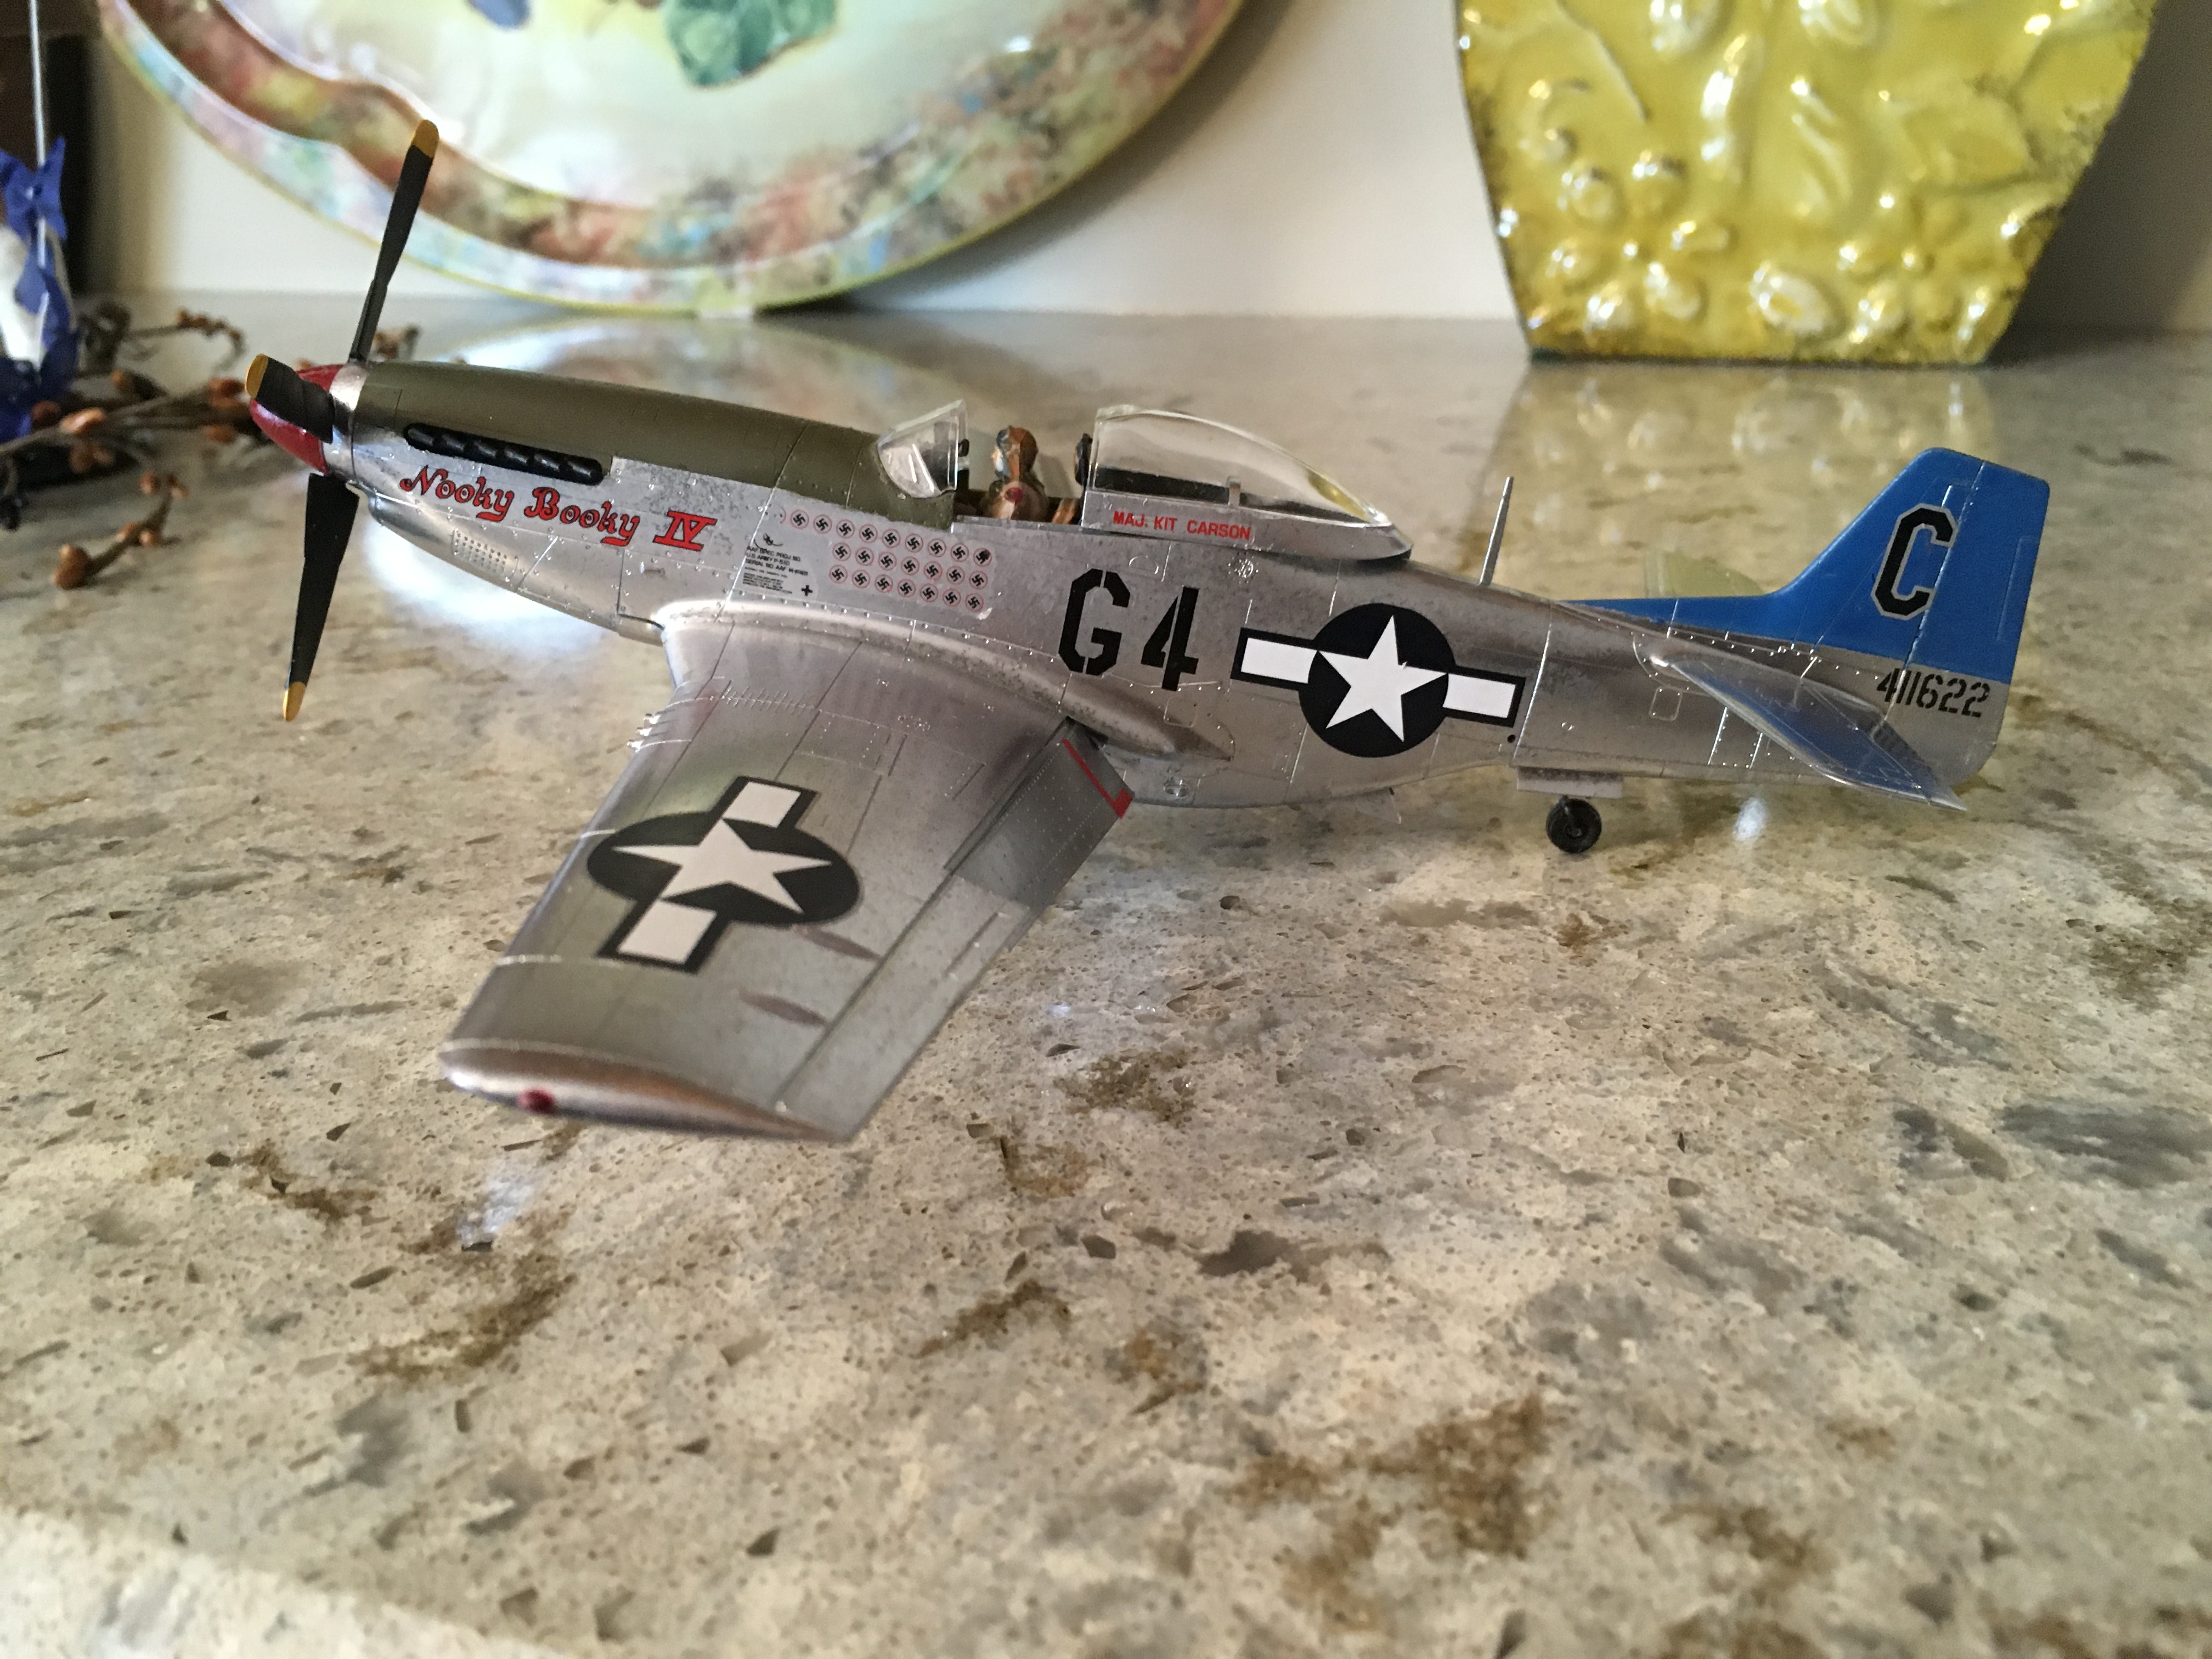
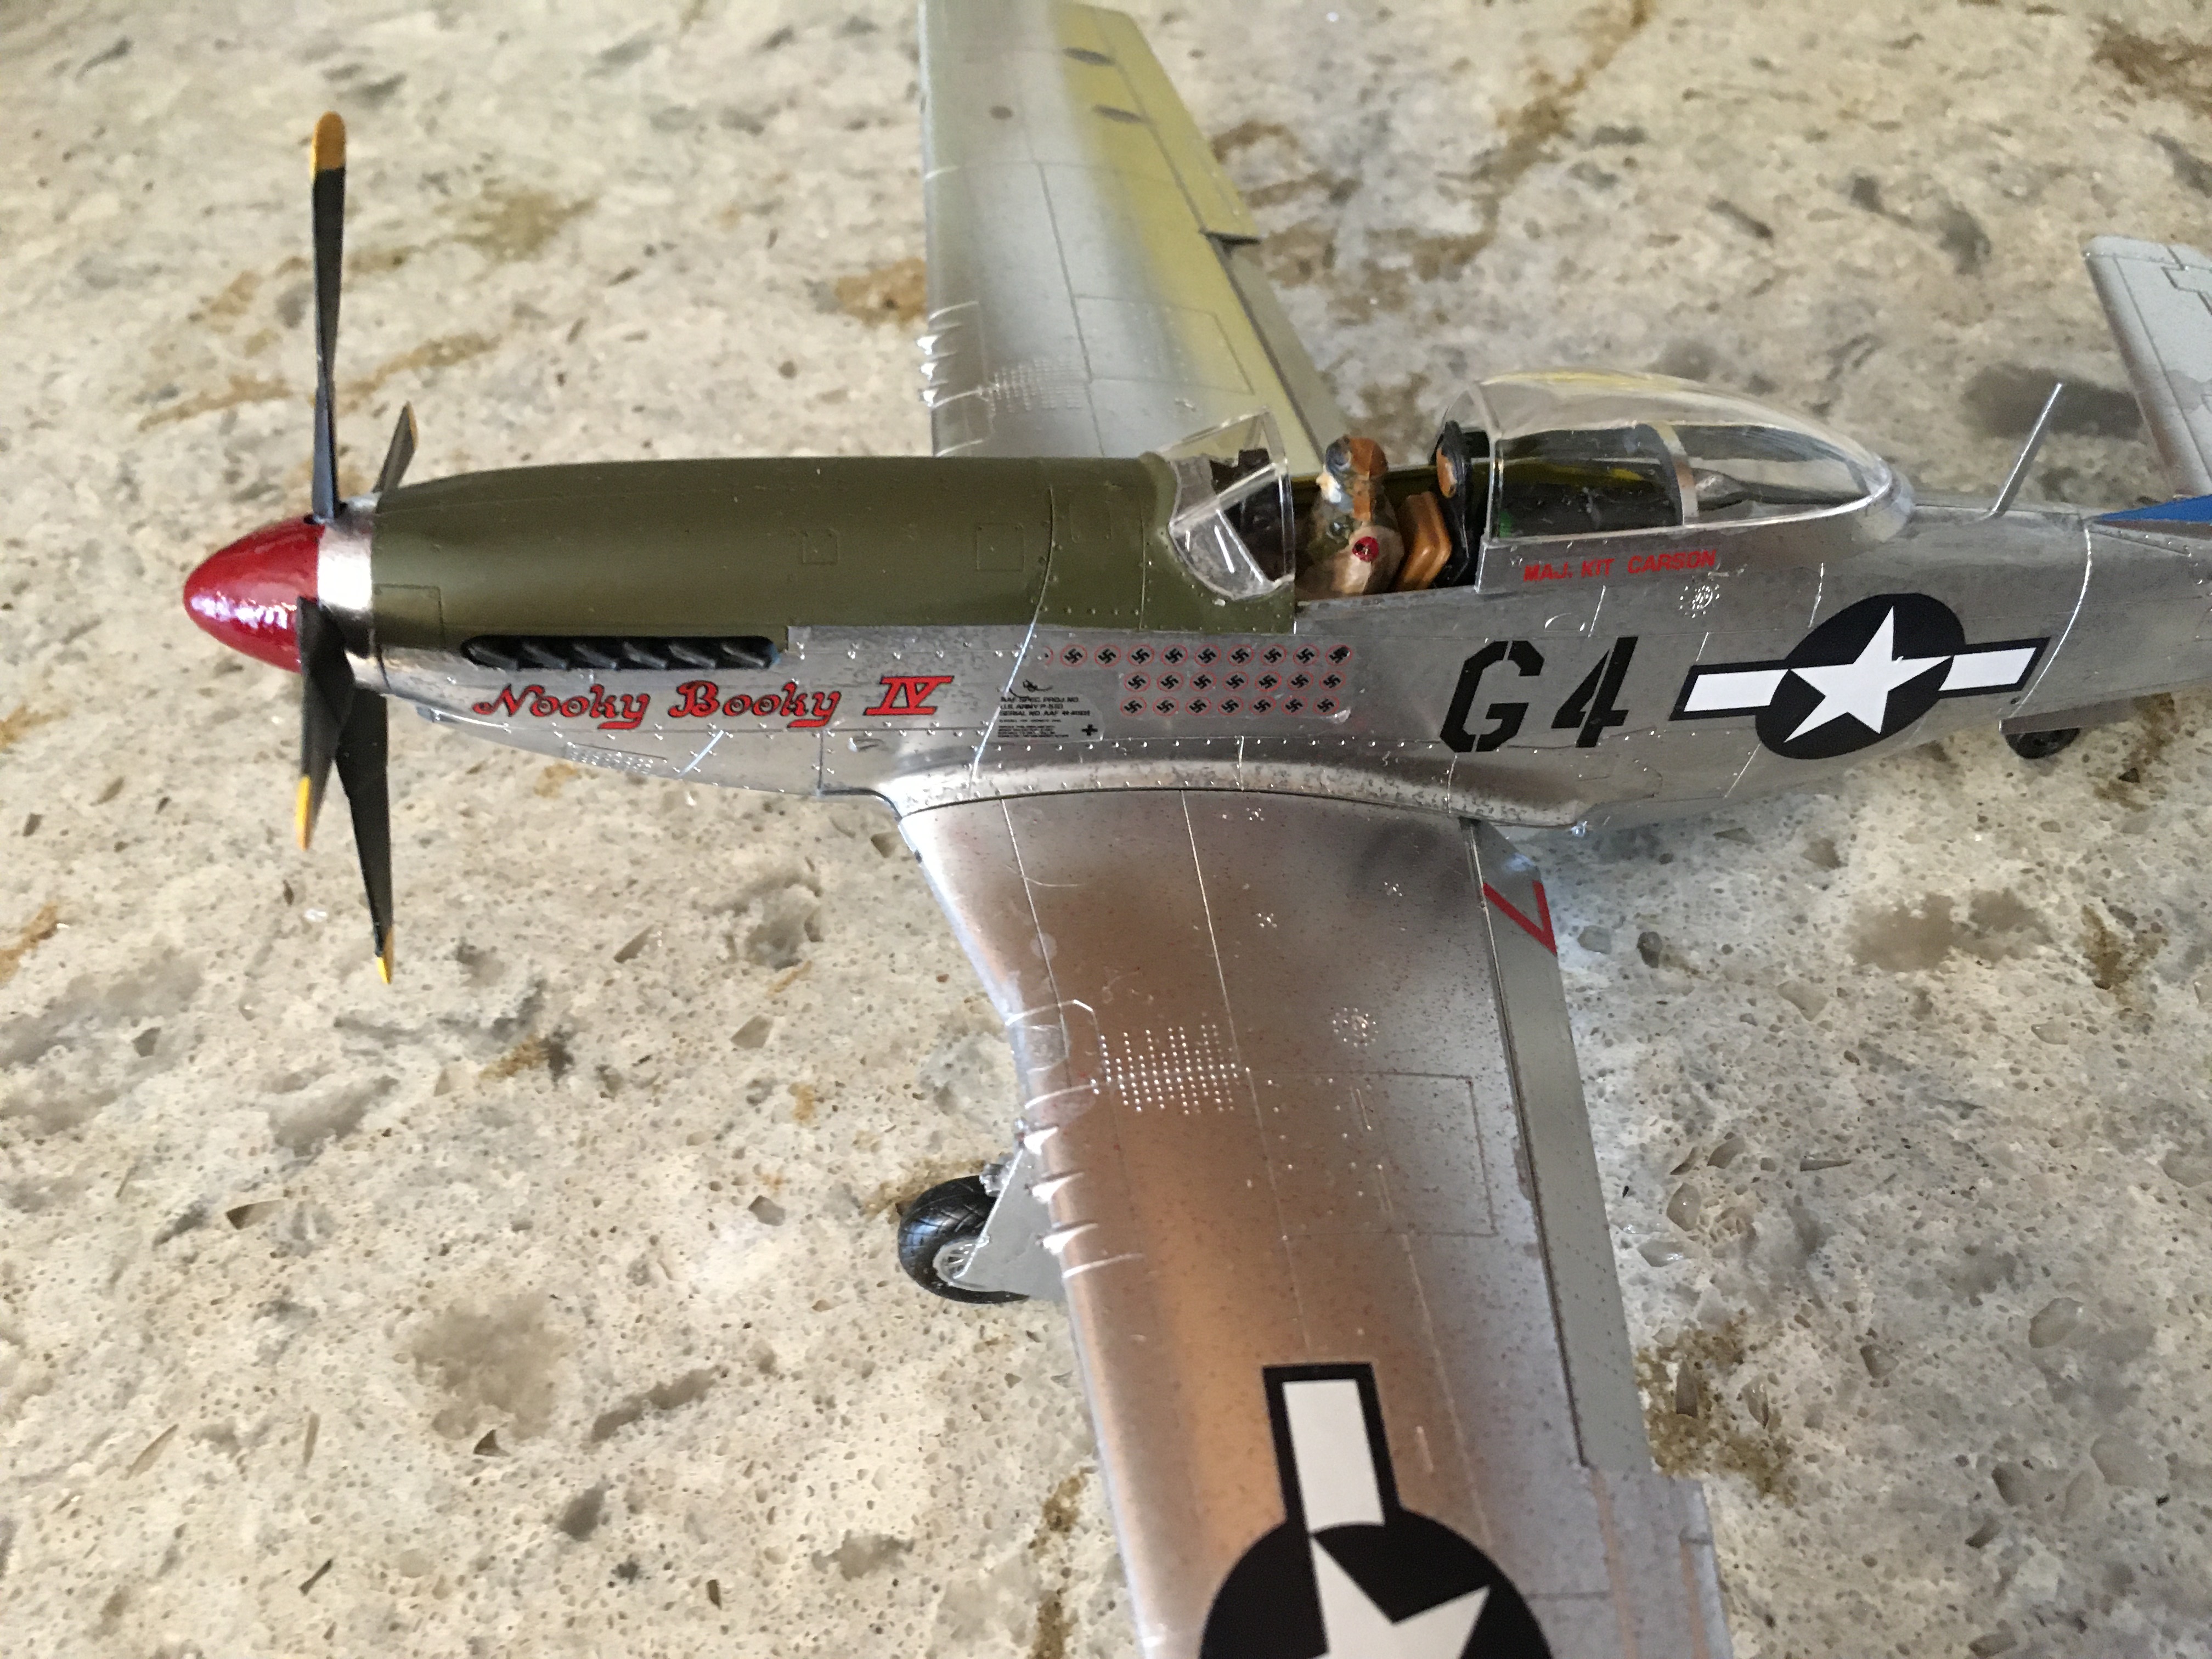
Tamiya P51D Mustang with decals and paint scheme used indiscriminately and not to represent any particular aircraft. A good quality kit and very nice decals to apply.
-
Thank you
-
Let us have a go again with a new decal added………..


-
11 minutes ago, Snowbird3a said:
I would have thought the 'Ready For Inspection' forum is the more applicable spot for a completed build.
Tony
Who knows, you have to study the topics throughly to make the correct choice.
-
Thanks
-
Really sharp!
-
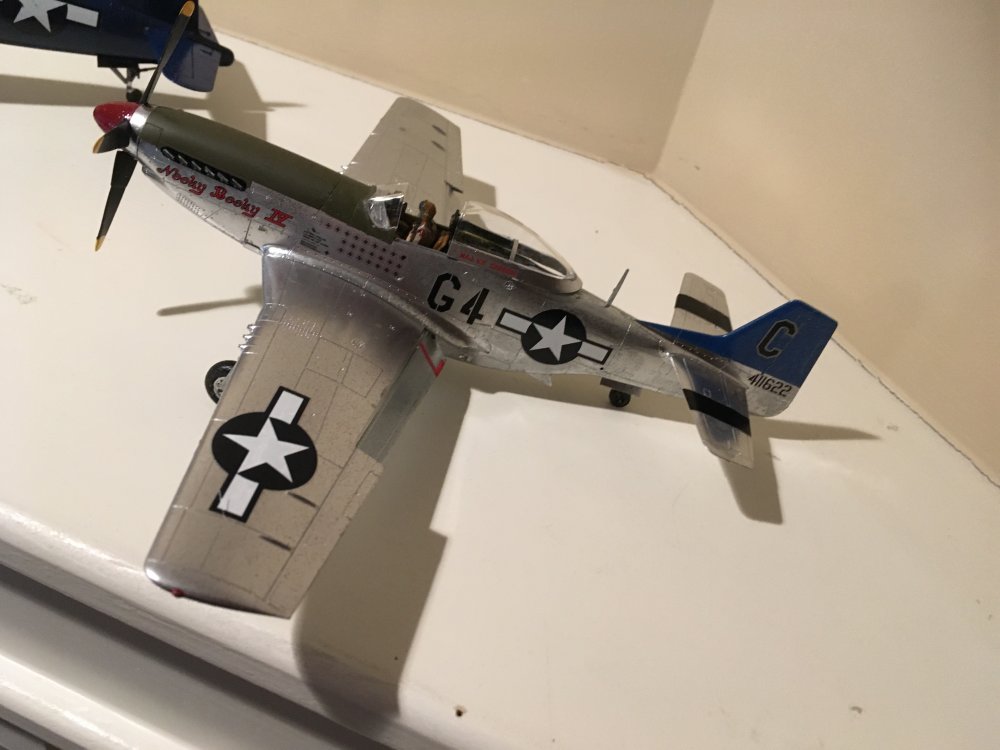
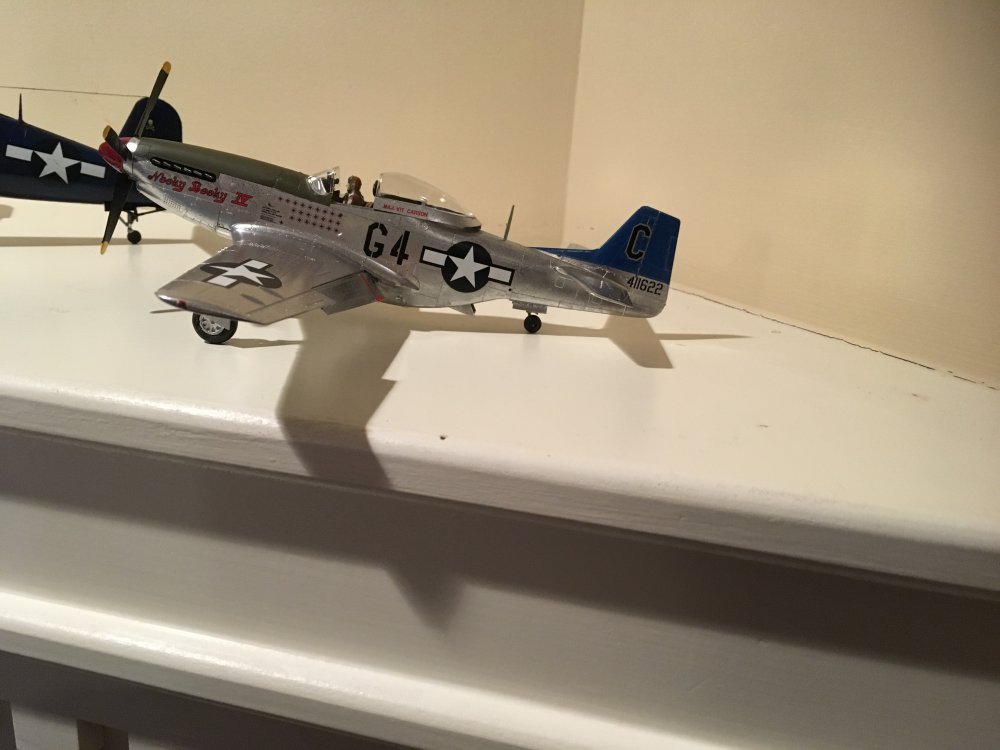
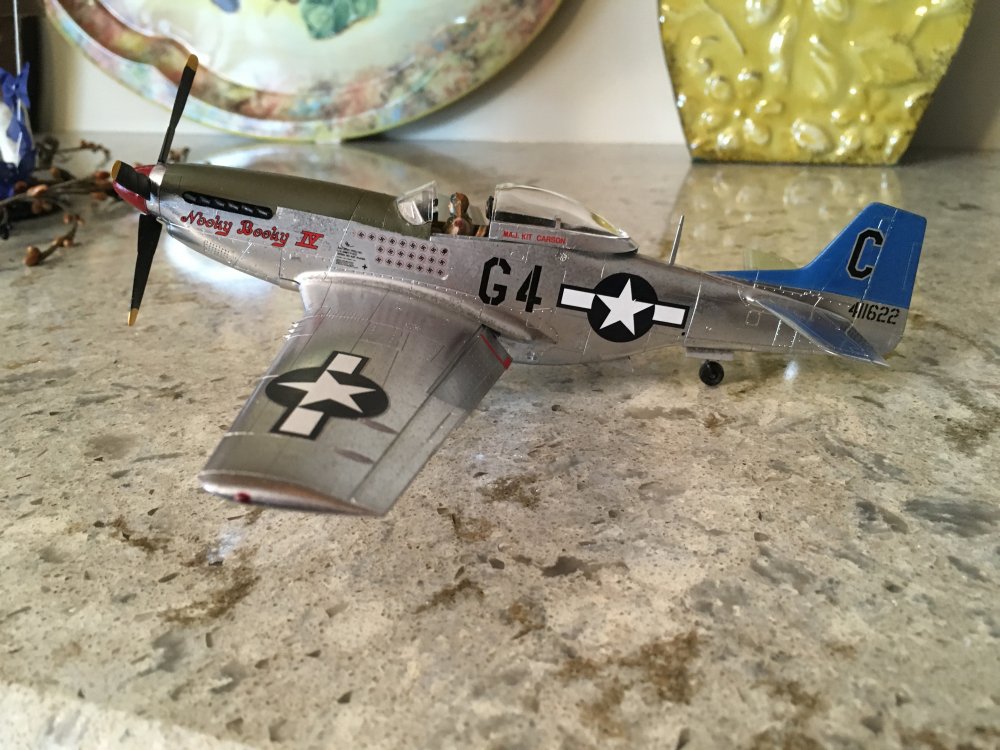
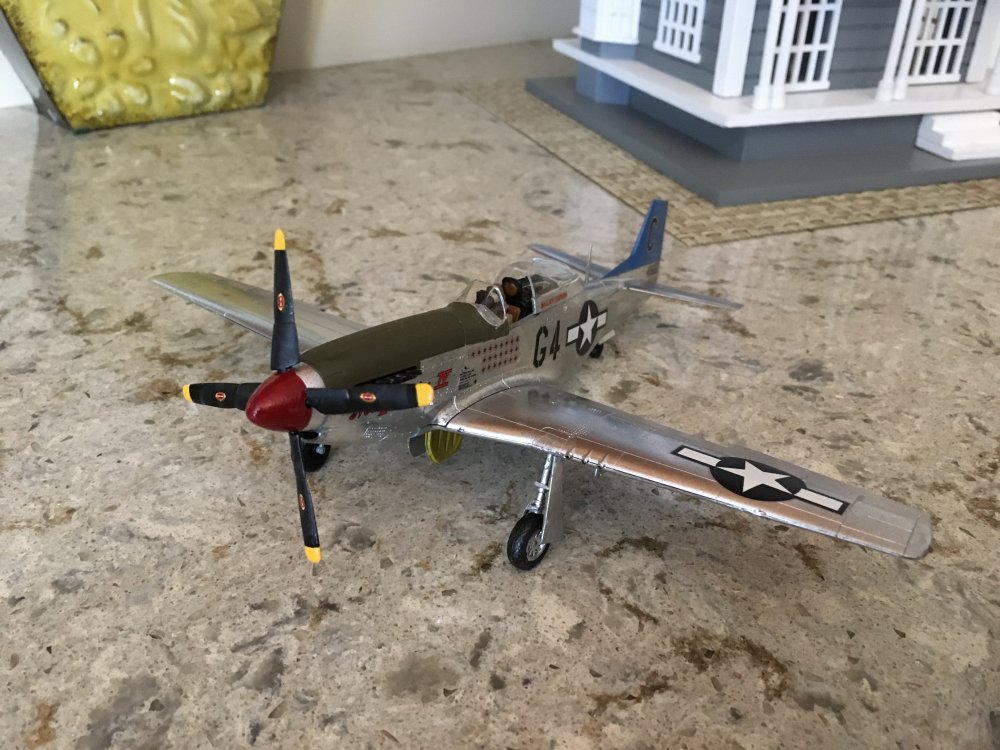
I assume this is now in the proper forum because I had this previously in the wrong one. I was instructed to move it myself, no problem. A Tamiya 1:48 kit, and as usual a very well produced kit from Tamiya with great fitting parts that required minimal cutting. It was molded in gray, of course and I sprayed it using chrome Testors spray paint and brushed the smaller parts with Testors paints. Aluminum paint was not available. I used Tamiya extra thin cement. Took approximately 15 hours to paint and assemble. Tweezers, toothpicks and modeling knife necessary, of course. And a flashlight to find the parts that always seem to fall on the floor. I used a bit of my own color scheme off of Google images but used the decal placement off the instruction sheet, basically. The only problem I had was attaching the two drop tanks which seemed difficult with the lack of a secure place to attach them to and they kept falling over so I admitted them. The holes in their brackets were non existent. I actually have seen more photos of Mustangs without them attached. I used Frog brand tape to tape off the tail from the rest of the fuselage. Three different paint and decal configurations were included with this kit. I would definitely recommend this kit.

-
Sorry, I have a bit of trouble navigating here. A moderator may put it where it belongs.
-
A Tamiya kit, just finished. Took about 15 hours total. Came molded in Gray. 1:48 scale

-
That’s so very beautiful! Great job.
-
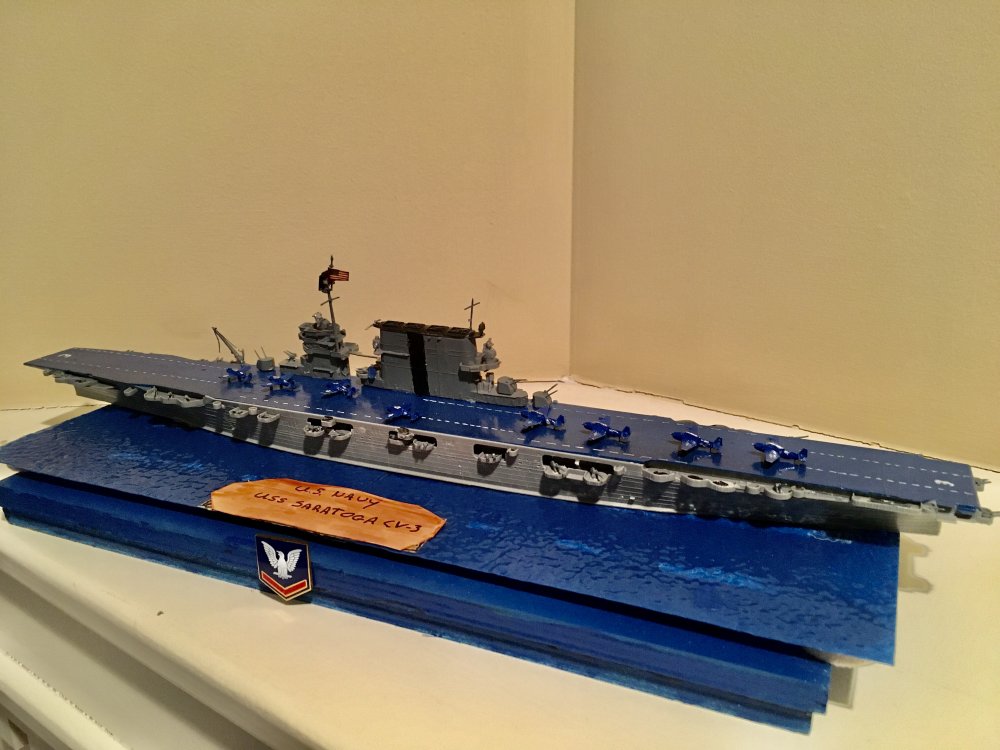
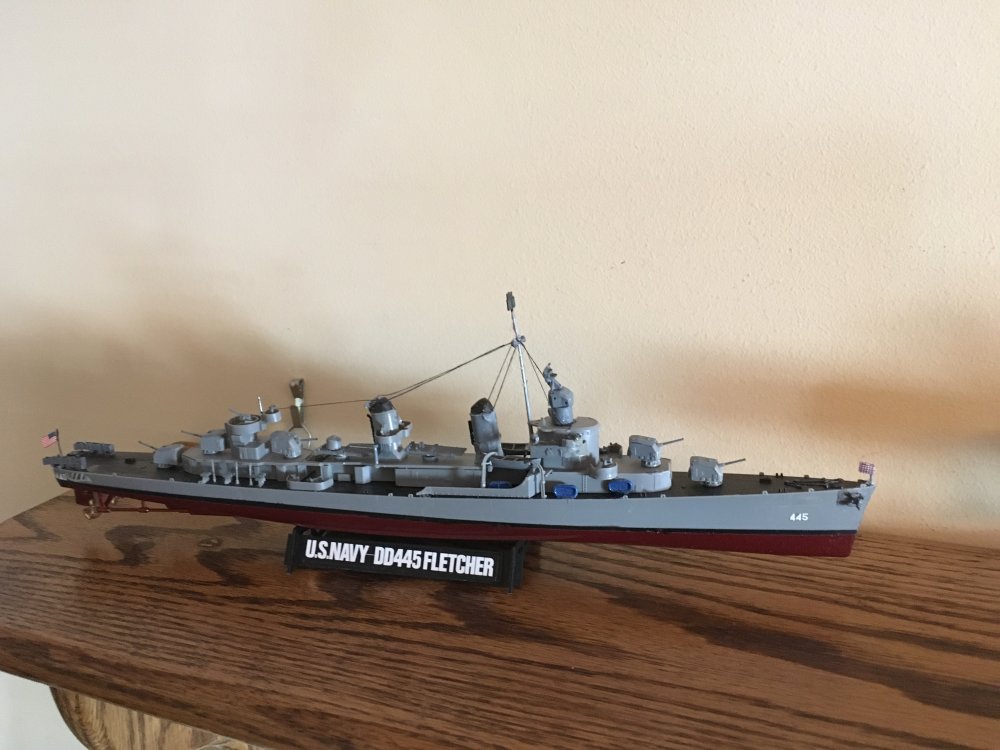
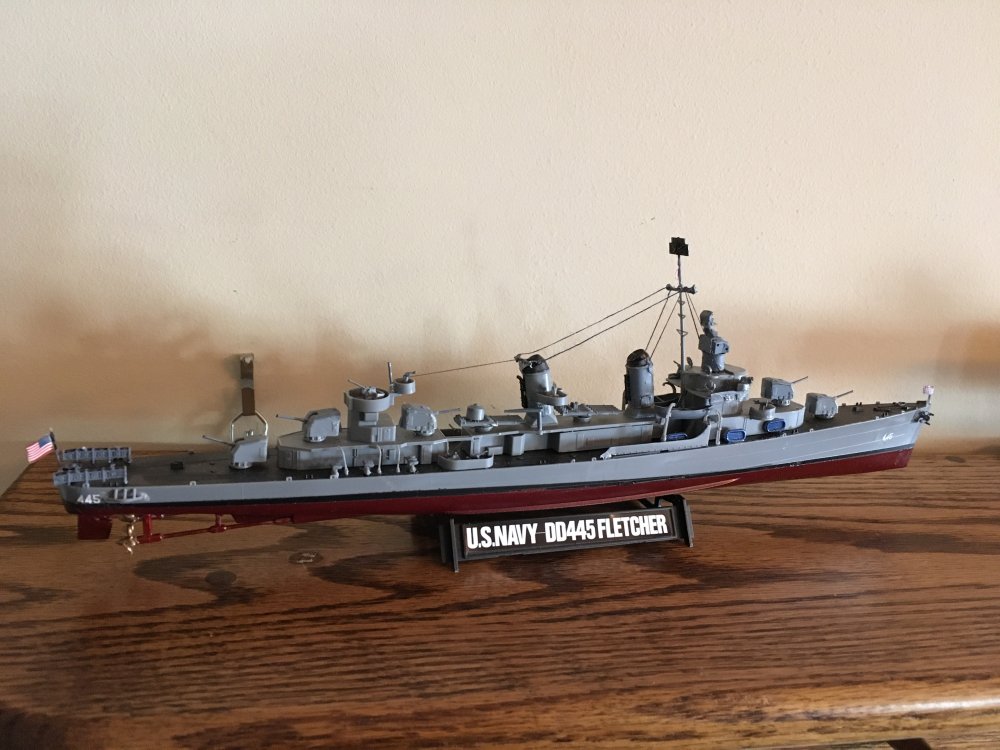
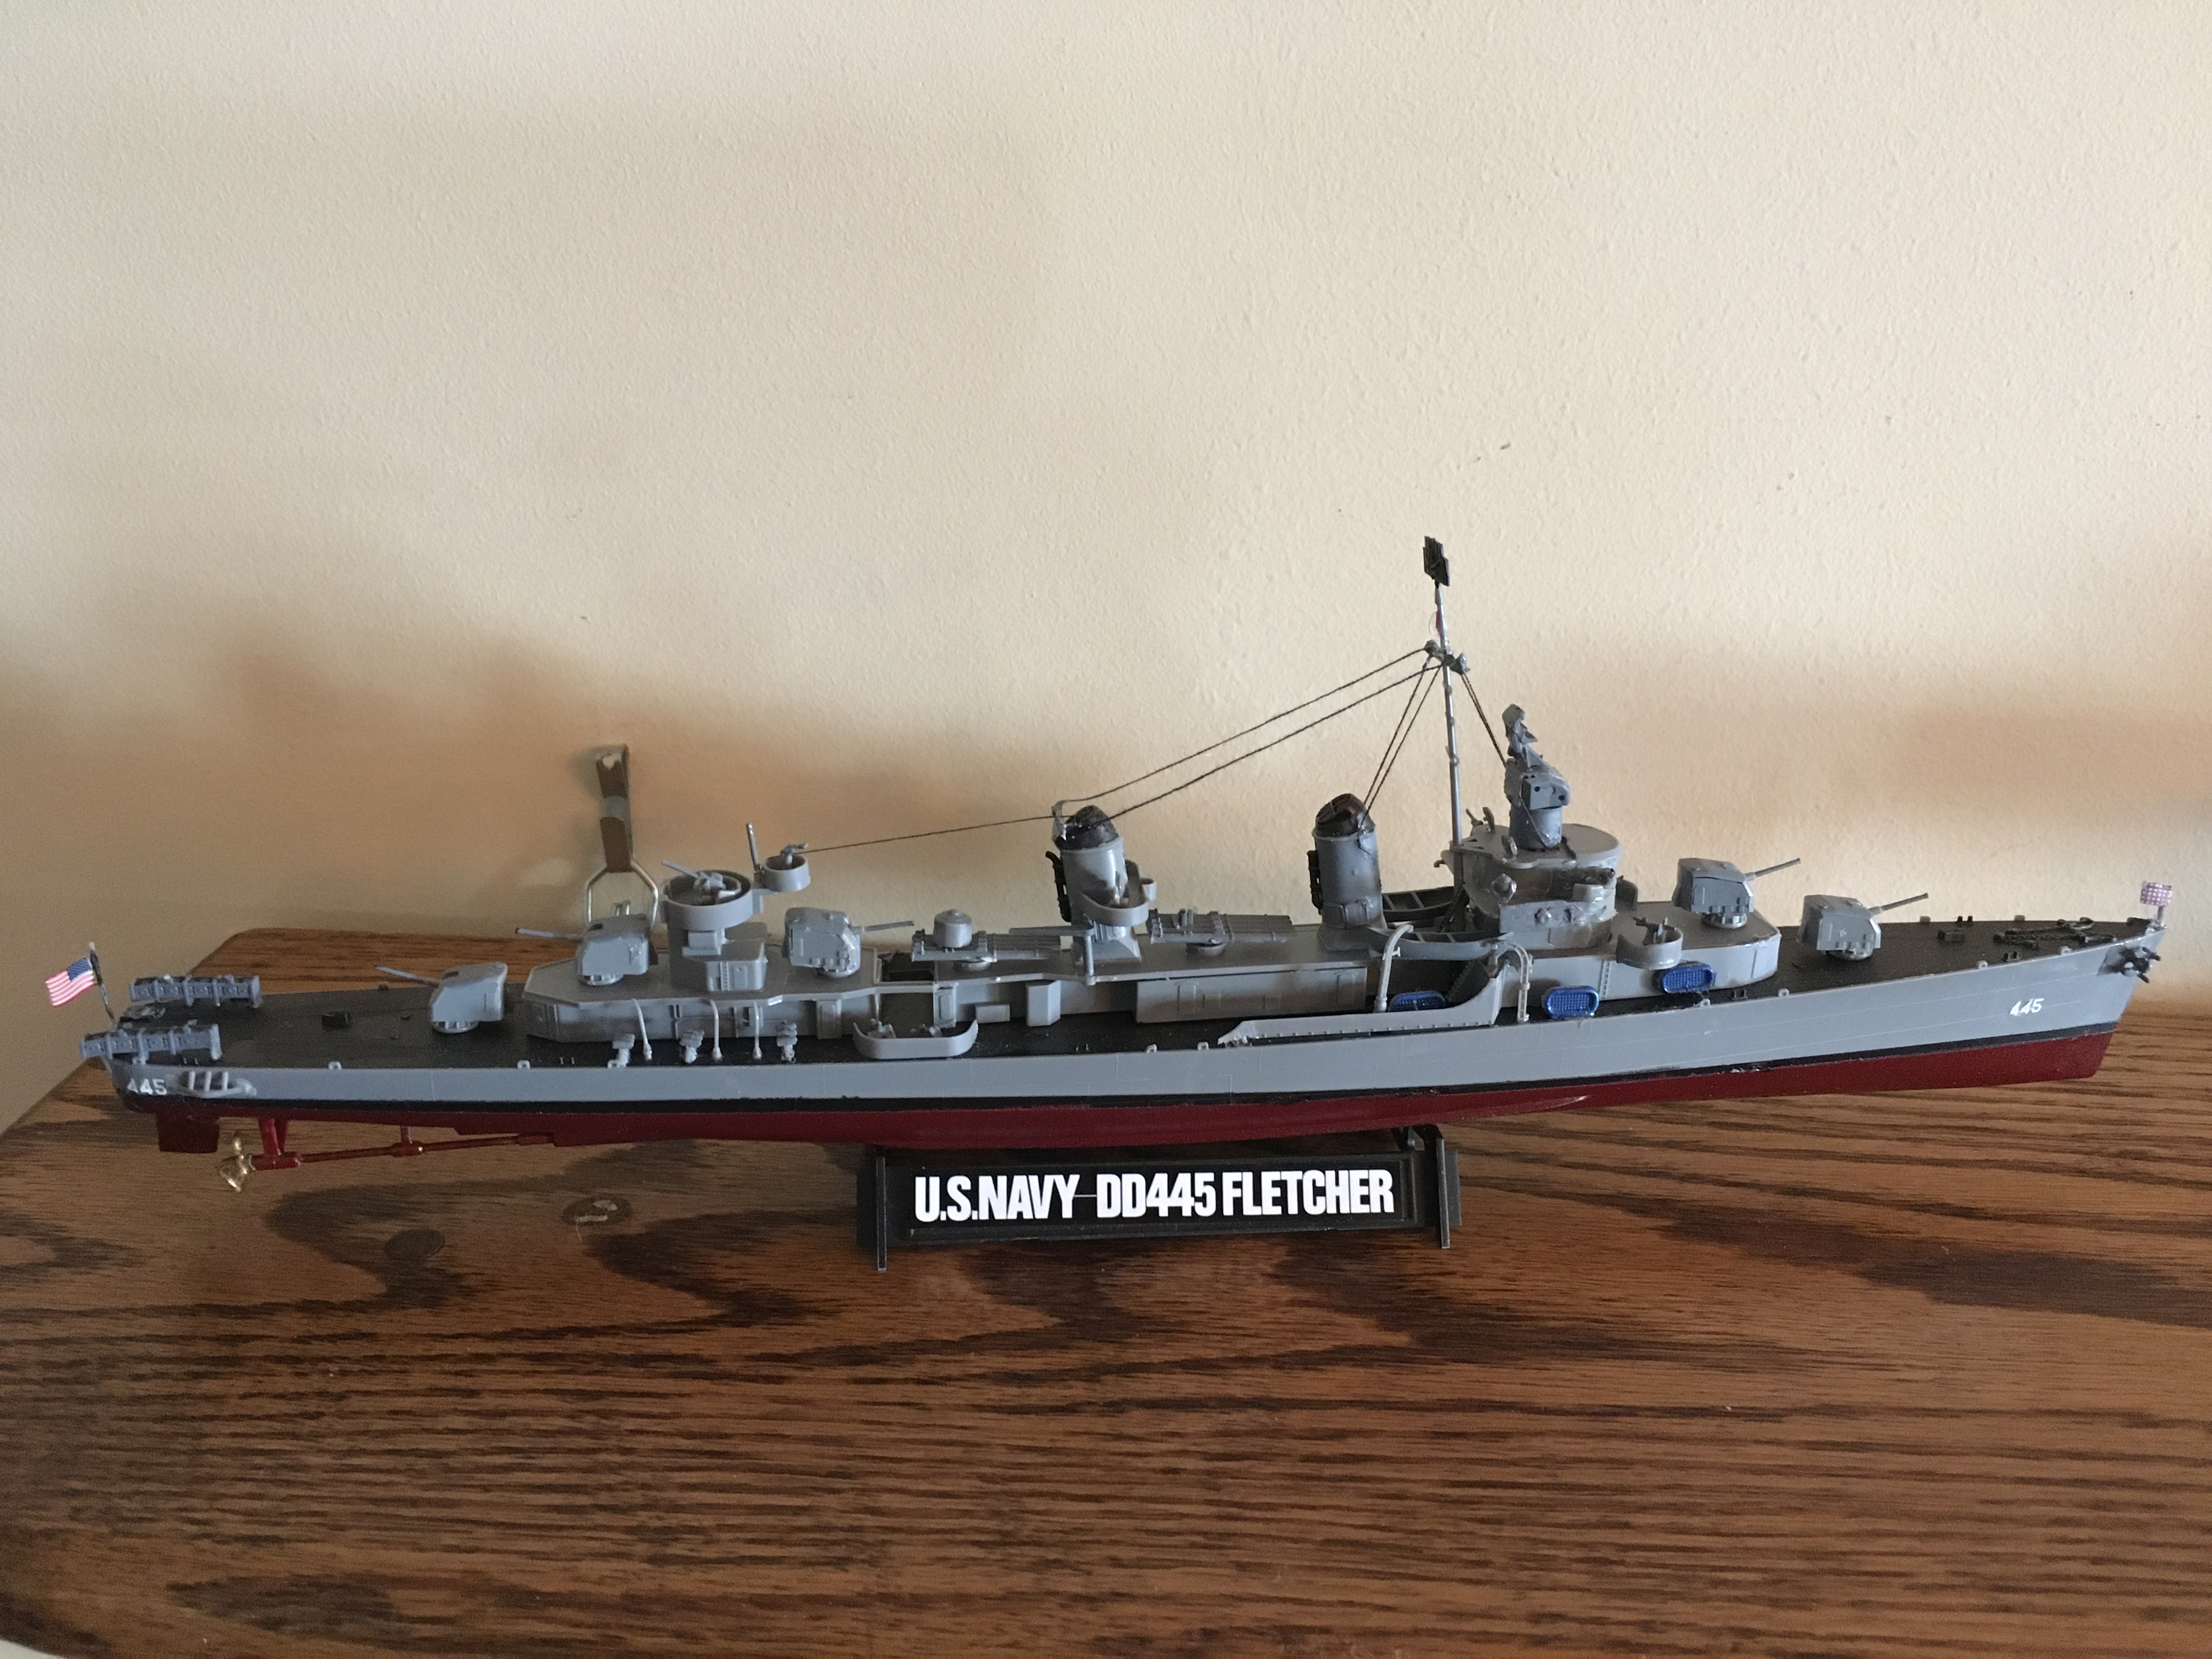
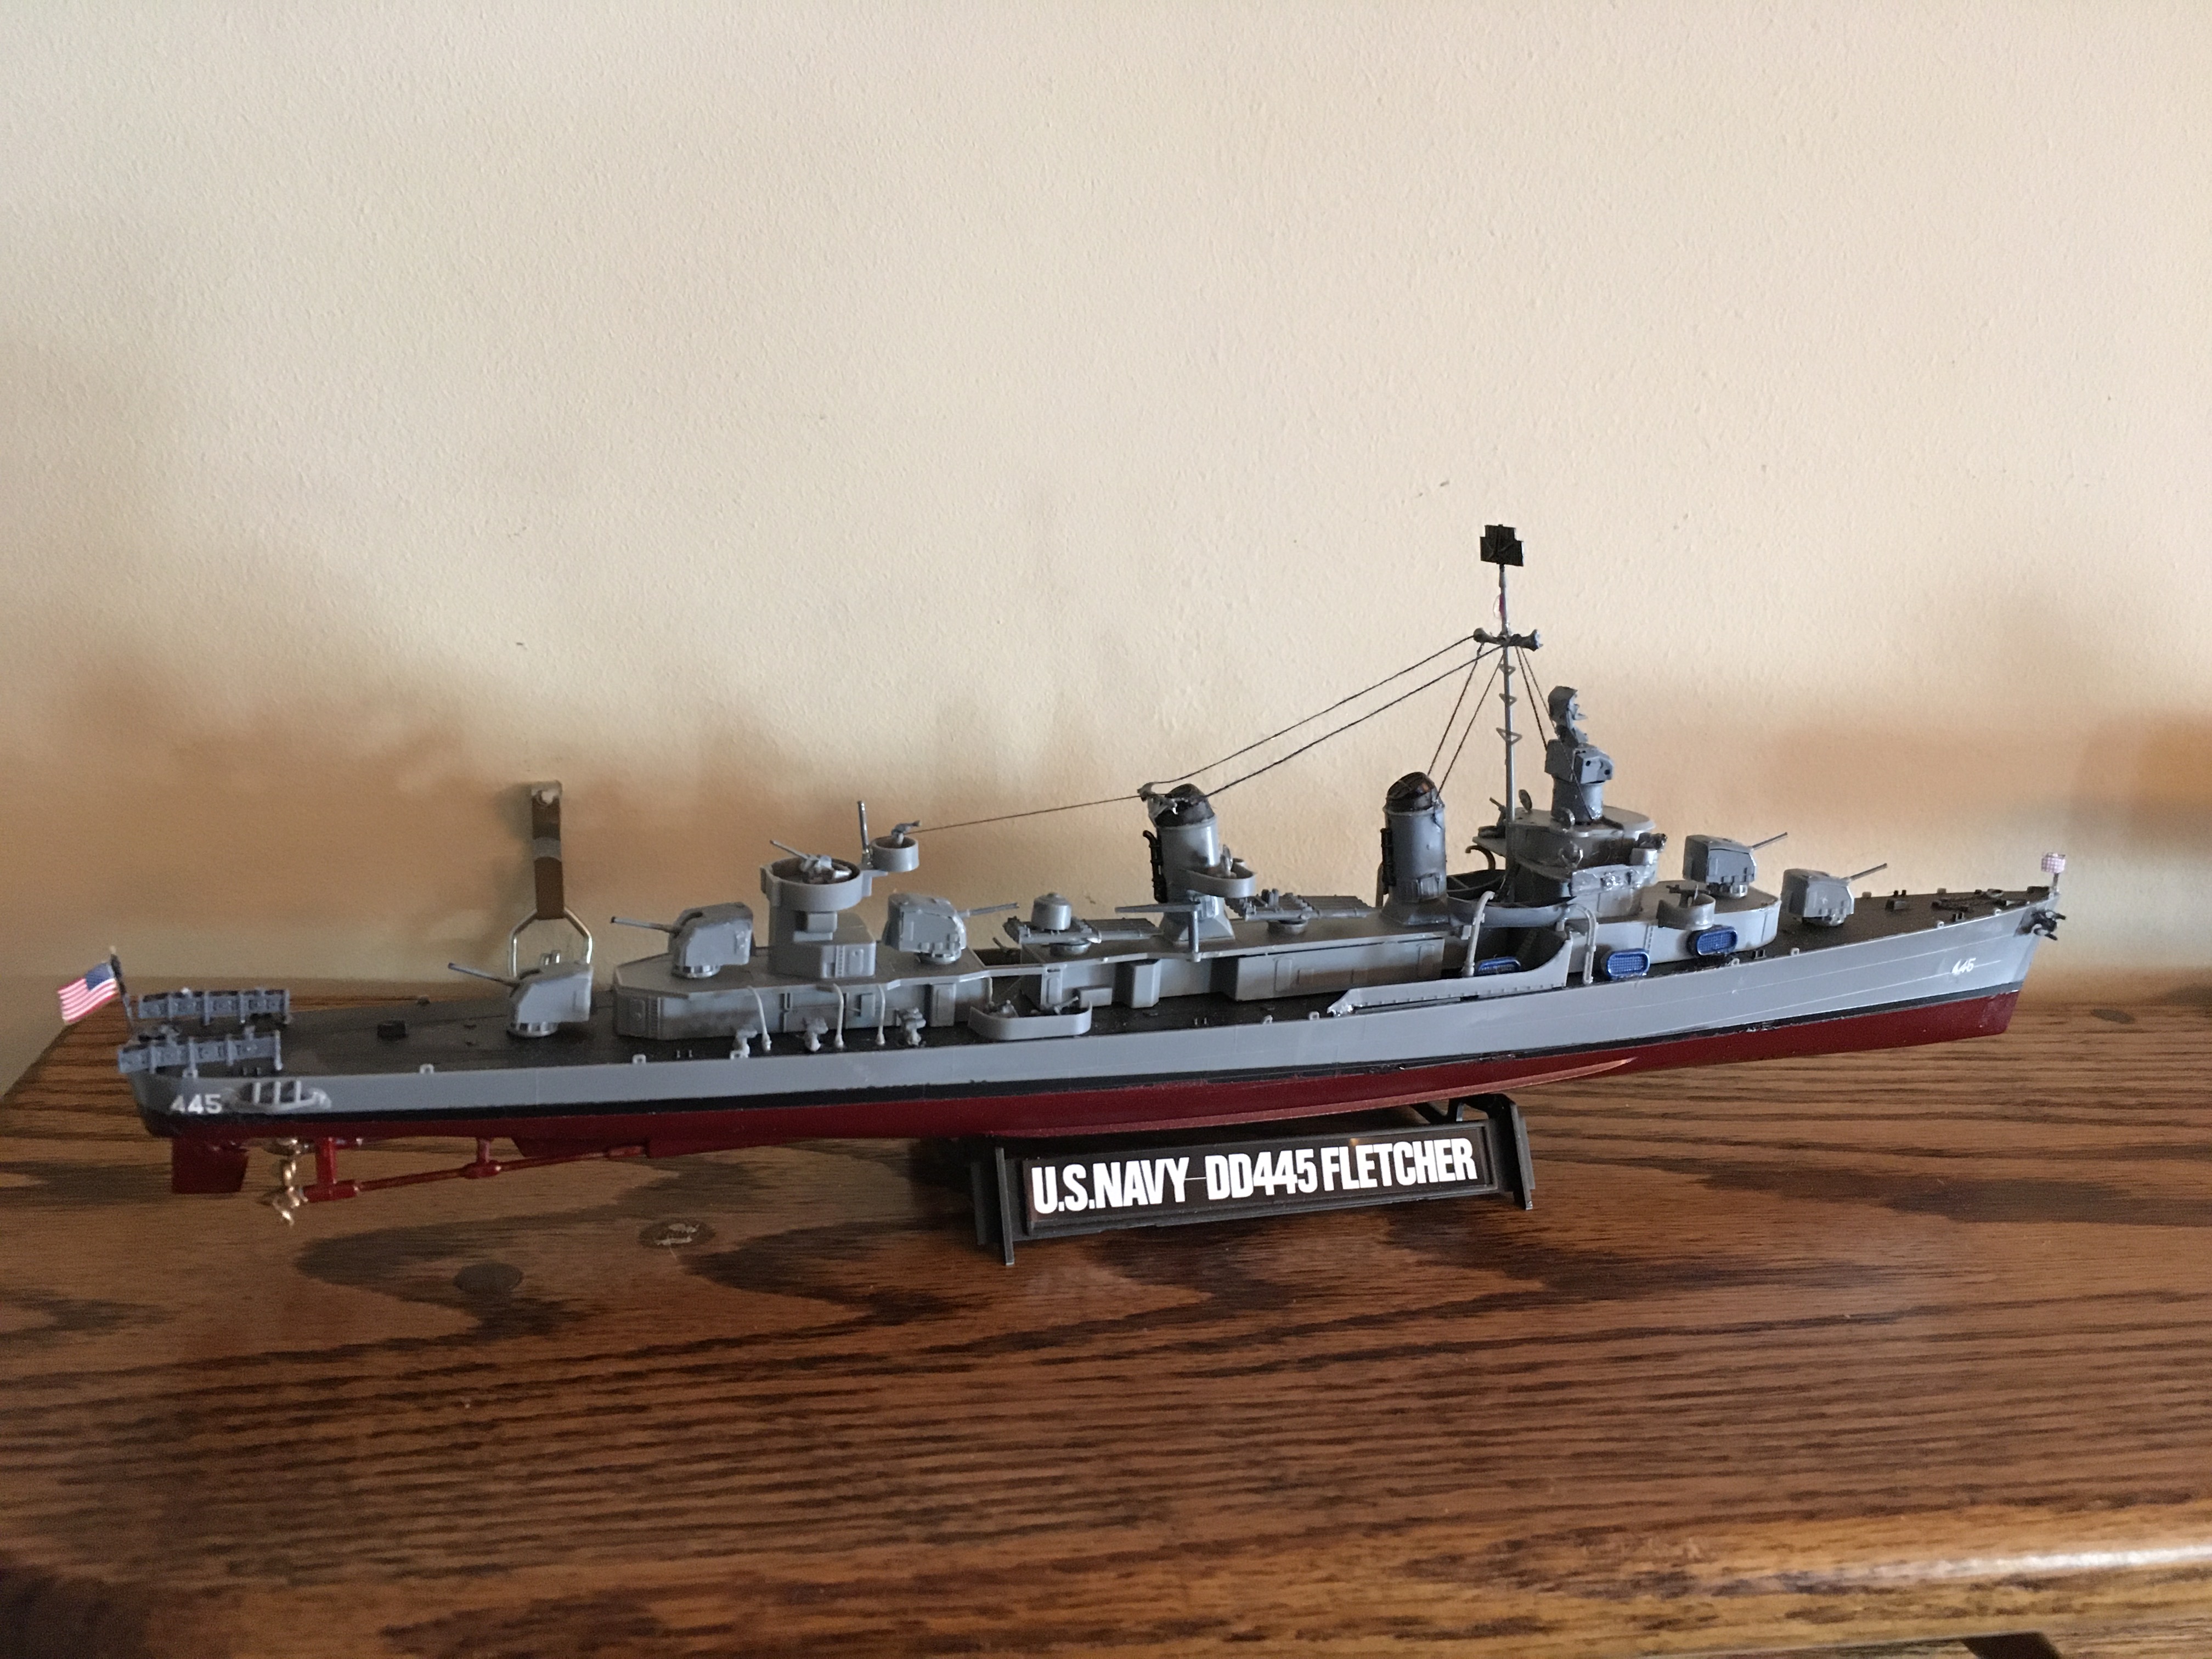
A waterline model that, had I thought when I purchased the plastic base, should have bought more to use and paint the blue to represent water. So be it. At least it has something to set on. On the deck I had made a mistake with the lines and had to repaint it so it got one shade darker than I wanted but basically I am happy with it. Went together well as expected with a Tamiya model.
-
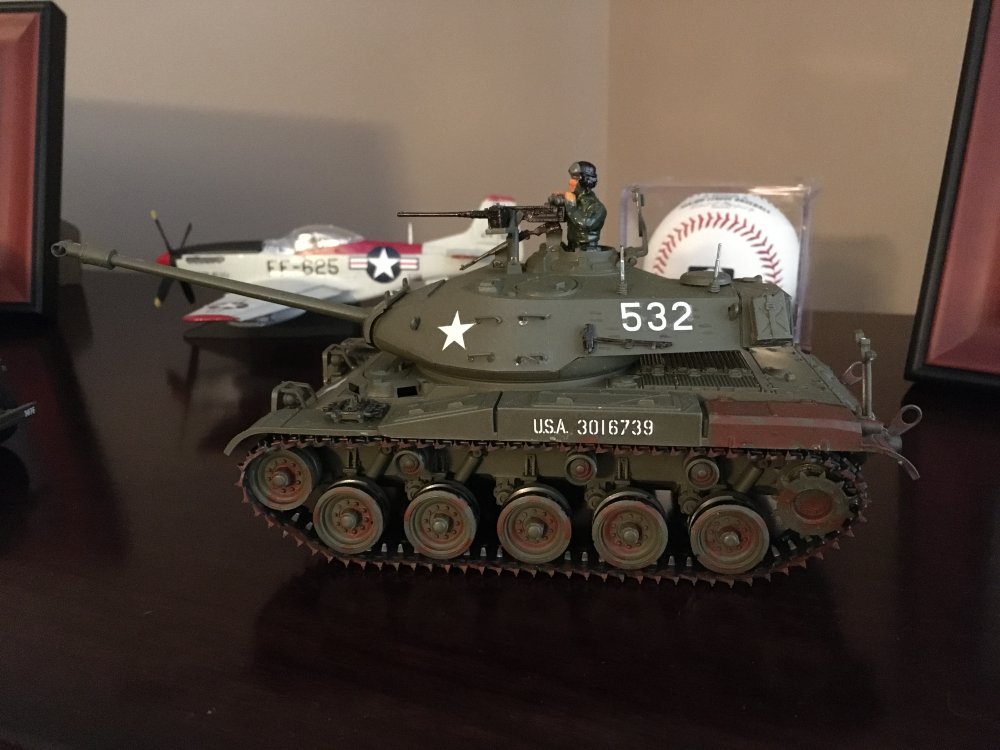
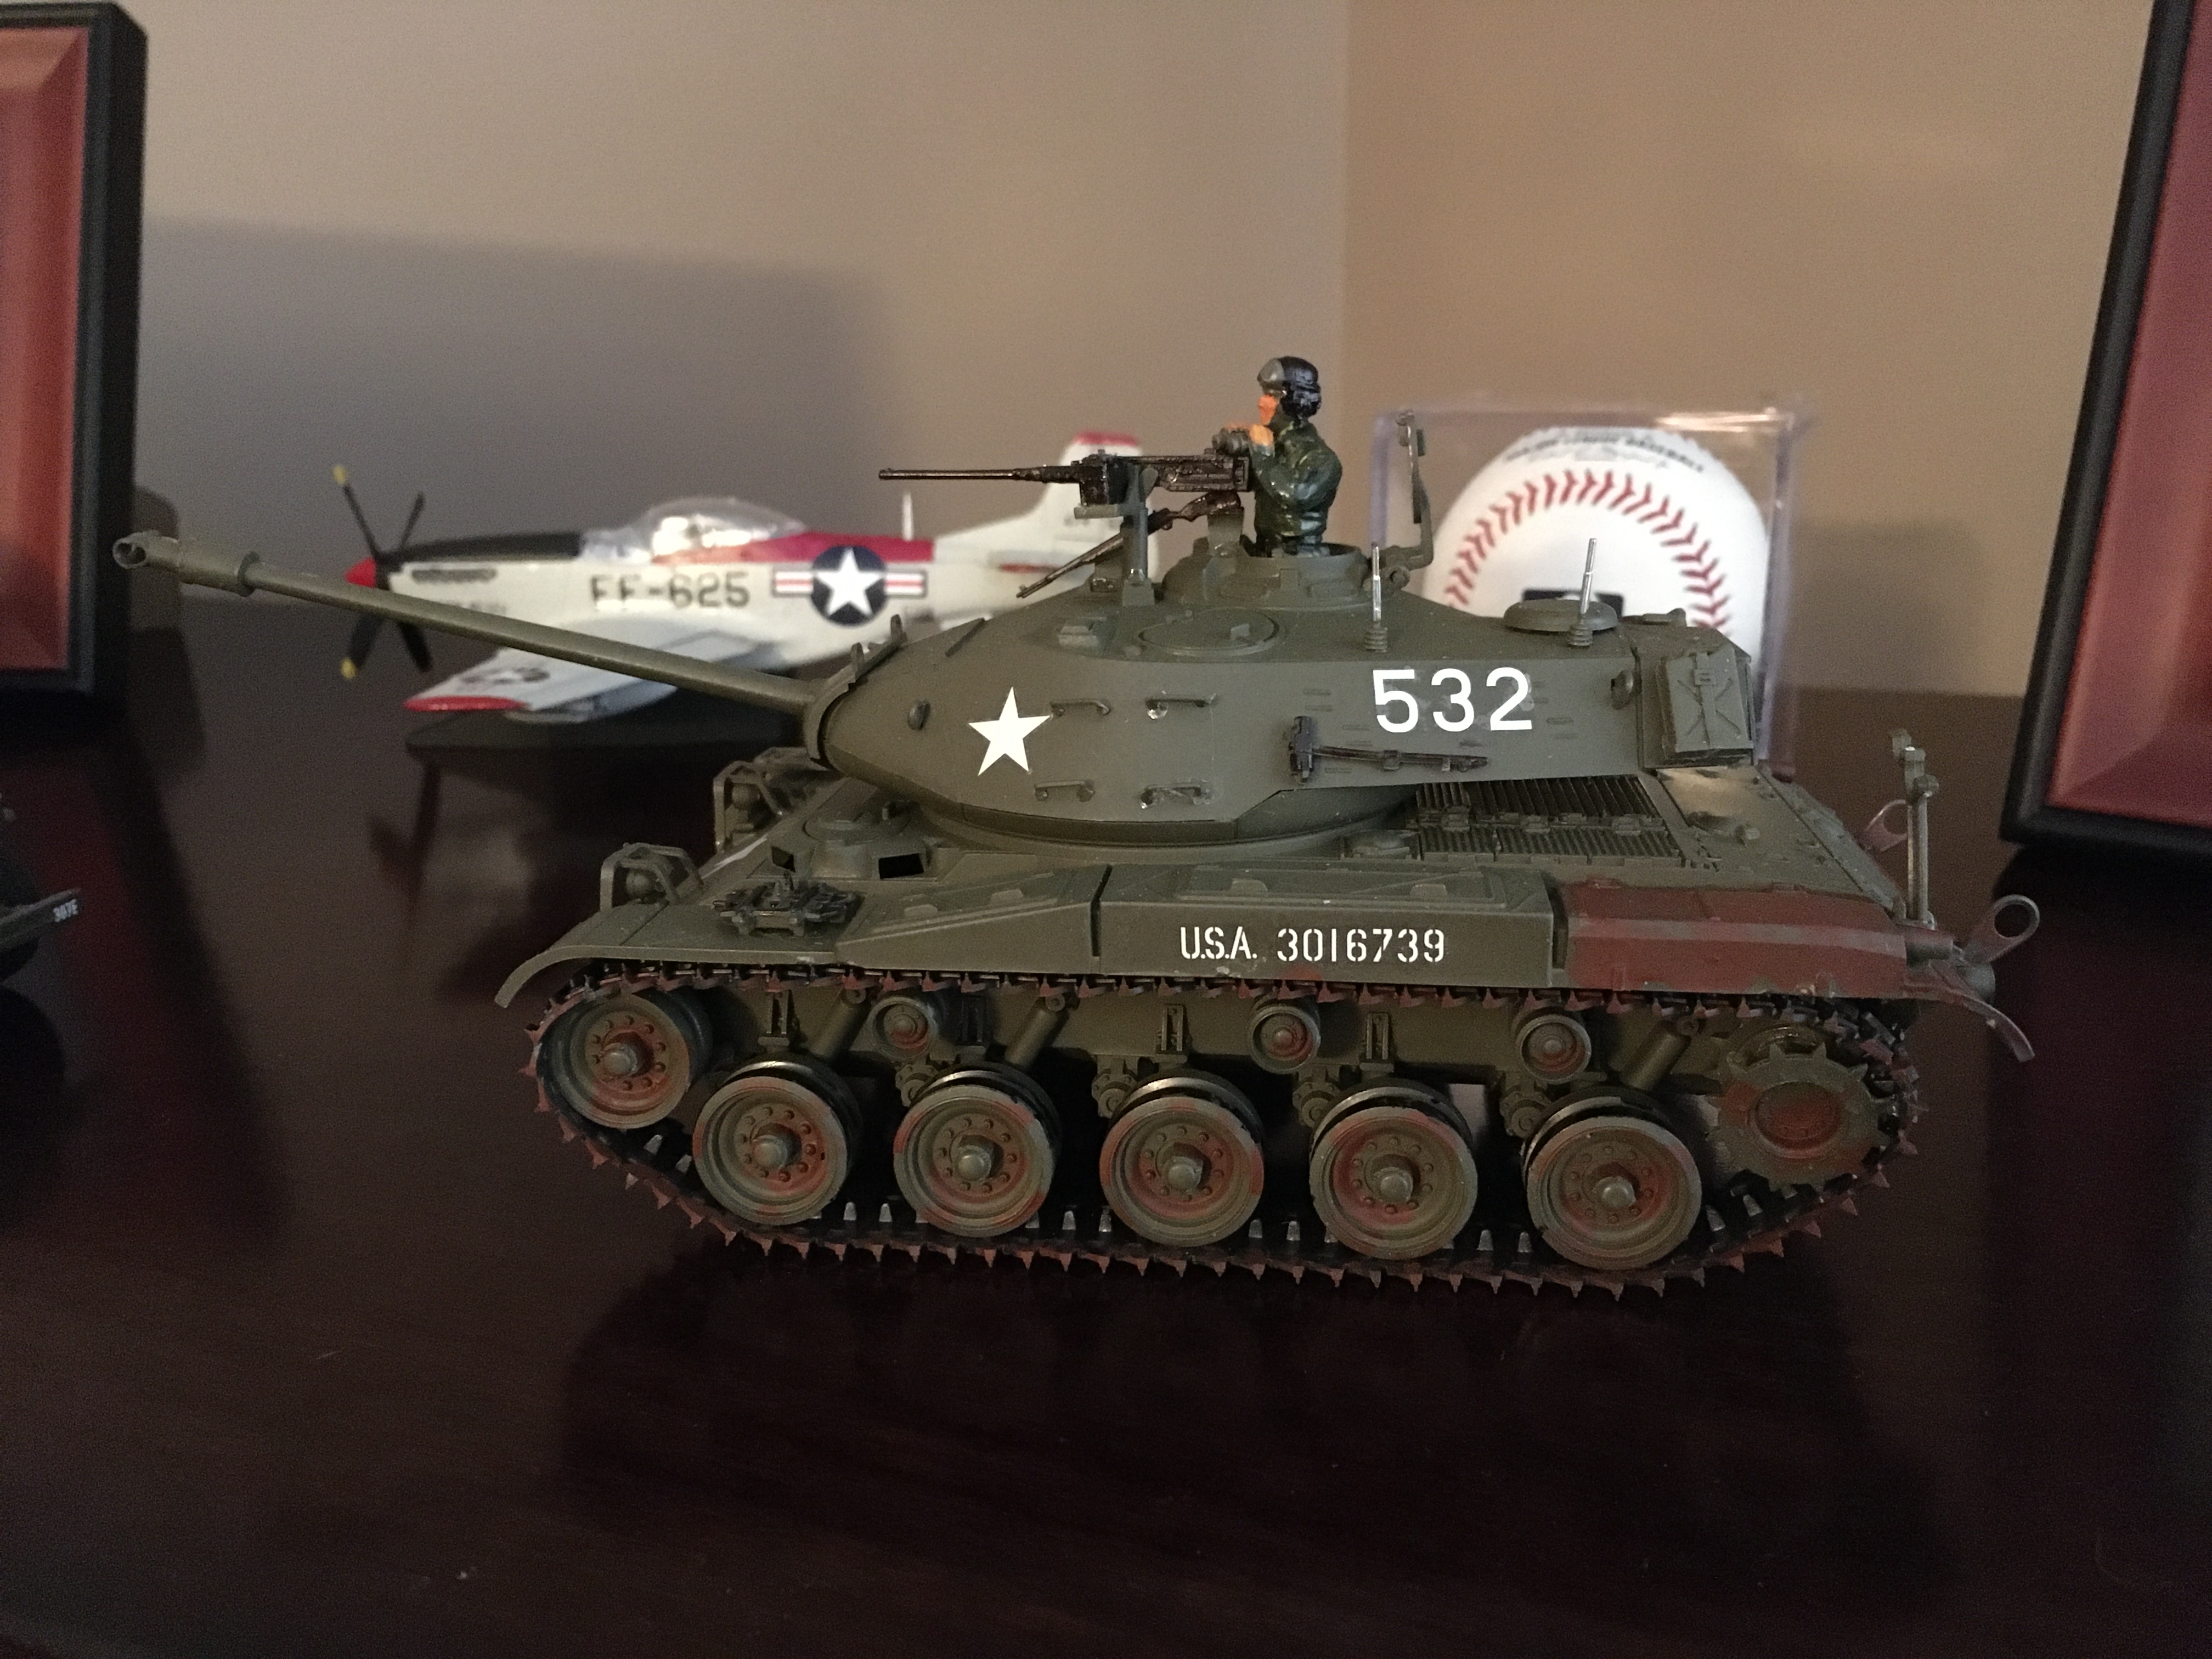
Paint and assembly time approximately 18 hours. I sprayed the tank with Testors Olive Drab spray paint even though it came molded in the color. I painted the tank commander’s jacket by my own choice and not per the instructions. Applied rust colored paint as best as I could do. It went together fairly well and Tamiya, as usual, produced a good model with no flash.
-
A 1/350 scale model by Tamiya. Time to paint and assemble, approximately 20 hours. She was the lead ship of her class. I did make a mistake by not studying the instruction sheet properly. But I am basically happy about the way she turned out. The fit was perfect, especially the deck to hull. But as usual with the very small parts, I used a tweezers and toothpicks.


-
P47M Thunderbolt $64.79 free shipping one left in stock
P47D Thunderbolt $39.30 with prime and free shipping both at Amazon. (I have prime so I don’t know otherwise to ship)
-
1/48 Tamiya P47D and P47M thunderbolt in stock at Amazon. Bubble tops. All in stock.
-
Very beautiful
-
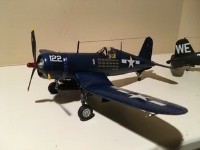
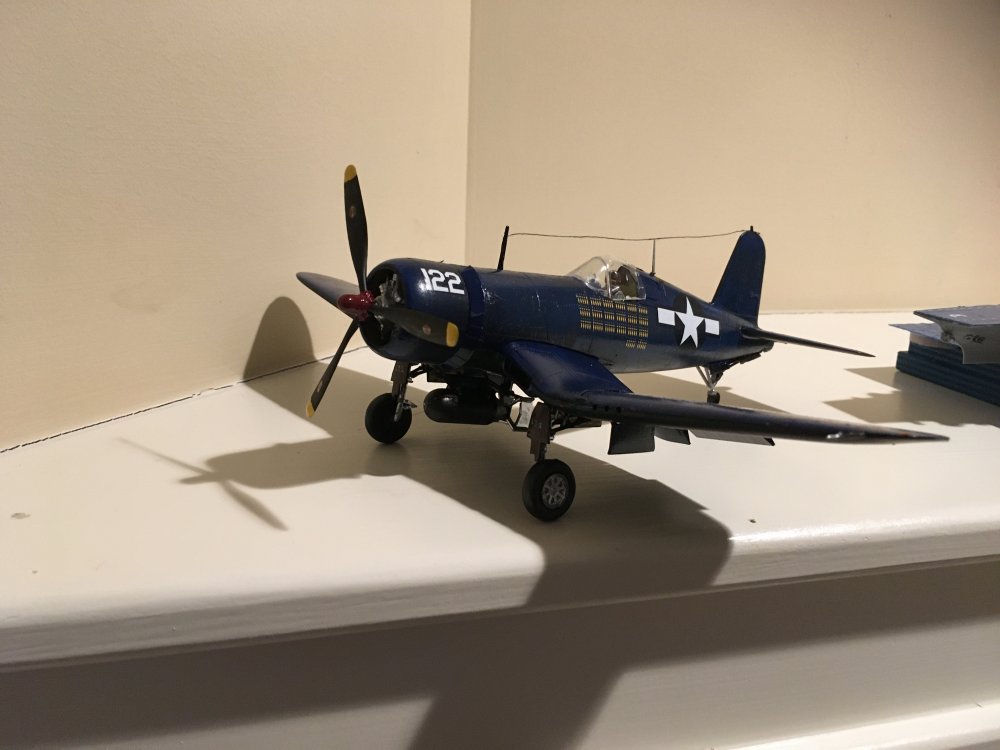
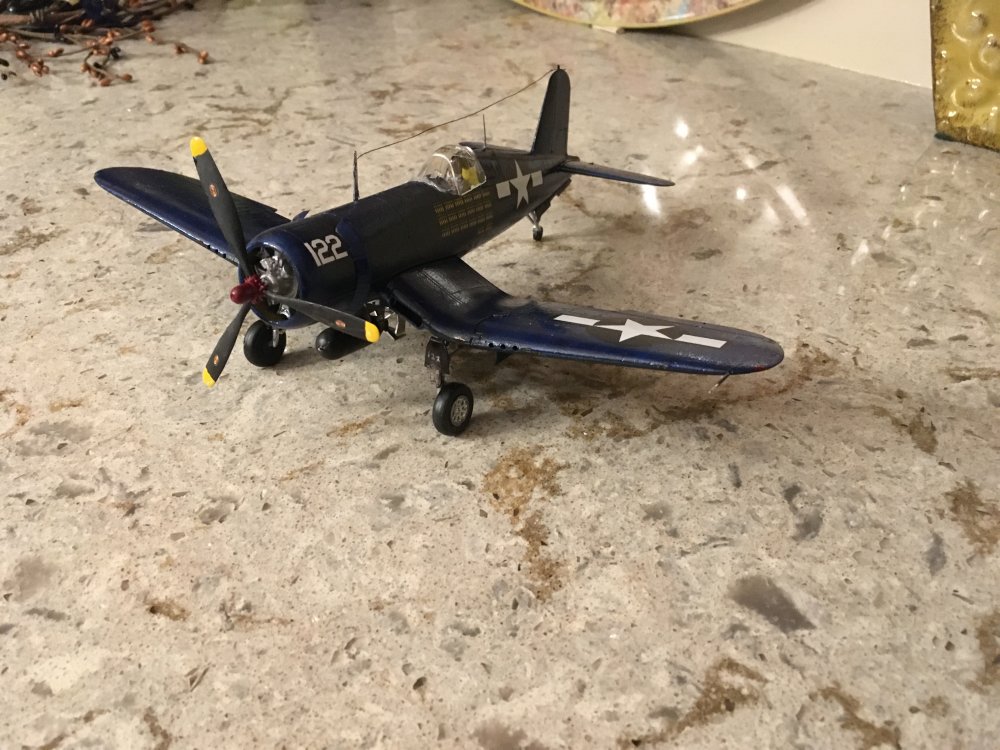
Tamiya 1:48 F4U-1A Corsair, 1944. (with a bit of weathering)

-
I like it very much.
-
Simply lovely looking Spitfire!
-
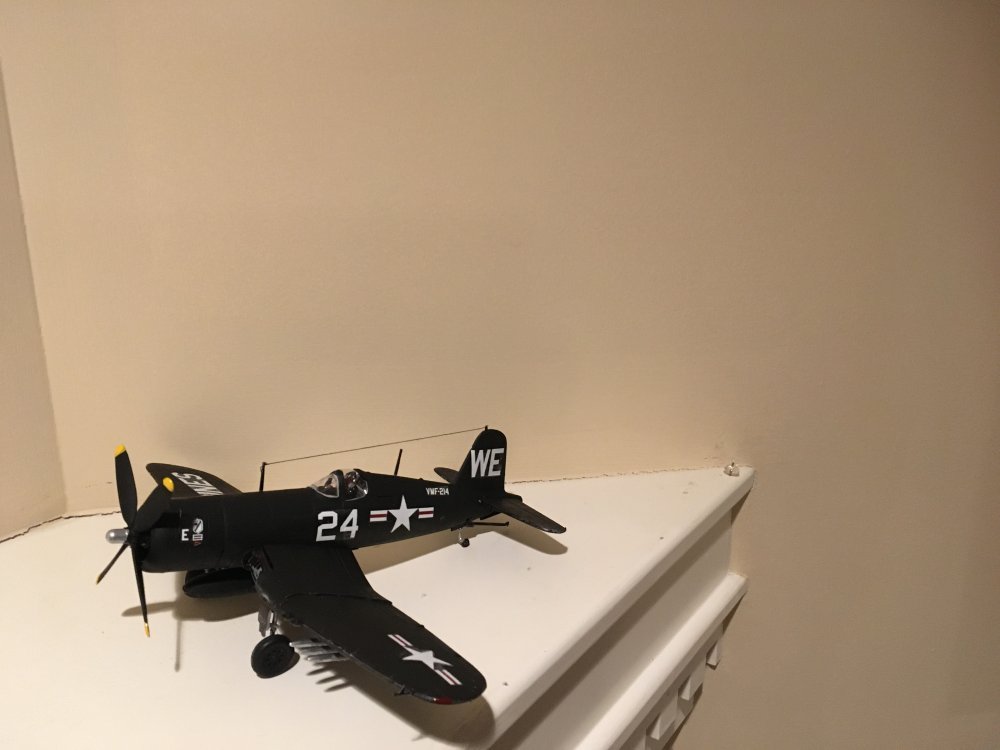
This Revell, VMF-214 F4U-4B Corsair U.S. Marines, Black Sheep Squadron. Weathered like an old war bird, many island campaigns and Henderson Field Guadalcanal, Solomon Islands. USS Sicily (CVE-118).
-
That’s a beautiful job!
-
Terrific looking model, congrats!
-
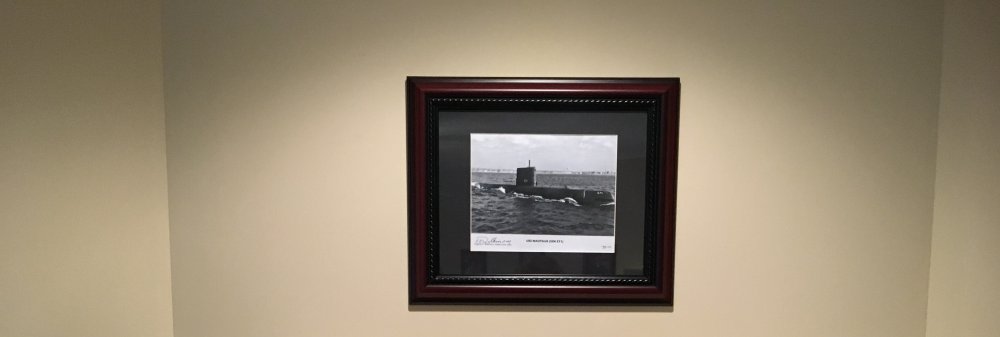
And this hangs over my mantle. It’s autographed.


USS Arizona (BB-39)
in Battleships
Posted · Edited by Corky
Added white paint.
A Revell kit and completed on 7/10/22. Some fit problems as expected and my paint scheme is true in some ways but minus the black waterline. I had done that on the USS Fletcher Tamiya kit and that was enough. About 21 hours to paint and assemble. I did not want to paint the mast tops white due to the quality of my Testors flat white. On second thought, I might try it later and go over each one two or three times to get it to cover the tops. Below, two later additions.