-
Content Count
331 -
Joined
-
Last visited
Content Type
Profiles
Forums
Calendar
Posts posted by JFVicente
-
-
Many thanks Ken and Laz for your comments
It's coming along nicely Juan - it looks like you have a great diorama planned.
One thing I did with my model to improve the look was to thin down the 'webs' on either side of the tailboom.
As moulded by Hasegawa, they are way too thick.....
They are just thin plates on the real thing.....
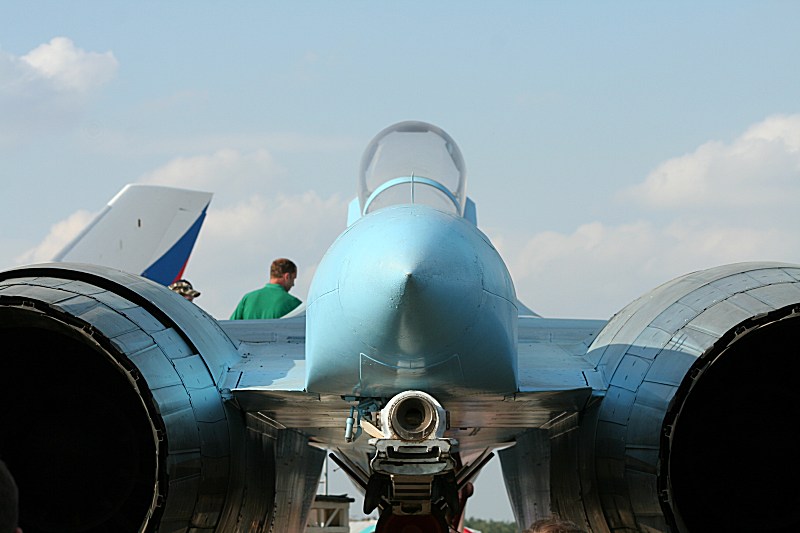
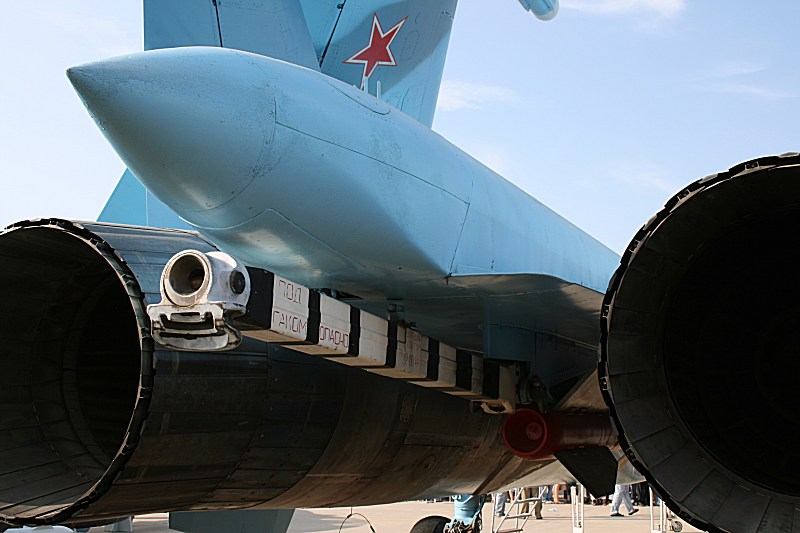
Ken
Ken, many thanks for your suggestion, I was not aware of that detail until it was too late and the kit was painted. Altought I am sometimes a bit anal about this kind of details/corrections I think that I will have to live with this on this occasion as I don,t have the guts to sand that area now that the kit is almost ready to by glossed... Thanks again anyway...
RGDS
Juan
-
Beware the Dark Side of the Force young Skywalker....... :woot.gif:/>/>
I used to be a Flanker man until I discovered Scorpions
Ken
So, are you going to be a Scorpion man now, Ken?
Nice and straight conversion, friend. Keep up those updates.
RGDS
Juan
-
Dang, had hoped to have them finshed by today but I'm afraid i have to wait with the finishing touches until i get home from my vacation in Finland.
So a slight pause for a while then....
cheers!
:huh:/>/> :angry:/>/> :angry:/>/>
Will be waiting for you to finish that after your finish vacations! ;)/>
Have nice days!
Juan
-
Hi again! Many thanks for your elogies, Janne.
Here I am with new photos of the progress. next step was to attach the windshield, so here is it together with the canopy, both of them masked ready for painting:
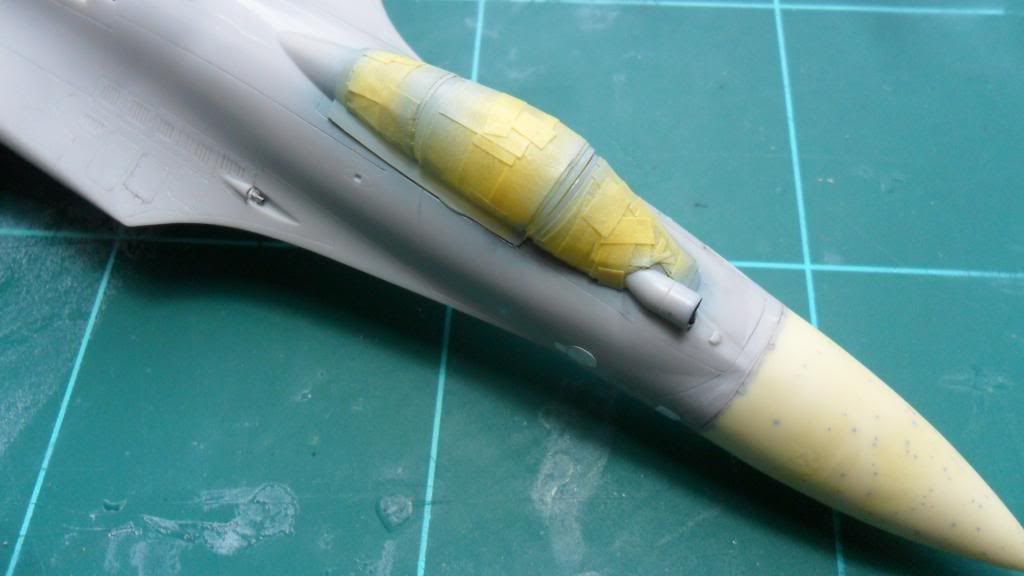
On the lower fuselage, just in front of the air intakes there are few little pipe vents protruding fron the airframe. I found those little details watching at the Ip build of Marcel111 here in this forum, (Ukranian Blue 56) so I decide that I needed to incorporate them on my build. So I drilled small holes and inserted few pieces of small syringe needels:
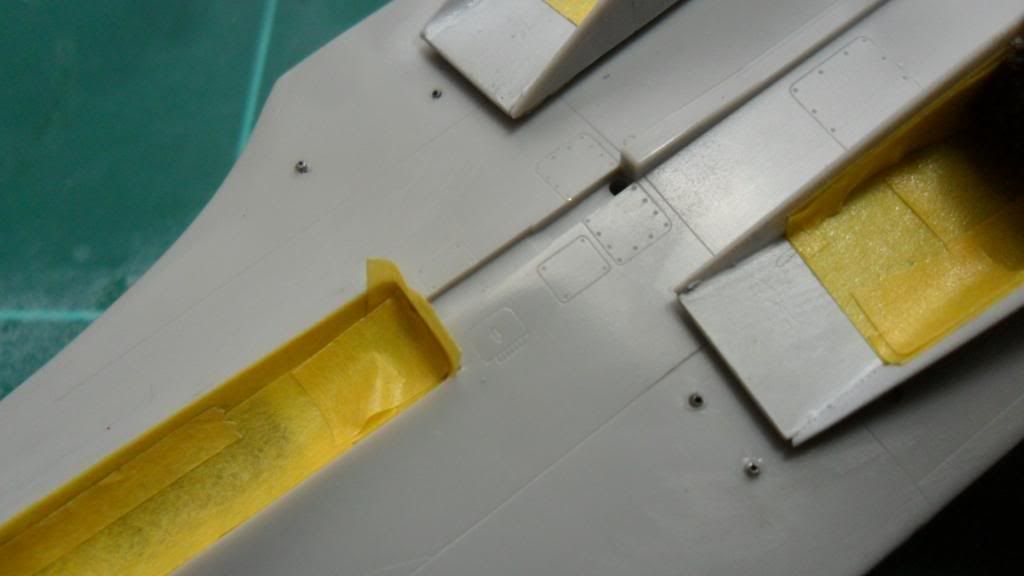
There are also a couple of them just behind the starboard main wheel bay:
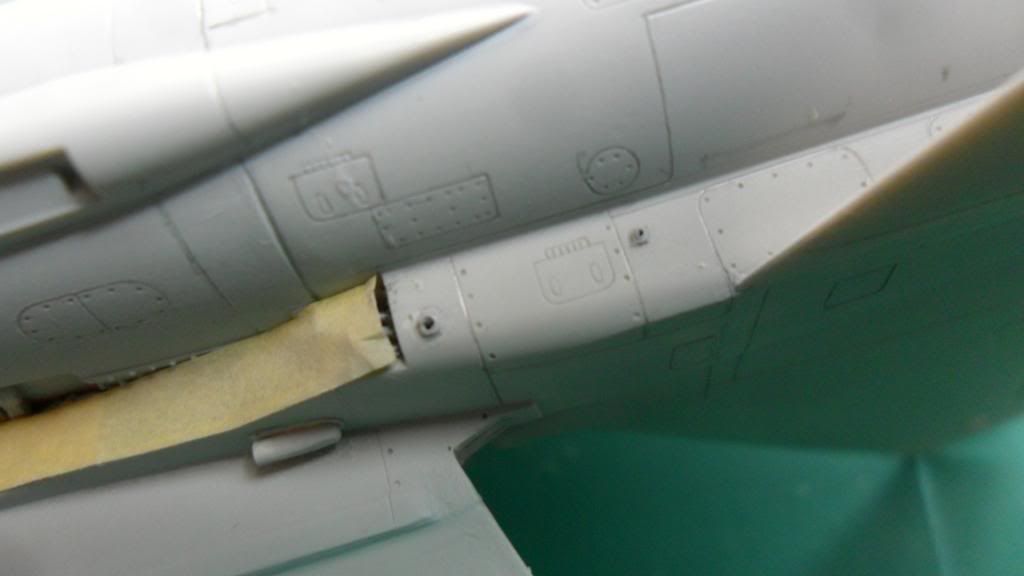
Finally I was able to give a coat of ms Surfacer to the entire airframe in preparation for painting:
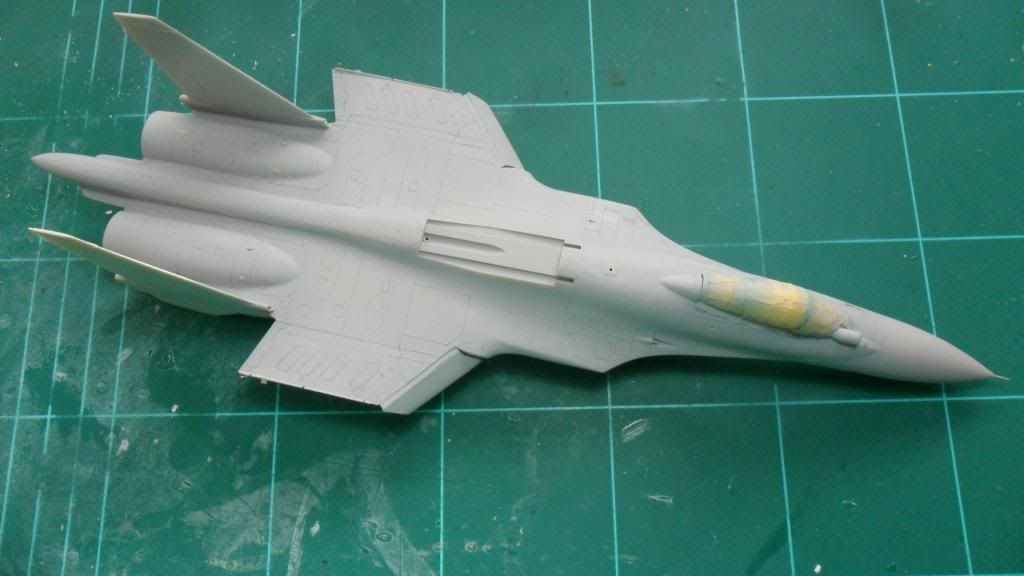
And here is it, all painted:
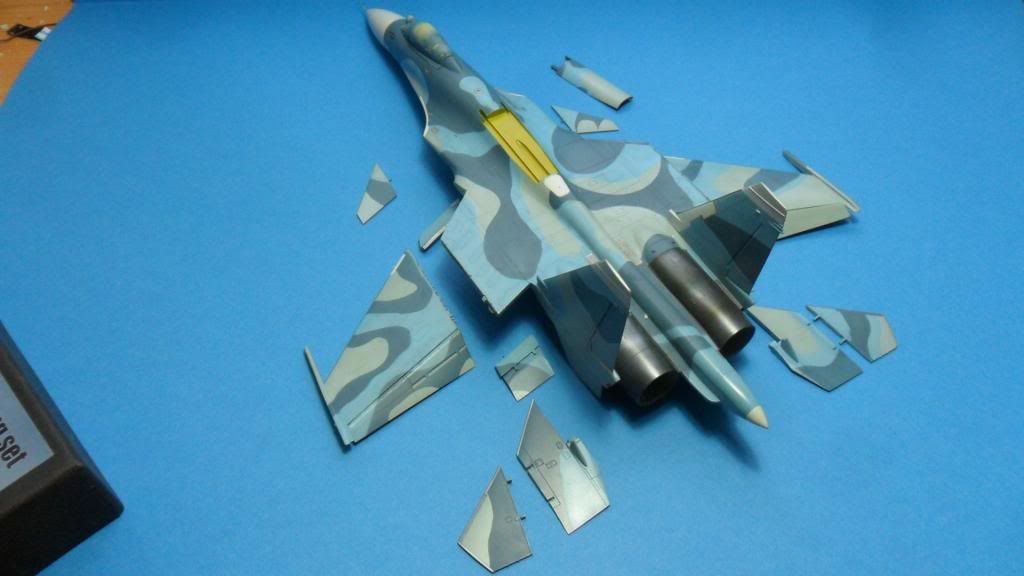
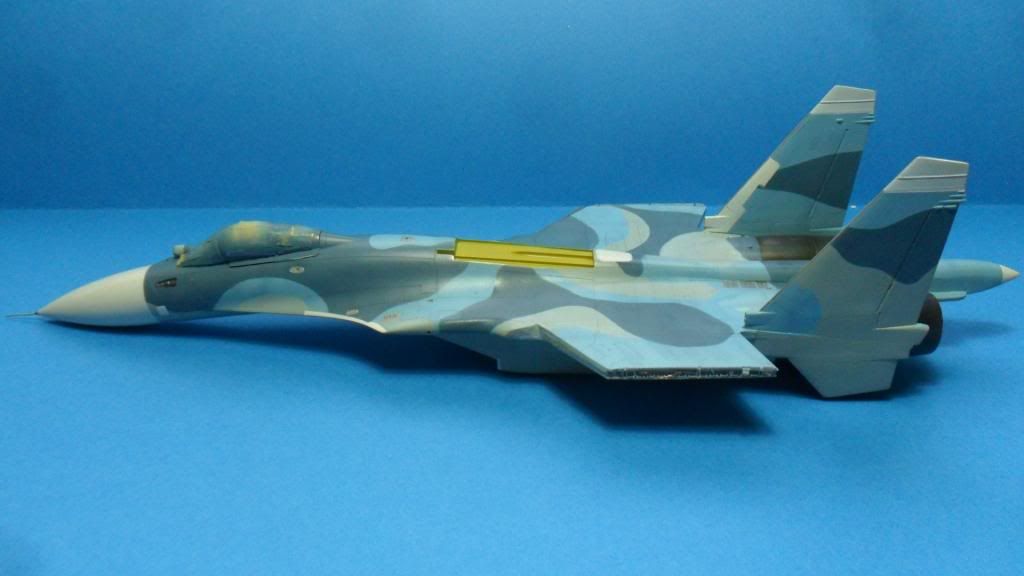
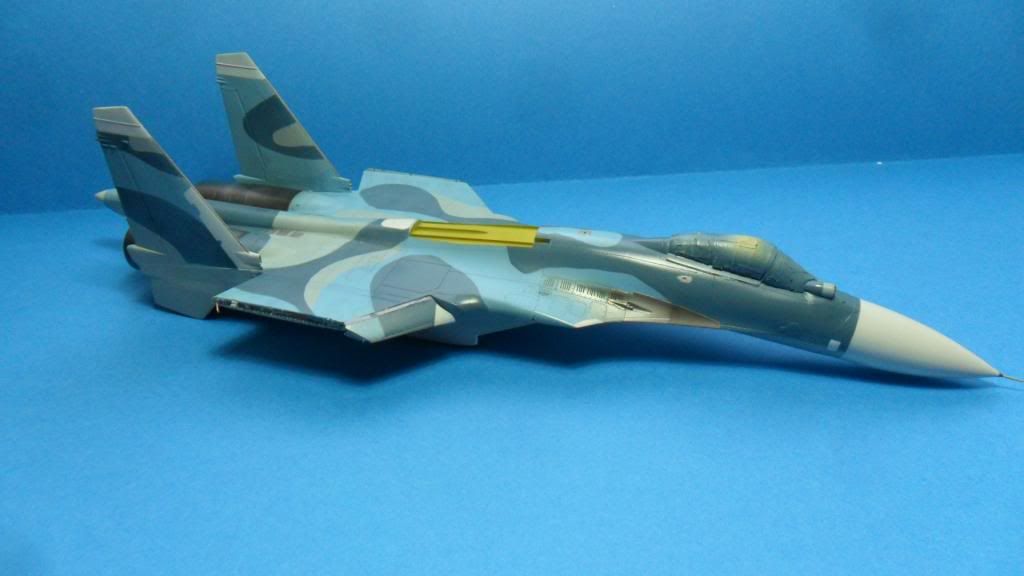
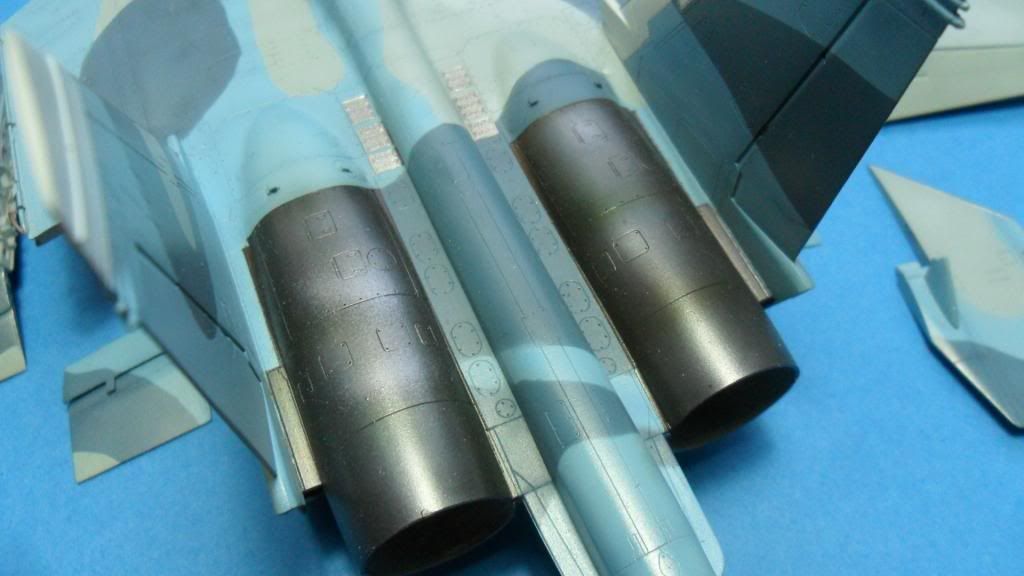
I will be building the red 80 from the 2nd AS of the 279Th Carrier Aviation Fighter Regiment, that with the tiger head on the tail:
Looking at the pictures of several Su-33s that I found over the web I discovered that the camo patern varies slighlty from aircraft to aircraft so the painting was done paying great attention to the pics of this particural aircraft...
Also I want to display the aircraft with some kind of "ambience" and aboard the Admiral Kuznetsov carrier, so i will be building something like this:
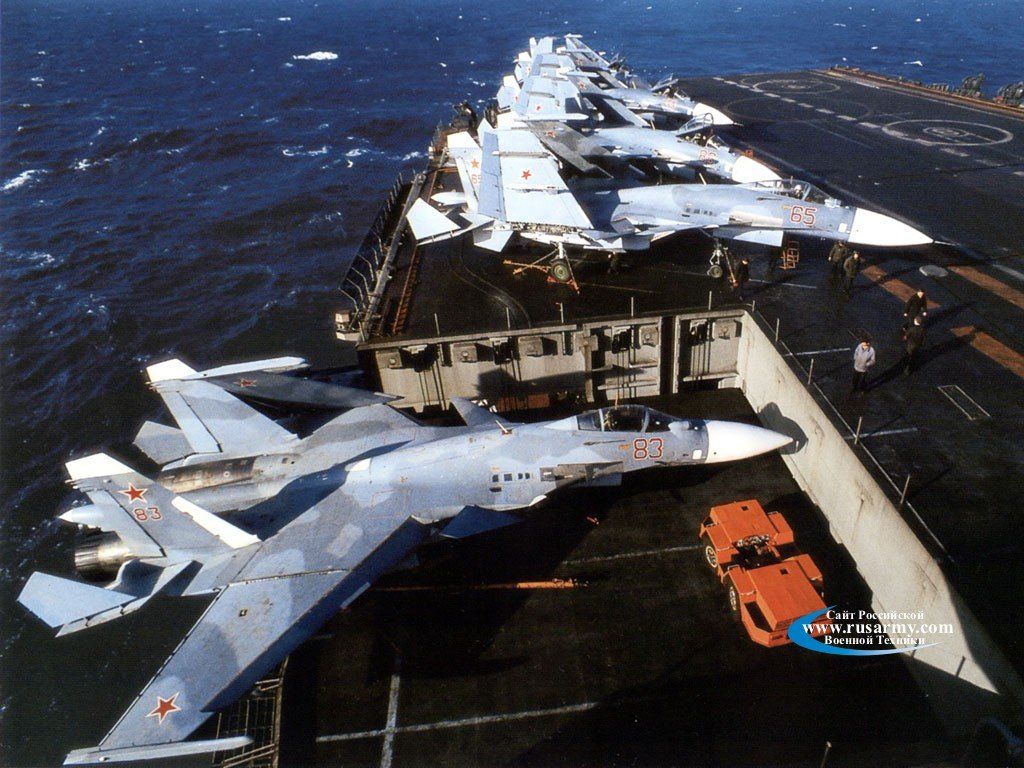
So I bought the Olimp Resin Accesories carrier dexk tractor and I am at present building from scratch the elevator area
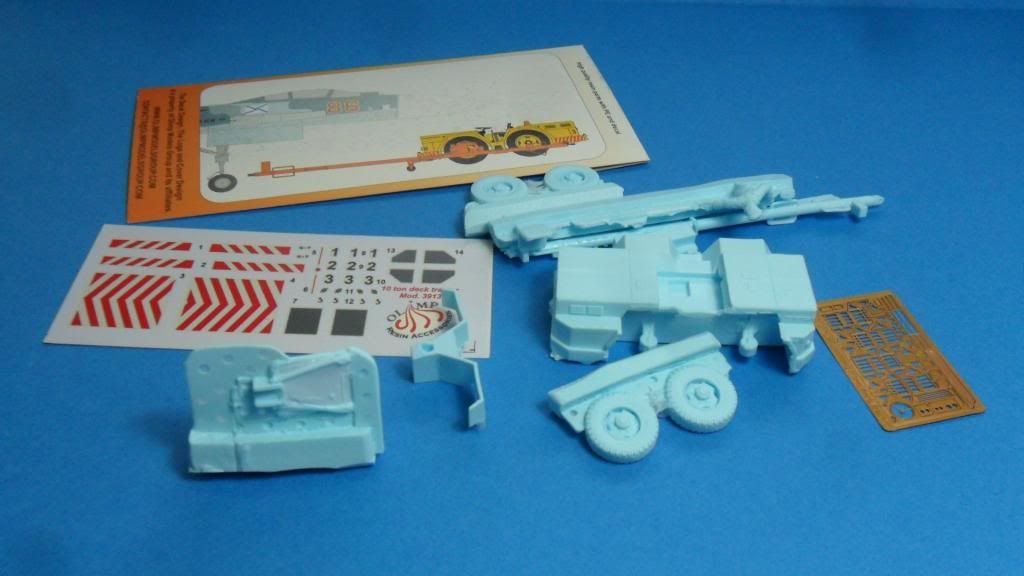
That,s all for now! I will be posting more pictures of the progress the next week.
Wait for your opinions and suggestions.
Have a nice weekend!
Juan
-
Looking really good!! The hud looks awesome, as well as the cockpit!
Brandon
Many thanks Brandon. I,m glad you like it.
RGDS
Juan
-
Next came the excelent cockpit from Aires:
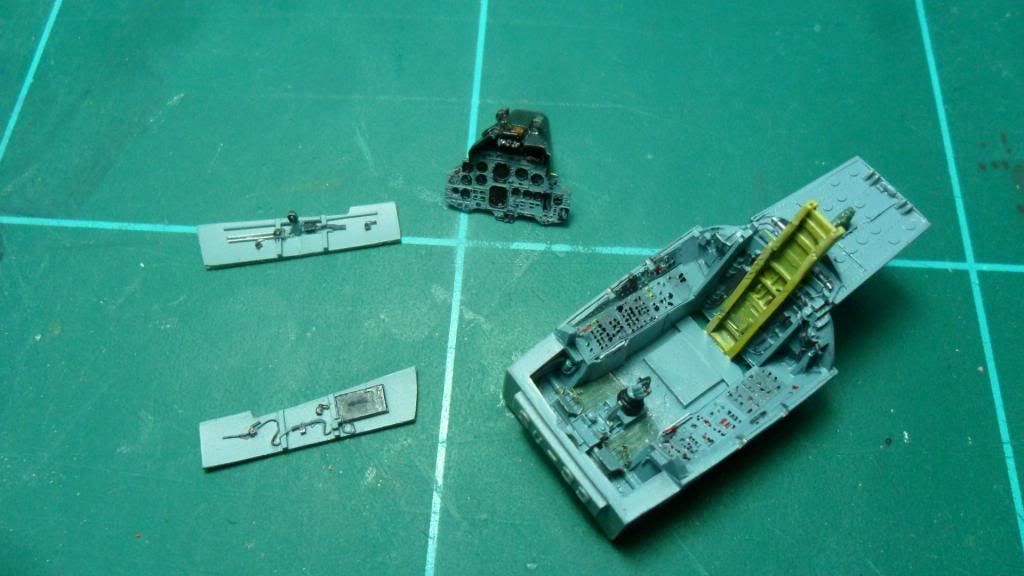
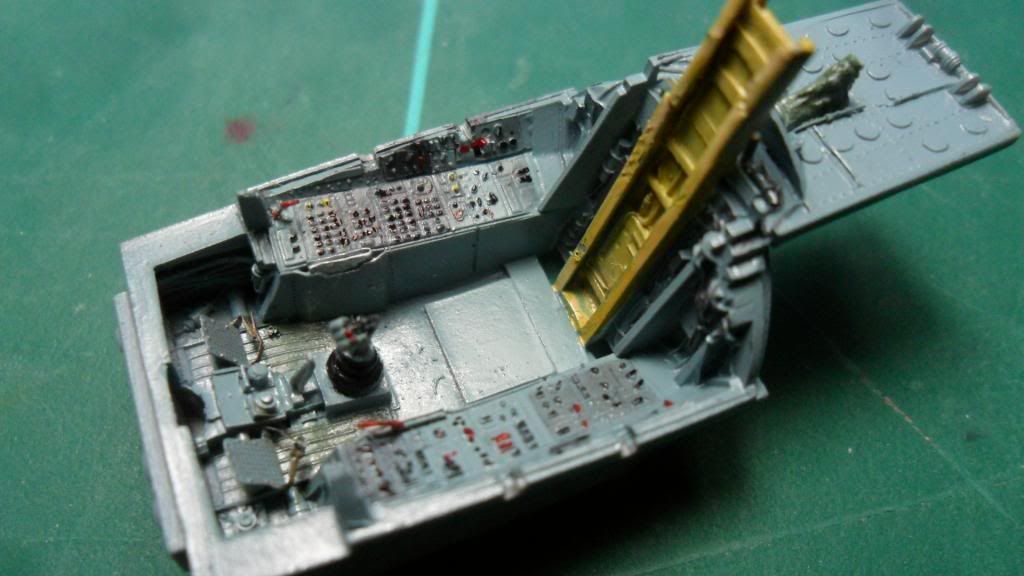
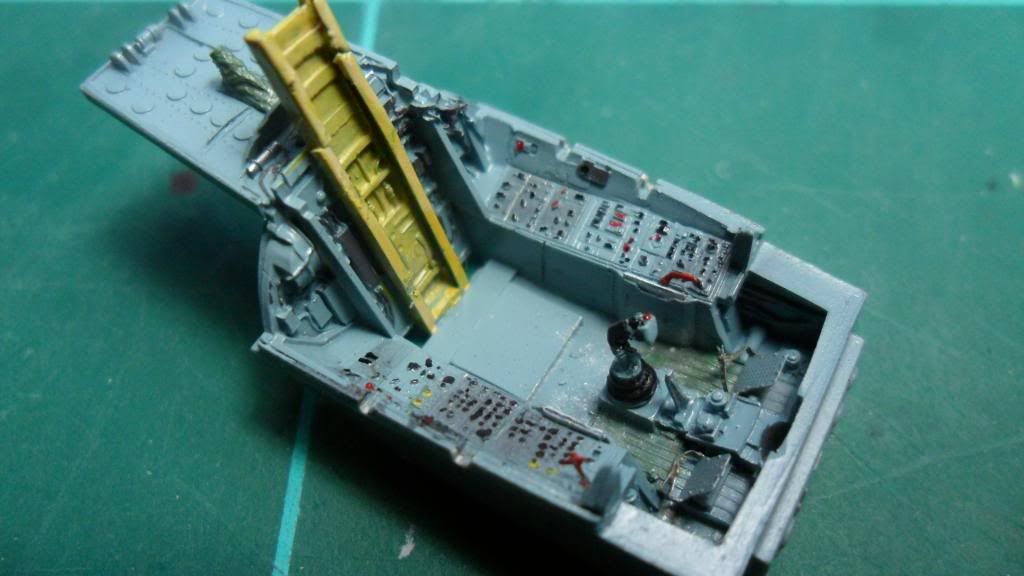
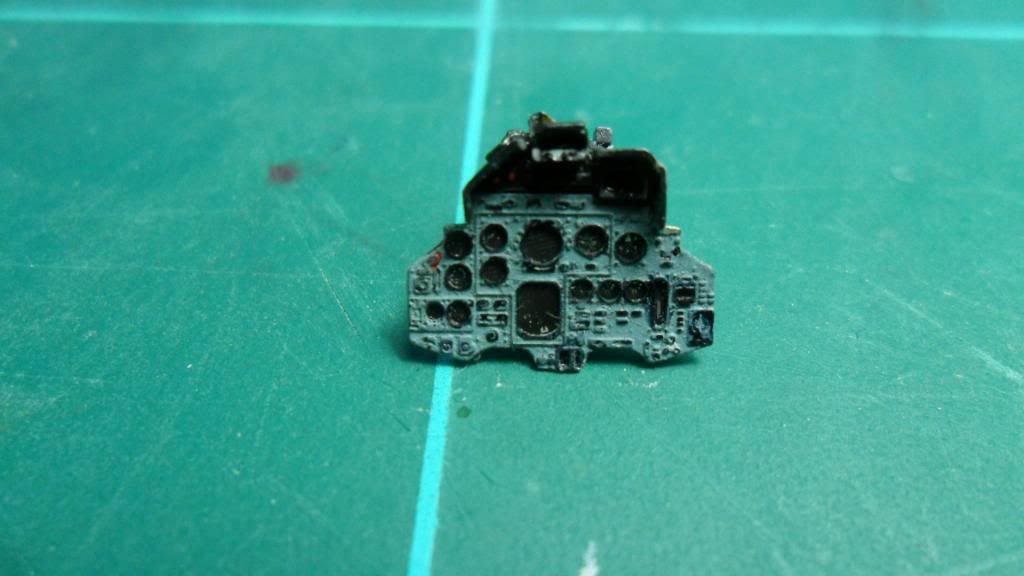
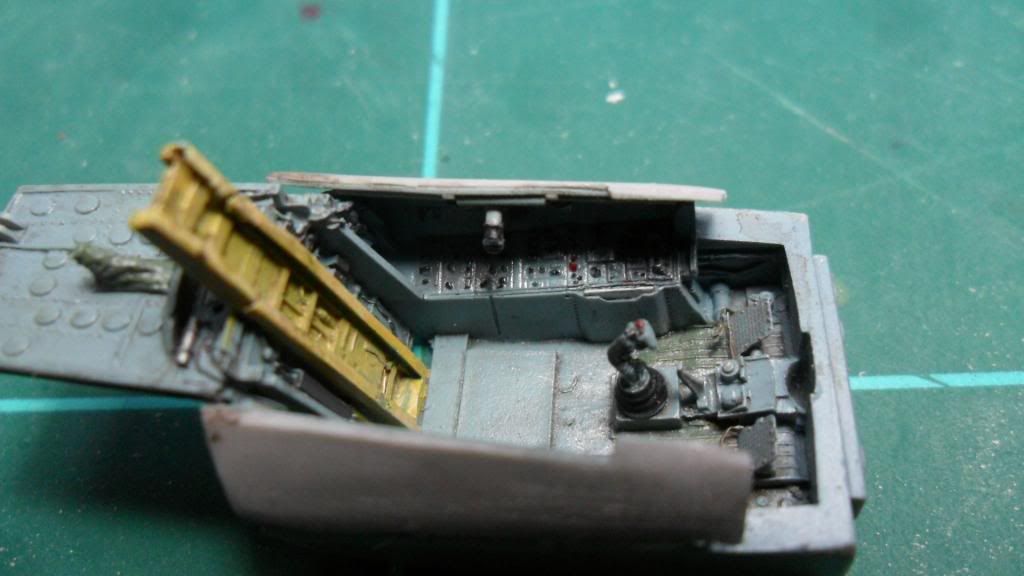
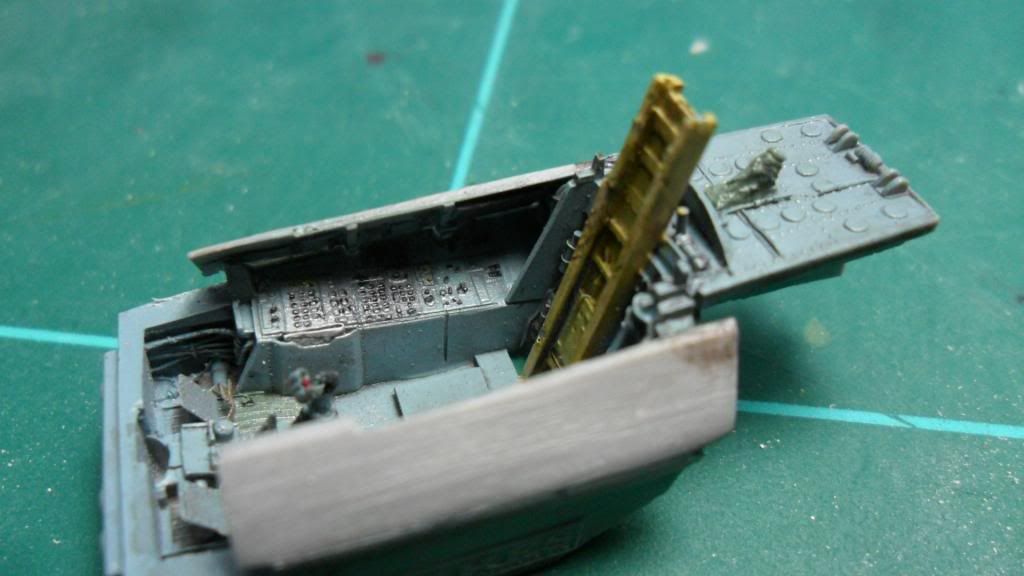
Fitting it into the fuselage went without major issue, just a matter of light trimming and cutting:
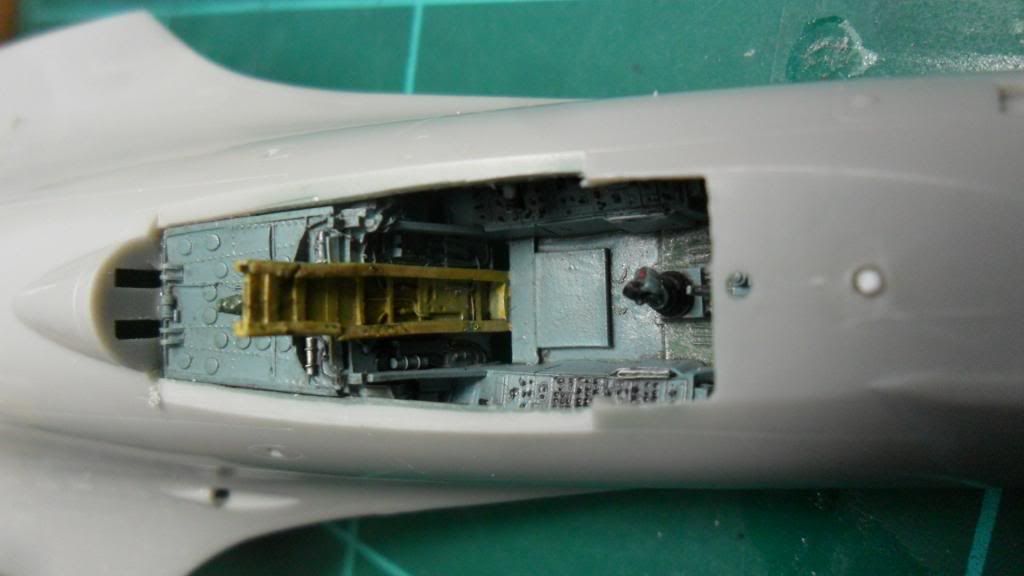
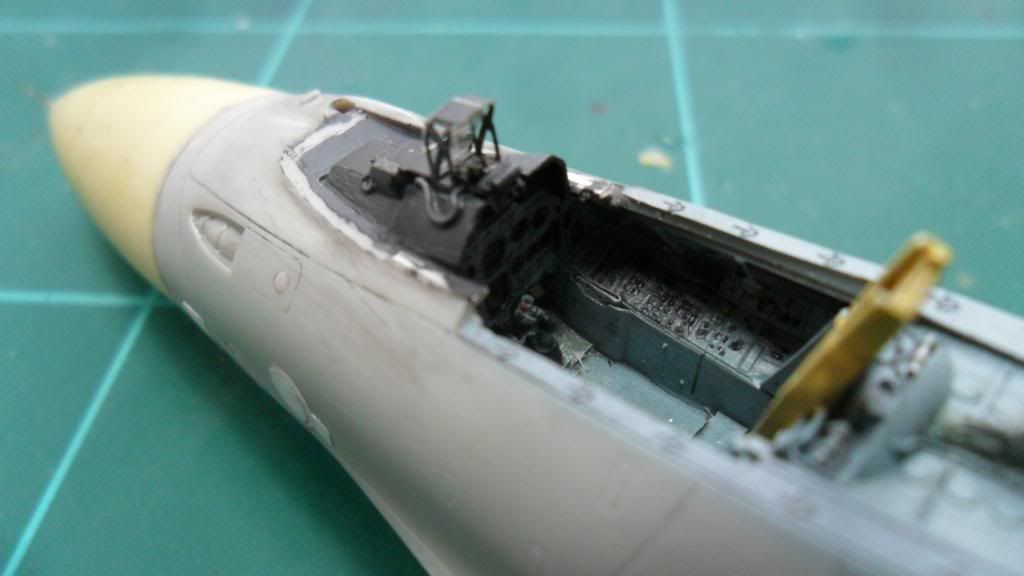
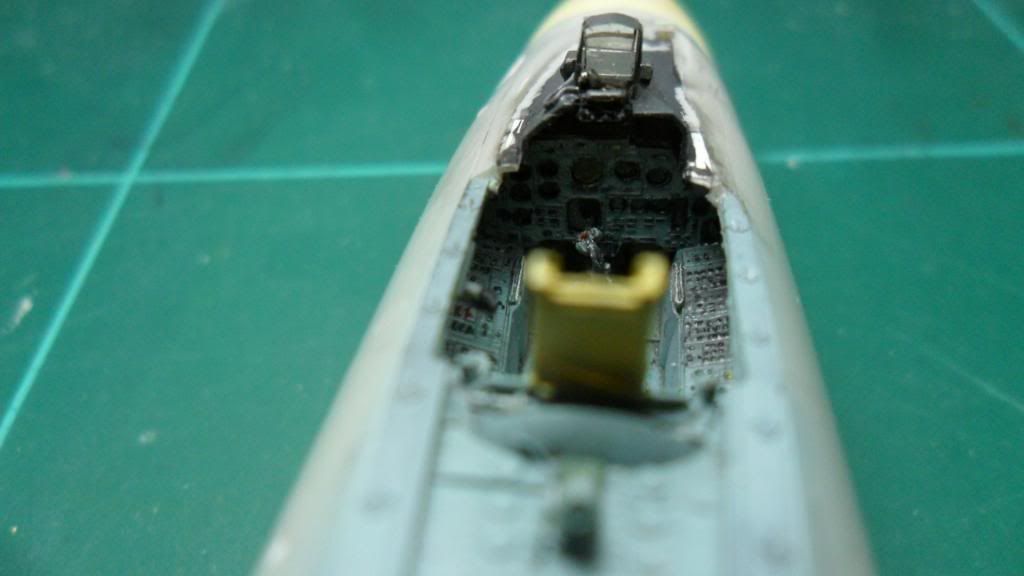
And finally i was able to close the two halves of the fuselage. I added the resin nose cone and some detail from sheet styrene as can be seen on the following pic:
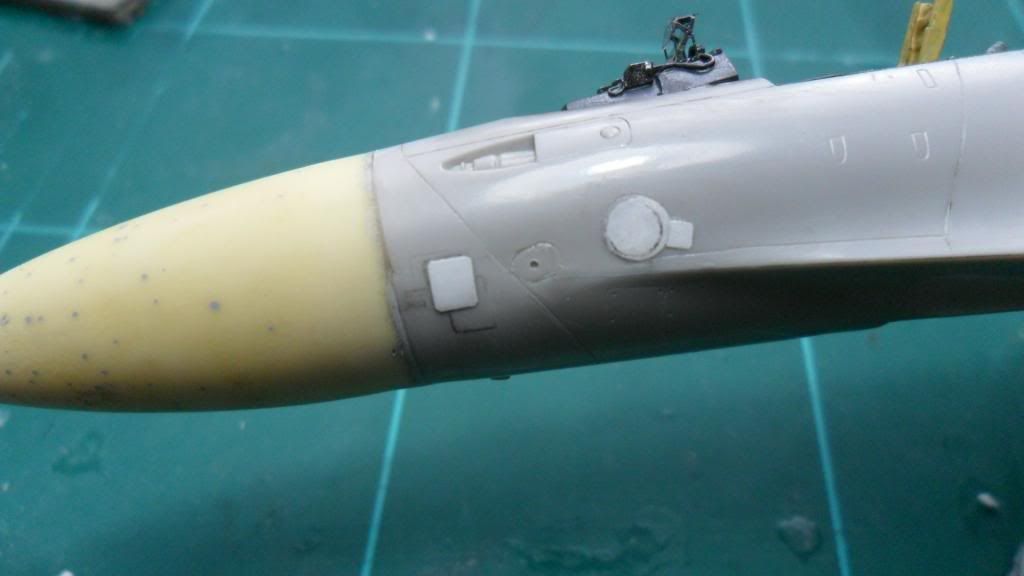
That,s all by today. I will be updating the project tomorrow if I am able. Meanwhile, would like to hear your opinions.
Thanks in advance.
Juan
-
Hi again! Sorry for all this time without updates. Many thanks Janne and TaiidanTomcat for your kind words about the undercarriage legs.
I have been busy with the job and other projects and have not been able to pay good attention to the forums… Anyway, on all this months I have been able to go ahead with the project and would like to show the current state of it.
So, here we go. Here is how the undercarriage legs turned, once painted and washed:
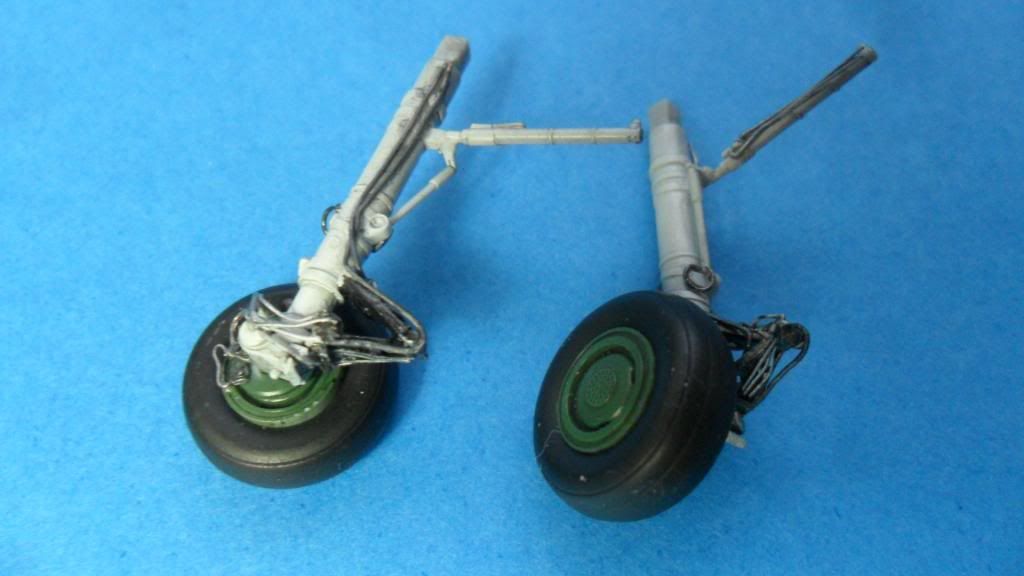
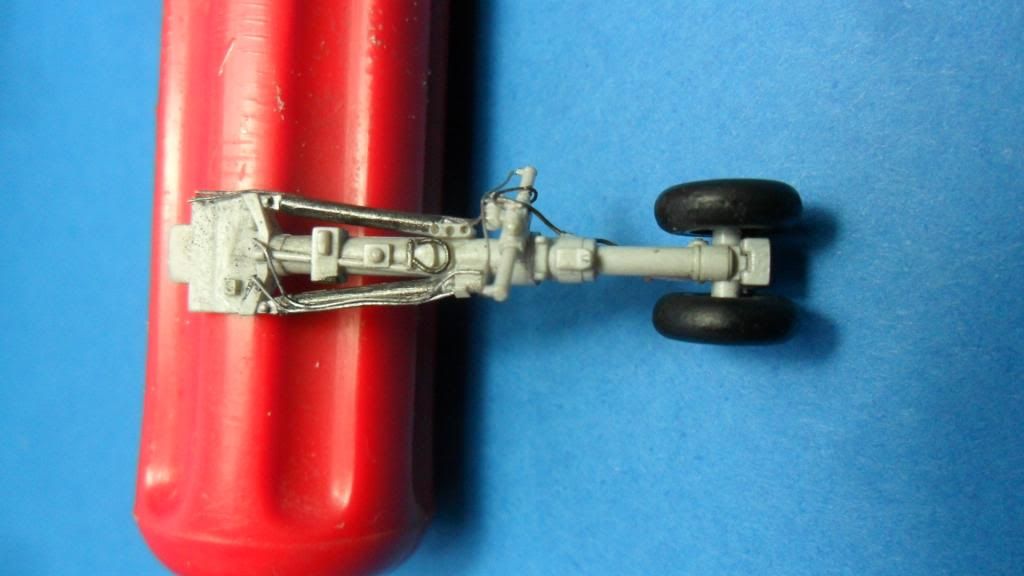
Next step was to attach the resin wing roots from Wolpack-D to the fuselage:
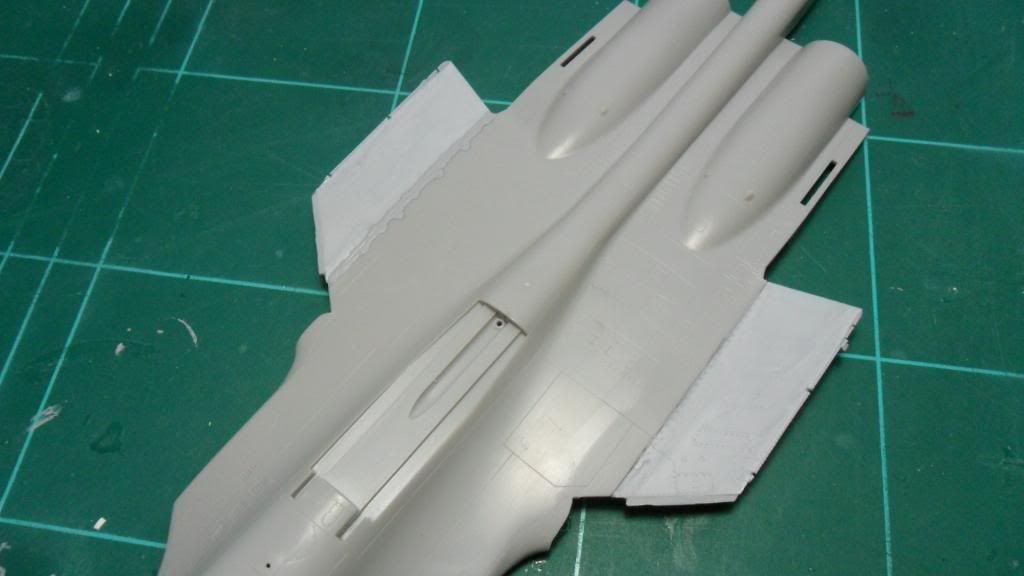
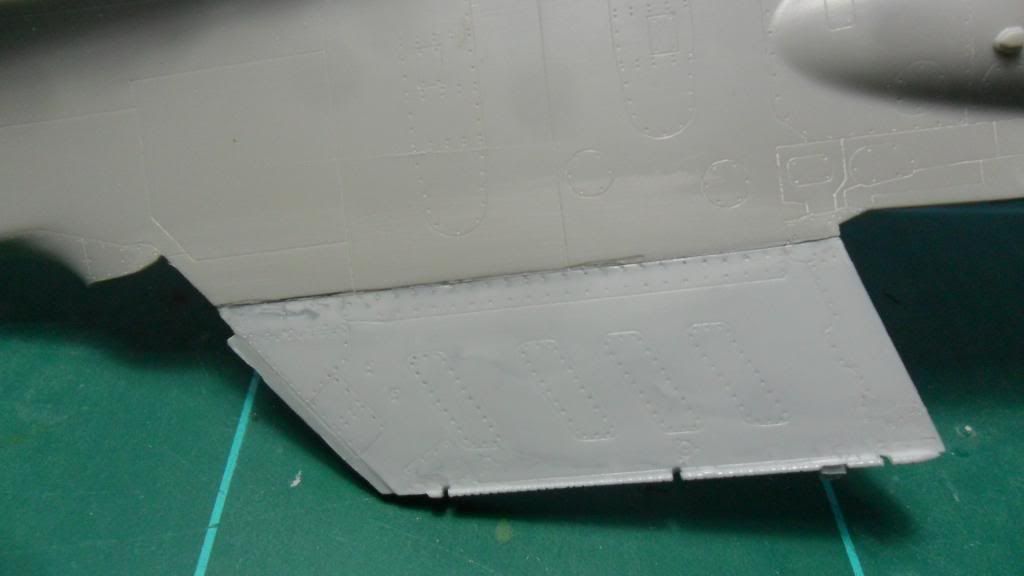
As can be seen, despite my efforts the join needed some attention with Mr Surfacer, sanding and rescribing.
Painted the detailed resin front landing gear bay,
And installed it in place:
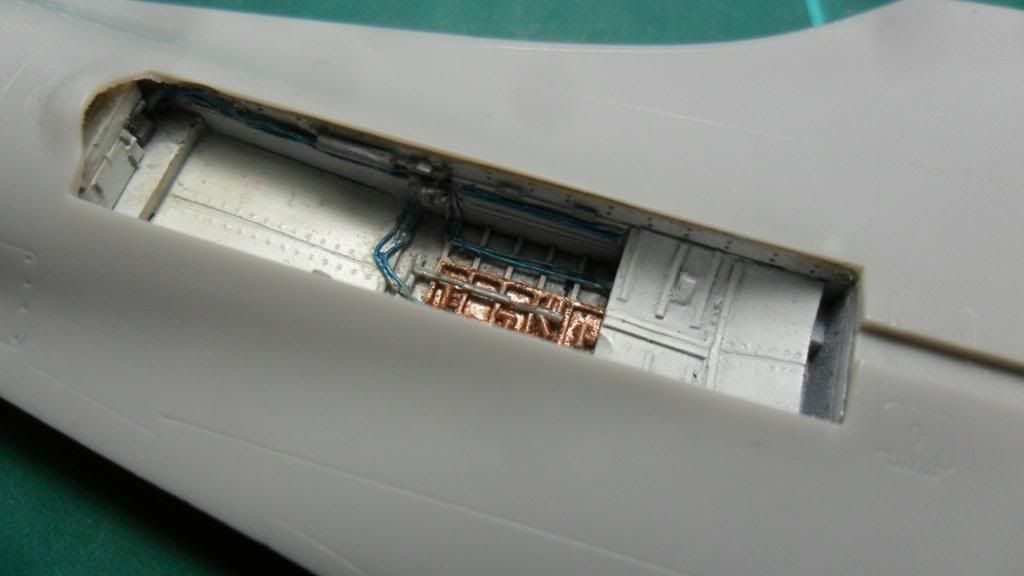
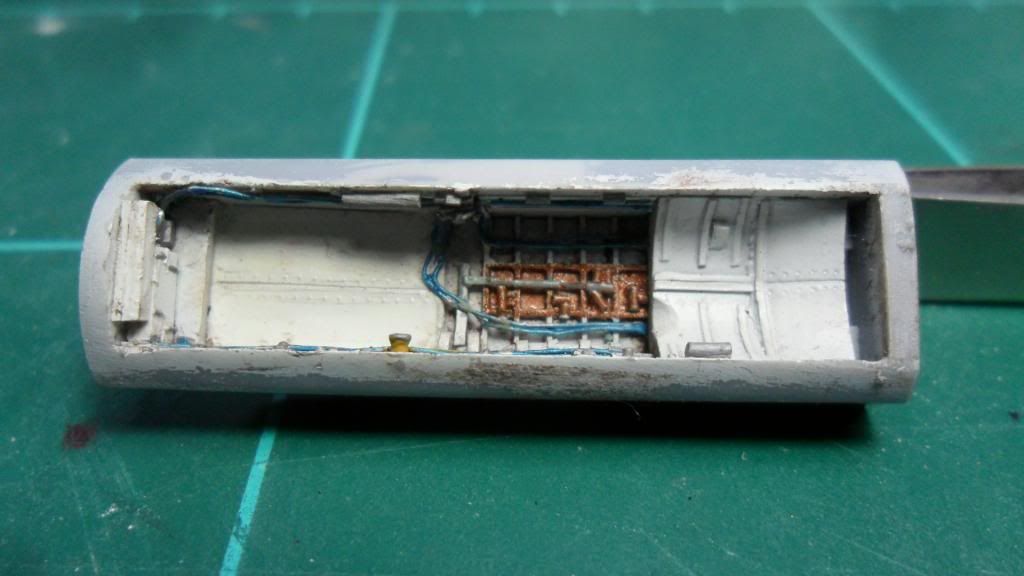
Next came the painting of the main landing gear bays, wich presented lot of details:
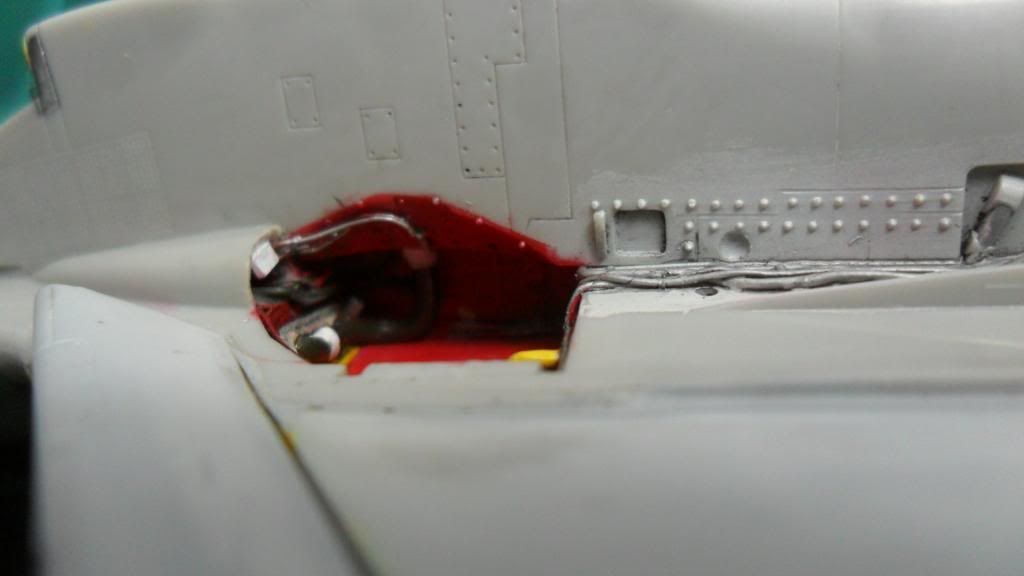
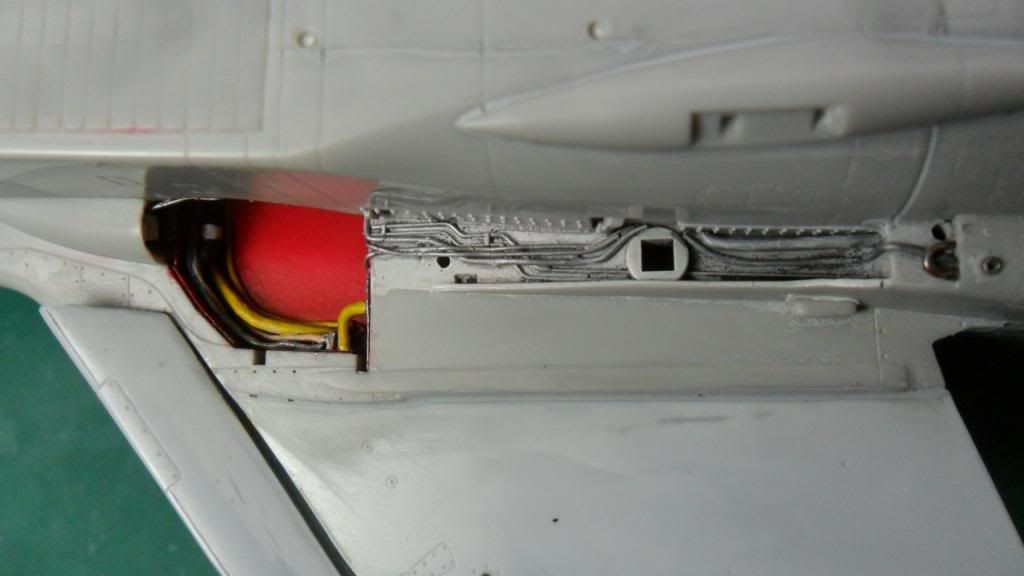
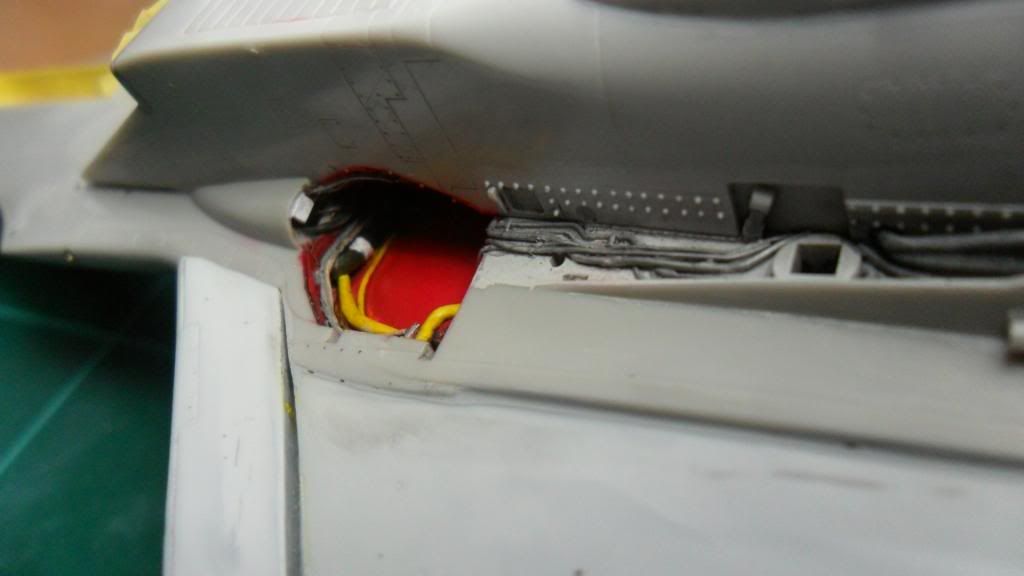
More to follow...
-
Hi Janne! Nice pair of deltas... Beatifully executed camos...
Go ahead!
Juan
-
Not mine, but I would like to bid for it:
1/1 scale Tupolev Tu-95MS. See the link:
RGDS
Juan
-
Hi Arne! Congrats for that great result! You have nailed that kit and the colour scheme is gorgeous. I have a question for you, as I,m currently building the same kit with the same AM goodies and am almost at the point of starting with the paint: wich colours range and references did you used for your painting? As said the result is stunning.
Thanks in advance for your help and congratulations again.
Juan
-
Nice cockpit and riveting! I will be watching as I will be building a similar bird(Su-27UB)on near future hopefully...
rgds
Juan
-
And the same could be said about the resin part wich represents the front bay. it is only a vague depiction of the real thing. So I removed a part of the casted detail and replaced it by a plain piece of plasticard, acording to my references. Then I added some wiring and few elements to the walls of the resin...
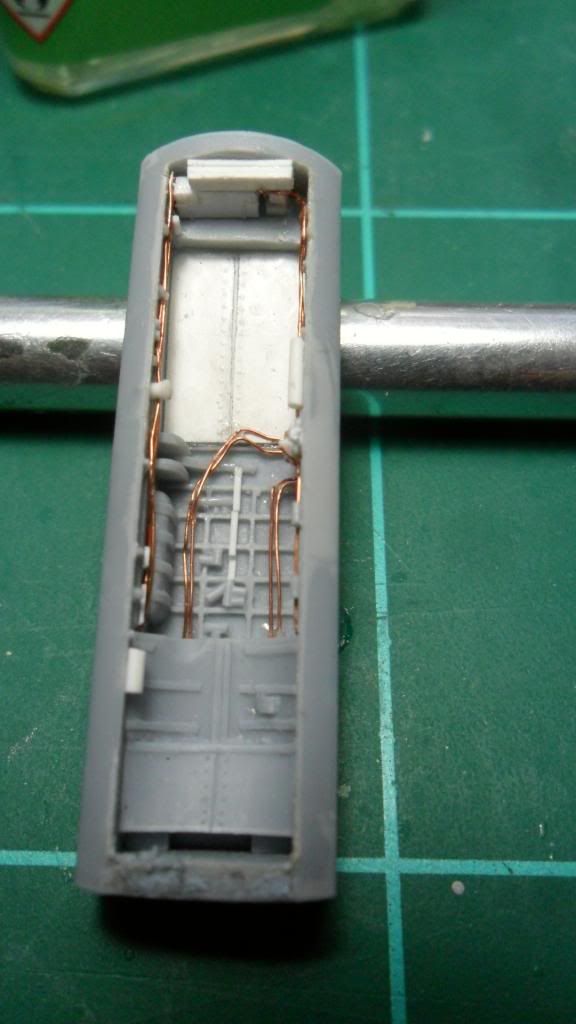
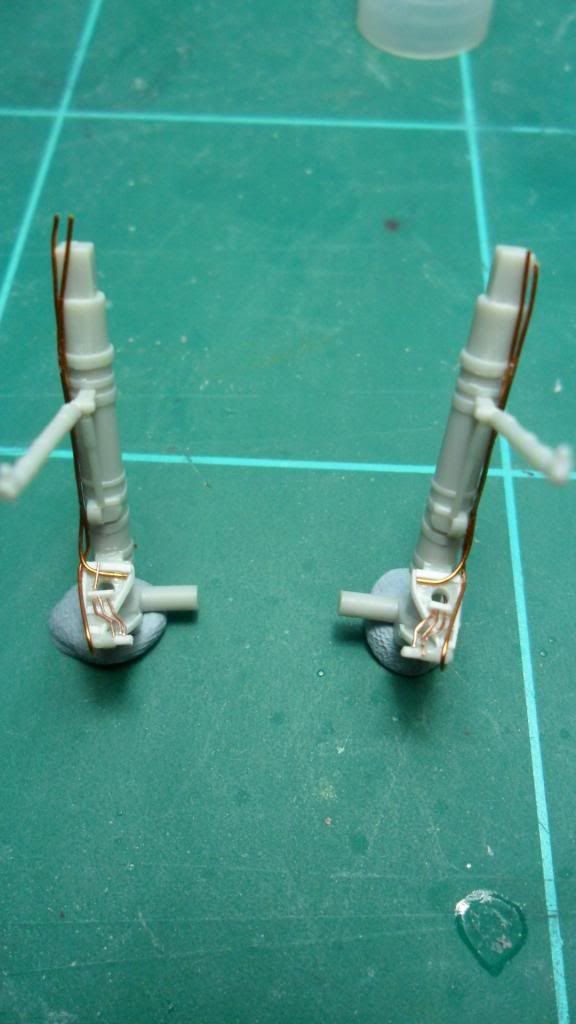
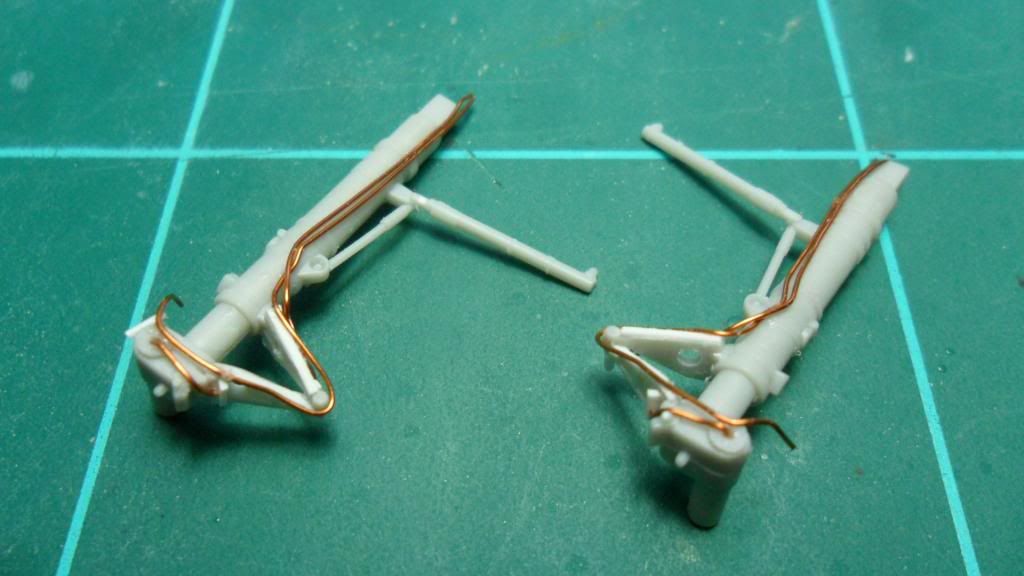
Also, I added some wiring to the landing gear legs:
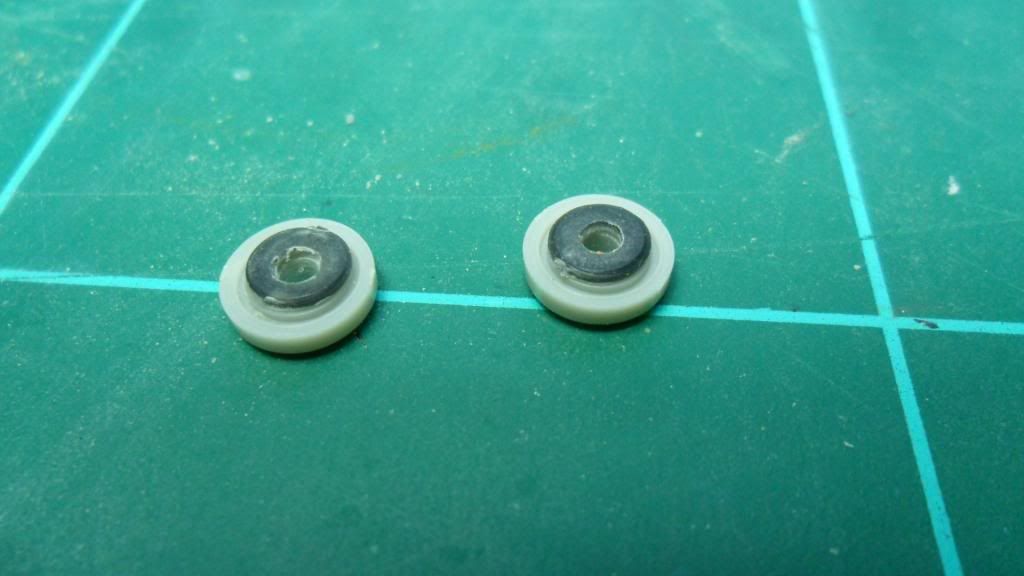
Here we have the inner wheel hub of the kit to wich I attached a thin disc from scratch to improve the appearance:
Then I painted those hubs and attached them to the corresponding legs, and added some more detail from pieces of styrene.
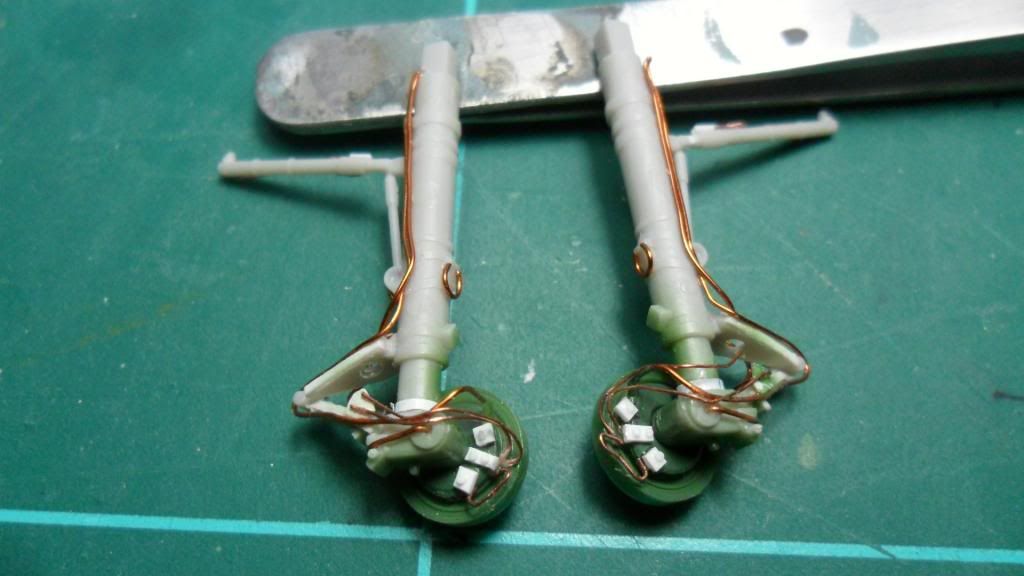
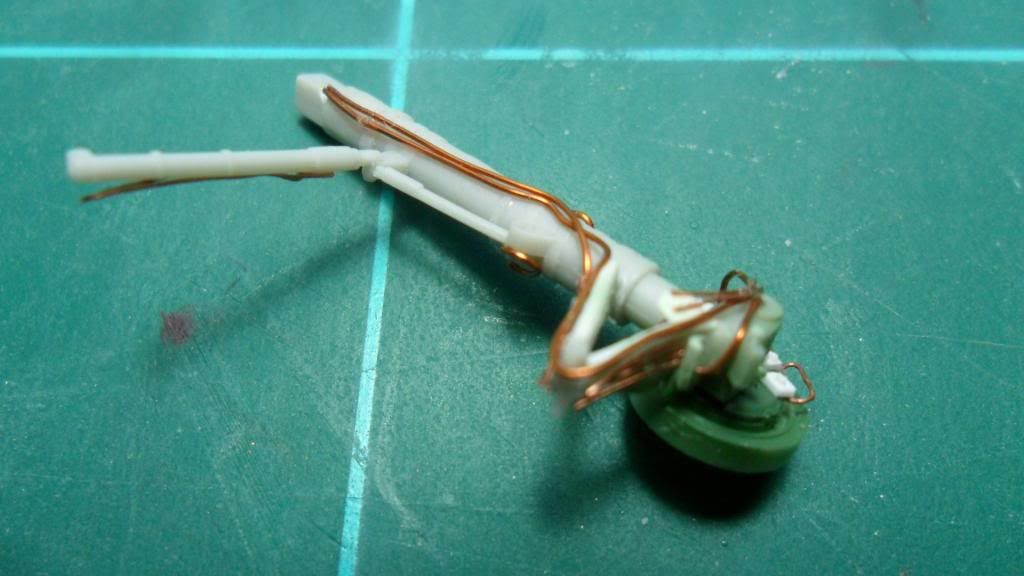
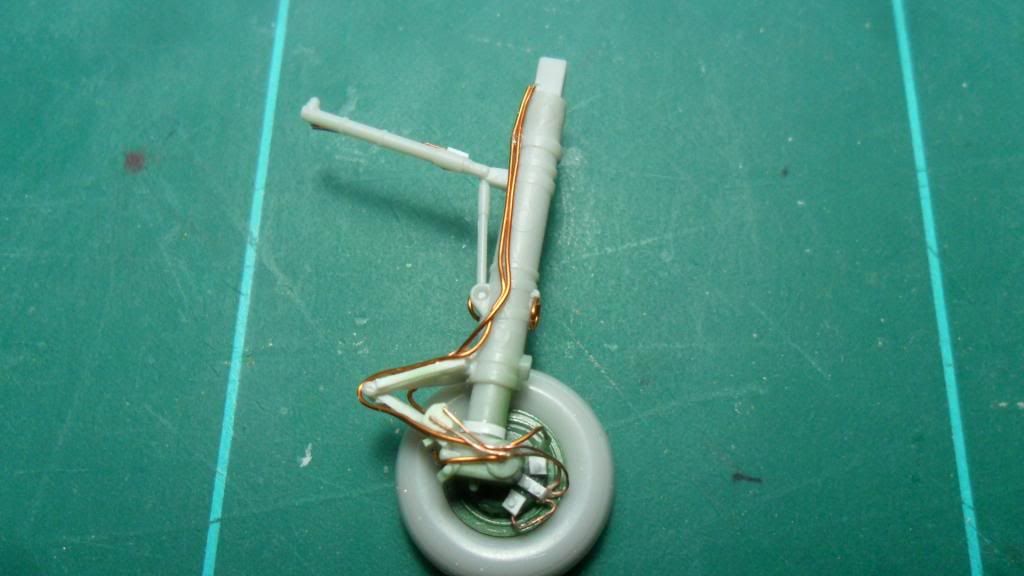
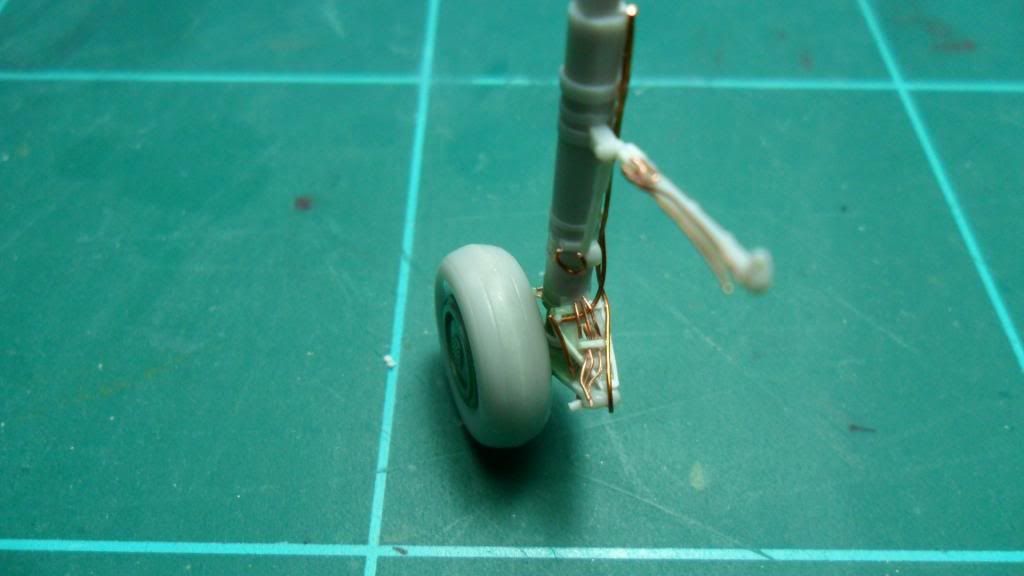
That,s all for now. As always would like to hear your oppinions.
Rgds.
Juan
-
Hi again! Time for a new update.
With the intake trunks finished I wasable to attach them on the lower fuselage and took care of the little seam with abit of filler and sanding...Also I glued in place those fairings that are part of the main landing gear.
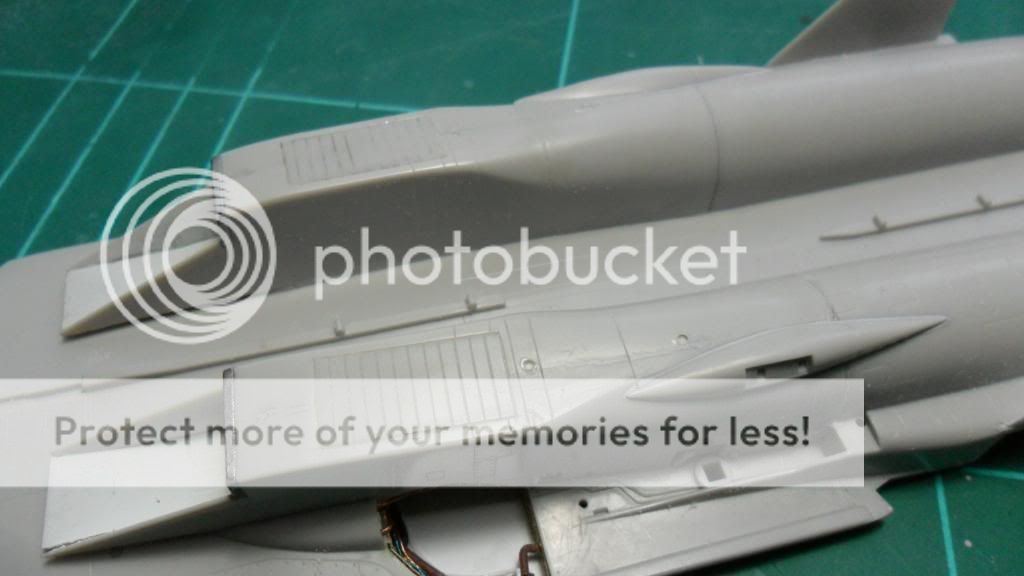
As you can see on this previous pic I ahve been adding some detail to the inner of the wheel bays. If i said that the Dream model Pe set is a waste of time this same could be said about the Wolfpack-d resin/PE landing gear set pitifully. It only provides some basic detail for the side wallsofthe main bays, but the detail on the ceiling is totally wrong, when compered against few pics of the real bays that I have been able to find on the web. So the upper part of the PE set was removed on replaced by a plain piece of thin plasticard cutted to shape. Then I added as much detail as I was able to make those wells look busy like on the real thing. I have used several section of electric wire and styrene rod. Here you have few photos of the bays finished. Of course a lot more could be done, but I thought this would be more than enough for this scale.
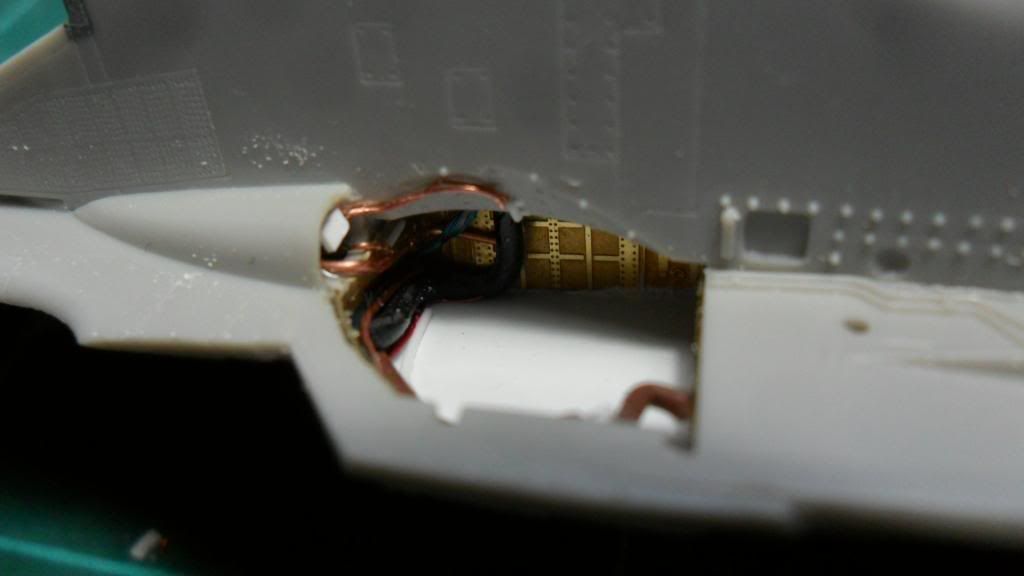
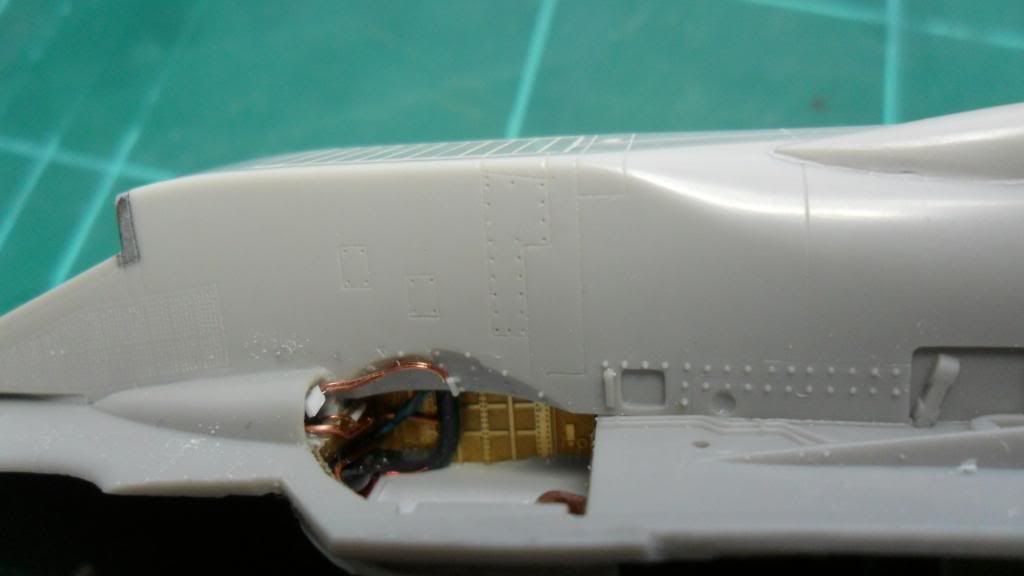
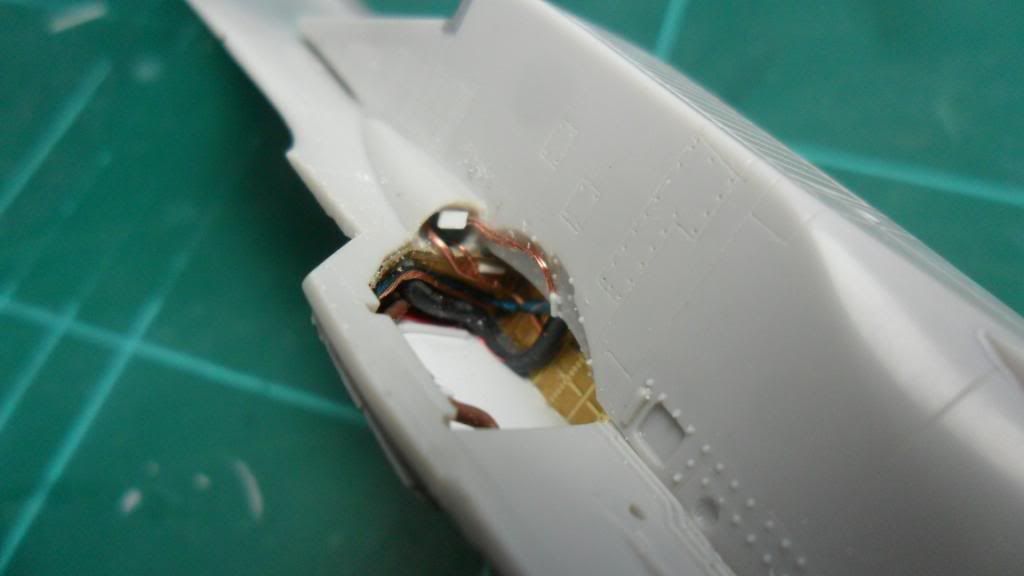
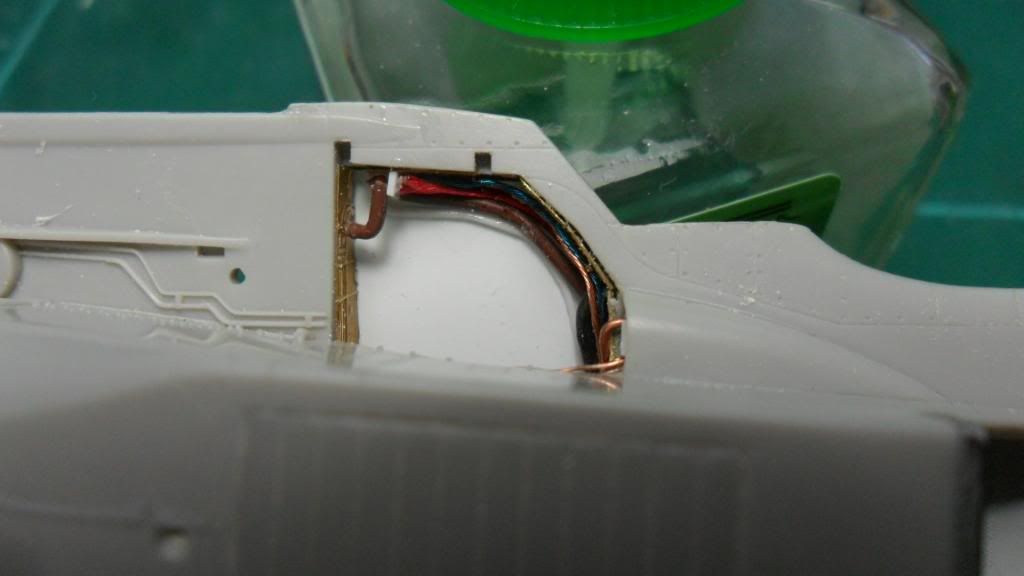
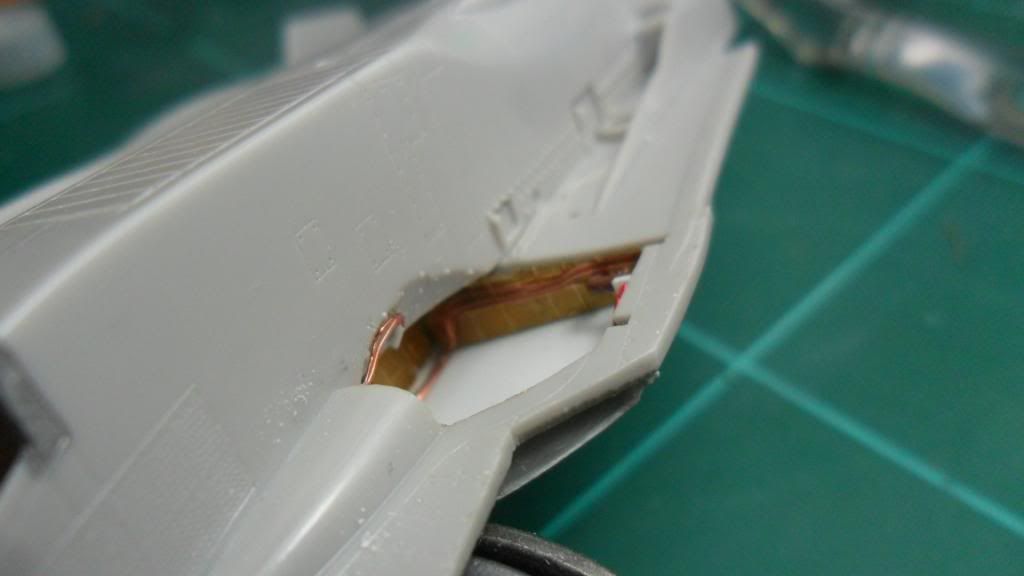
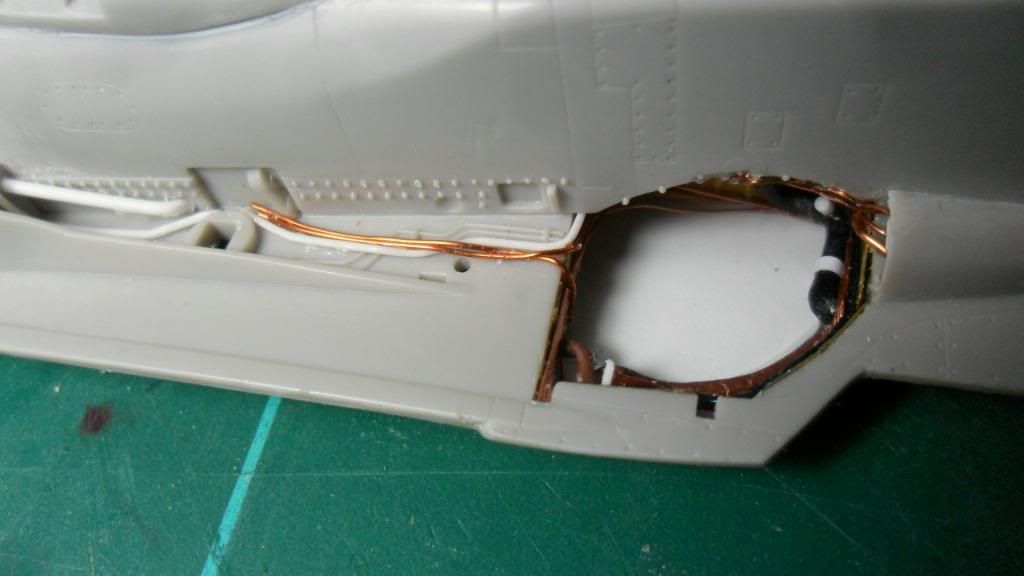
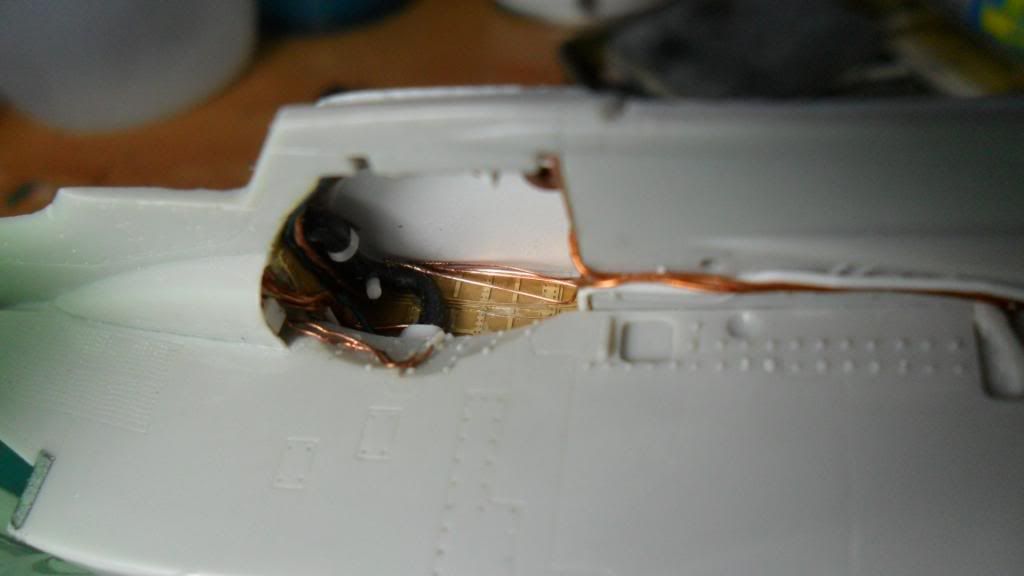
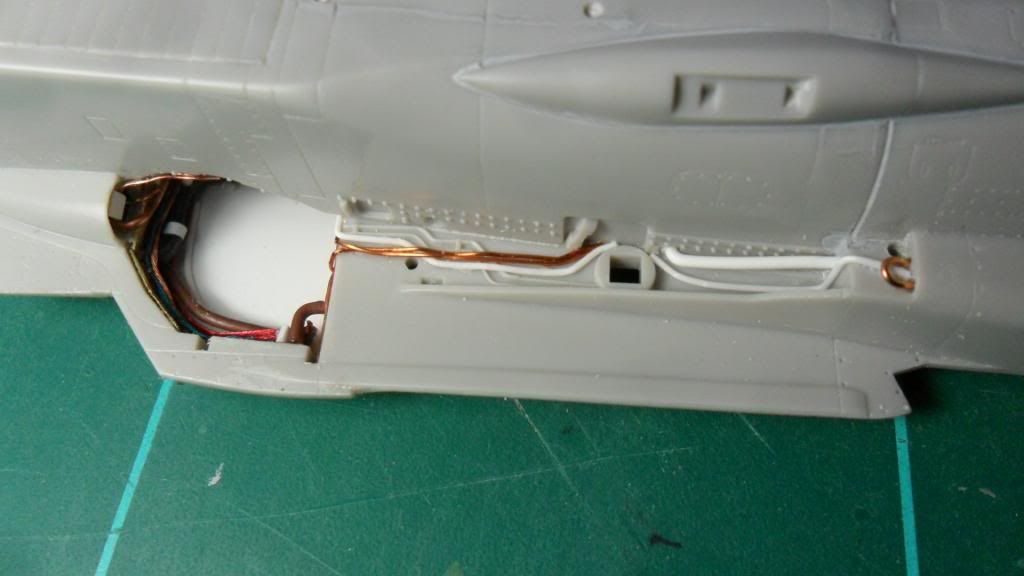
More to follow...
-
Nice project Janne, as always
Juan
-
I have those EA-6B decals if you are still interested.
Let me know.
Rgds
Juan
-
Hi there!
As said I,m looking for some decals from the Begemot decals sheet #72027 for the su-27. Specifically I,m needing the decal numbers 07,09,18 and 20 to build a blue 68 a/c. If anybody could spare with that decals it would be great. Can swap or pay for them. I,m in Spain.
Thanks in advance.
Juan
-
Many thanks, Janne! Are you building something these days?
Juan
-
Hi again! As promissed here I am with some pictures.
Here is the K36 ejection set from the Aires cockpit, still unpainted. It is a real gem, consisting on few resin parts and lot of photo etched to represent the harnesses. Counting of all of the parts sums around 20 in all... ataching all of the PE is somewhat complex but the result worths the effort.
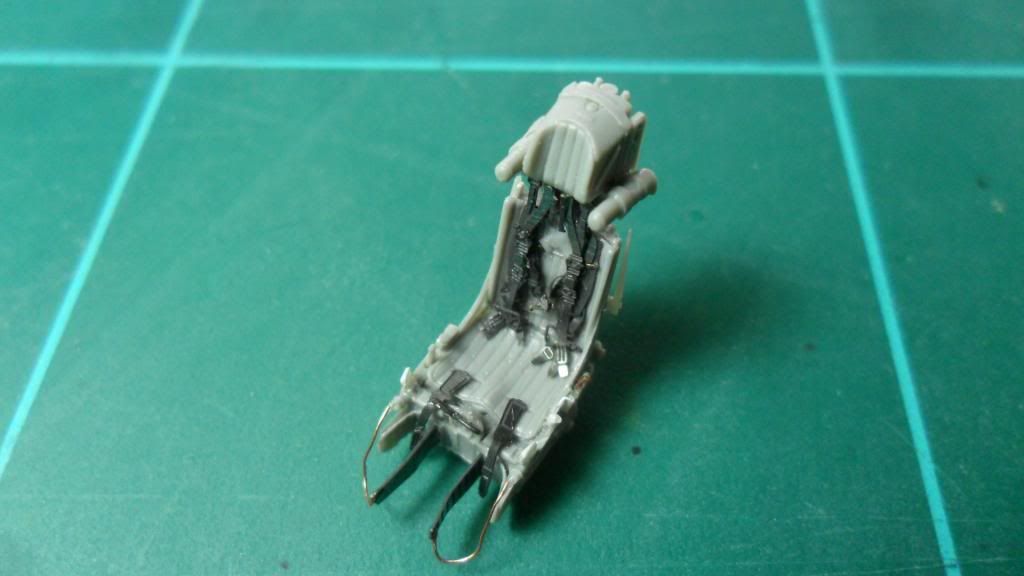
Here, the Aires cockpit with the basic bluish colour applied.
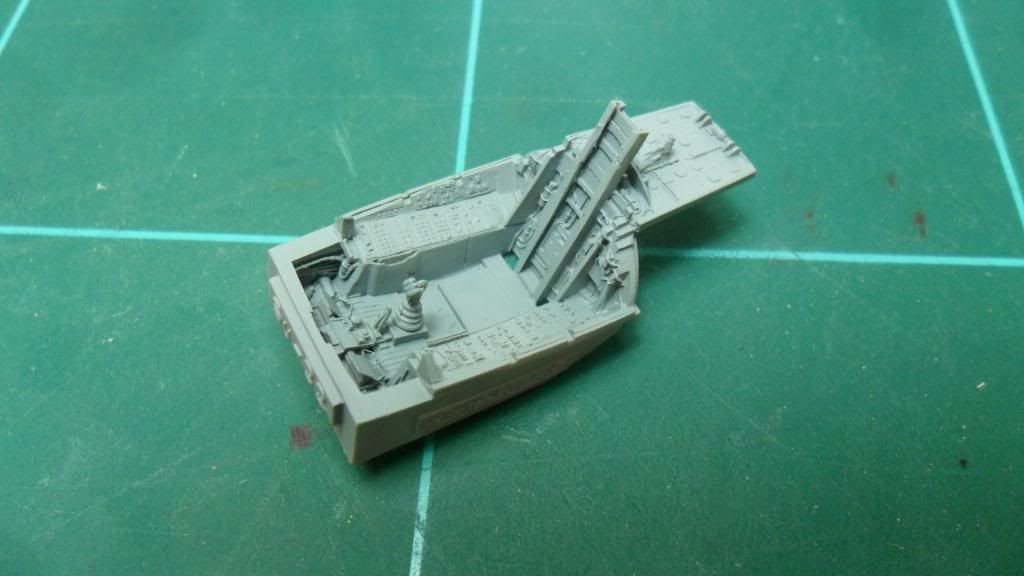
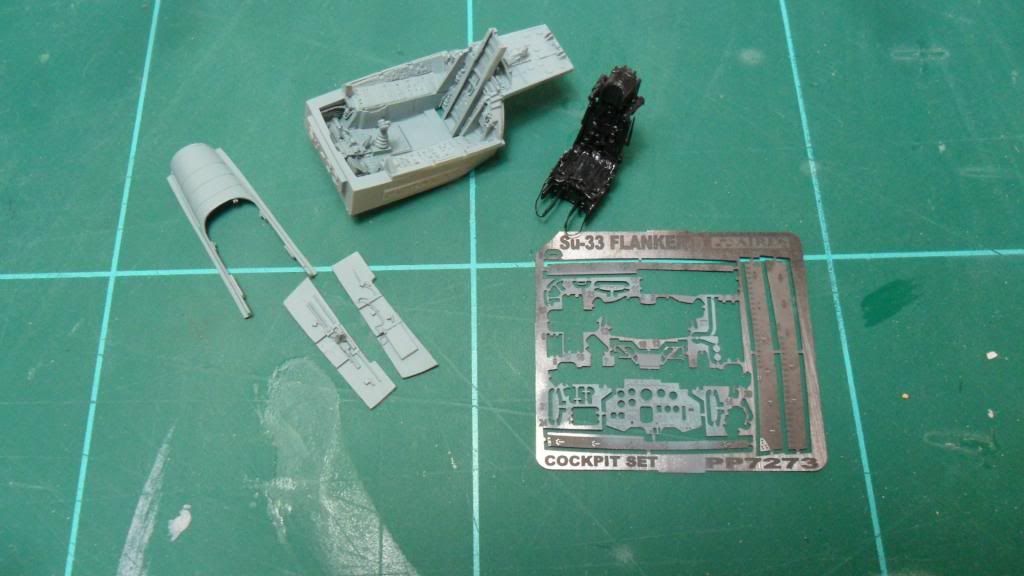
And here the complete cockpit set with all the parts painted on its basic colours:
Then I focused my attention on the air intakes. I painted the trunks and the upper ramps on flat white and the engine faces on matt aluminium:
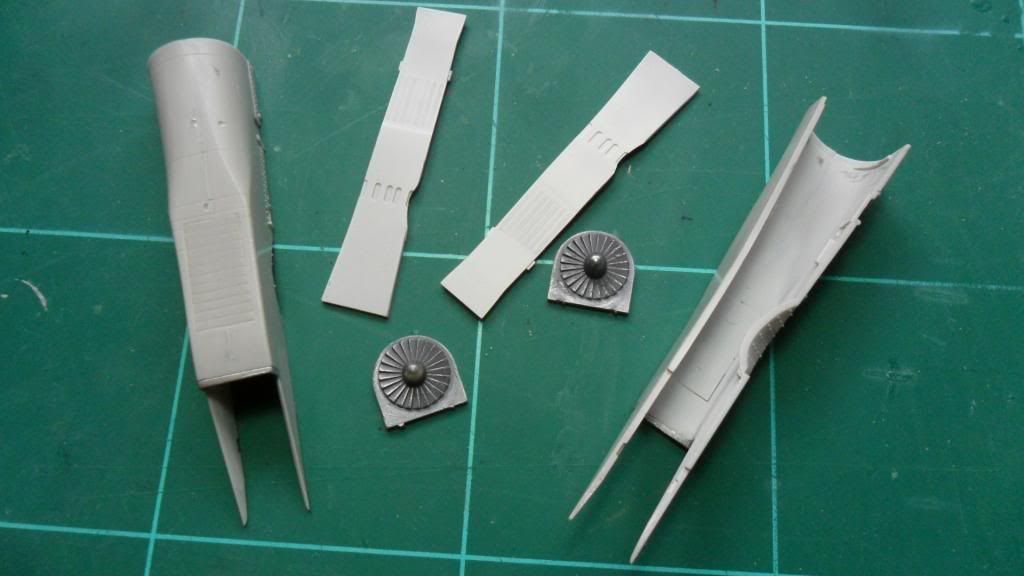
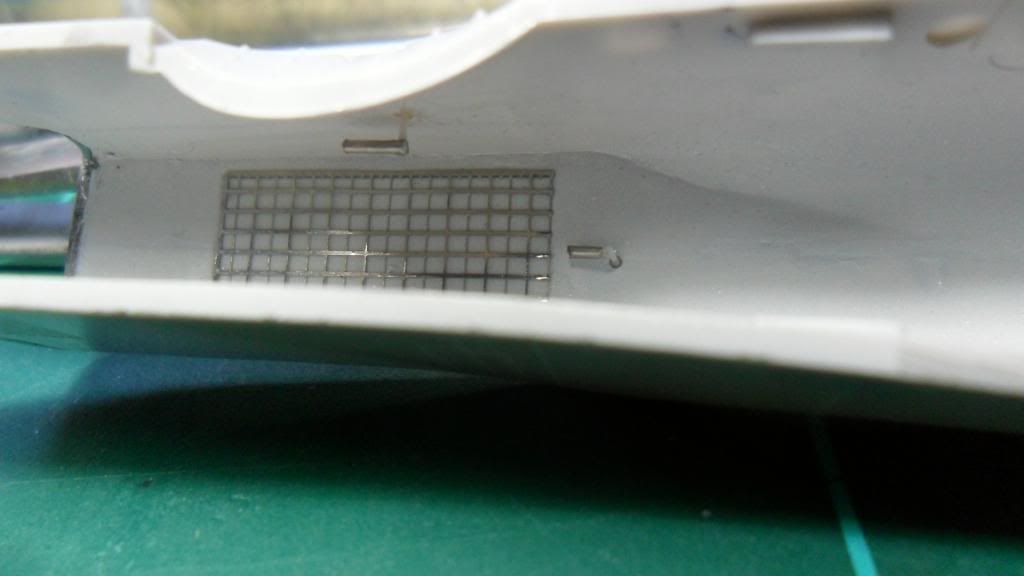
Here is the intake with the engine face attached on place. I also added that PE grille from an old discarded Hasegawa Su-27 to enhance the appeareance...
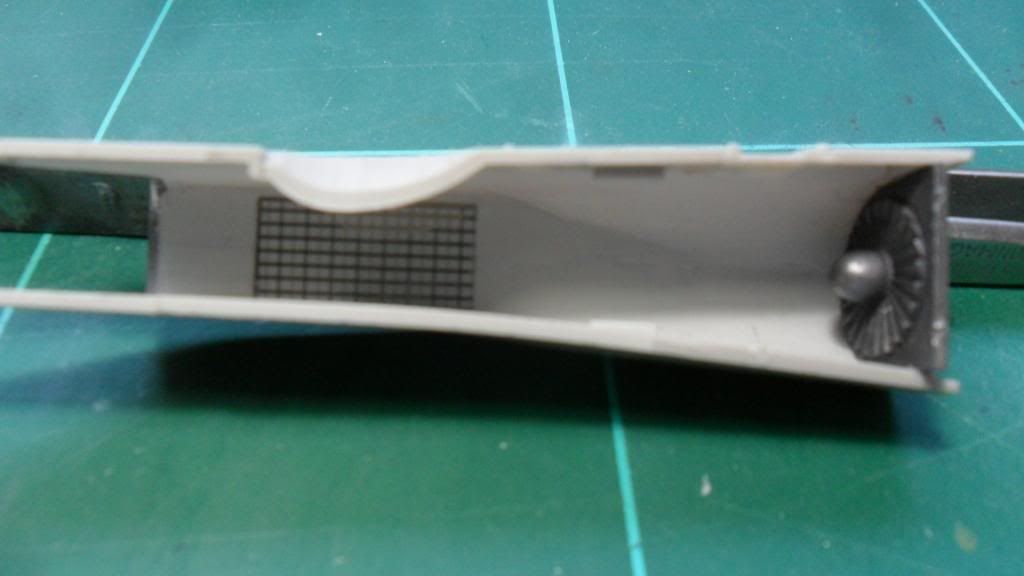
...and scratched a couple of probes from tube and styrene rod.
This is all by now. I am finishing the detailing of the wheel bays and legs at this moment, but still have to take the pictures.
Hope you like the update. As always, suggentions and criticism are welcome.
RGDS.
Juan
-
Hi Gene! Your excelent review make me buy to sets of this items, as I have been long time waiting for this improvement for my Phantoms. BTW, they only took a week to arrive to Spain from Russia. An excelent service, congrats to the makers.
Have a pointing/question: instead of trimming the splitter plates to correct the excesive lenght , one can use the original kit parts or not?
On the other hand, have you tryied this sets on the Fujimi kits? Could be interesting too...
Greetings from Spain.
Juan
-
Hi again! Long time since my last update. Many thanks Laz, Rodney and Ricardo for your interest. Sorry for this, but I moved home at the beginig of september, with all that this implies, so I have not been able to devote to modeling everything as I would like...
Fortunatelly I have resumed this project and hope to be able to show some progress this same week. Stay tunned!
Hello Juan,
just do it in your own pace.
As far as the Dream model set is concerned does that worth to purchase?
For me there are some strange details like the canopy frame with the mirrors (nr 6), I have doubts how can it be used...
The other things are the pitots (nr. 7 and 12), for me the original parts are much more realistic.
I suppose that you will not use everything or you will just upgrade them. :thumbsup:/>/>/>/>
Keep up the good work.
Regards,Laz
Laz, well, in fact this reference didn,t worth to purchase. IMHO the cockpit of the kit is sufficiently well represented itself if you are going out of the box, being only improved by the Aires set, but not by the PE of Dream Model... As to all the other parts I will not be using them. As you say, the original parts are much more realistic with little home made improvements, so this set is a waste of time and money if you are using the Aires pit..(again IMHO)
See you soon...
RGDS
Juan
-
Hi again! Many thanks everybody for your interest.
On 8/28/2013 at 9:29 PM, Tripio said:Hello Juan,
another insane build. :thumbsup:/>/>/>/>/>/>/>/>
Nice progress so far.
Waiting the updates with much interest.
Regards,Laz
Laz, really my first intention was not to get involved in too many scratch, but I can not resist and slowly I'm doing it and maybe this will become in another "insane build", as you say...
Well, here you will find some more advances on the project. Here is the front landing leg, on wich scissor links drilled that little hole.
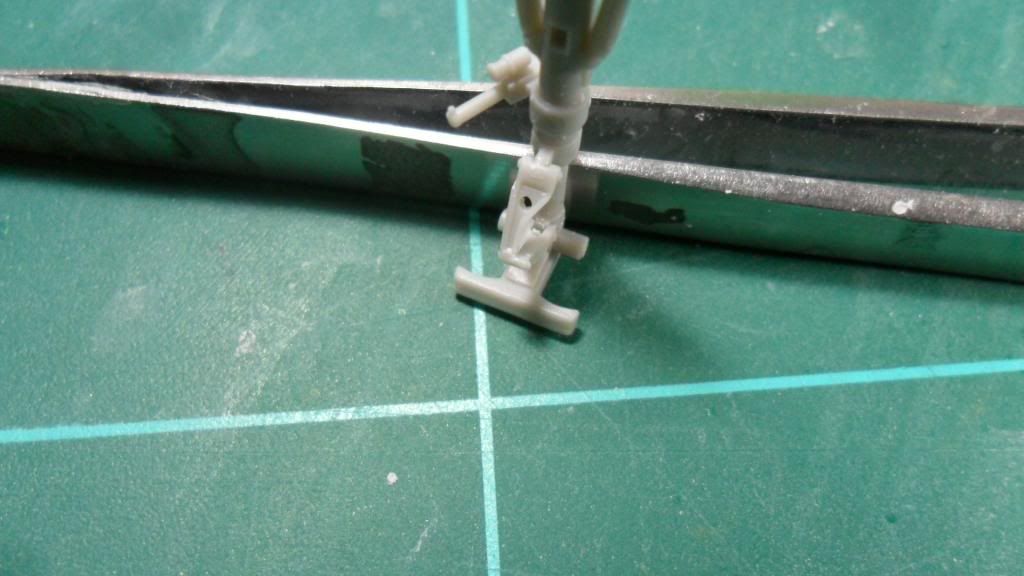
On the lower end of the leg you can see that distinctive little mud guard molded in plastic. I tought that I could improve the appearence of this detail, so I removed it and replaced the plastic for four little plates of photoetched made from the little hatches that are included on the DreamModel fret and that I will not be using:
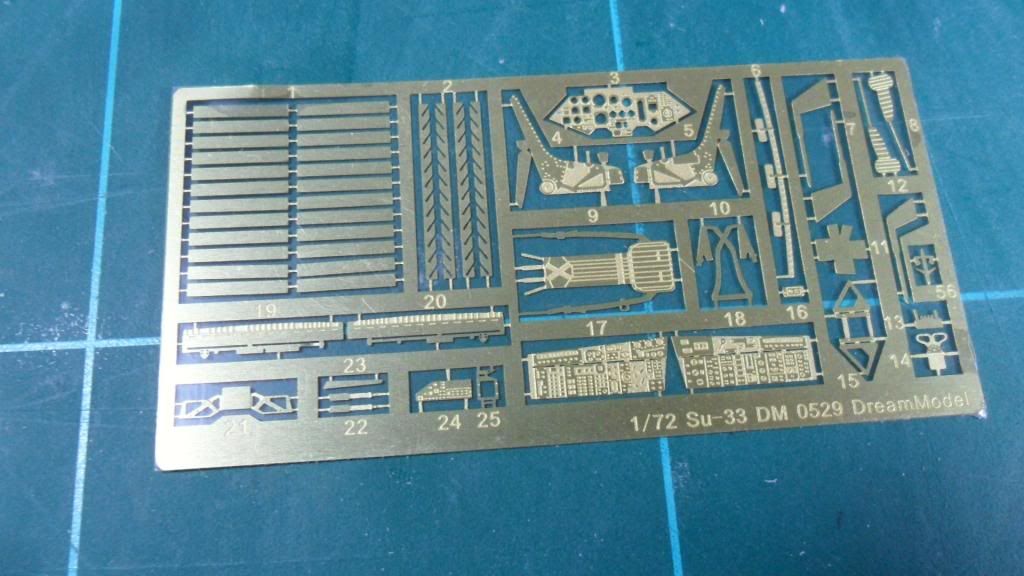
Here is the result after glueing the said four plates with thin lengts of fine wire between each one.
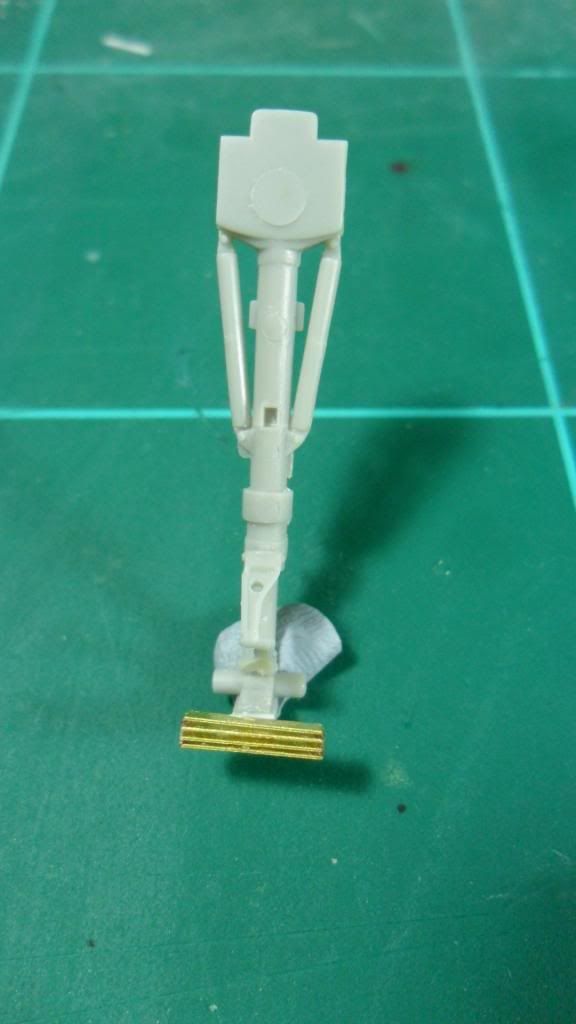
Looks far better to me...Next was to improve the main landing gear legs, so I thinned the scissor links of them. Here , at left is the thinned one, against the original
part:
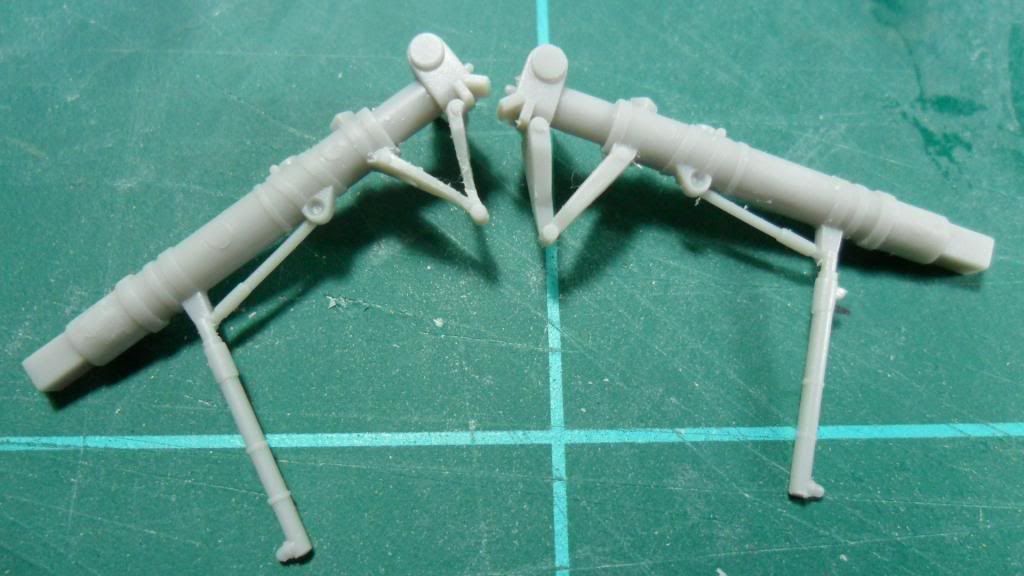
Drilled those little holes, too and with thiny pieces of Evergreen added some detail to try to simulate the detail of the real part:
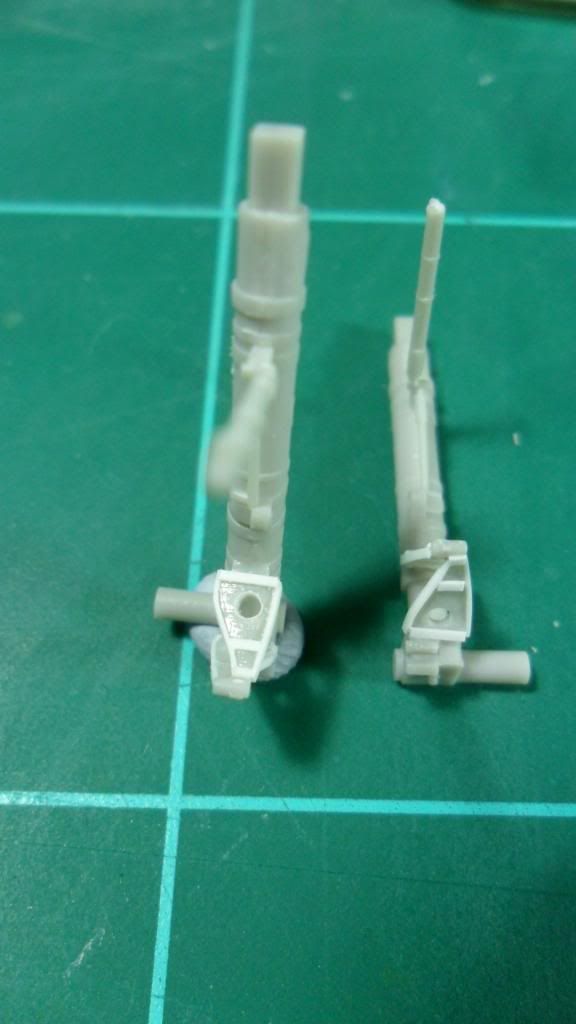
I will be adding some wire and so to the three legs to simulate all the plumbery later...
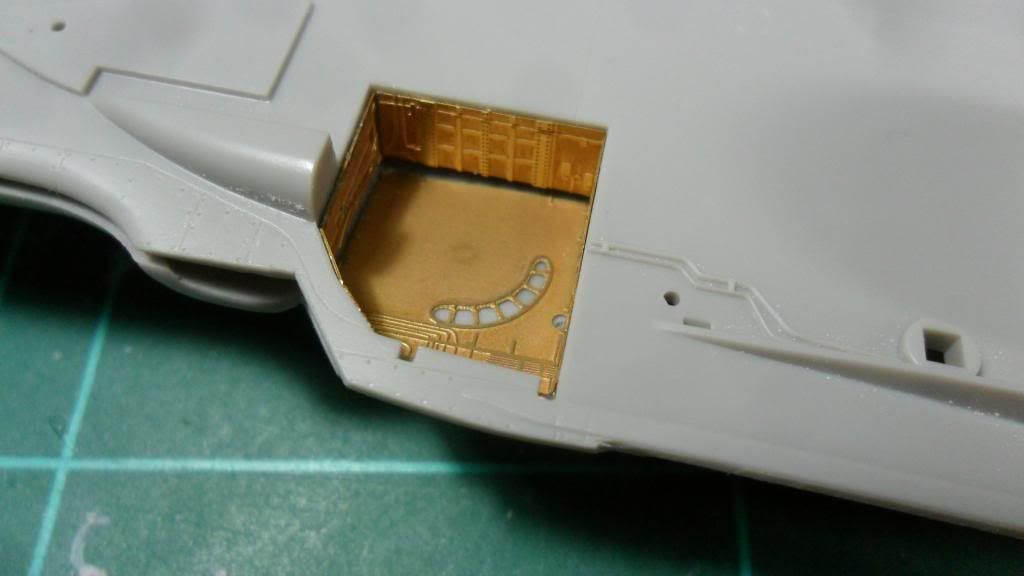
Next step was to attach the photoetced parts provided on the Wolfpack-d wheel bays set to improve the main bays.
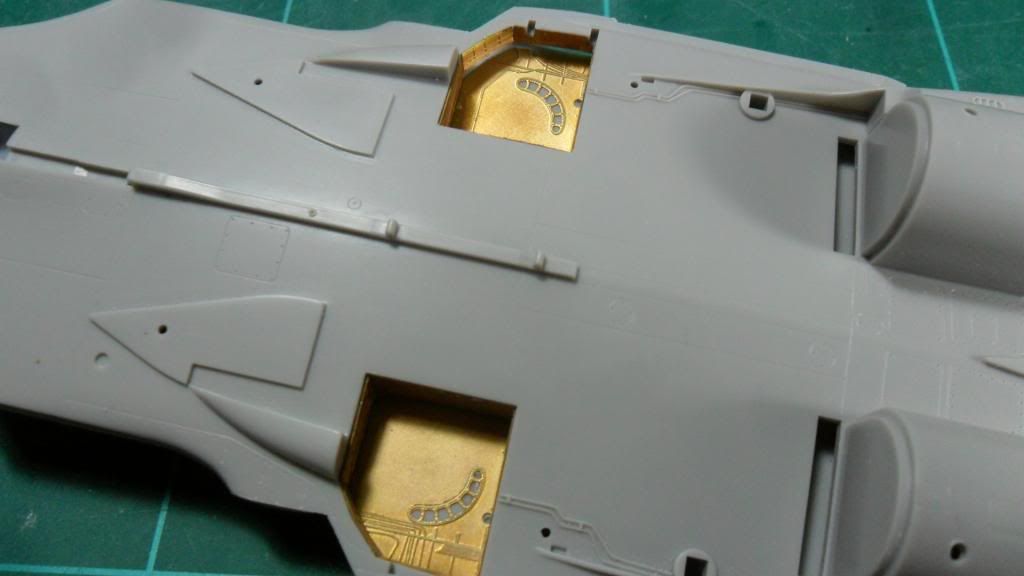
Thought this is a good improvement I will be adding some plumbery to this bays too, as the effect as provided is quite plain...
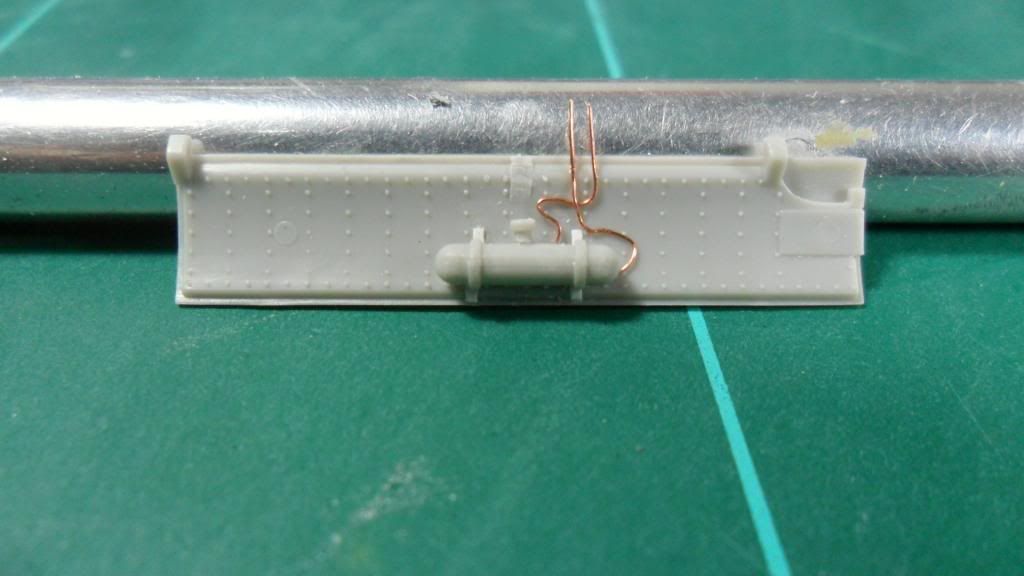
This is the front gear door, on wich I installed that cilindrical tank on wich I attached the upper cap made from the discarded brace that comes with this door. I also detailded the door by its inner part with some wiring.
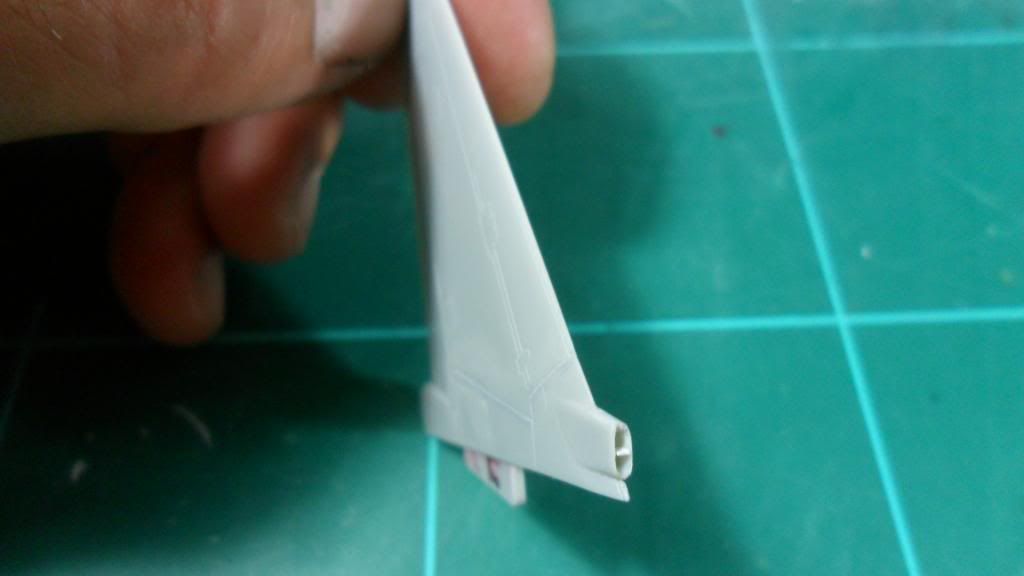
Some improvements on the fins. I drilled the intake on the base of them and added that separation that can be seen on the pic, but only on the left fin, as per the photos I have seen throught the web.
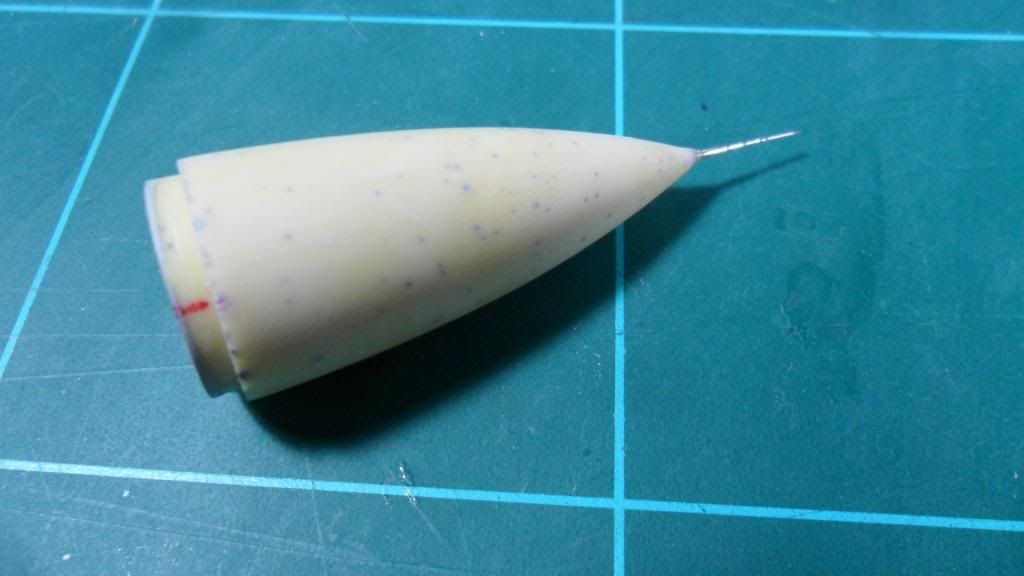
And finally, here is the resin nose cone with the truned metal pitot installed ready to be used when the time comes.
Little steps, I know, and nothing very awesome to show, but I will be doing that kind of things at this early stage and them I will start with the paint of the interior parts, like cockpit, wheel bays and so..
Hope you like this. And wait for your comments, criticisms and suggestions.
RGDS
Juan
-
Hi again! Thanks Nicholas, janman and Jesse for your interest. I try not to deceive your expectations and will take more step by step pics than in my previous build.
Here are some more pics for you. The first things that I did was make room on the plastic to insert the resin updates, so armed with my Dremel "wanna be" I went trought the rear of the original cockpit.
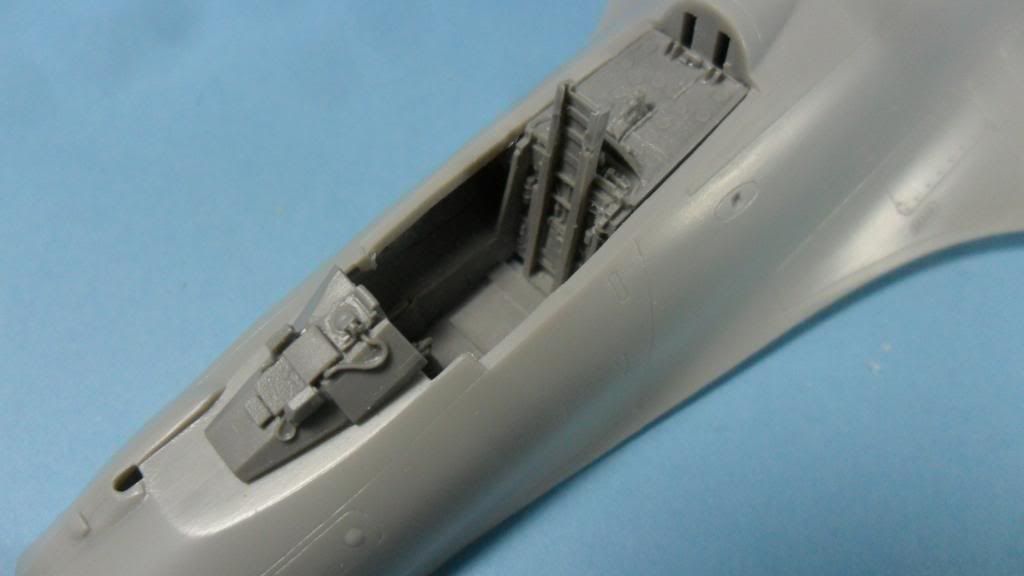
The Aires cockpit fits nicely without any further trimming.
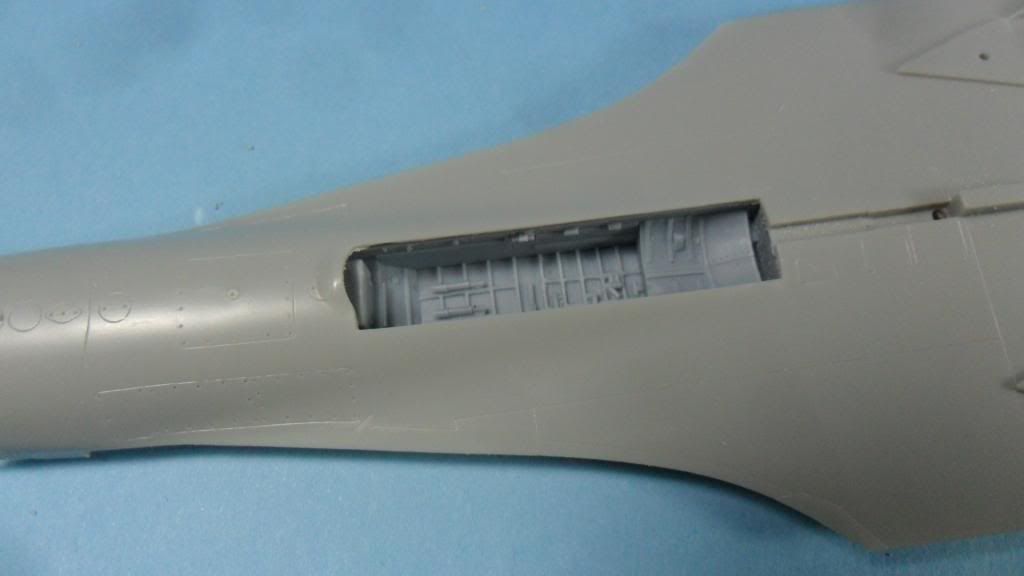
Then I removed the original front gear bay that comes moulded on the lower fuselage. I excedeed slightly when doing that, so I will have to repair it at a further stage:
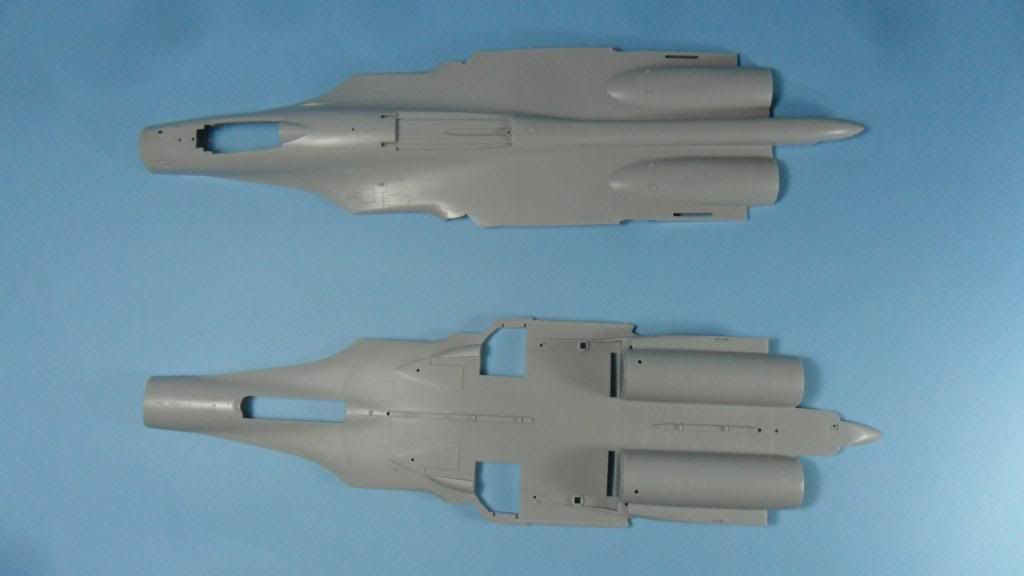
Then came the most painful part that consisted on cutting the beautifull original wings from the kit. It was a nice kit until now...
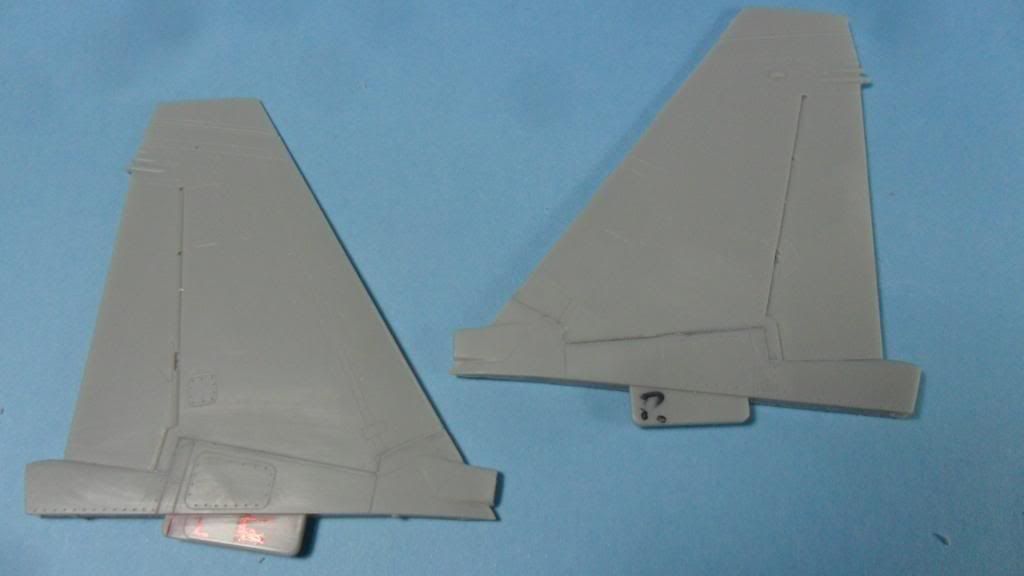
I have done some subassemblies. Here the tailfins glued, filled and rescribed:
And the basic intakes glued and cured. I added too the lower movable ramps and scribed the doors to show them more clearly, as the original detail in this parts is too weak:
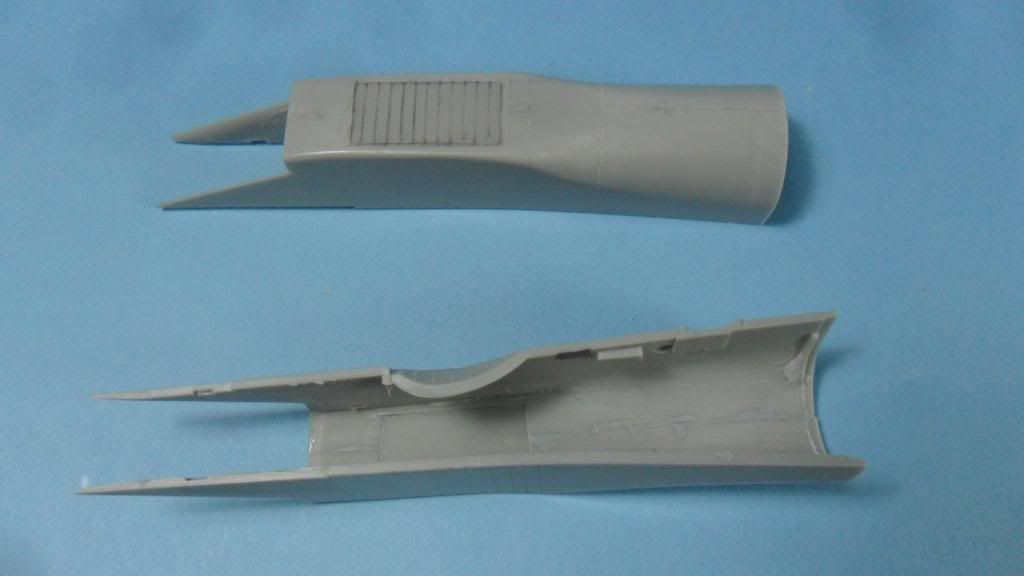
In fact all the scribed details all over the kit is so subttle that I'm slightly concerned about the possibility to cover it during the painting process...
Well, that,s all for today. I am still claening and preparing the little parts as ordenance and landing gera parts, so I wll keep you posted on further progress.
Wait for your opinions, friends.
RGDS.
Juan
-
Hi again.
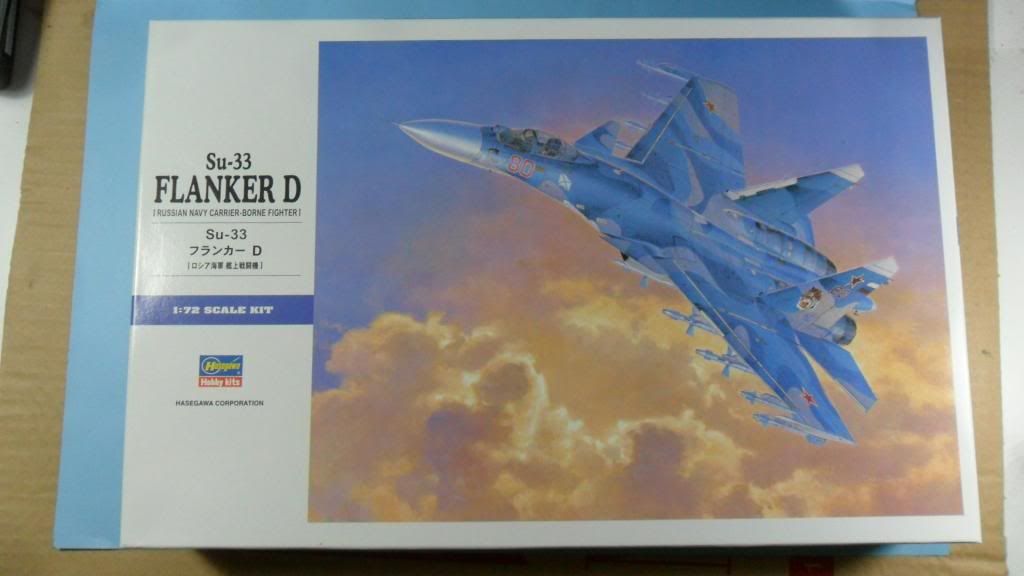
Upon returning from my vacation last week, and having been freed at the end of my four Viggen project, I decided that it was time to start a new kit. This time should be something more straight and that did not involve too much scratch. I had bought this kit a few months ago and was impressed by the excellent quality and fineness of engraving around the kit. As I have not seen many of them being built in the various forums I decided to give it a try... So, here is the box:
Although I have no intention to complicate my life too much with it, I will be using many sets of aftermarket to improve it. I always like to use as musch AM sets as could be possible...
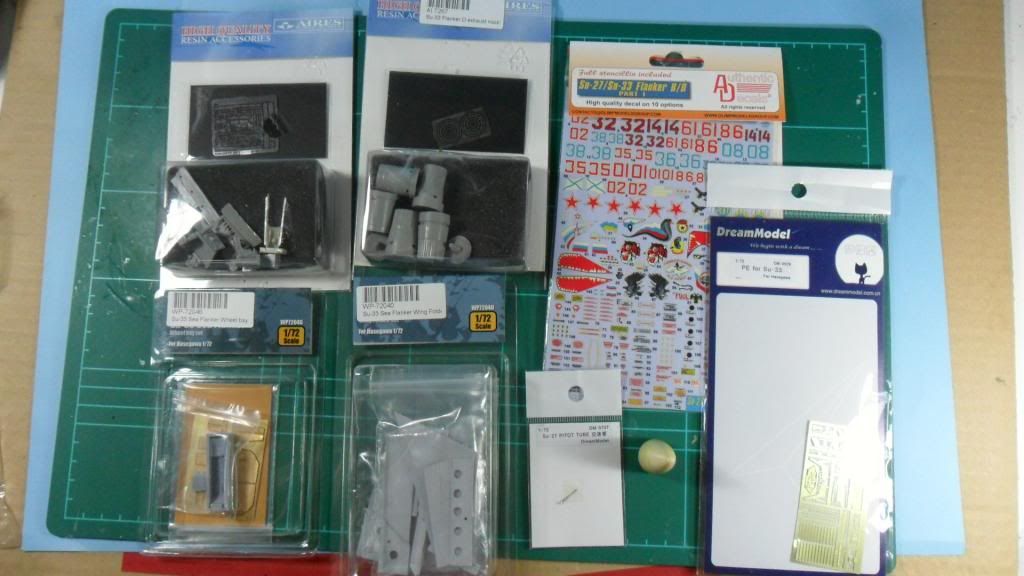
Here is in more detail what I will be using:
- Aires cockpit set.
- Aires exhaust set.
- Wolfpack Design wheel bays set.
- Wolfpack Design wing fold set.
- Quickboost nose cone for the Su-27.
- Dream Model Su-27 pitot
- Partial Dream Models PE set.
- Authentic Decals Su-27/Su-33 sheet.
Close pics of all this things:
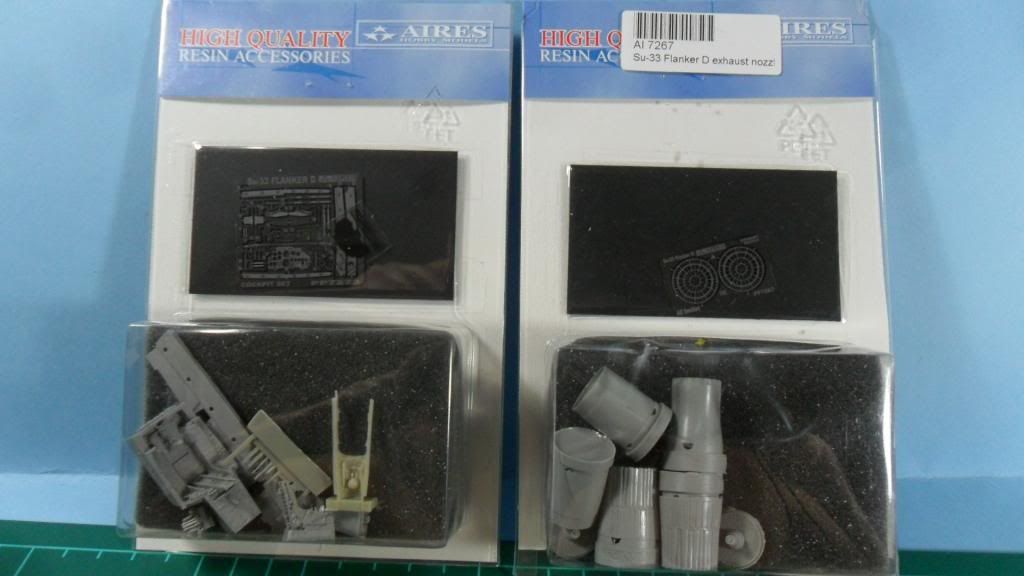
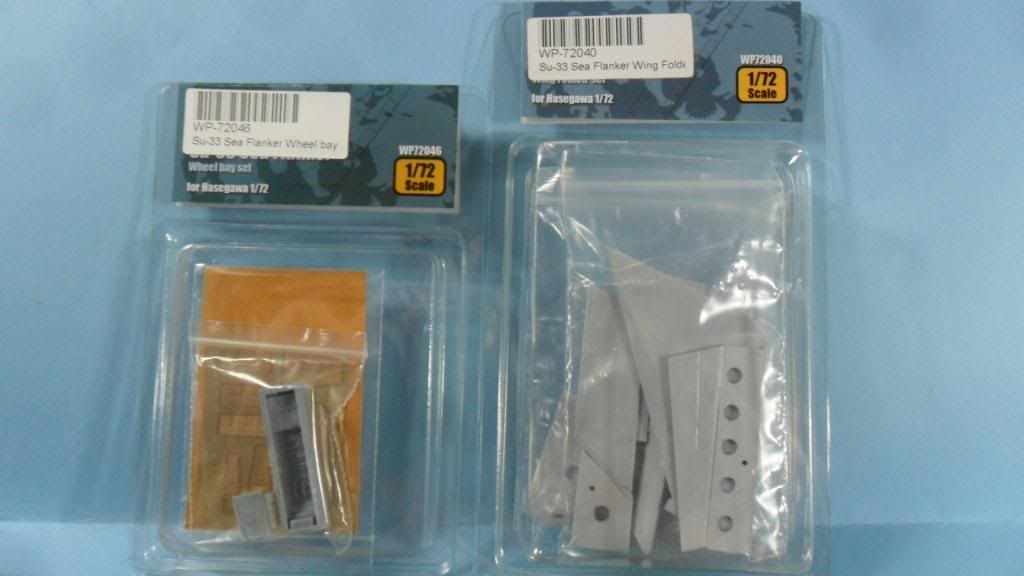
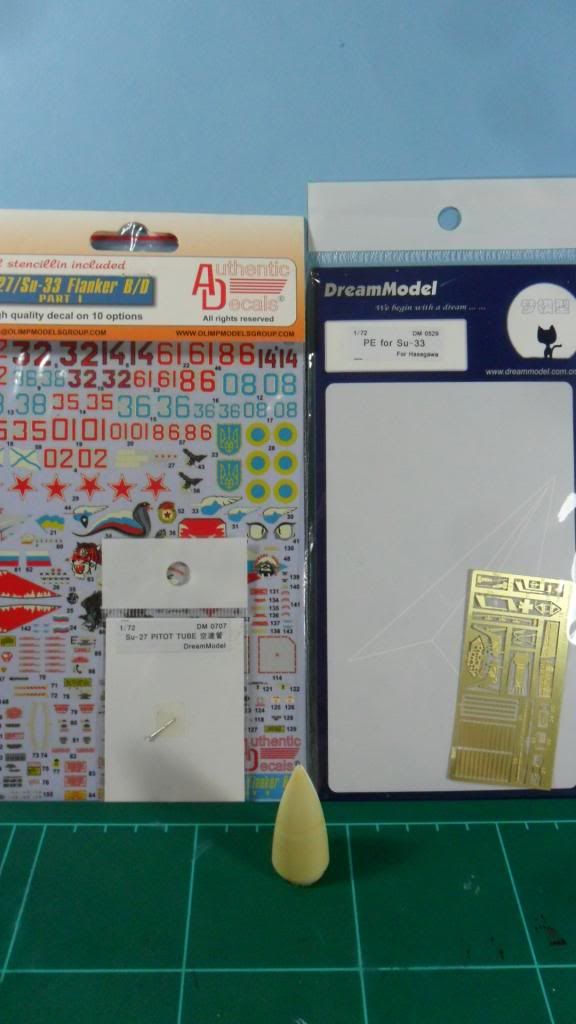
First thing I did was to spent some time removing the resin parts from the pouring blocks and cleaning them. Here is the Aires cockpit:
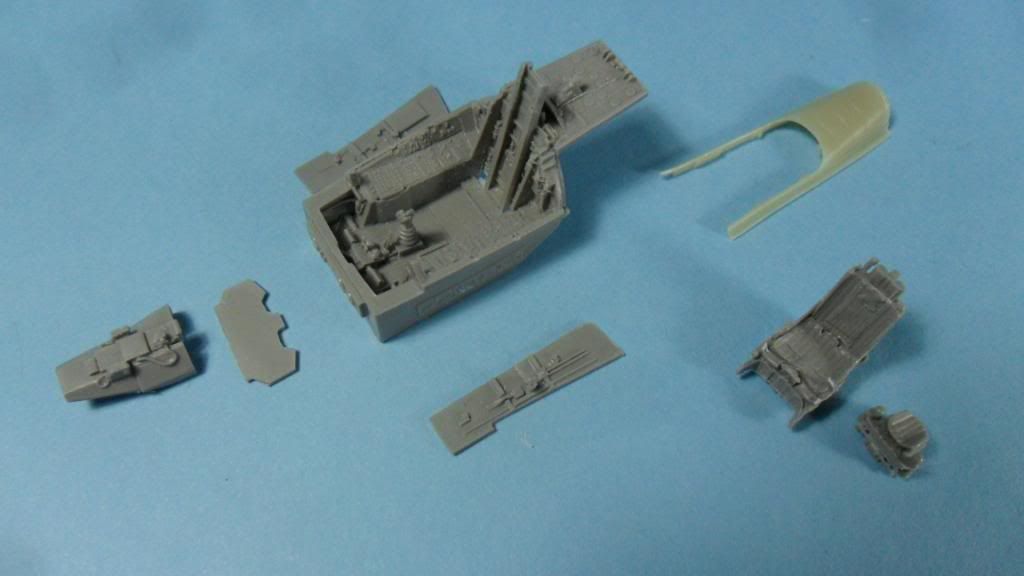
Here the front wheel bay(main gear bays detail is made from PE).
Both the cockpit tube and the bay were sanded enought by its lower and upper face respectively to be able to place them into the fuselage without interferences between them. In fact I slightly went trought the floor of the cockpit but as it will be covered by the seat there is no problem.
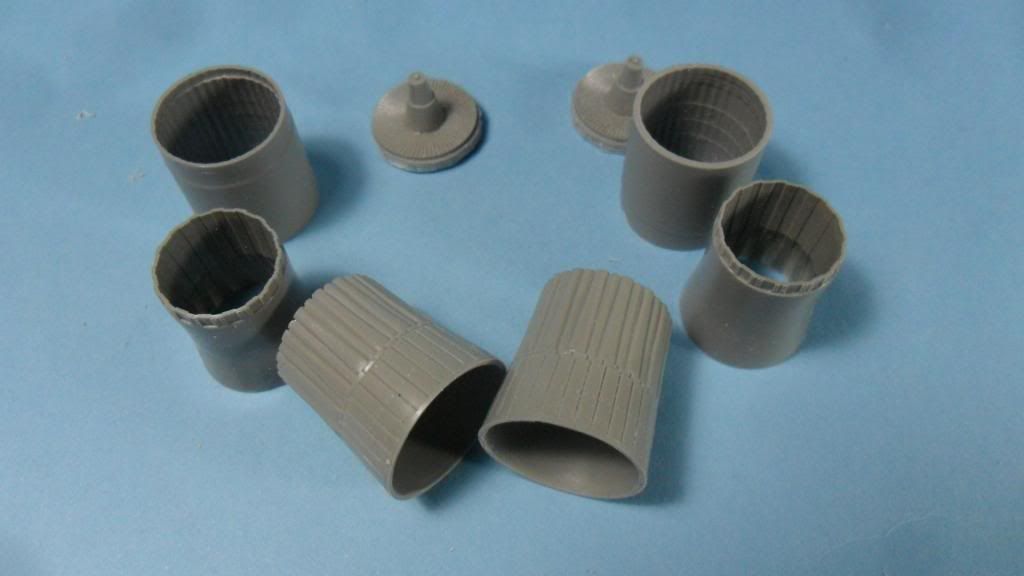
Also the exaust set was cleaned:
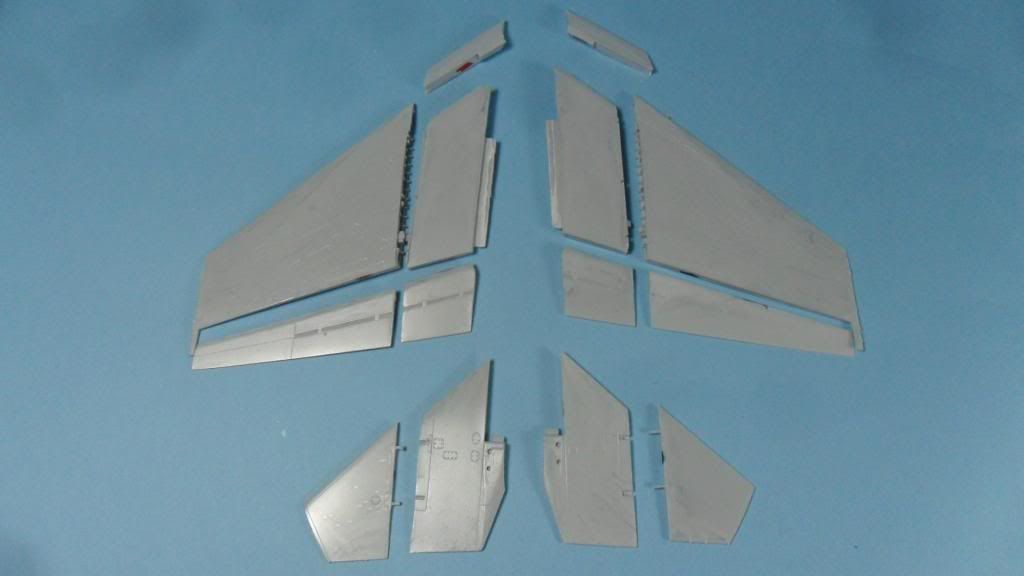
As were all the parts of the nice wing folding set:
Enought for today. I will be posting more pics tomorrow if I am able.
Wait for your comments and suggestions as always.
RGDS
Juan
-
Hi there! I returned from holidays last week and thought that I should say many thaks everybody for your kind words and your comments. It has been a real privilege to have shared this project with all of you, guys!
RGDS
Juan


Russian dual pylons
in Jet Modeling
Posted
Hi! Those doble launchers will be found on the new yet to be released 1/72 Hasegawa Su-35:
http://www.k2.dion.ne.jp/~konjyo/su27/hasegawasu35s/hasegawa-su-35s-06.jpg.
HTH
Juan