-
Content Count
331 -
Joined
-
Last visited
Content Type
Profiles
Forums
Calendar
Posts posted by JFVicente
-
-
S**t my friend!!! What you have done with your yet painted kit is a f*****g crazines!!!
Great work with that control surfaces. You are doing it!
RGDS
Juan
-
Oh Juan, I ain´t done with them wheelies yet :P/>
I can´t add those things until I have the bay door in place and I can´t add that until I´ve weathered it and I´m not at the weathering stage yet :D/>
Got other stuff to do first but be patient my friend I´ll get there :D/>
Cheers!
OK,ok. I will be watching you closely... <_<
Juan
-
Nice Janne! You are nailing it again! Your landing gears are great, but perhaps you would like to add some further detail in the form of an actuator and a little box that you have omitted. Look at this photo:
http://www.swordmodels.cz/Walkarounds/Viggen/IMG_0142.JPG
BTW, don,t know if you are aware of this great walkaround:
http://www.swordmodels.cz/Walkarounds/Viggen/index.html.
Wish you luck with the problem of the wheels. I have been having lot of troubles having all the six wheels touching the ground on my previous Viggens. It,s f*****g difficult when you have more than three wheels...
Keep that updates going!
Juan
-
That cockit looks very good from here...
Juan
-
Great! You are almost done with that...
One question tough: I really like to add to my kits as much stencils as possible, but on a splinter Viggen, will they be really visibles? I need you to show it on a pic, when you were able
RGDS
Juan
-
Many thanks, Janne and Laz for your interest!
Hello Juan,
can't wait to see them finished.
The folding on the tail looks impressive.
I need to order my set from Eduard to start a Viggen...very inspiring.
Keep the pictures coming.
Regards,Laz
Laz, I really encourage you to give this kit a try. A Viggen on your own display shelf is a very nice vision...
Cheers
Juan
-
Hi again! Many thanks everybody for your interest and thanks Laz for your kind comments.
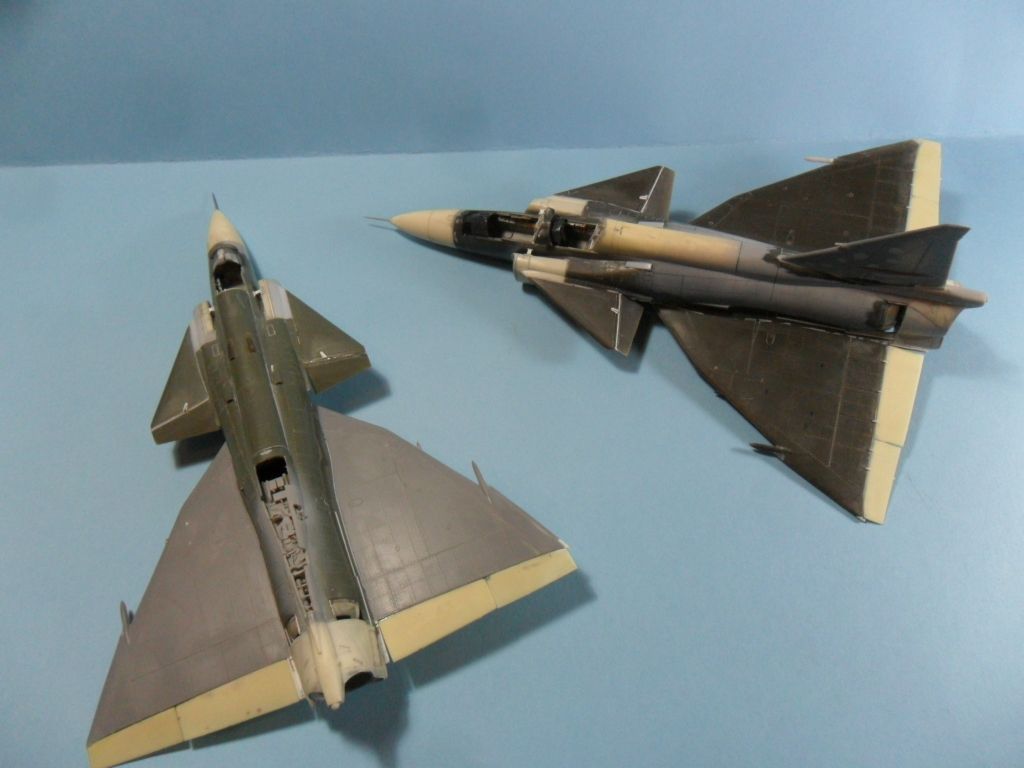
More Viggens are needed on this forum, so here is a new update to this project. I still have the two splinter Viggens pending to be finished, the SK-37 and the AJ-37 and I will use some inspiration from excellent Aigore´s WIP on the painting stage when the time comes. Both kits was almost ready to be painted, but some work was still necessary:
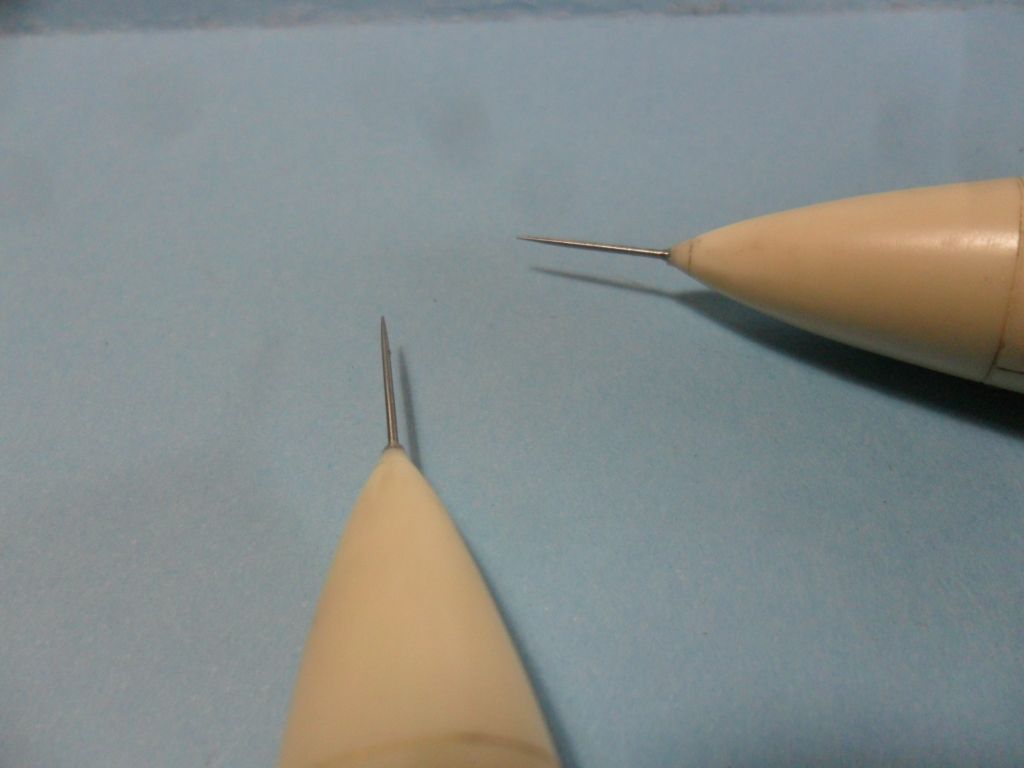
I added the pitot tubes to both, made from metallic needles:
if you remember, time ago the fin of the AJ version was cutted away to produce a master to display the said tail on its characterictic folded position.
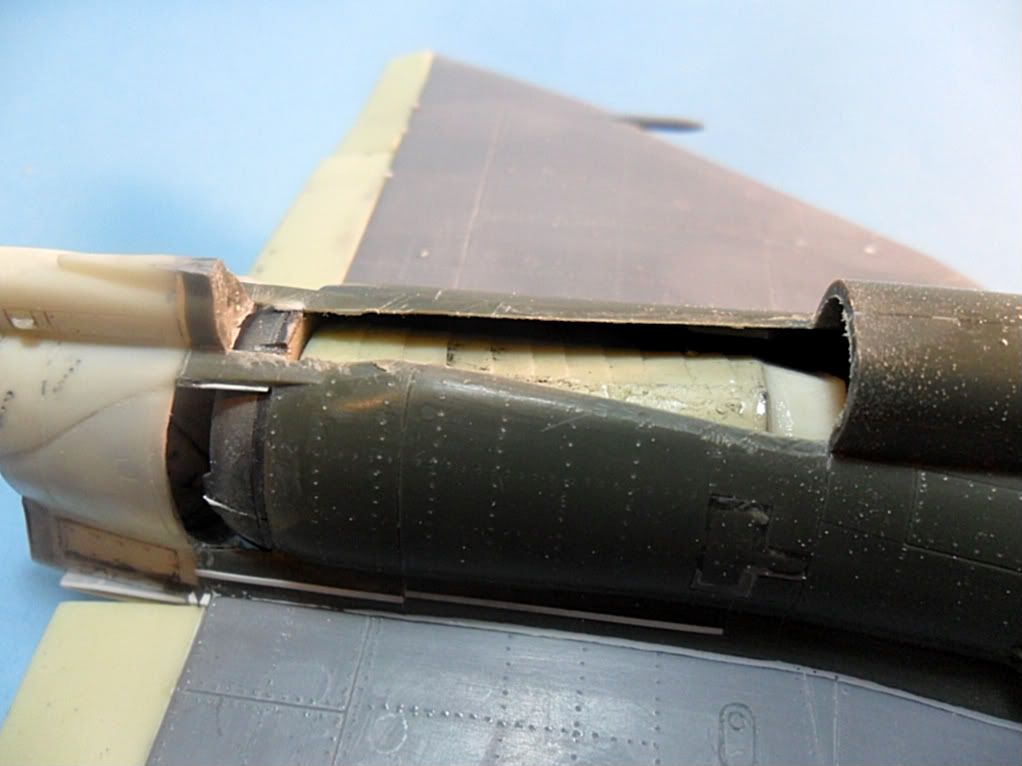
So here is the fuselage rebuilt with the resin part of the set produced by MaestroModels:
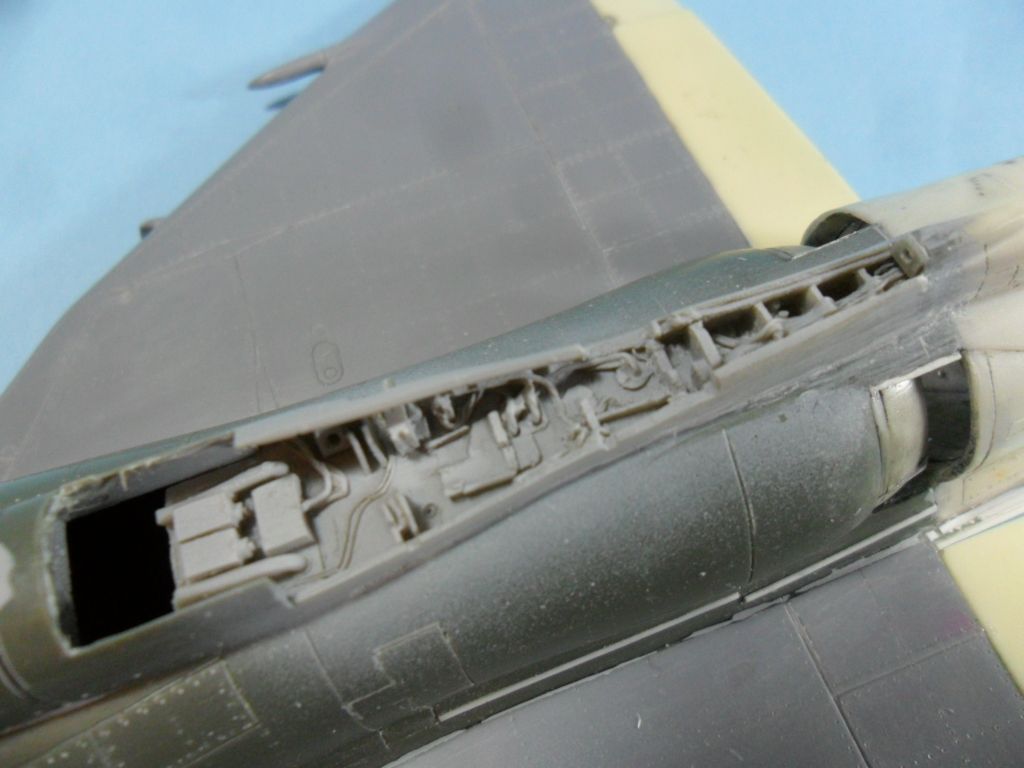
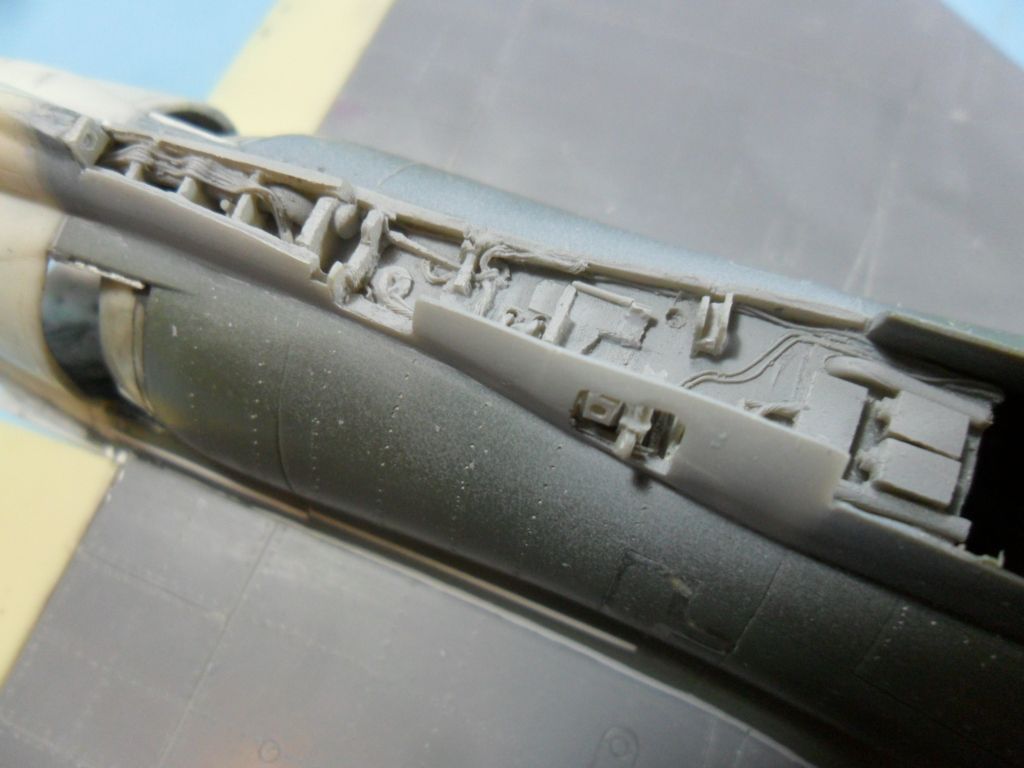
It has been primed with Mr Sufacer to show the details to good effect. And here is the new tail, also rebuilt. The lower part is the resin conversion, while the upper is the original plastic.
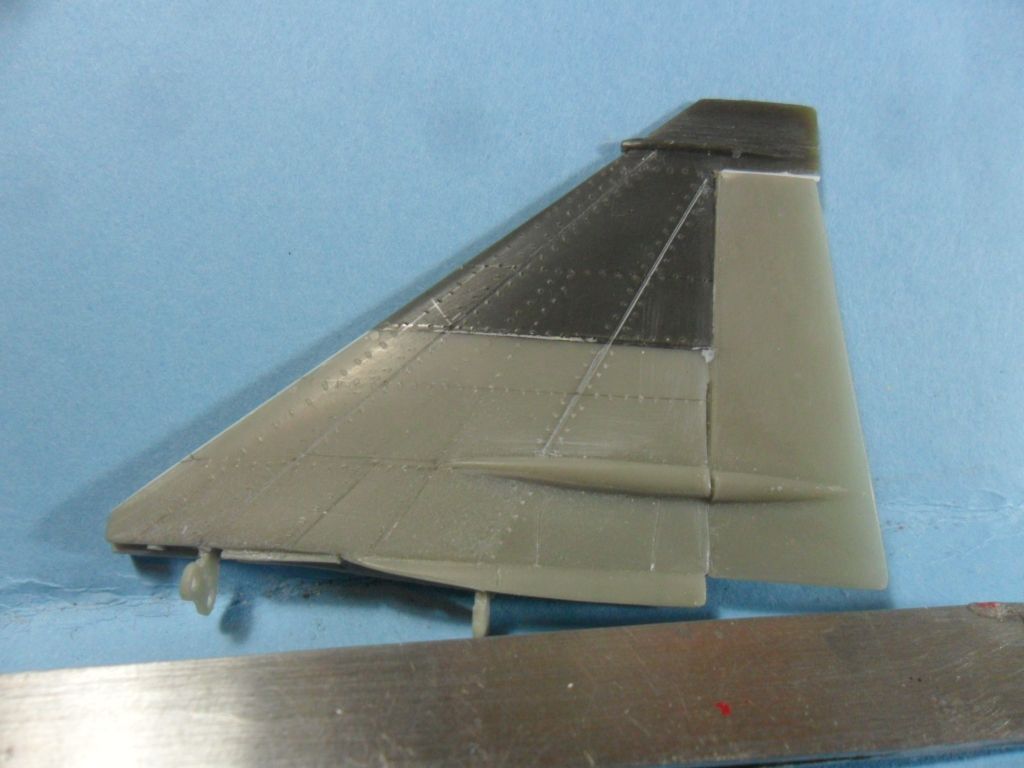
Its lower face was primed too as seen here:
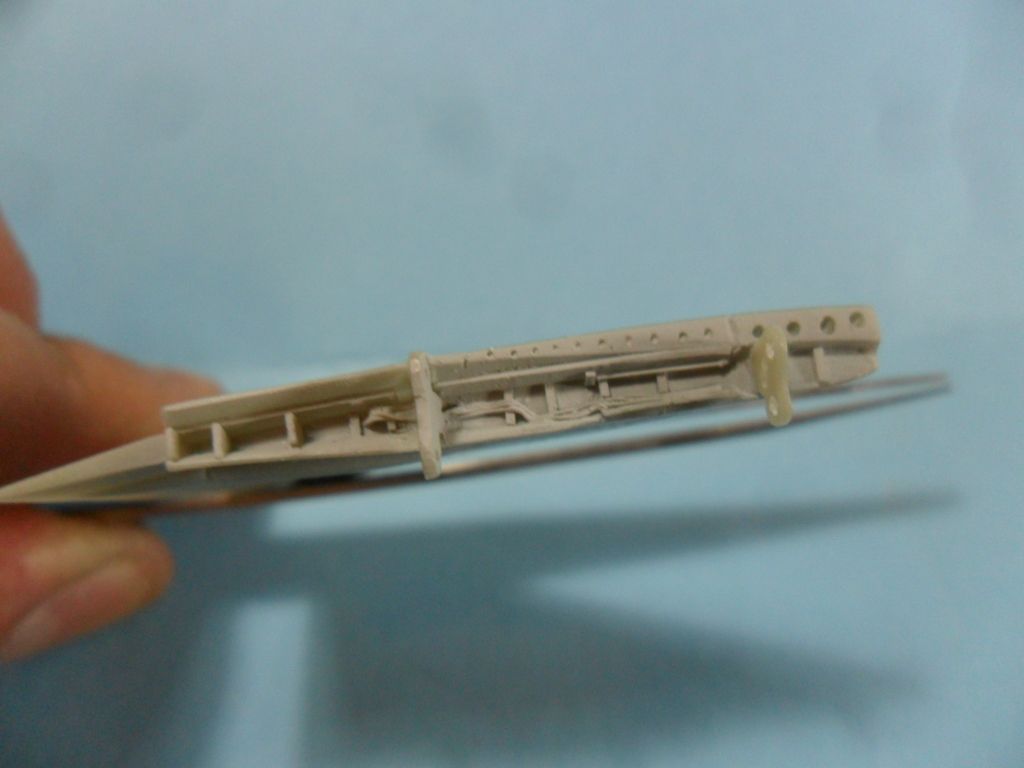
Then I painted the inner structure of the tail on Alclad white aluminium:
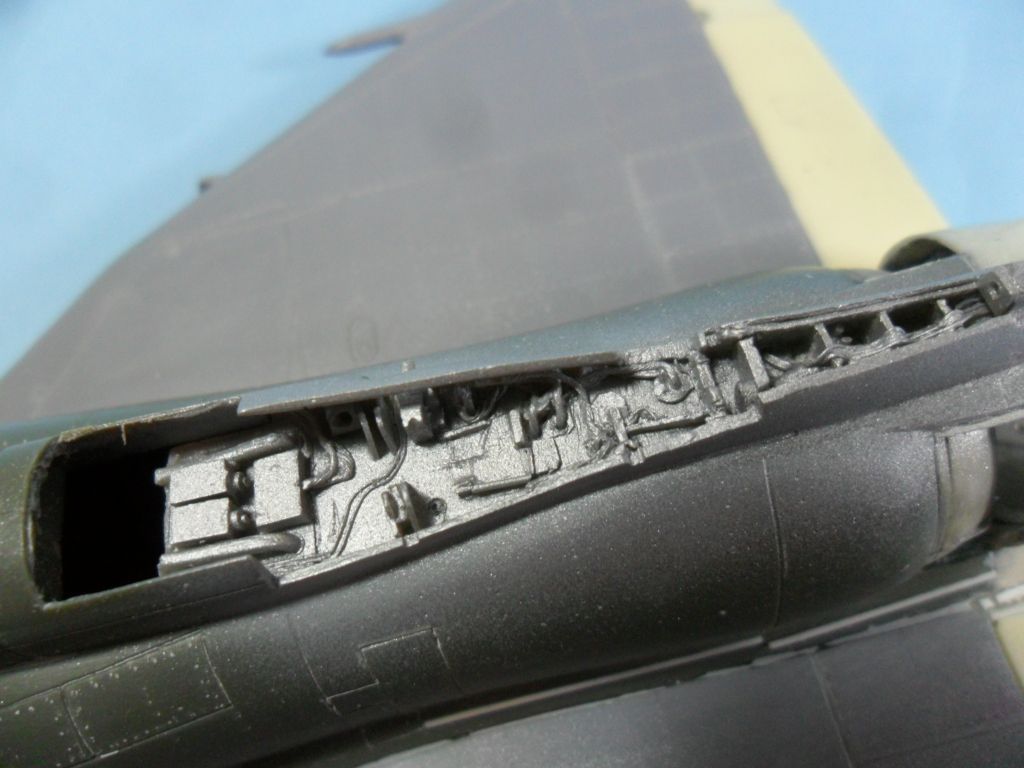
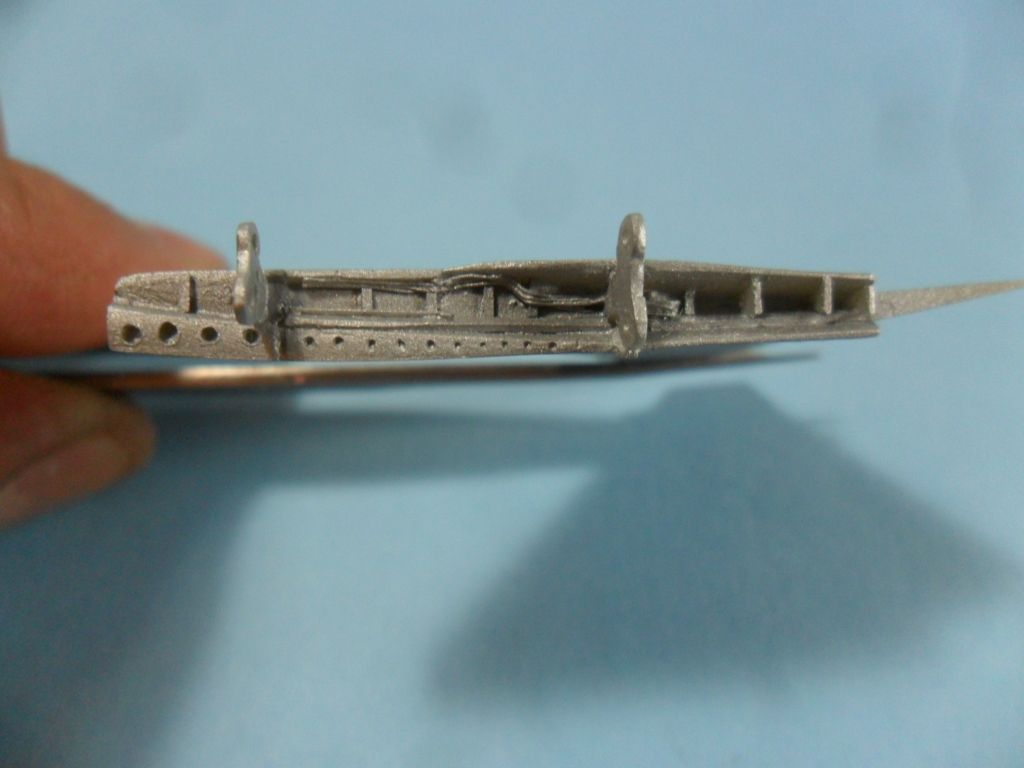
Then, I masked the lateral walls of the strcuture that remains fixed to the fuselage and painted the "floor" of it on Humbrol steel. The difference is not very evident on the pics but on the real thing it is very obvious.
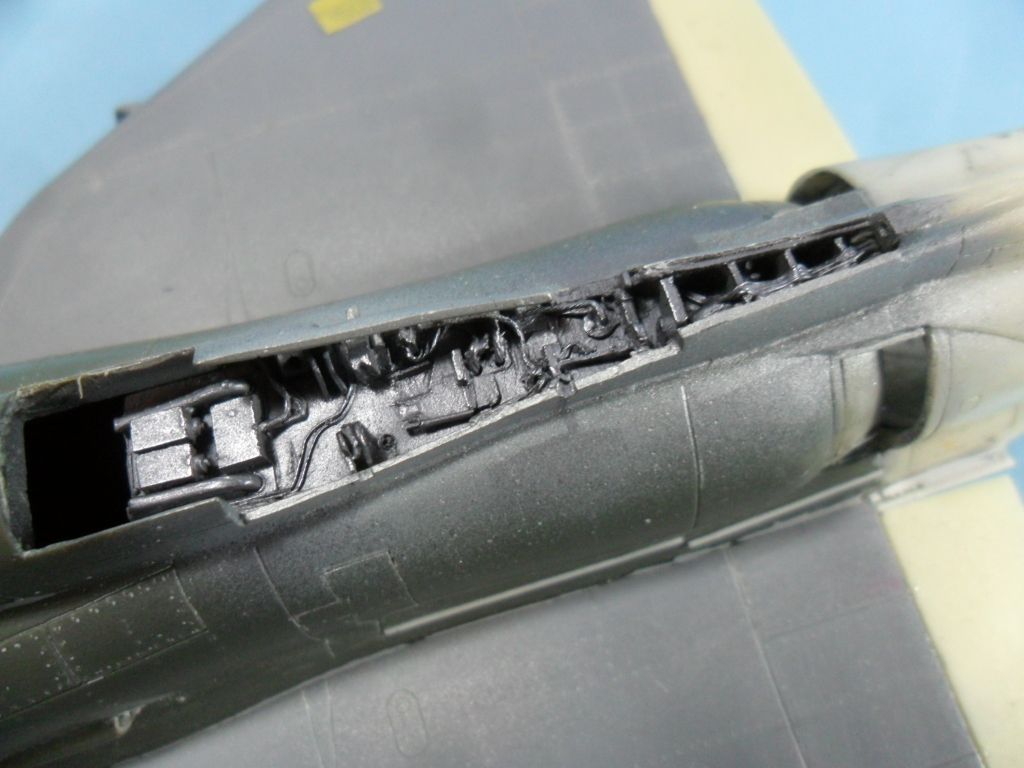
Now I have to do some detail painting and attach a piece of plastic that I was forced to cut just forward of the fin (that rectangular hole that acn be seen on the photos) to be able to introduce the resin part on my yet assemble kit. I will post more pics when this is done.
Meanwhile, I would like to hear your oppinions and suggestions...
RGDS
Juan
-
Very, very, very nice, friend! Really like the way you have done things with this kit! And the specific aircraft that you have chosen is very interesting too... Now you are on the final stretch!
Keep that good work.
Juan
-
Now we're talkin'! :thumbsup:/>
???
-
OK then. I see what you say about chipping on some specific areas. I didn,t noticed previosly... You are authorized now to go with that.
About what I said on my post about the yellowish tone on specific areas, what do you thinks about? do you think that it could be due to any kind of primer aplied to the airframe?
RGDS
Juan
-
Hi mate!
Been thinking about your intention of doing some chipping on your kit...I don,t intend to bug your work, but honestly, I think that chipping the paint to show the bare metal on this aircraft could be slightly overdone. I have never seen an AJ in this guise, did you? what I have seen on some well weathered aircrafts is the colours toning down a lot and even you can see a yellowish tone under the brown and light green mainly. Take a look over the internet and on the Airdoc book. This is mainly evident on some SK examples! Could this be possible due to some kind of yellow primer?
On the other hand, of course, I think that the chipping way is good but only on the leading edges, but not on the main part of the airframe or wings. Again, I don,t intent to bug your work, friend, just trying to help. What do you think about this considerations?
;)/>
RGDS
Juan
-
Nice!!! I was imagining that about the clear coat.
Now, hurry up with that kit! I need this forum clear of that for my two splinter Viggens... :P/> ;)/>
Juan
-
Well done, friend! You are almost there with that kit. I,m really intrigued about gloss varnish on the upper fuselage...
Juan
-
Well done, friend. you are on the final steps withthat kit! I must confess that I feel very envious, because you're going finish it before I did mines...

Keep that good work!
Juan
-
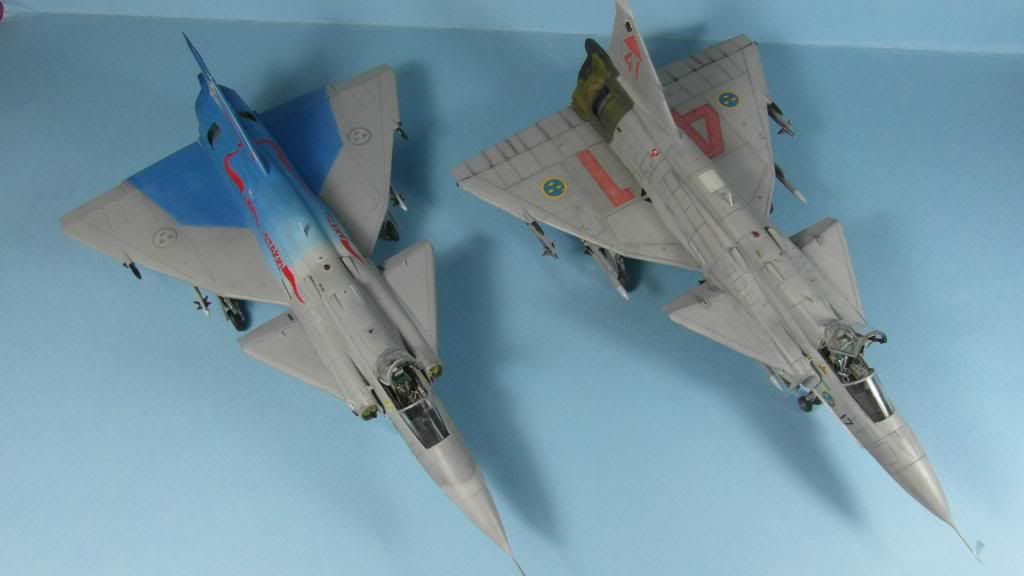
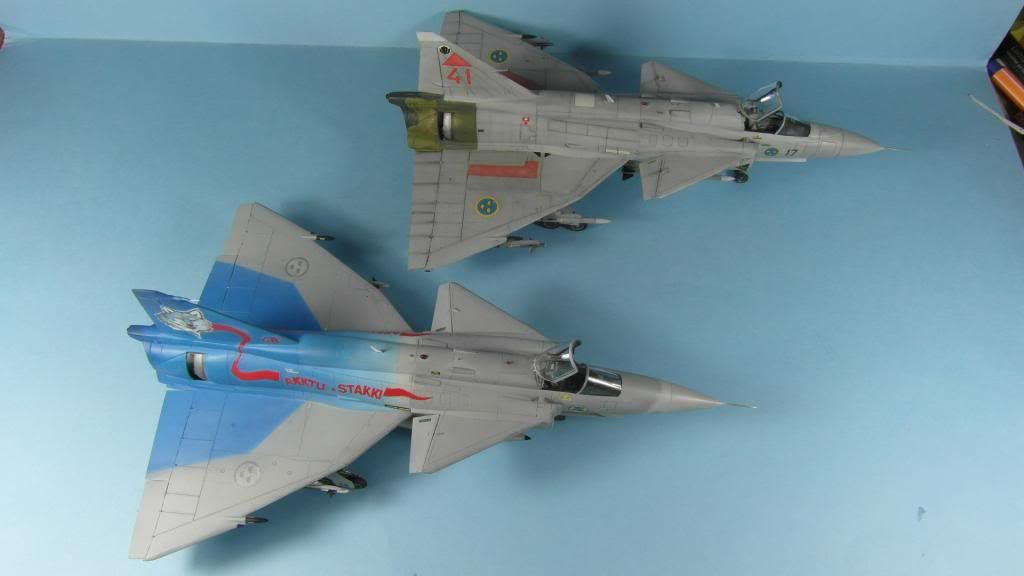
Hi again. Here is the second of my four viggens project kit that I have just finished. As know you can see the in progress thread here:
Now on to the pics:
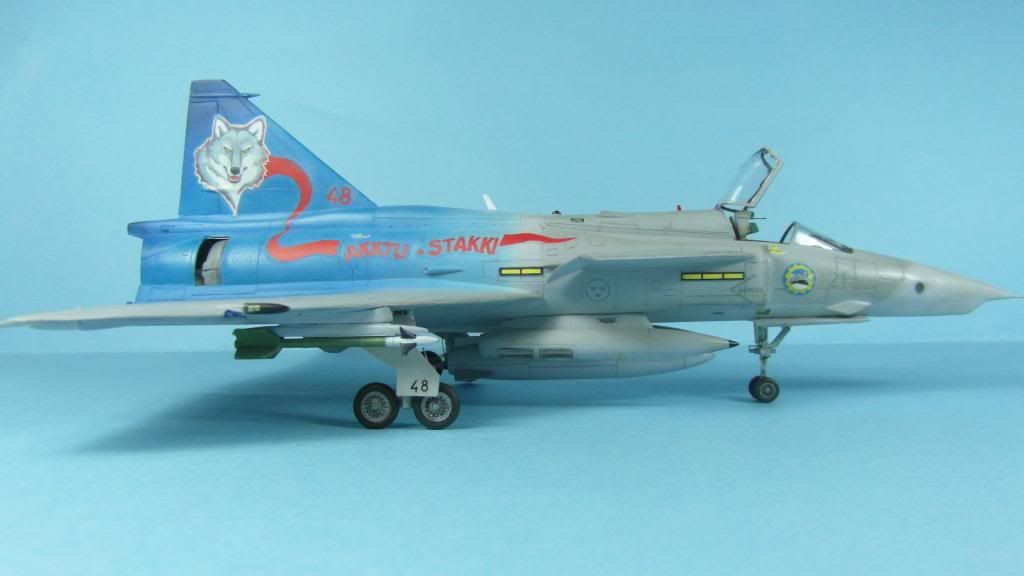
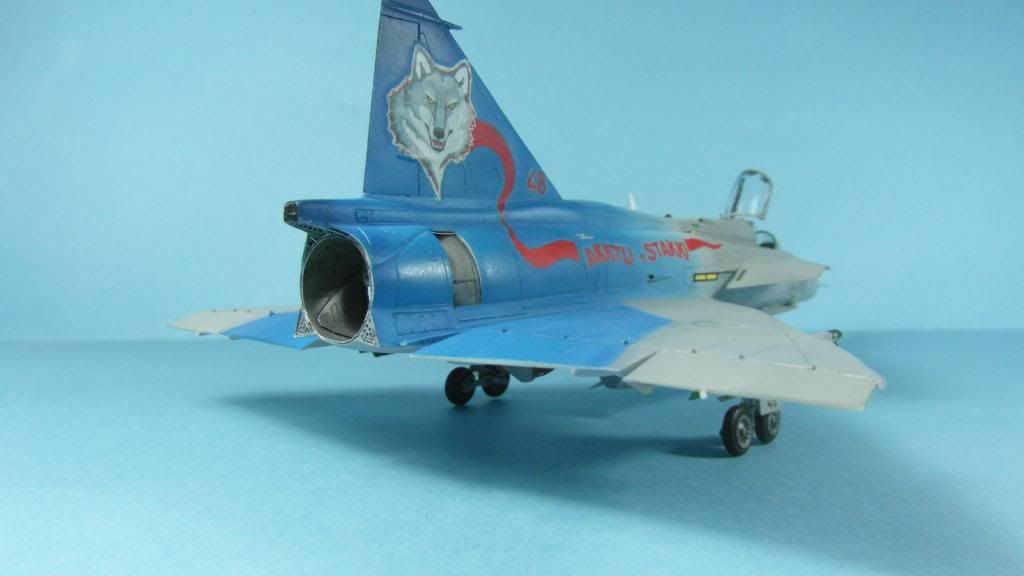
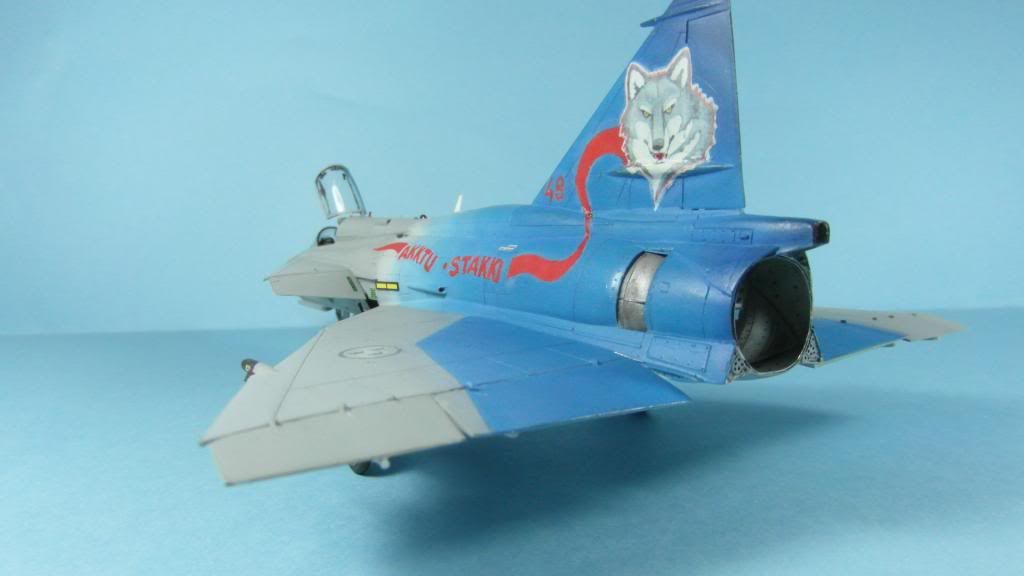
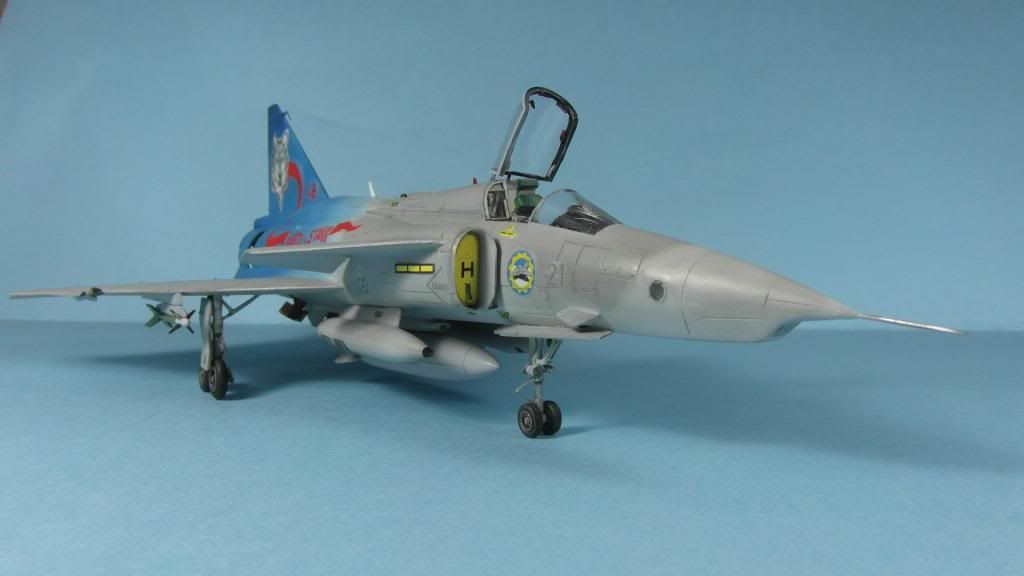
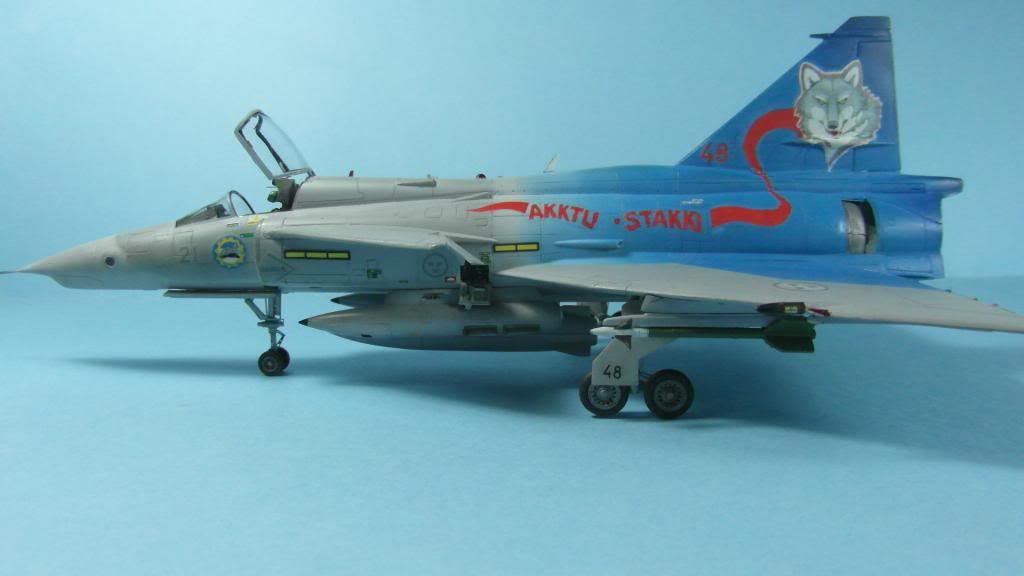
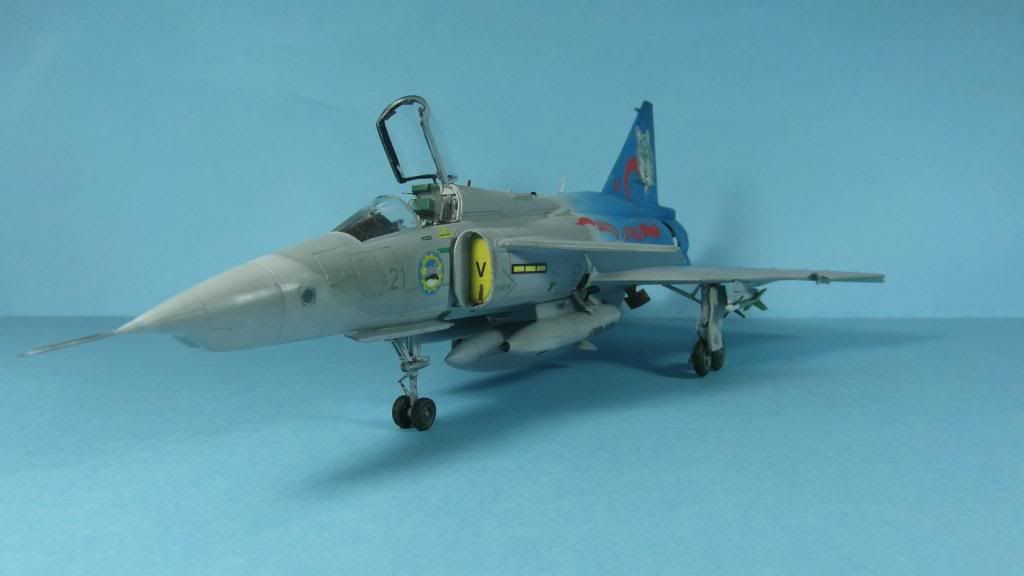
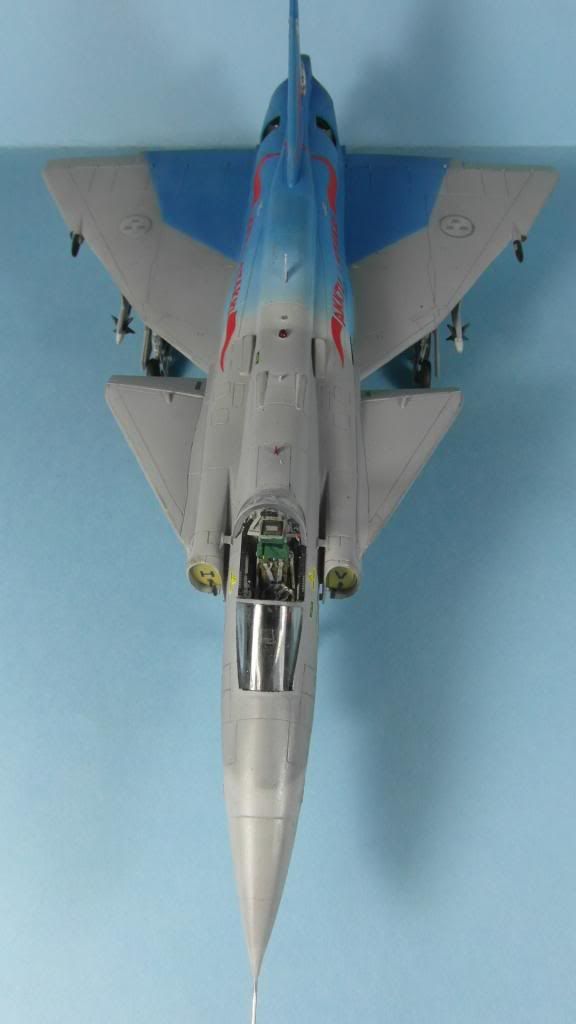
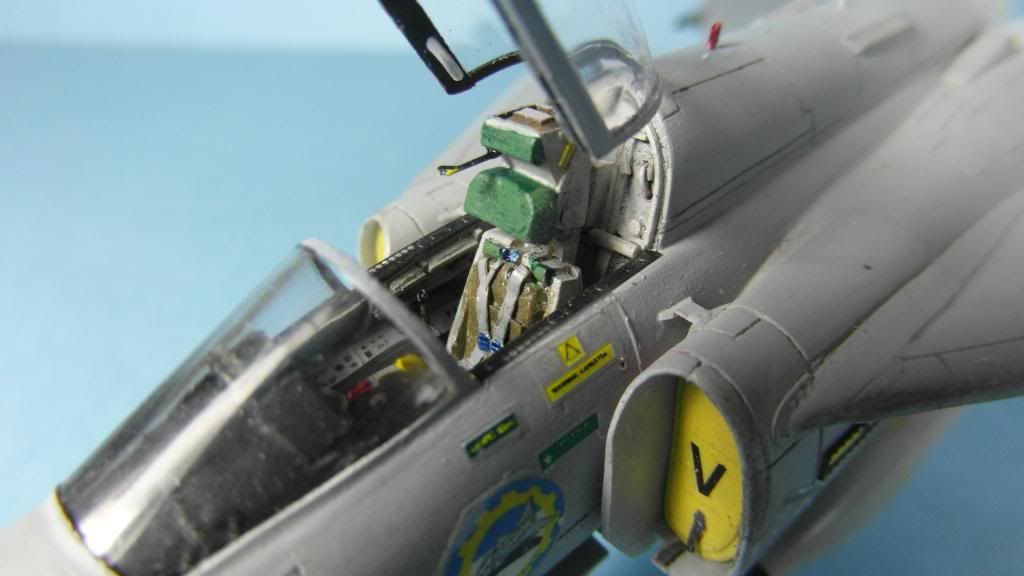
And here together with her sister the Jaktviggen:
Hope you like it! Opinions and cricicisms are welcome.
RGDS
Juan
-
...
and finally the finished bird!

I will be posting more pictures on the Criteque Corner on few minutes.
As always, opinions and criticisms are welcome.
RGDs
Juan
-
Hi again! That, done now! I have managed to finally finish the SF-37. Some pics of the last steps on it.
Here you can see how the issue with the decals was solved.
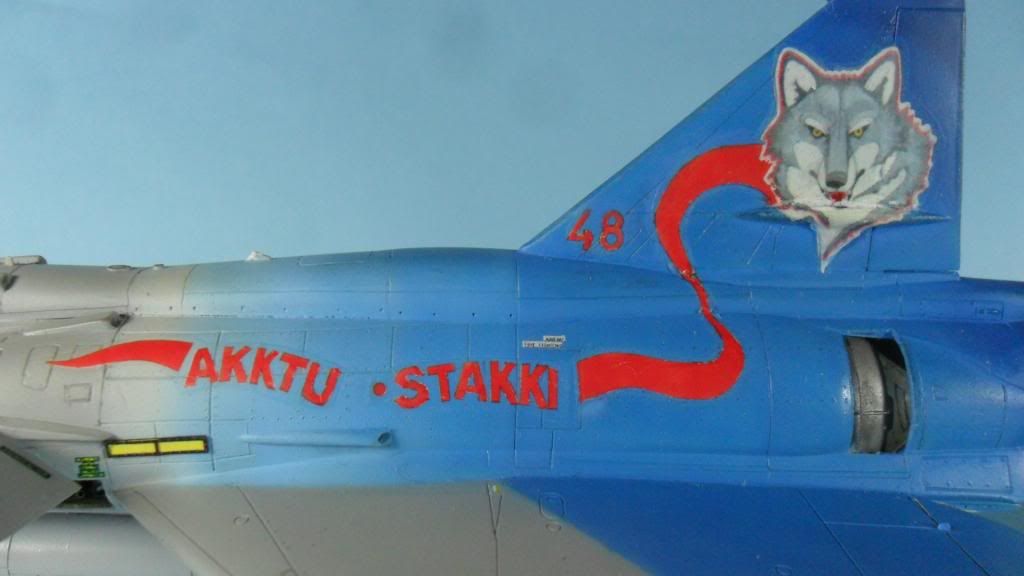
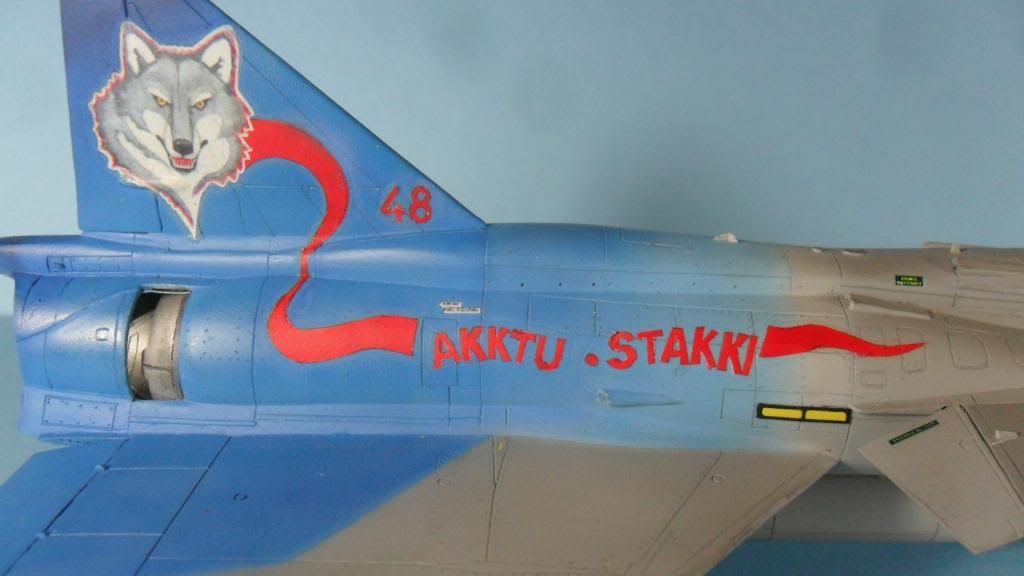
As seen the film of the decals is very evident from short distance, altought if you look from further away the appearance is acceptable. Here a pic with tha aircraft on its wheels finally:
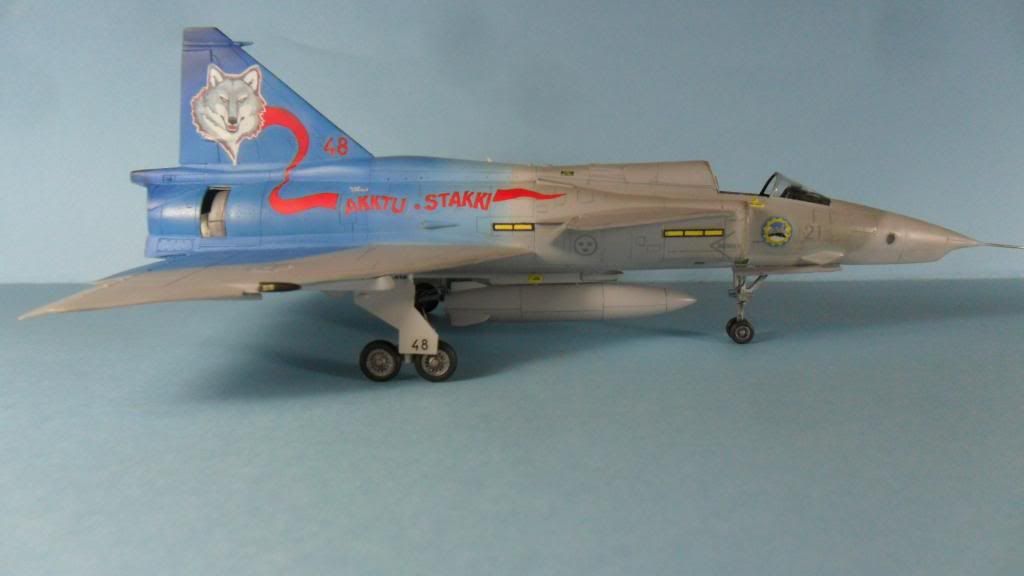
Now for the final details and aditions to the kit:
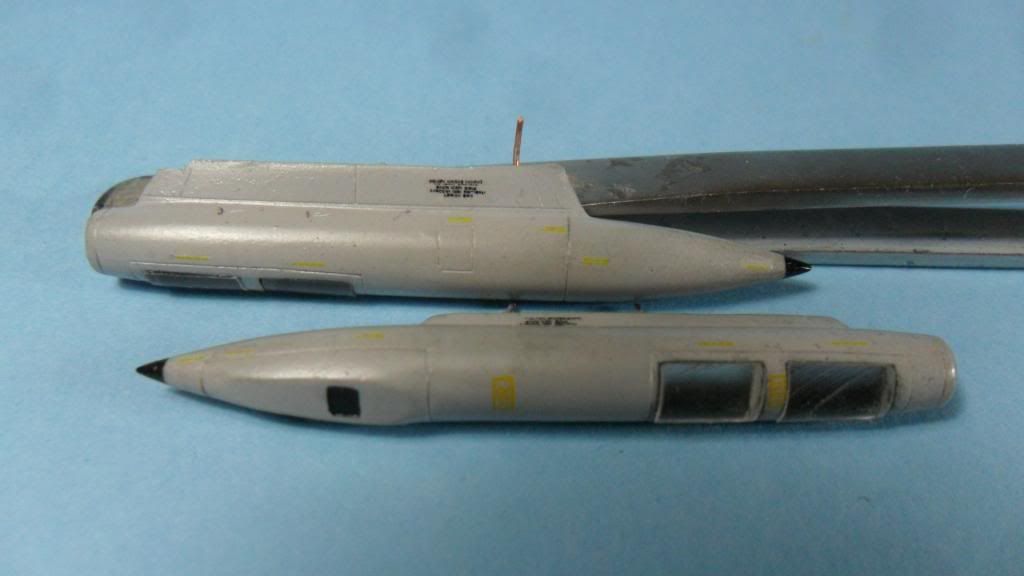
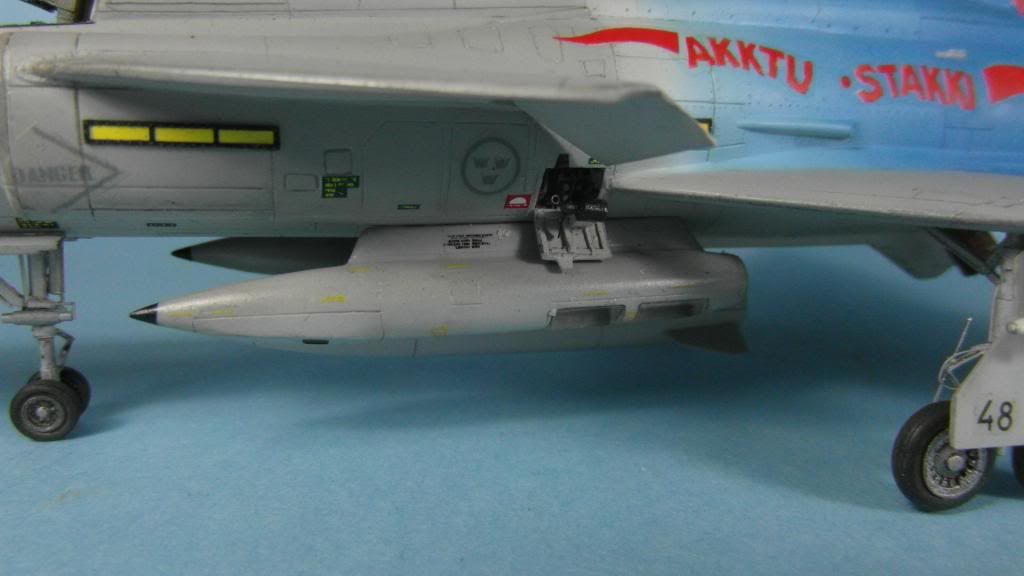
A couple of recce pods from the MaetroModels range were painted and assembled. The decals were sourced from spares.
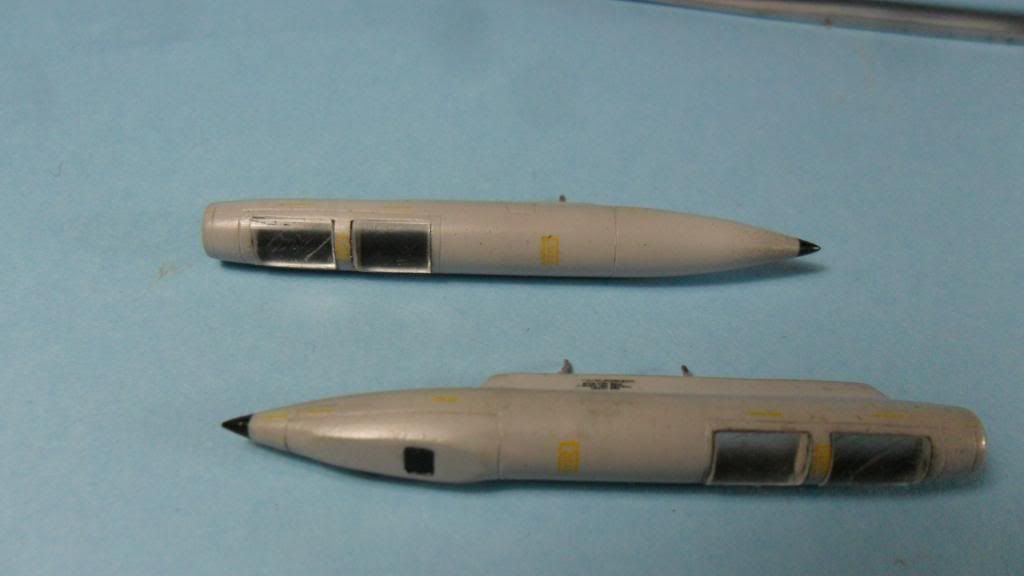
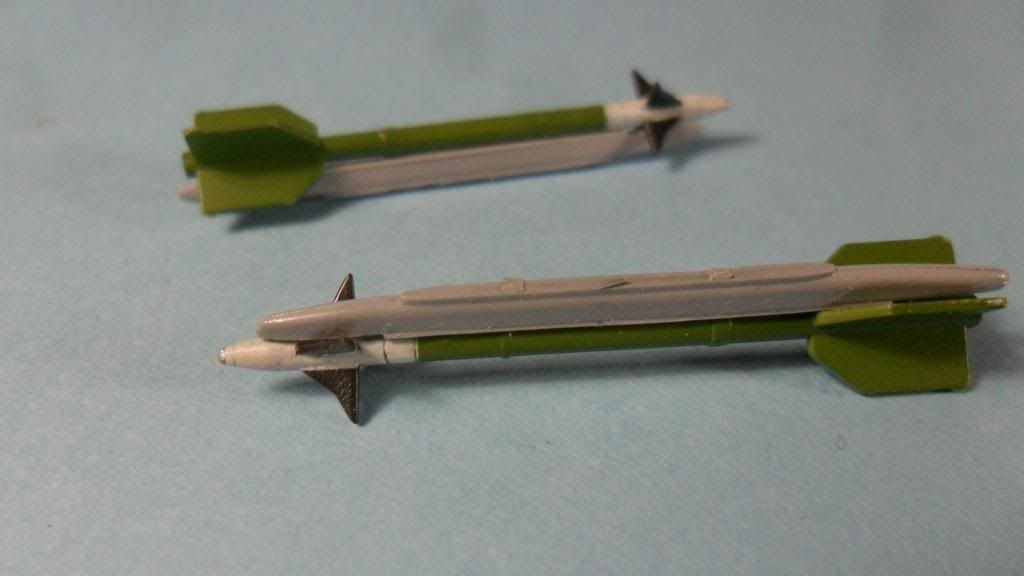
And a pair of training Sidewinder rounds:
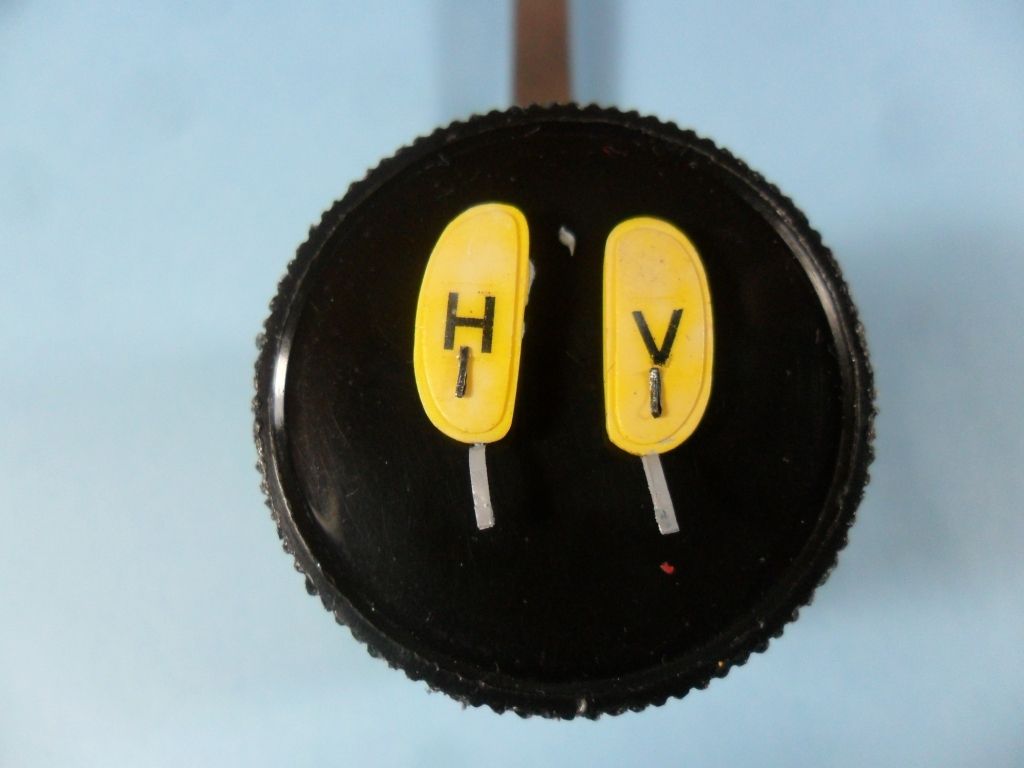
If you remember I had casted some FOD covers in resin for this project. They were painted and detailed with thin aluminium foil. The V and H letters were made form strip decals. I still have to add some RBF tags on its swedish version (black and yellow) hanging from them. Here I shown a couple of them ready to be instaled at the end of the building:
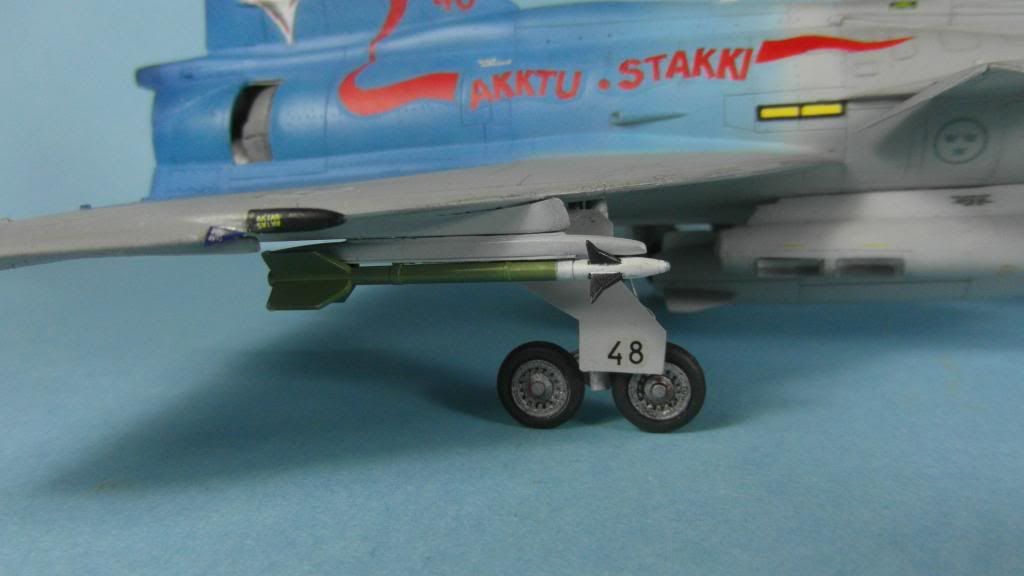
Here a pic with a winder, a recce pod and the underbelly tank installed:
The left side recce pod and the RAT on place:
some minor detials, like antennas and the navigation light were added to the upper spine:
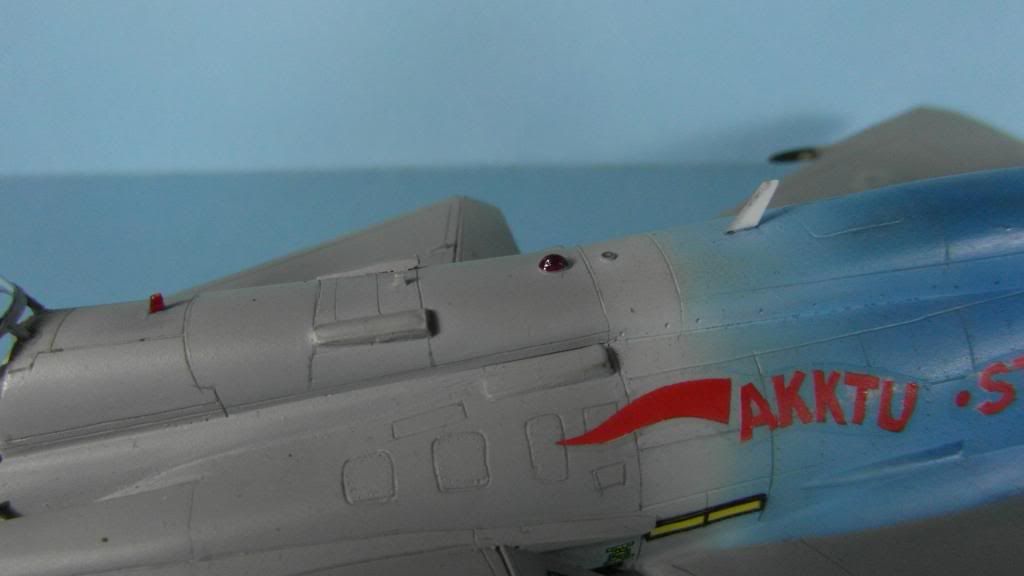
...
-
Ok now! You have my permission to go ahead with that painting! :D
Cheers.
Juan
-
Ooops! Sorry for the anticipation...
Will wait to your next update, friend
Juan
-
Many thanks, magman for your help! Altought the decals that you point are not exactly wath I was after (being some anal), because on all that photos that I have found on the web the numerals of the birds are slightly different (on the Su-27UBs). But scroling down your link, one can find another decal sheet from a different manufacturer with the correct numerals for the twinseaters:
many thanks again!
Juan
-
Excelent work as alwayas Janne! Just one pointing and excuseme if I am some anal: on the pics that you have posted an ugly seam line is some noticeable on the leading edge of the wings, mainly on the right wing. Don,t know if this is solved on the real thing and is only an effect on the photos, but perhaps you would like to take care of that. HTH
Keep that good work, friend.
Juan
-
Hi all! I would like to build the new 1/72 Trumpeter Su-27UB on ukrainian splinter camo, but can,t find any decal sheet with the correct numbers/markings. Is out there any aftermarket decal sheet with this option?
TIA
Juan
-
:jaw-dropping:/> :jaw-dropping:/> :jaw-dropping:/>
for the repair job.
For me, it looks OK.
It will be perfect when all of your Viggens will make an elephant walk on your workbench...
Keep it coming.
Regards,Laz
many thanks, Laz for your words. I must say that from some distance the result with the decals is not entirely bad, but if you look close to the kit the film is very evident...
I,m too quite ansious to have all the Viggens finished on my bench. it will be a good sight...
Have a nice weekend all!
RGDS
Juan
-
Hi again! As promised here is a little update to show how I am doing with the SF-37.
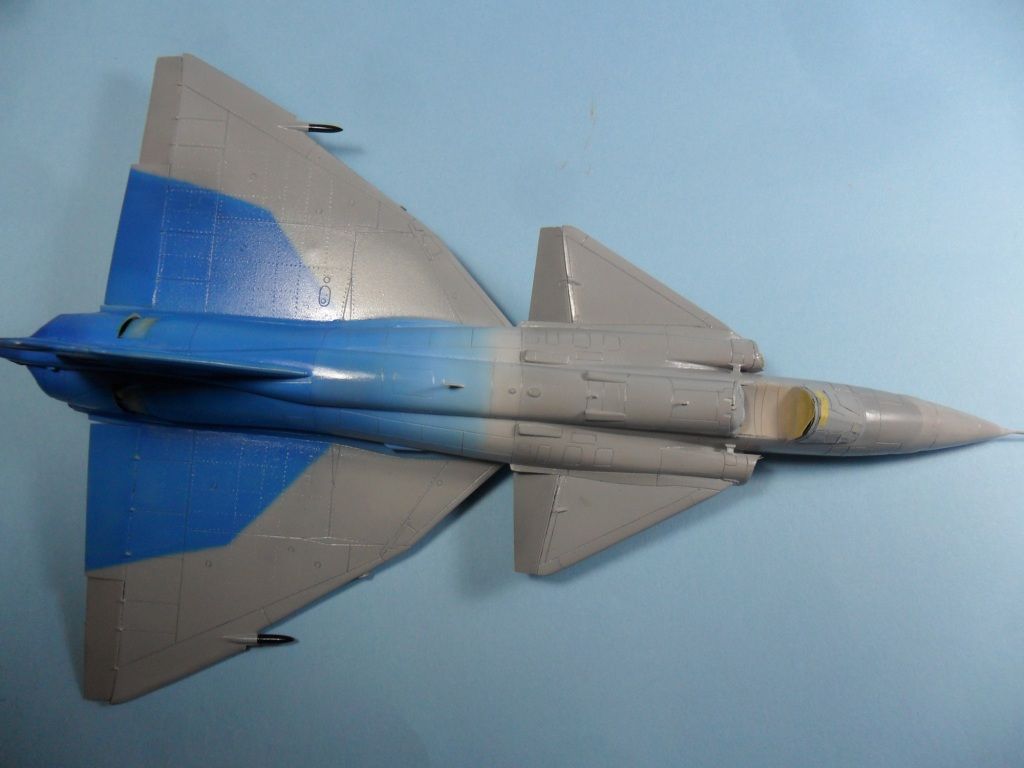
The kit was all painted and glosscoated, ready to be decaled, if you remember...
Decals are from the Syhart Decals range and they are ALPS type, so you need to aply a coat of Microscale decal film or similar before using them. And here started my headache with them. I applied the decal film by airbrush, but unwittingly I exceeded with the coat so the decals were slightly thick and rigid, so having them bending around some shapes, like on the vertical tail was a really nightmare...But that was my fault, I know. You can see the ugly effect on the wolf,s head on this pic:
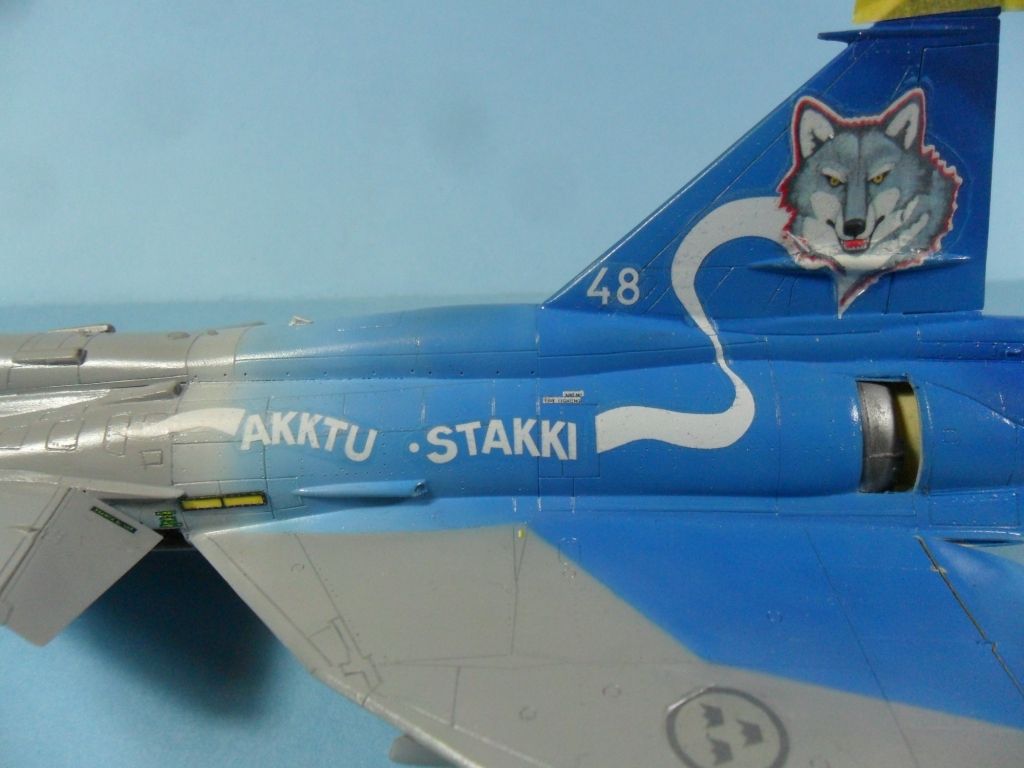
Anyhow, there were all the decals:
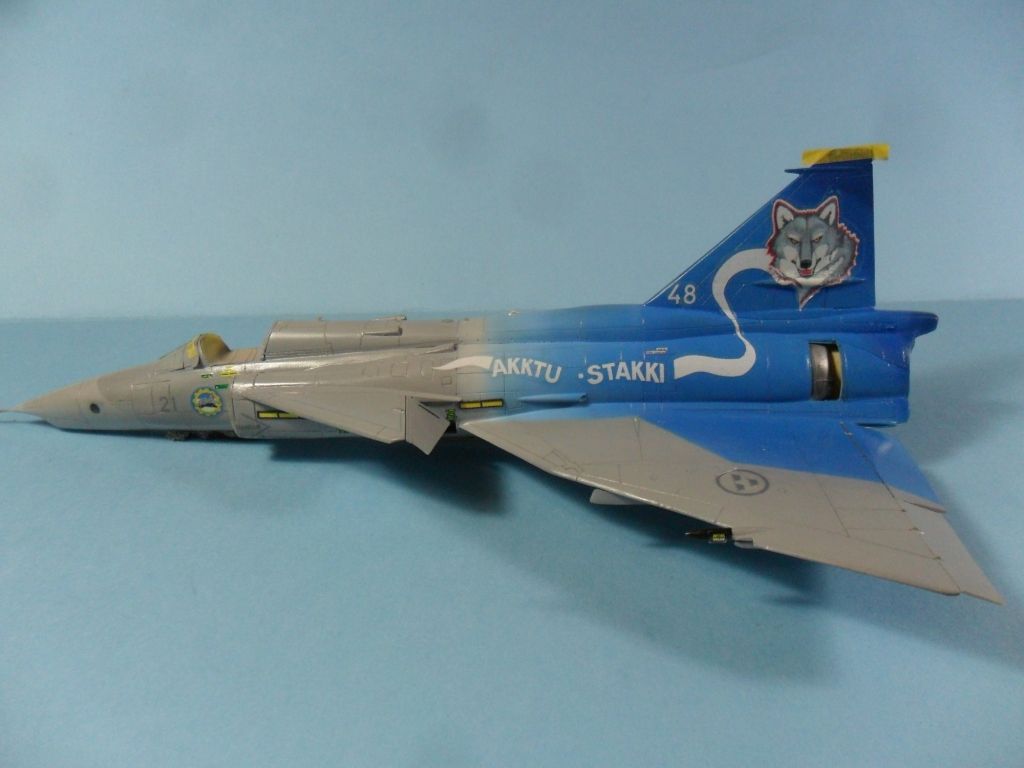
Second trouble, with the decals: the coloured decals are provided on two different sheets, one white and the second with the coloured details. The letters and ribbons on the fuselage are provided on an incorrect orange colour and they should be red. I considered the option of printing a new decals sheet for that characteres, but having no acces to a good printer I opted for the following masochist solution:
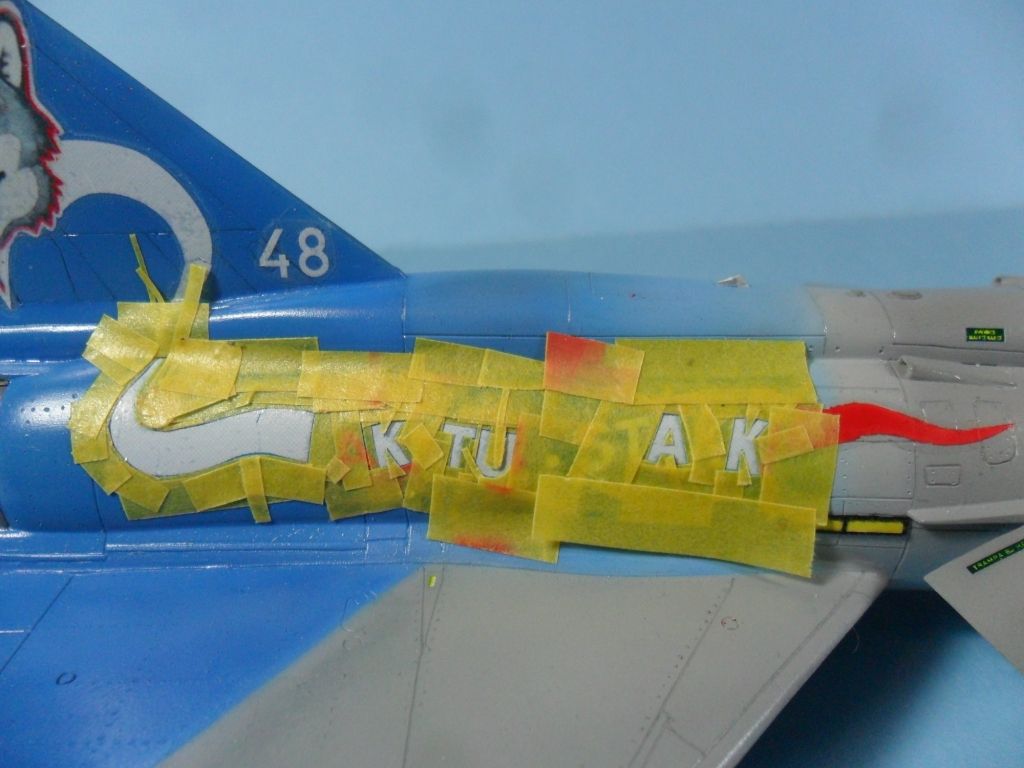
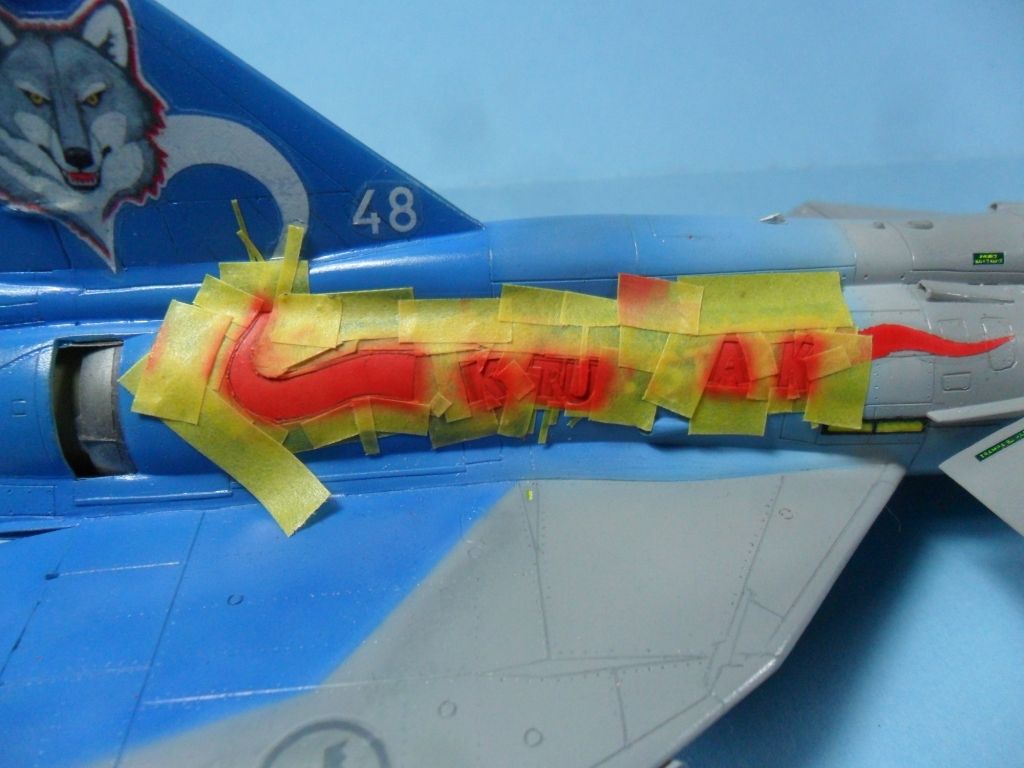
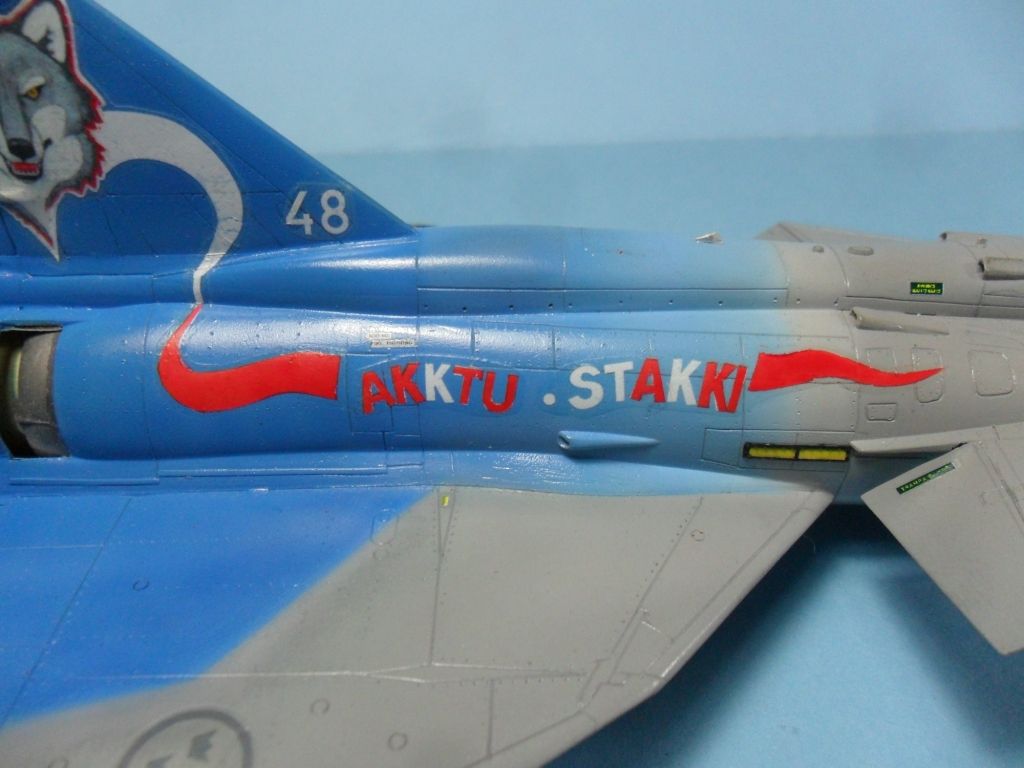
A nightmare... In all the final result was satisfactory on this particular aspect. I have no more pics to show by now, sorry, but I promisse that I will show the result this next week and hope to have the bird finished.
Criticisms are welcome.
RGDS
Juan


AJ37 Viggen "Attackviggen"
in In-Progress Pics
Posted
Oh my friend, what a mishap!!!