


paxtonm
-
Content Count
79 -
Joined
-
Last visited
Content Type
Profiles
Forums
Calendar
Posts posted by paxtonm
-
-
Thanks for the heads up! I'll remember it when I do the F-14D that is sitting, waiting patiently. Does anyone have pictures of the exhaust and intake covers on an F-14A and ideally from VF-1? I know the covers frequently have Squadron markings, if not, I'll wing it.
Michael
-
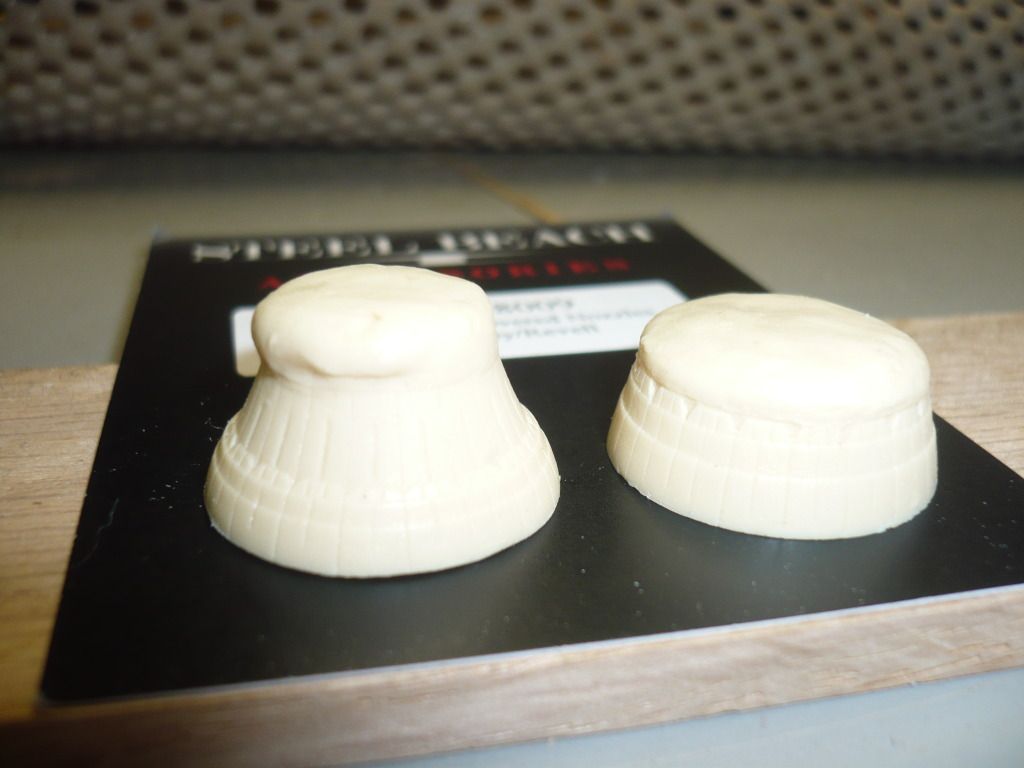
Hey again! It's me! Yeah me, the guy who said he didn't want to use any resin on this project! Guess what, my name's Michael, and I have an aftermarket parts problem! Maybe saying from the start that I'm not going to use AM keeps me from buying an expensive cockpit set! Anyway, I bought some Steel Beach nozzles because I wanted to show one open and one closed, and that simply wasn't possible with the kit parts. While I was online, I also picked up the Steel Beach F-14 walkways because, well frankly, they looked super cool.
The Steel Beach nozzles are really nicely cast and have great detail!

When mounted to the aircraft, I realized that I had slightly misaligned the backside which will require some filling, sanding and rescribing of lines.
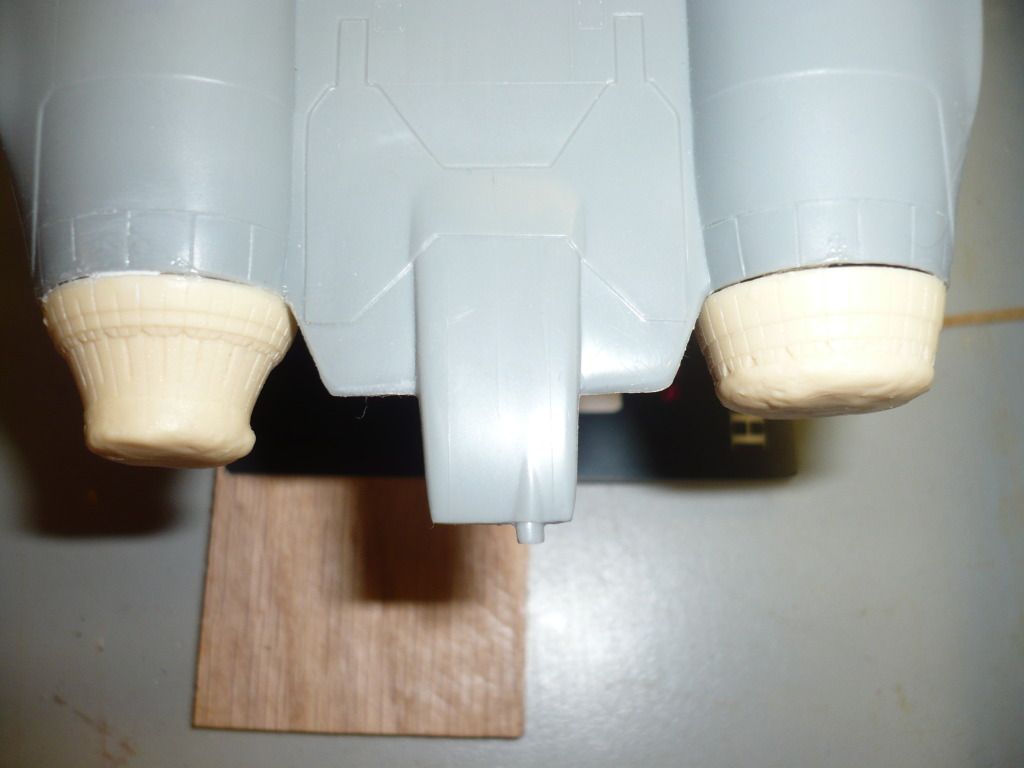
This is definitely not due to any imperfection on the part of the nozzles, but, the bottom half of the plane is out of line by the amount of the width of the crack.
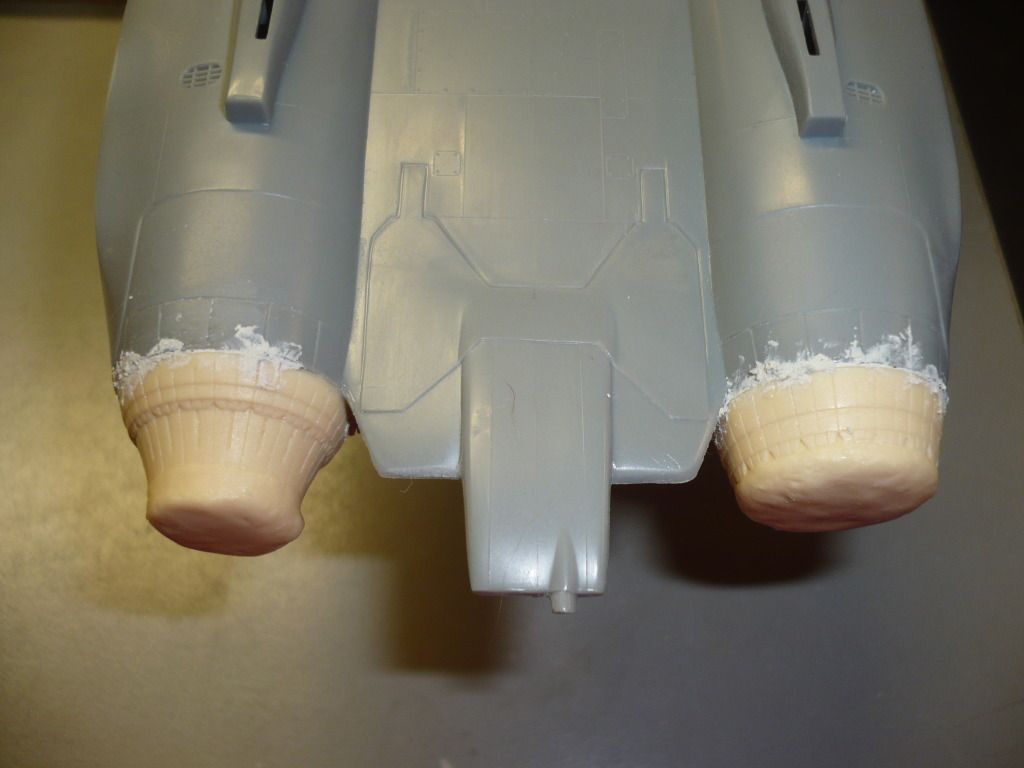
So, a little bit of putty later, and I am left with this. Not too bad.
Michael
-
Darren,
So, it's not enough to fill the vents, as the shape of the gun is different? As I'm trying to go OOB on this except for the decals, I'm trying not to add resin to the project. since this, like my other models, will never see a show, I will just forge ahead with it as is.
Your depth of knowledge is unbelievable. I'd really like to consult you before I start my next F-14. BTW, my next model is the F-14D Monogram that is the same vintage as this one. On that one, I'd like to get as much out of it as possible, and have not selected any markings for it yet!
Thanks,
Michael
-
I've taken a different approach with fixing the seam lines within the intakes - the difficult way. :)/>

Wow! You'll have to show the "after" pictures!
-
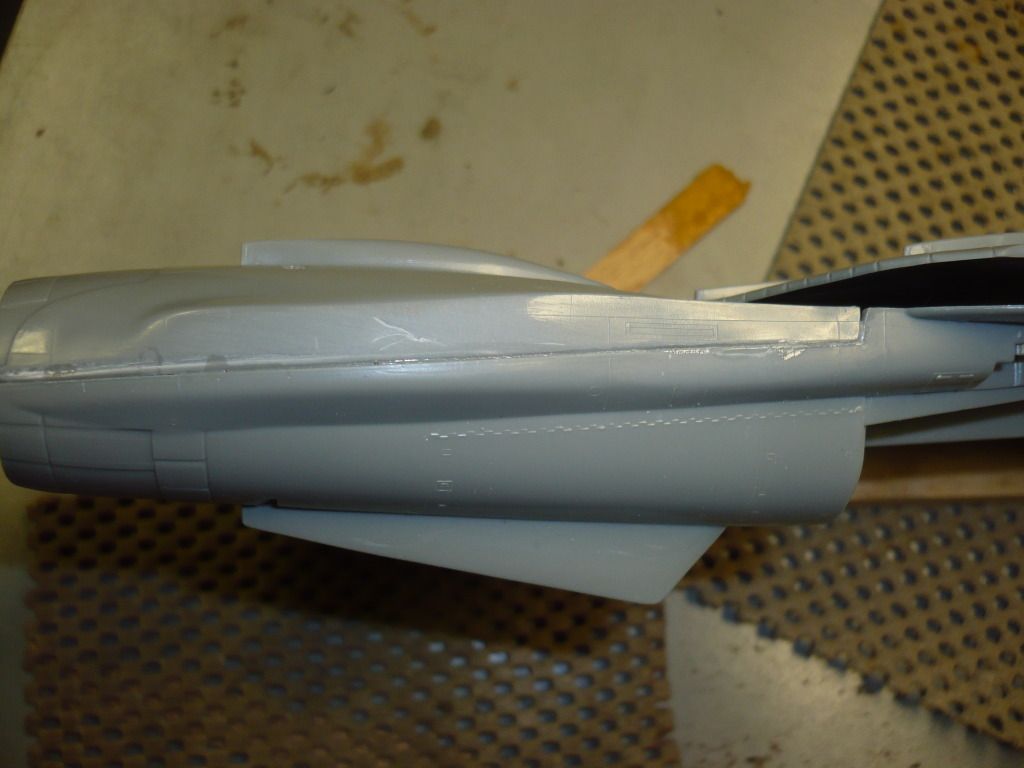
I'm back at it at have completed the stabilator removal and seam filling, as well as the fuselage sanding. I also completed removal of the intake portions and installed them. I see why so many opt for intake covers. I tried to line things up as well as possible, and ended up with this.
If there is a way to putty and sand this without destroying the model, I am up for suggestions!
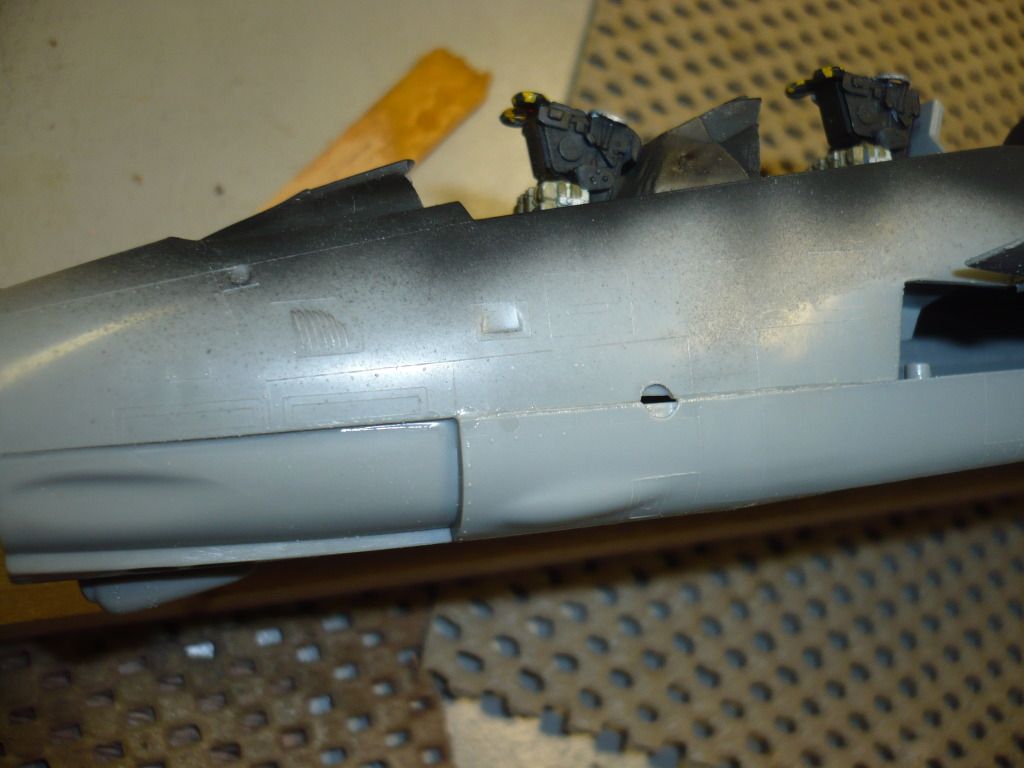
I also set about repairing a minor area of concern back where the engines go in. The fit of the model leaves a bit of a gap between the engine and the body. Easily taken care of!
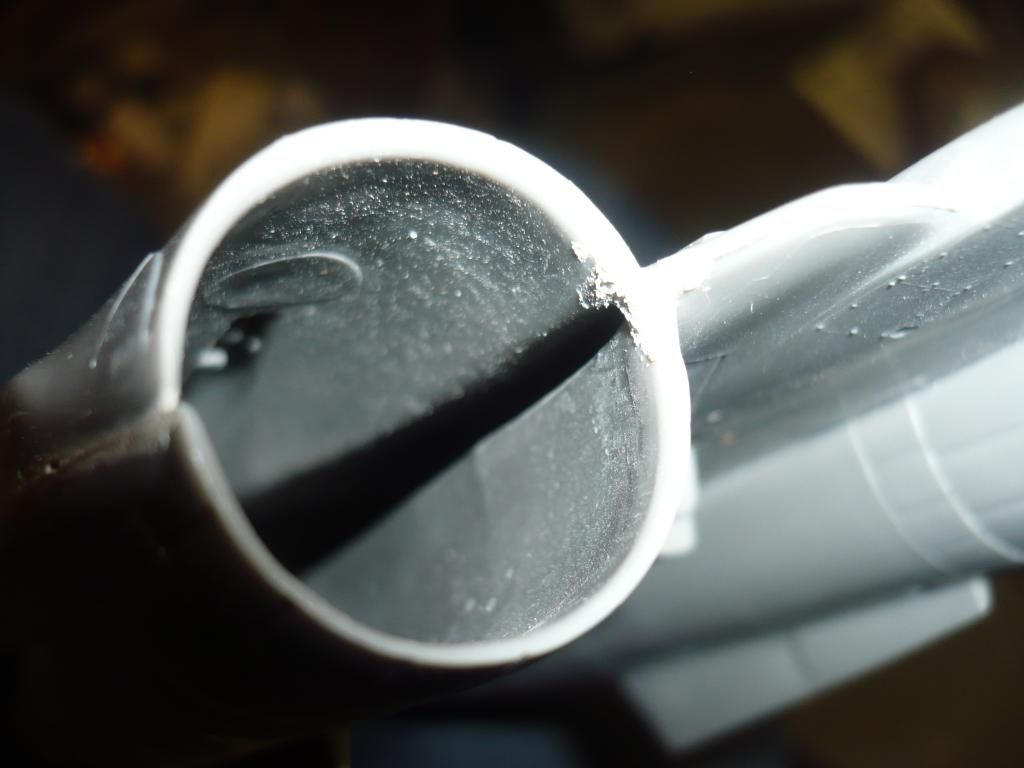
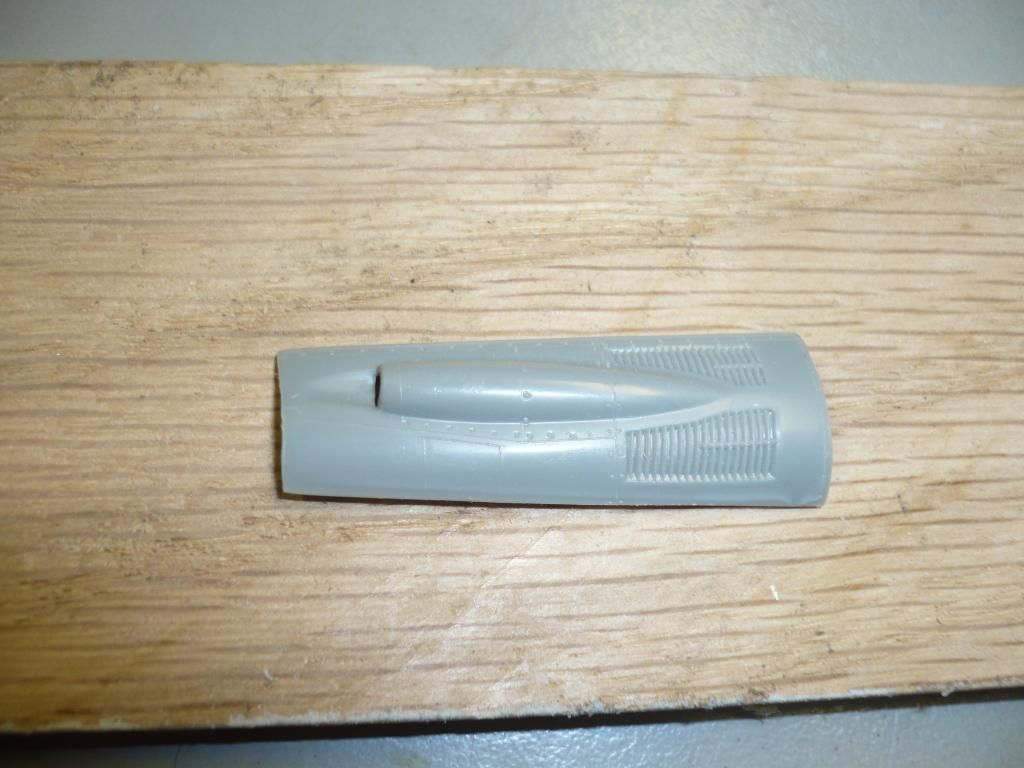
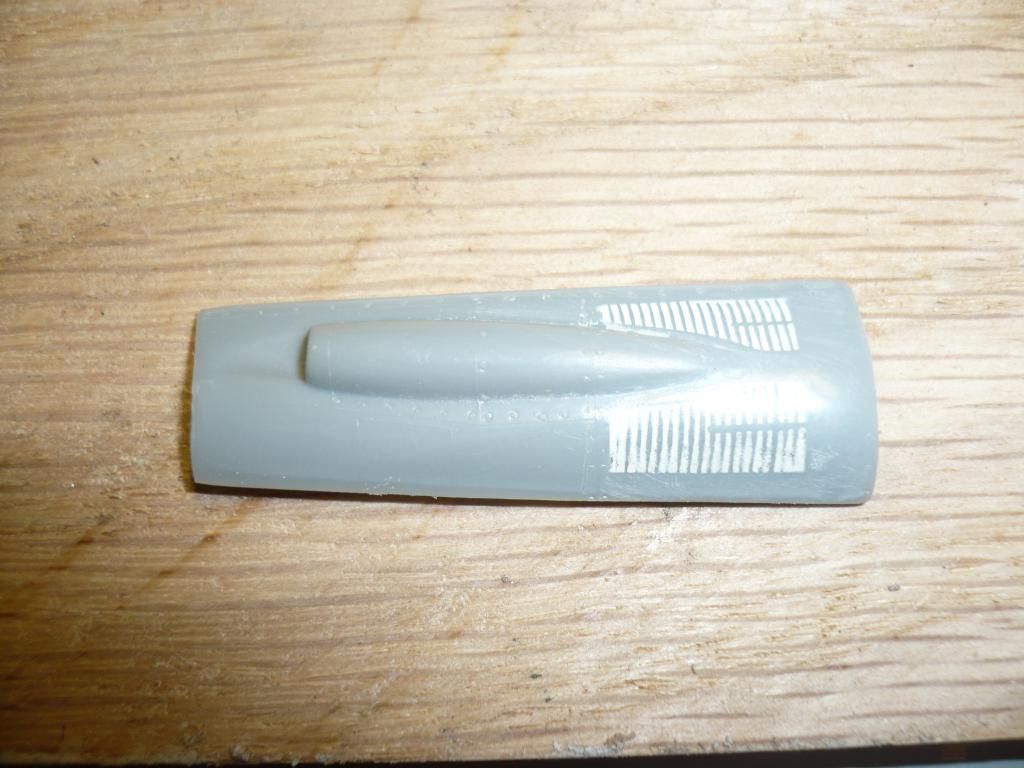
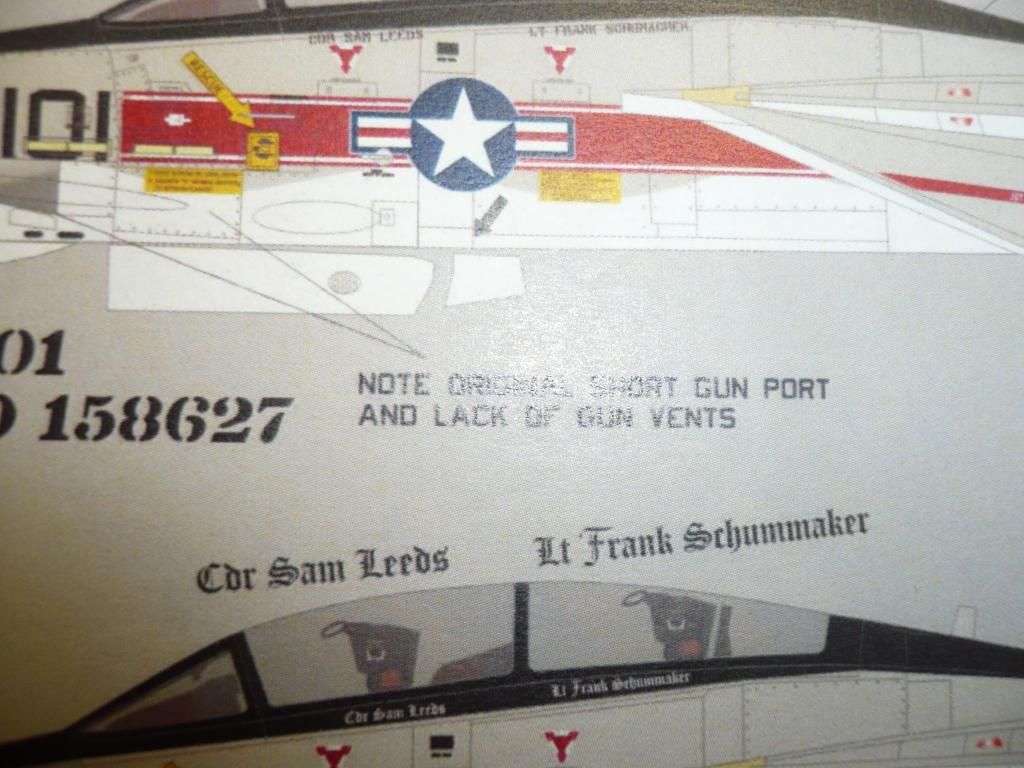
I tackled the gun port by filling the vents on the supplied part to match the illustration on the selected decals.
Lastly, I started on the engine nozzles by mixing Tamiya acrylic buff and some white. This will progress into the addition of the darker coloring inside the nozzles.
Thanks for reading!
Michael
-
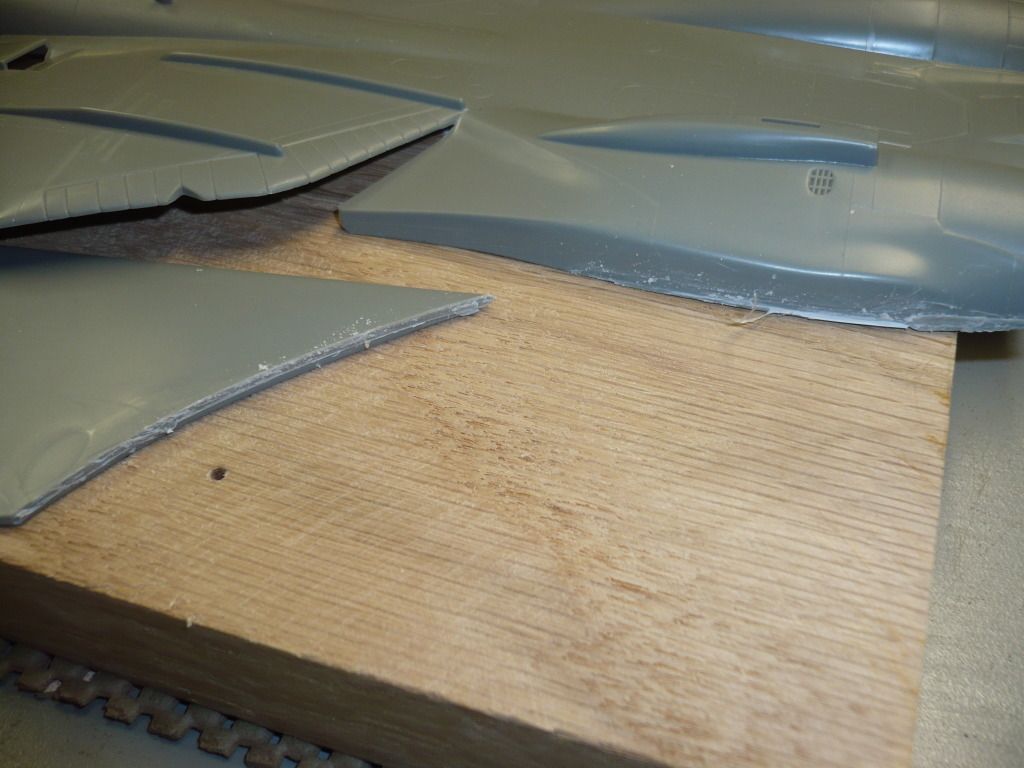
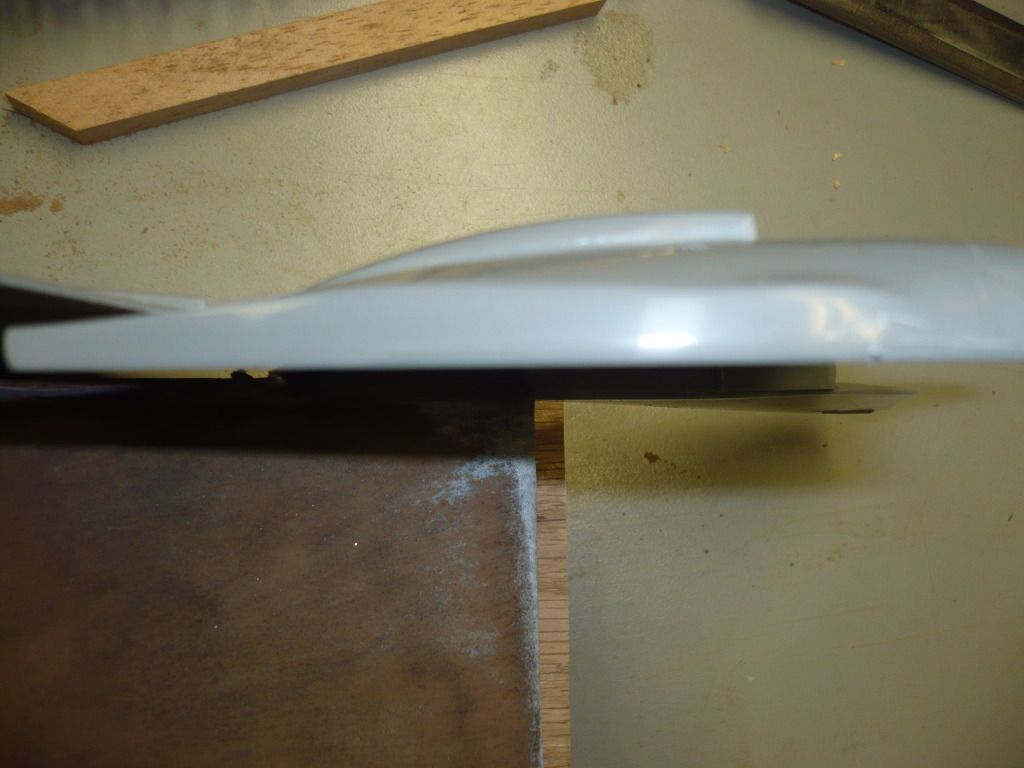
After a brief break to work on some woodworking projects for my nephew and my son, I'm back to the F-14! I got the other vertical stabilator off, much neater and easier this time. It seemed much easier to cut with the body of the fuselage against my body and the wingtip side out. Bracing the knife and pulling toward me seemed to induce less tendency for the hobby knife to climb the side of the fuselage. Or, I was just more careful. Either way, here's what the top and bottom look like together...
Seems like an easy enough seam to deal with. It lined up nicely, and the Tenax set it quickly as usual.
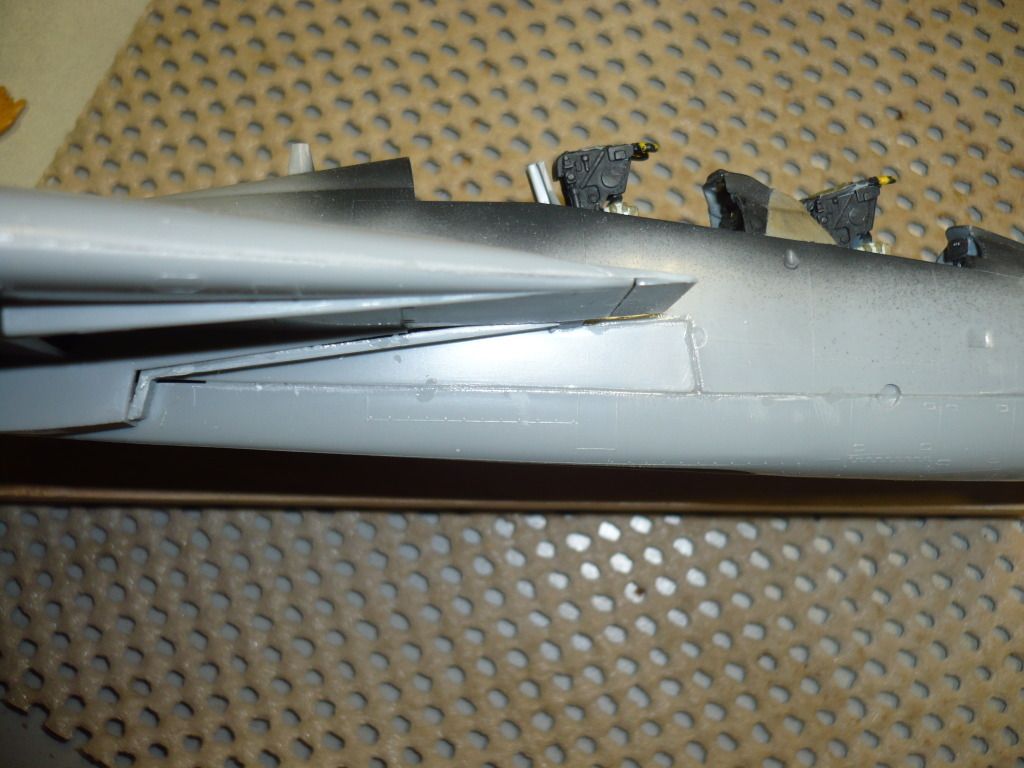
Here's what the forward edge of the wing housing looks like. You can also see that I used Darren's method of removing the inner side of the intake piece and attaching it without the intake. Again, it creates a pretty manageable seam. I dry fitted the other side without removing this piece, and I can see where it would be a bear to fit and finish.
Lastly, this is the fuselage along the port side of the aircraft where the joint is. It also went together pretty well, with just a bit of coaxing and some patience with the Tenax.
Sorry for the delays! I'm looking forward to sanding off as few of the raised panel lines as possible!
Michael
-
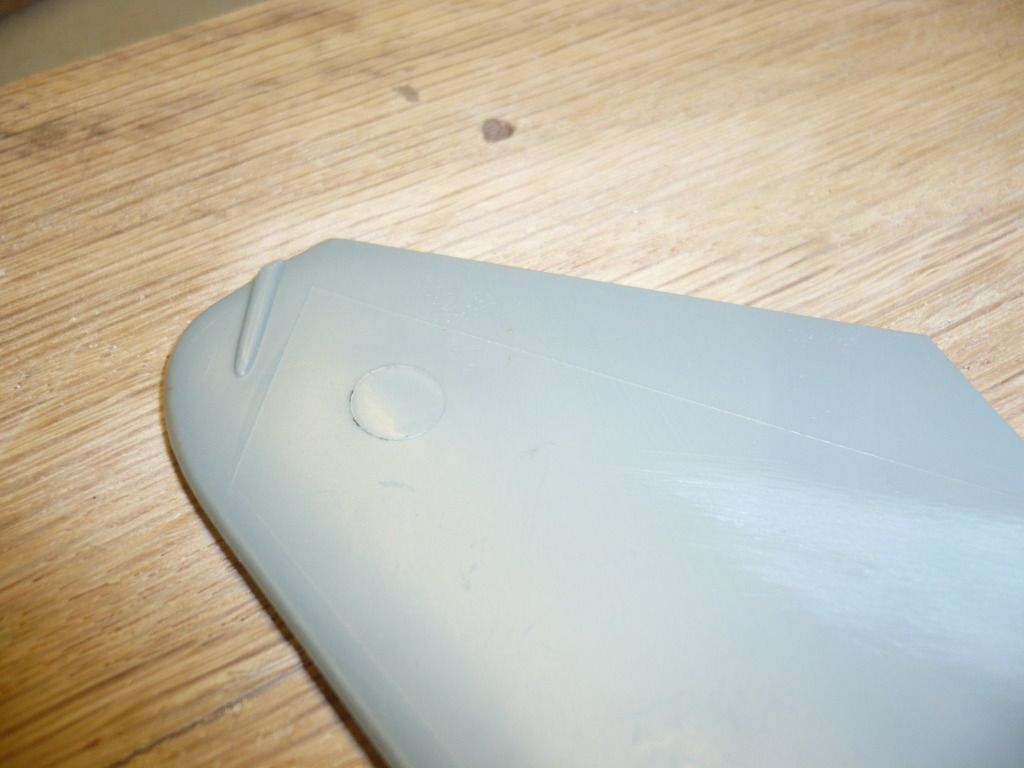
Admittedly, my last couple of posts have been pretty mundane, and I'm not sure why I'm documenting so extensively, except that I'm sure future generations of obsessive compulsive humans will be dying to know how to build a Monogram F-14A. Today though, was just a few notches below Star Wars on the excitement scale. I completed a first on my part, which was willfully and purposefully removing a horizontal stabilator from an aircraft.
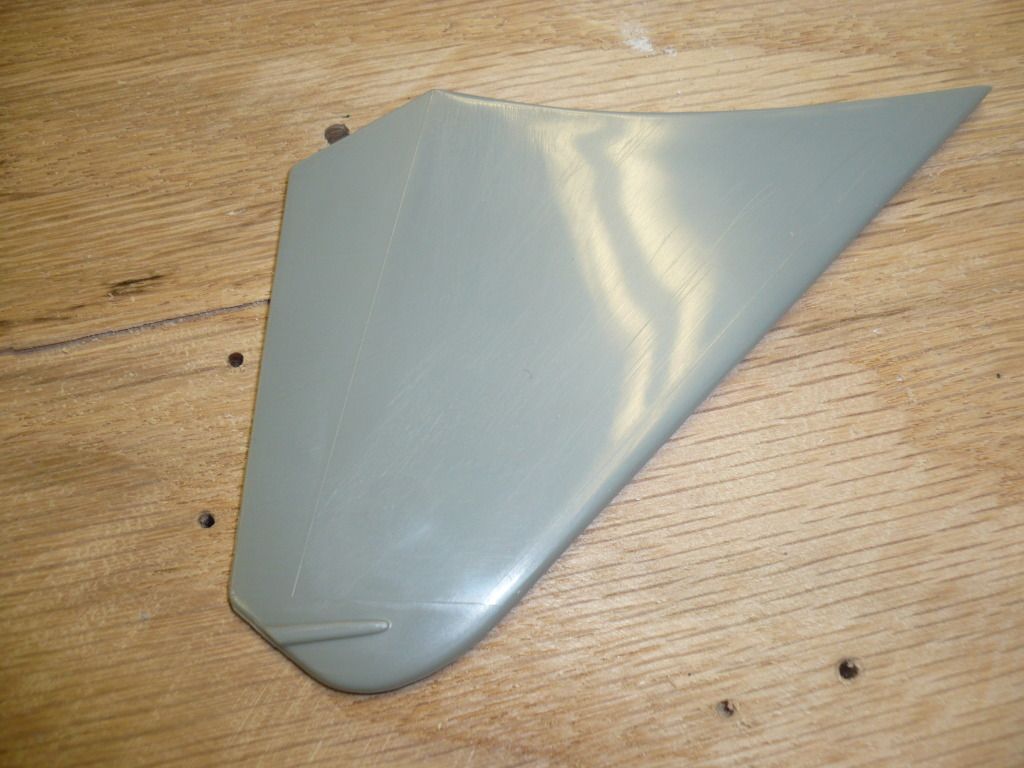
Ugly!
After buffing from emory board to 1200 grit to 12000 grit, Pretty!
After closer examination I discover that Monogram was just awesome enough to stamp a copyright mark on the model. On the outside. Near some raised panel lines. That'll keep me from ignoring the copyright in the instructions! Brilliant!
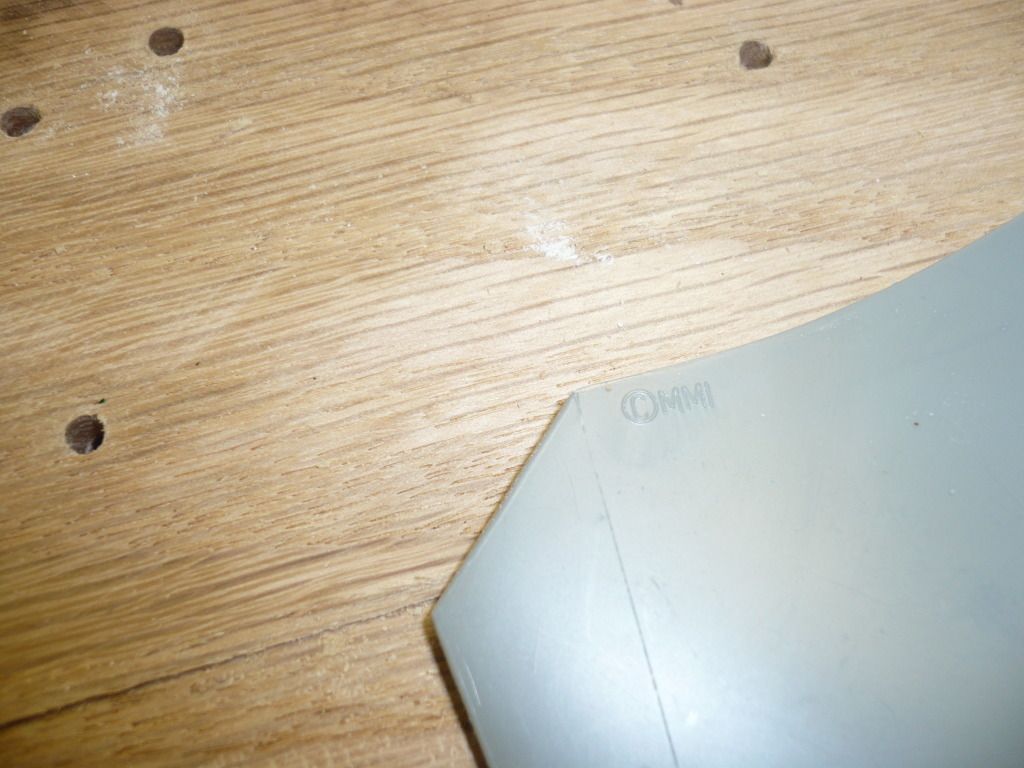
I am pretty sure that this conversation took place deep in the halls of Monogram at some point.
"Joe, did you get that copyright in place?"
"Sure did boss, right next to the panel line."
"Nice work, Kid! Now, how do you feel about having the engineers put a giant punch mark on the other end of that piece?"
"Wow, Boss, I see why you're in charge!"
Well, the good folks at Monogram can't stop me!
Tomorrow, I'm going to get the other stabilator, which doesn't sport the awesome copyright, but does have a matching punch mark!
Michael
-
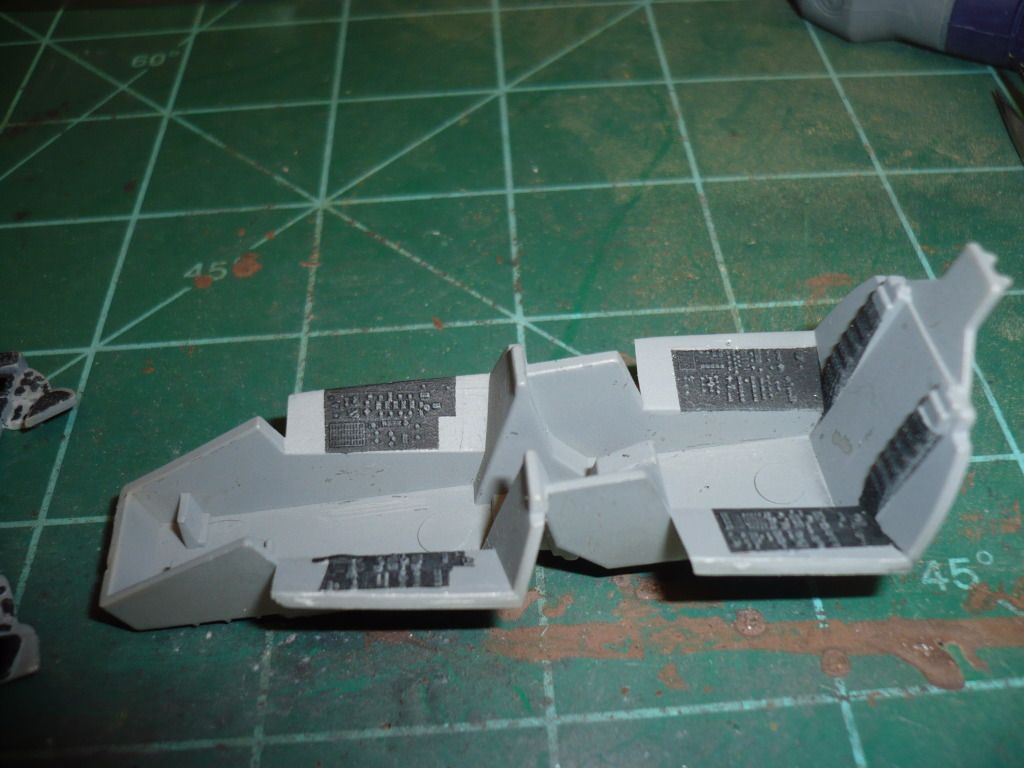
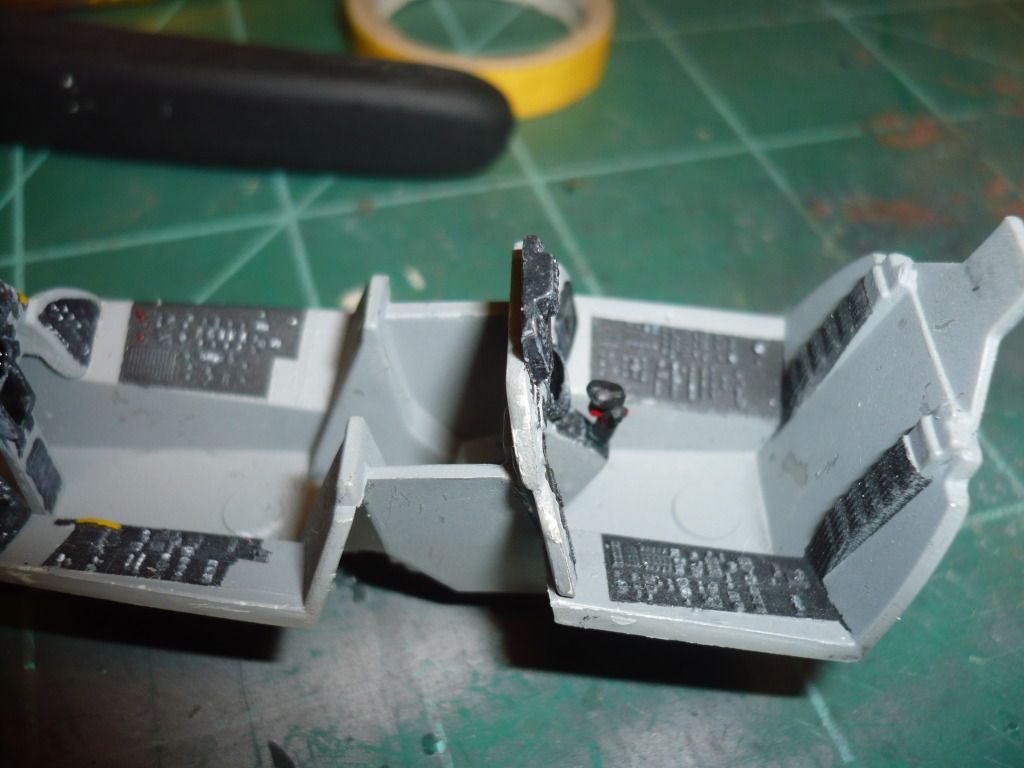
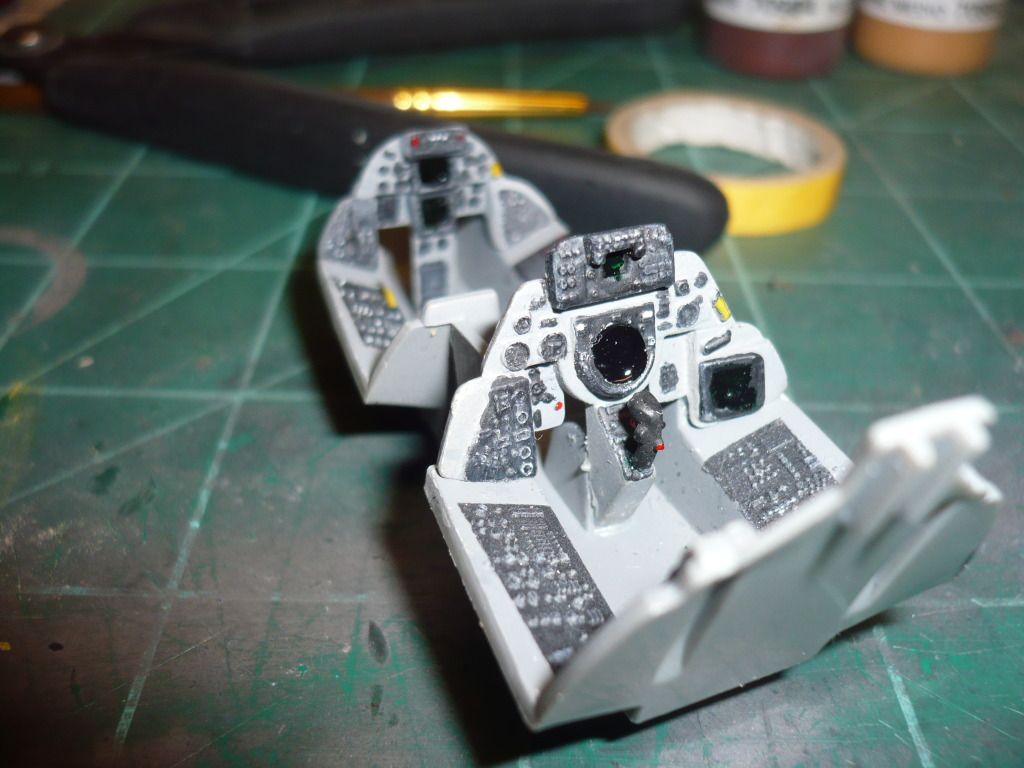
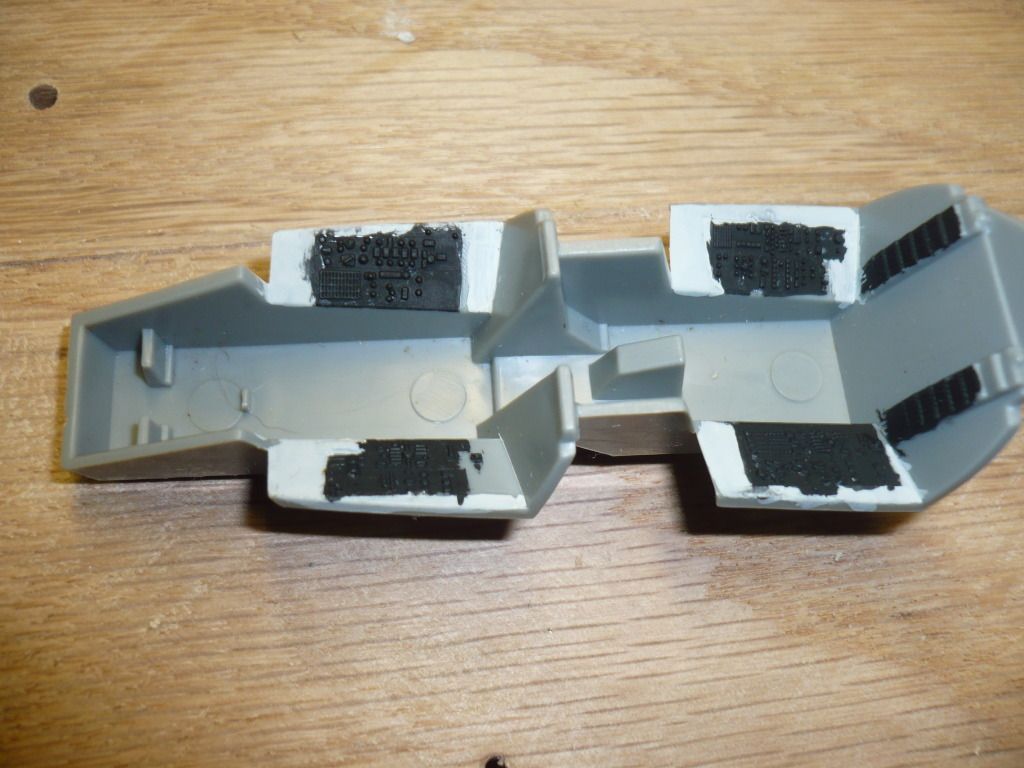
I got the cockpits finished up tonight, with the exception of the pilot's control stick. The cockpit went in pretty easily, which is a nice change from trying to put a resin cockpit into a Hasegawa fuselage... I filled the noticeable gaps underneath with some CA glue. I may go back and fill some more depending on how it looks when I dry-fit the lower half.
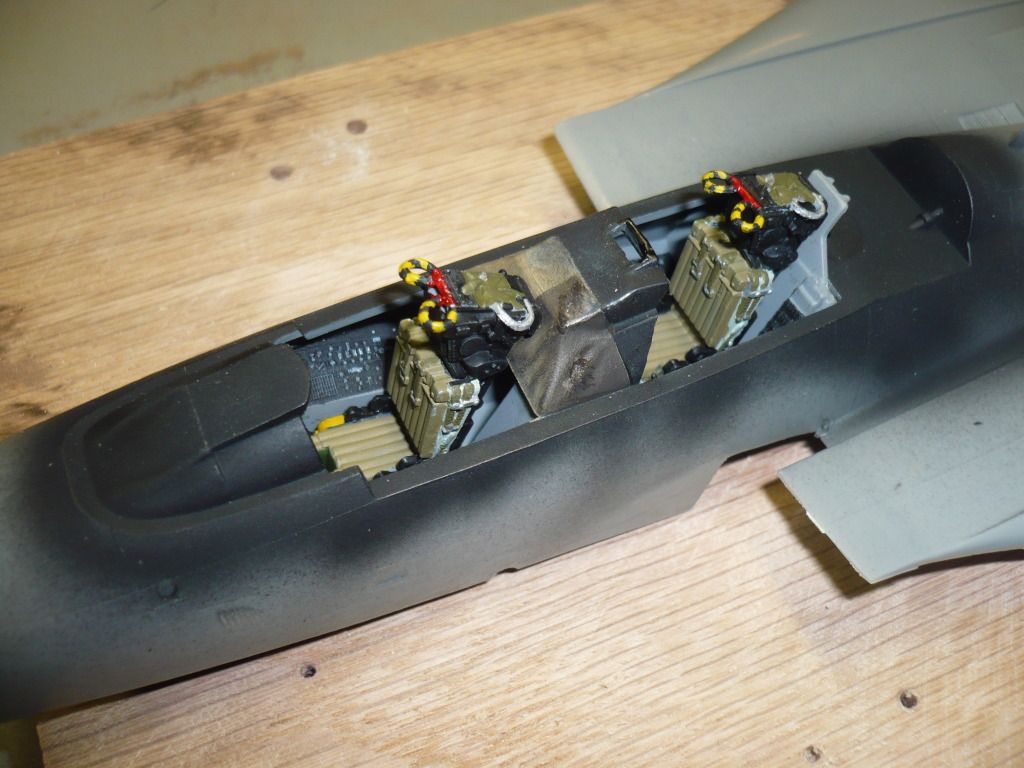
Also, I had thought about dry brushing the black on the seats, as it simply looks too clean. I didn't in the first place because I was using the DACO book as a reference and the pictured seats look very clean. However, they are out of the aircraft for maintenance, so that makes sense. Any thoughts?
Thanks for looking.
Michael
-
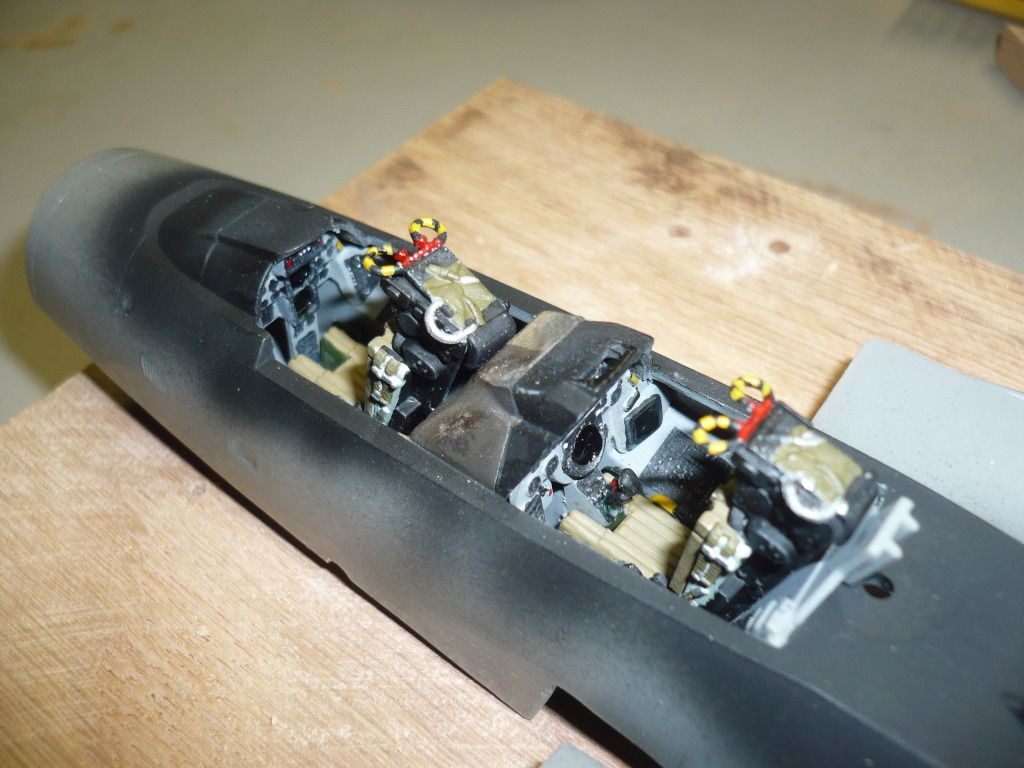
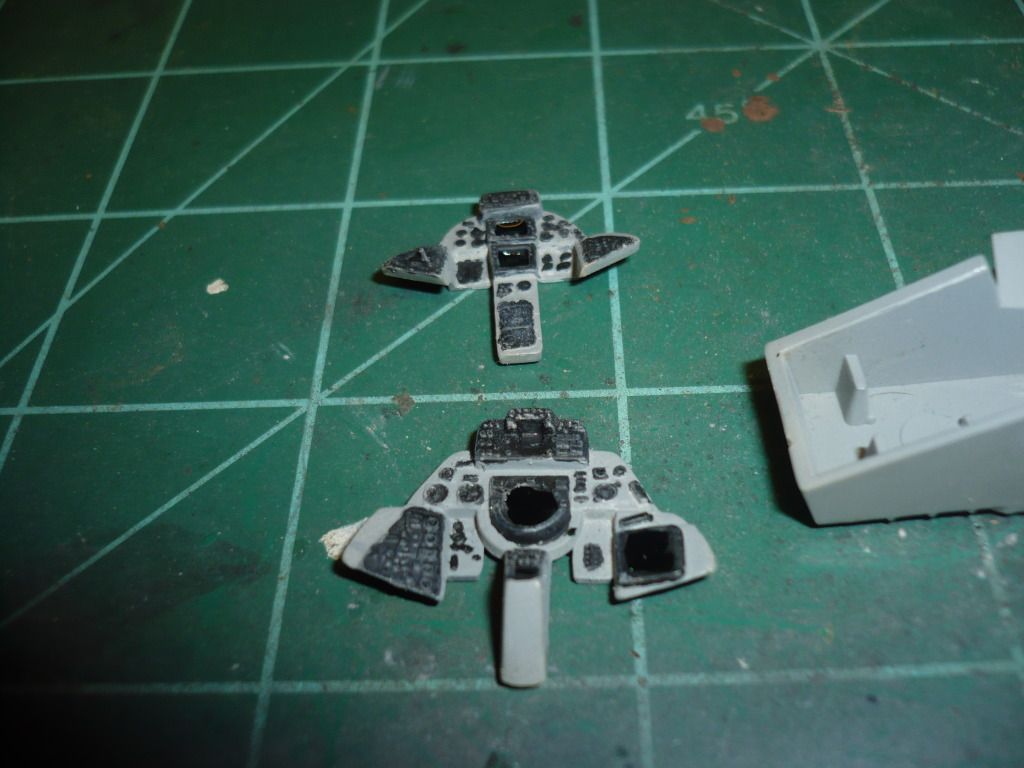
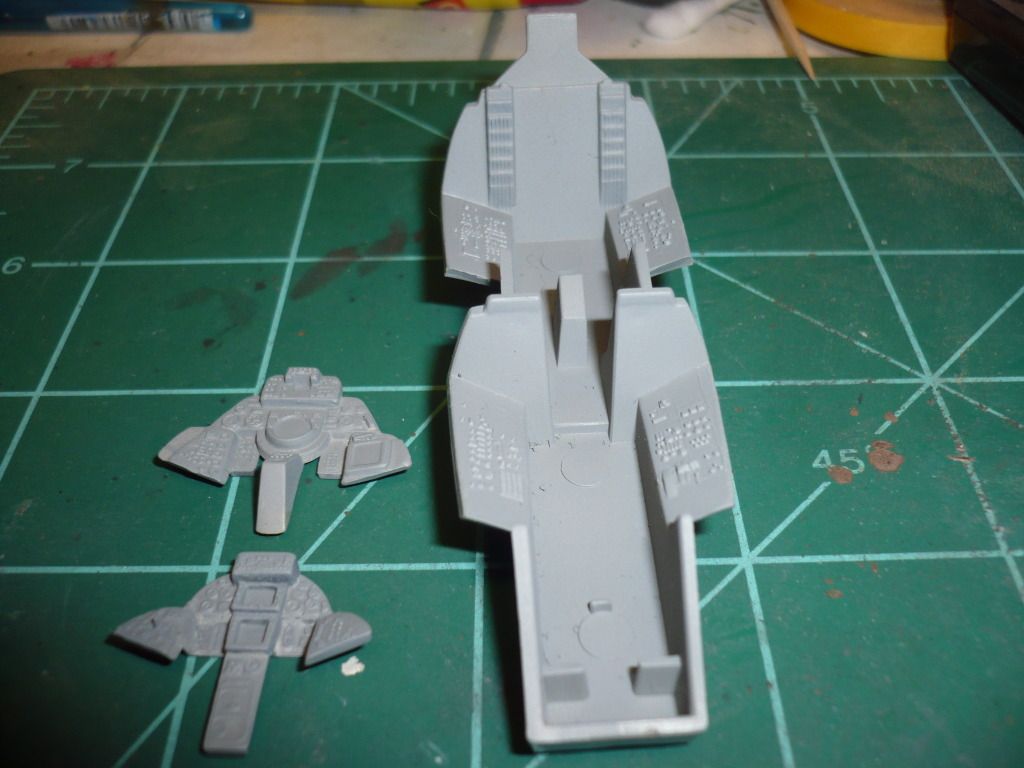
I think, probably like 98% of the others on this forum, that I could make adjustments to the cockpits and seats forever, foresaking all others until death do us part. However, here is where I am at the moment. The only other step I may take is to add a darker oil wash to the seats to highlight the ribbing some.
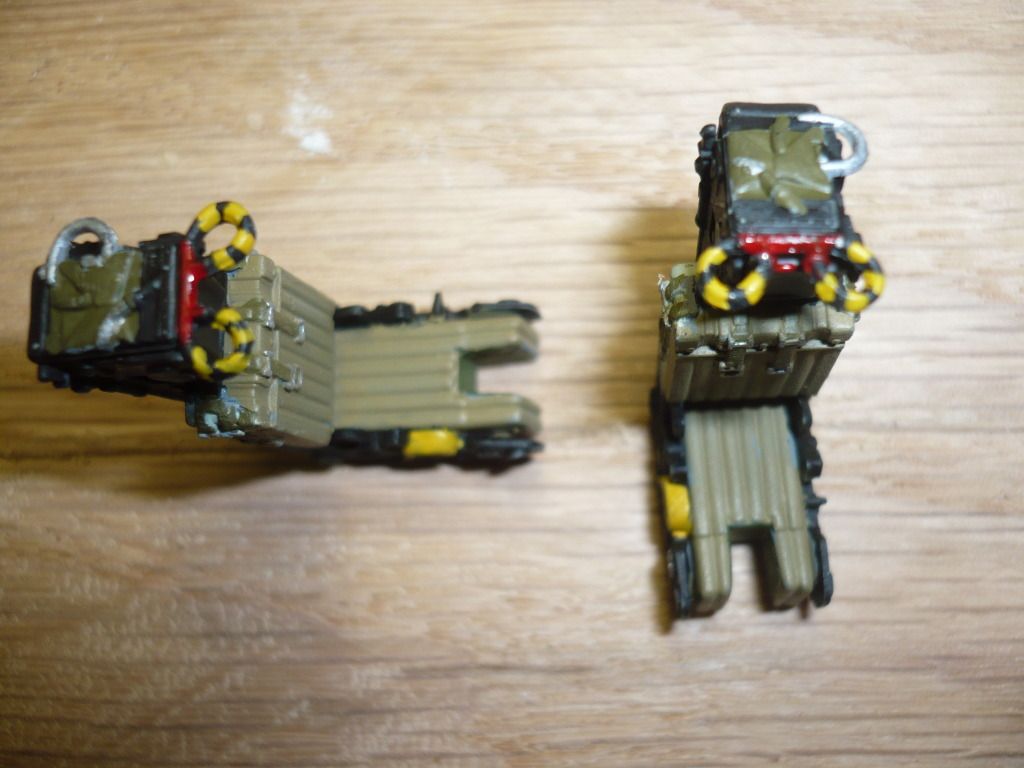
I am at least to the point in my modeling that I realize, when I'm doing it, that the detail at the bottom of the seats will not be seen once they're inserted into the cockpit, and definitely not once they're inserted into the fuselage. I still like doing it. Again, after viewing the more enormous version of the seats, I now see that I have a bit of touch up to do!
Michael
-
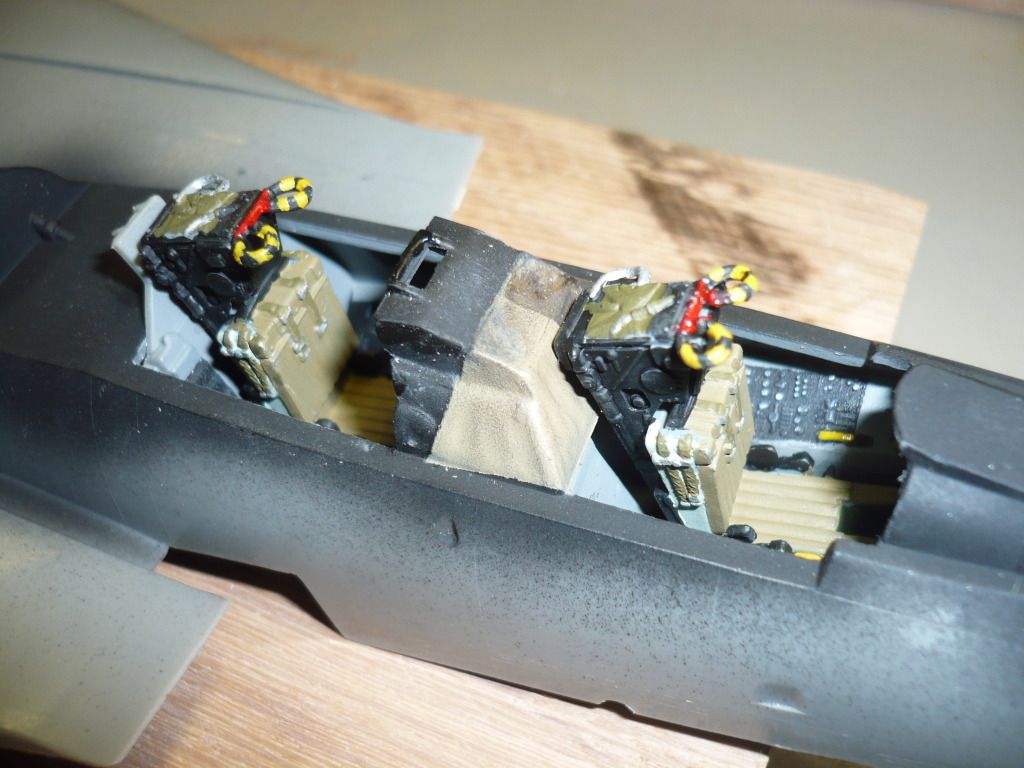
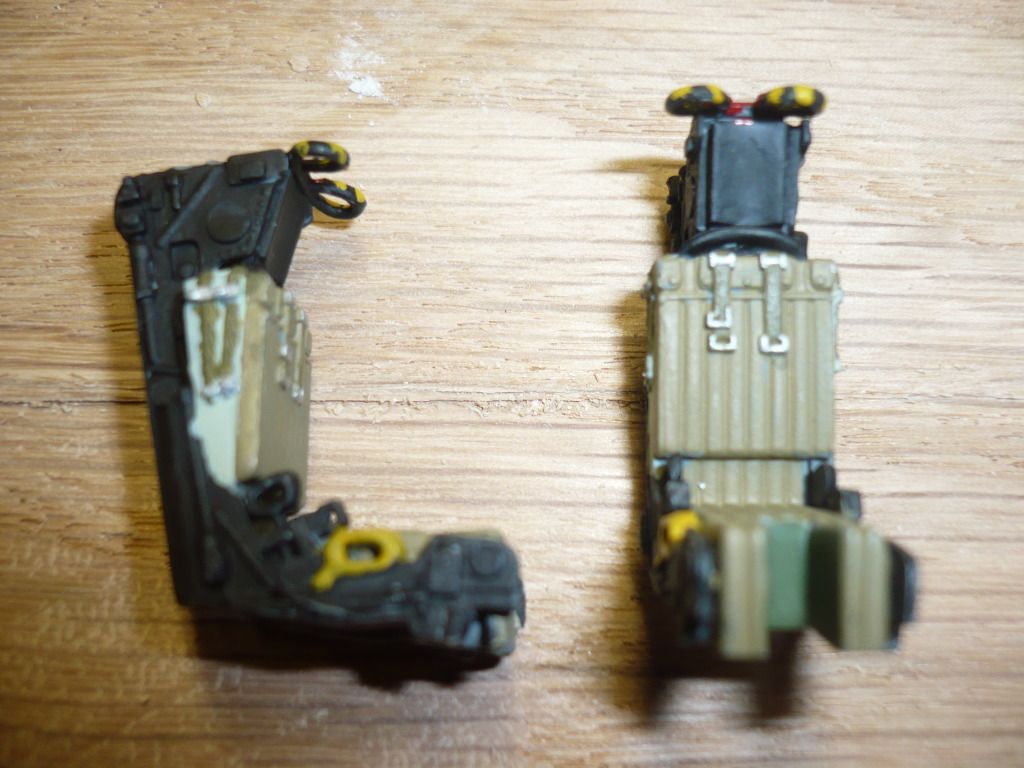
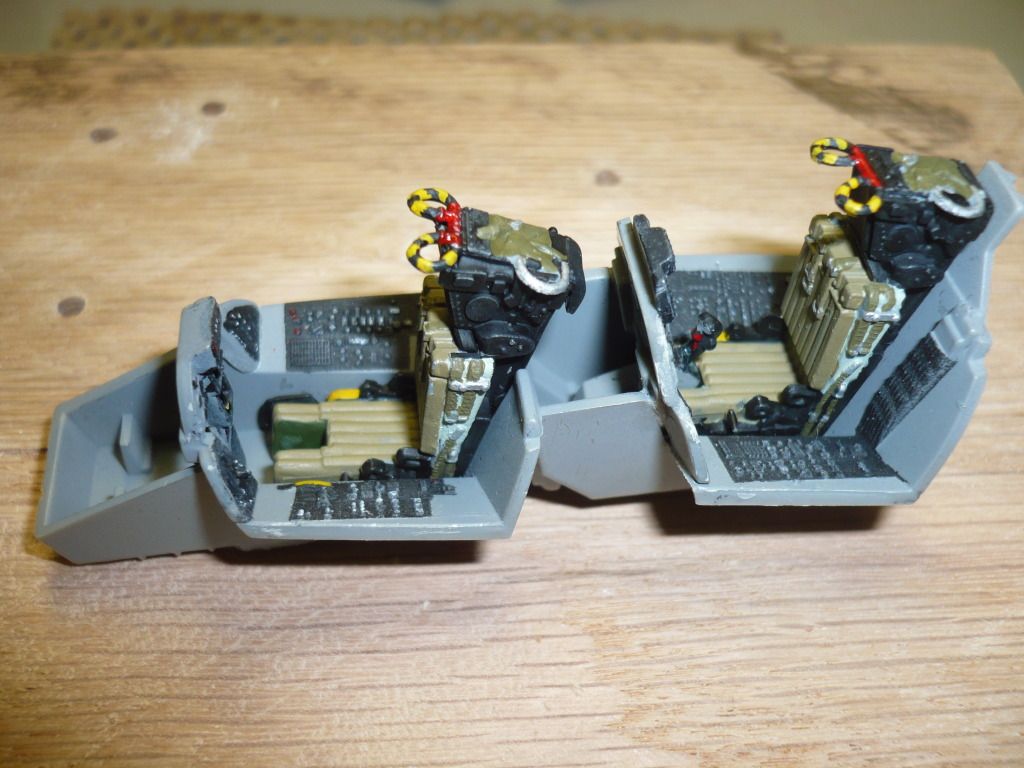
At long last, I have completed the cockpits for the F-14A. Nothing like magnifying an object to make what I thought was pretty decent work, look pretty bad!
This is the initial painting. The black is Model Master Enamel Aircraft interior black. I drybrushed with a bit of Dark Gull Gray, which, when looking through the mighty Magna Visor, looked like it would pop the details enough. When viewed with the naked eye, it really didn't do enough, as you can see below.
So, I went in and hit the buttons by hand with some gloss white, and highlighted the appropriate areas in Insignia Yellow and Tamiya Acrylic red.
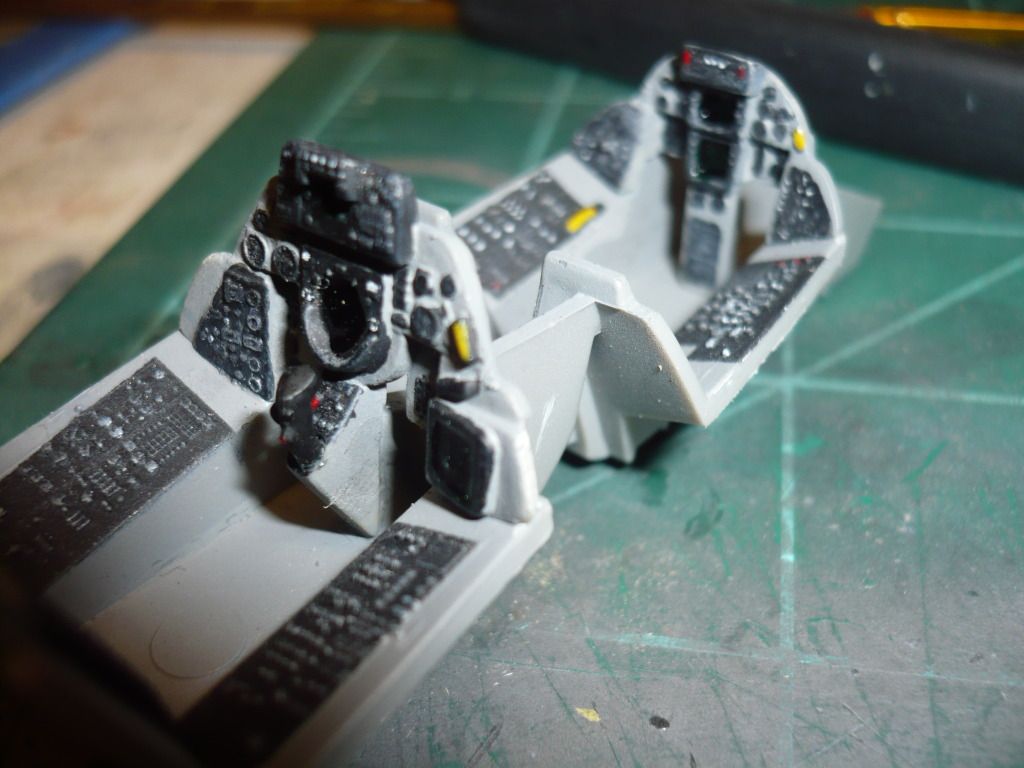
I think it looks a bit better than it did a week ago, and I've made quite a bit of progress on the seats, which I hope to finish up tonight.
Michael
-
Here's what the Monogram Tomcat can look like.

Darren,
That's a straight out of the box, right? Your work is stunning! I've been down sick the last couple of days, but I'm back on it today! I did some work on the seats last night, but not really enough to show.
Thanks for the additional motivation.
Michael
-
Darren,
Thanks for the great information. I think that this model is suited for the BUNO 158627 circa 1973 decals, right? I'm going to seperate the stabilators from the fuselage and the fuselage portion of the intakes tomorrow. Hopefully, I can keep the cuts pretty clean.
Anyway, I wanted to get the cockpit repainted and the seats put together today, and I managed to get that done. I sprayed the black with Model Master Enamel Aircraft Interior Black.

I did the same for the forward and aft consoles.
I did a bit of dry brushing with darkened gray and put some Tamiya Acrylic Clear Green on the scopes. I will go out and pick out some of the yellow levers and switches tomorrow, but, after looking at the DACO F-14 book, the F-14A cockpit has predominantly grey or white switches when compared to the later upgrades.
I got the seats put together, and for non-resin, I think they look pretty good! I will get some paint on them tomorrow.
-
Fightertown 'wolfpack' sheet would work well with this f14A I think, although I'm not sure about gun vents etc. if they are a match.
I agree that the Fightertown Wolfpack set is the right look! I went ahead and ordered the sheet from Fightertown Decals. Now, it's time to Ranger Up on the build...
Michael
-
A friend of mine dropped off a load of older models at my parents the other day. I'm always happy to receive any model, and since these are all US Navy aircraft, all the better.
The first one I am working on is the Monogram F-14A kit of fine 1981 vintage. I'm going to build this one mostly out of the box, and try to make the best of the kit. Any recommendations on decals would be appreciated, as the kit ones appear quite thick and yellow.
My friend started on quite a few of the models, and this was no exception.
My first step was to give the cockpit parts a nice coat of Model Master Enamel FS 36231 (Dark Gull Gray).
Tomorrow, I'd like to get the four-piece seats put together, and the consoles masked and painted.
This was all I was able to accomplish this evening, as there was a bit of parts sorting involved.
Michael
-
In preparation for building the Hobbyboss 1/48 scale A-10A I had a couple of questions
I would like to model the aircraft that flew the 50th Anniversary D-Day flight. The aircraft was from the 45th FS. Does anyone have pictures of the aircraft so that I can determine what LASTE upgrades had been completed?
Also, did anyone receive the WolfPak Decals 2011 customer appreciation sheet that has the 1/48 scale decals for this Hog? I would gladly pay for the A-10 decals and any shipping.
Thanks!
Michael
-
Jake,
I got mine last week and I must say it is an amazing work! Great detail and the usual horde of unbelievable photos.
Thanks for the great work!
Michael
-
-
-
-
My reason for getting out is that my interest in aviation and the hobby was destroyed by disingenuous duplicitous douchebags.
Sorry tobiK but even I would like to have another set of my Gunfighter decals. I gave up one of the few I had to the artist who drew them after someone stole his entire decal portfolio (a huge binder filled with hundreds of decals) at a Nationals. Despite rumors of an "eBay stash" I actually keep only three of each of my decals. One for archives (a box under my bed), one to use (someday if I ever get interested again) and a back up. And in some other cases I don't even have 3 because, for example, I sold a B-58 set on eBay after I had ordered a fourth and final print run which I ended up canceling.
The really interesting thing about those B-58s sets is that I didn't do the research and don't really have any interest in the subject. I bought the artwork "as is" from Jennings which is why the instruction sheet is different than all my others. I just wanted to get some more product in my line and it turned out to be my best and fastest selling sets.
But the really disappointing thing is that there were going to be more Foxy Girls that were more scantily clad then the first ones.
Ben
Ben, the Foxy Girls were found on one bright day after a string of gloomy ones while I was in Iraq. Thanks!
-
-
Jake,
I just got my copy in the mail today, and it is phantastic! Keep up the good work!
Michael
-
Please e-mail to paxtonm1520@sbcglobal.net
-
I am interested in the Cutting Edge, Limited Edition A-10 Thunderbolt II set in 1/48. This is the set that contains the JAWS and D-Day 50th Anniversary markings.
Thanks,
Michael
Monogram F-14A
in Jet Modeling
Posted
When I left off, the covered rear engine nozzles were a bit of a mess, but since have progressed a bit. I got the putty cleaned up,
And sprayed some Alclad gloss black enamel.
Followed by some Metal Master steel. I think the forward most portion is bare titanium, right? I am using the steel as an undercoat for two reasons. I thought it would look better than it did. It is too glossy from what I can tell from other pictures. Secondly, my LHS is closed on Sunday.
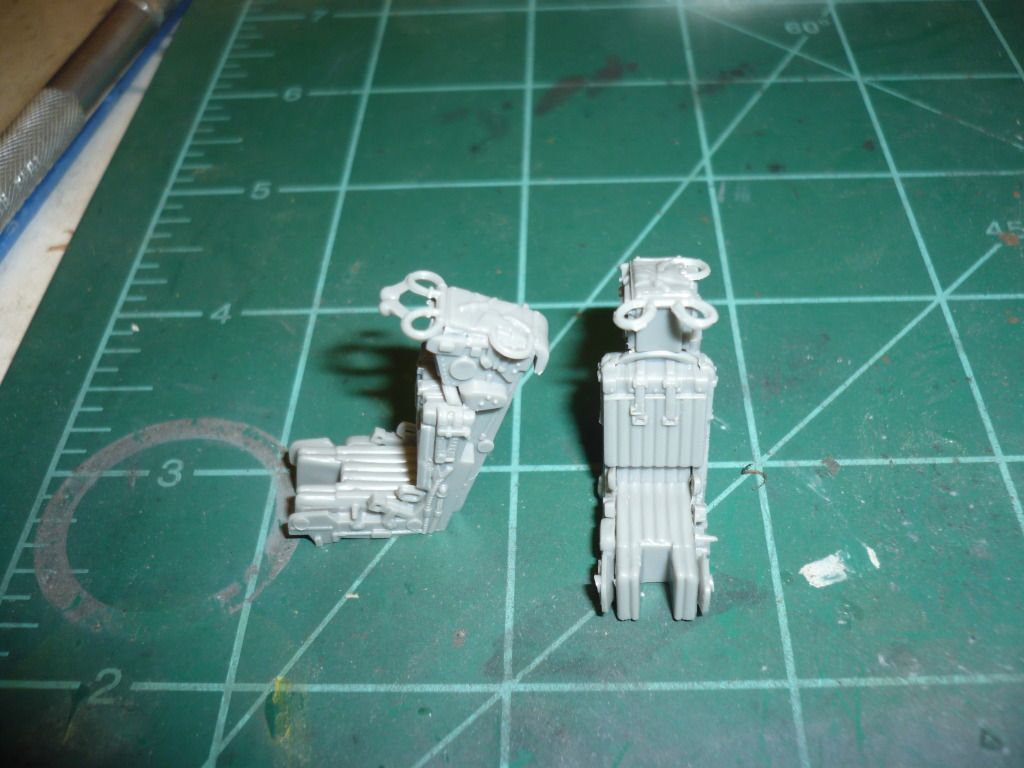
Since I am waiting until tomorrow to put down the appropriate coat of whatever metal that turns out to be, I started fiddling with the landing gear. I found this guy all by himself in the box
There were two complete sets on the sprue, which leads me to believe they have been mating when the box lid is closed. Navy personnel...
I thought I'd show what 20 minutes of cleanup per piece will do.
For once, I thought my awesome macro photography would provide sufficient detail, but my camera only reveals flaws that I introduce. Regardless, the one on the right is how it came out of the box, with some pretty wierd mold lines.
I got the wheels put together for the main landing gear and sanded off some other nicely placed punch marks, from the sidewall of the tire.
Michael