


GATO
-
Content Count
32 -
Joined
-
Last visited
Content Type
Profiles
Forums
Calendar
Posts posted by GATO
-
-
Thanks for all your words!!!!
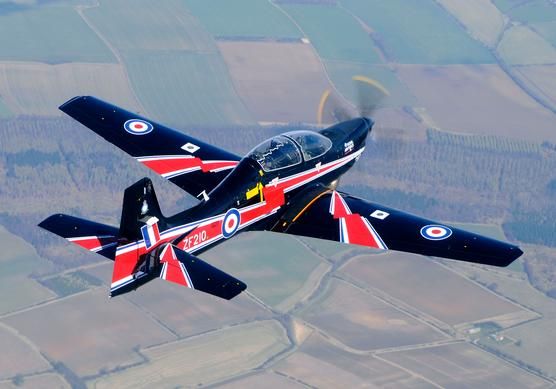
I was thinking on this paint scheme
-
Ok, here we go again.... I have been very very busy with job and house work, and of course some modelling like transforming this:
to this:
And also working on another Project, for expositions, this is a bit bigger so I want to make the final model in fiber glass, here the master model:

and the real thing

well, I have managed to make some little advance on the Tucano landing gear, but not ready yet.
Hope you enjoy it and see you soon
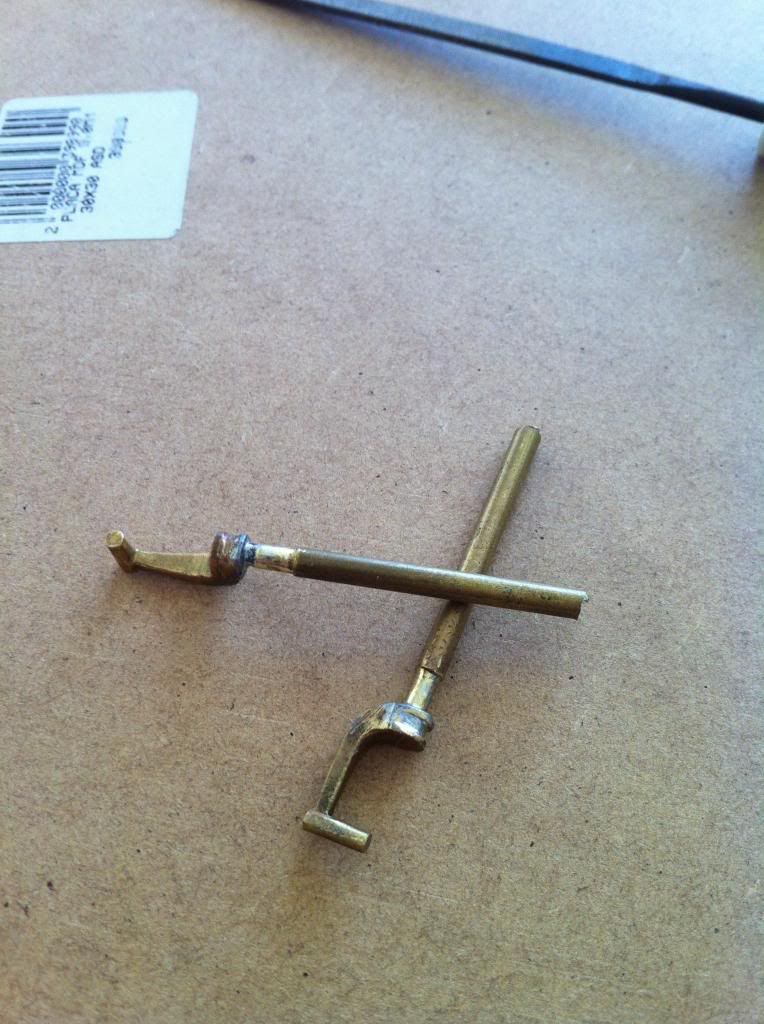
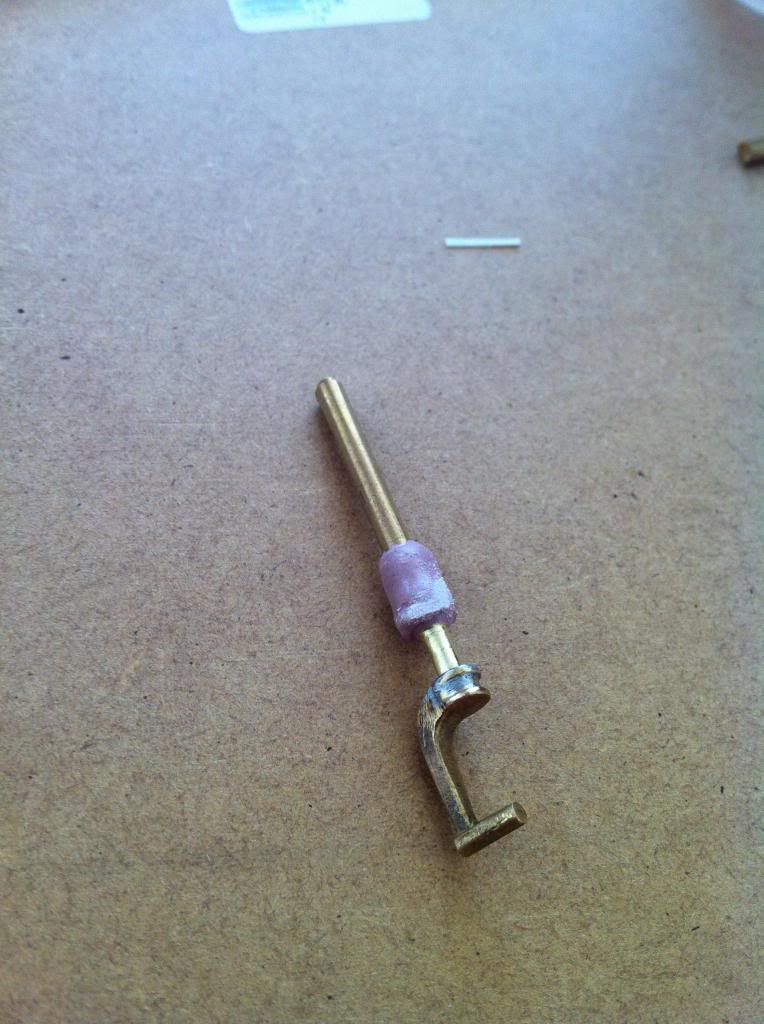
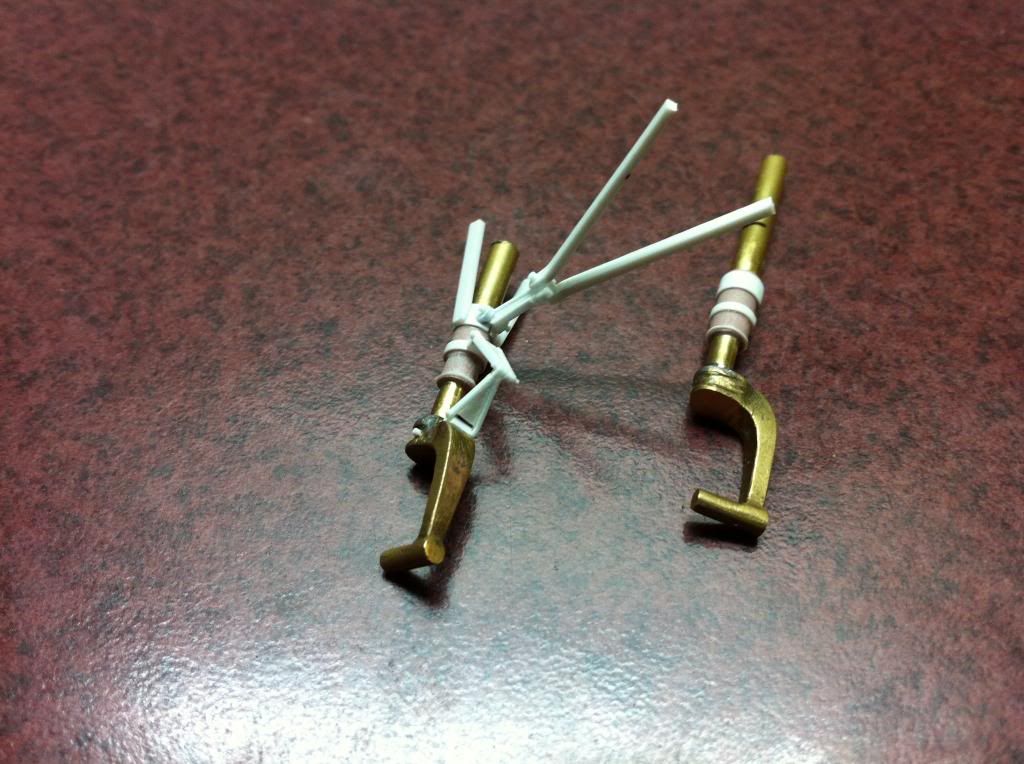
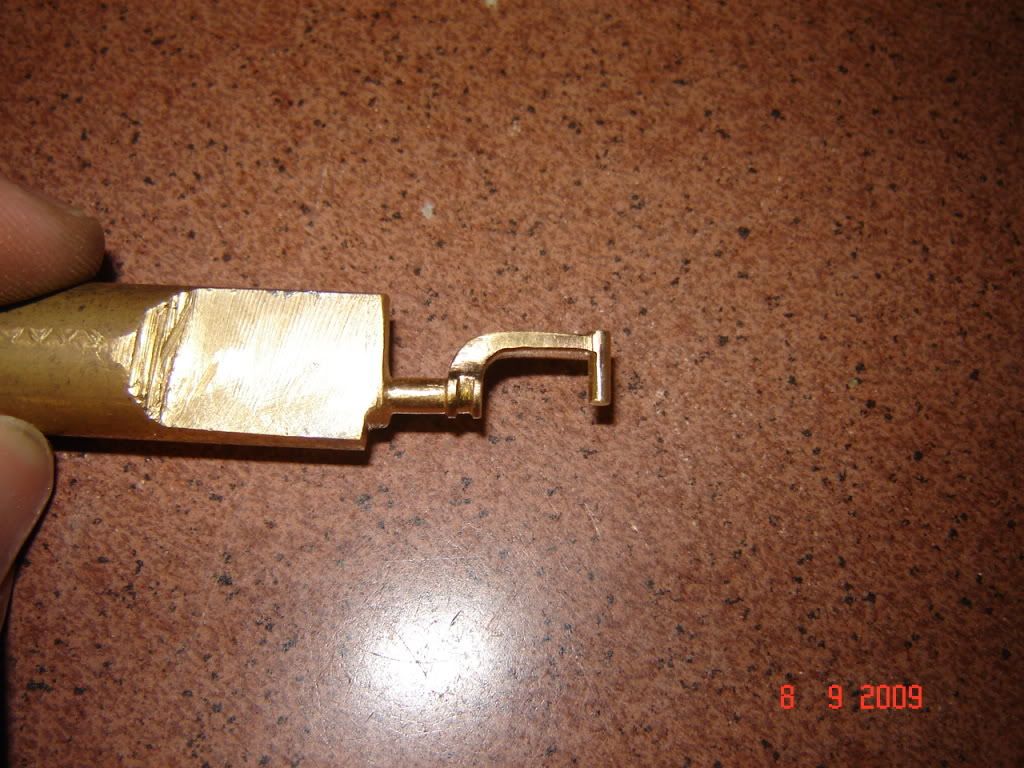
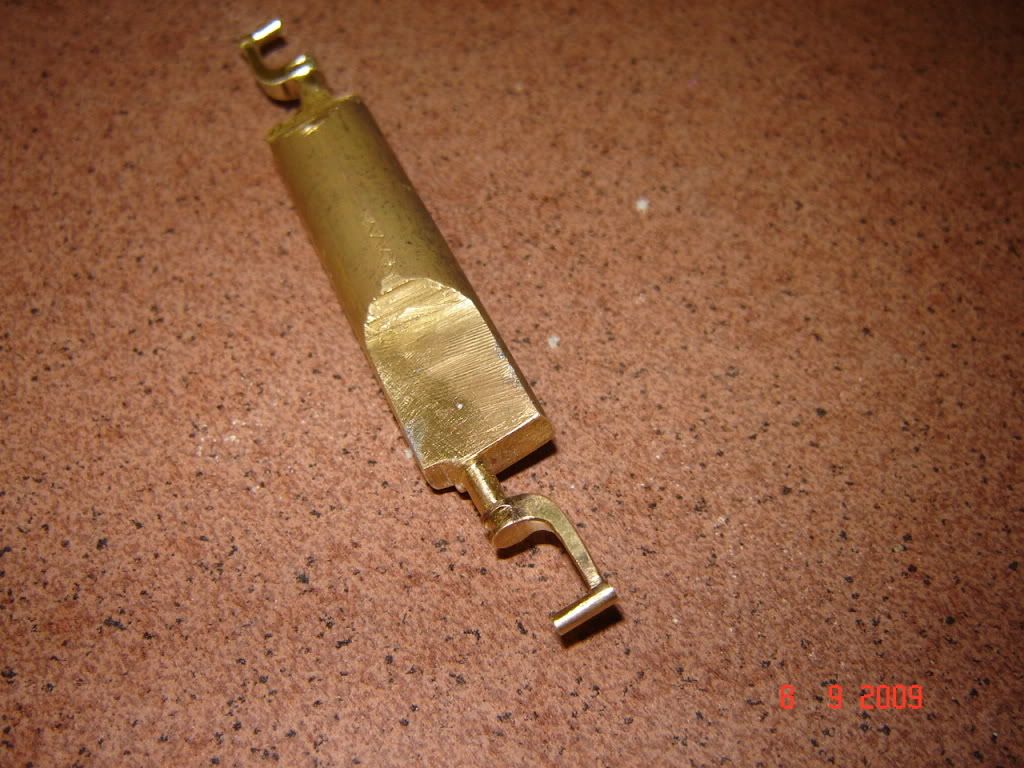
some soldering
-
I just want a CASA 295, but I saw an ATR 42 in future release. I am wrong?
-
-
-
Hi everybody, thanks for all your kind words. I haven`t been able to continue building this little plane because I was moving from one city to another, and all my house was in boxes. On friday I recieved my new house and now I am opening, ordering, cleaning etc, etc ,etc.
I expect to start building again as soon as possible and show you the progress.
See you soon!!!! :D
-
WOW nice start, really like that colour scheme I didn´t have seen it before. Do you know if the revell ec 135 air zermatt is usefull for building the austrian police version, I don´t like too much the air zermatt one. If it is usefull, do you sell those decals? how can I get one? and do you know if there is a walkaround page for the austrian version (interior and exterior)??
Thanks a lot, I will follow this build!!!!
Agustin
-
I am going to use an old pair of wheels, because I don´t feel able to make them from scratch, I know they are not the same ones as in the real plane, but at least they are the correct size.
Ok ok, I know, I have to paint them again......
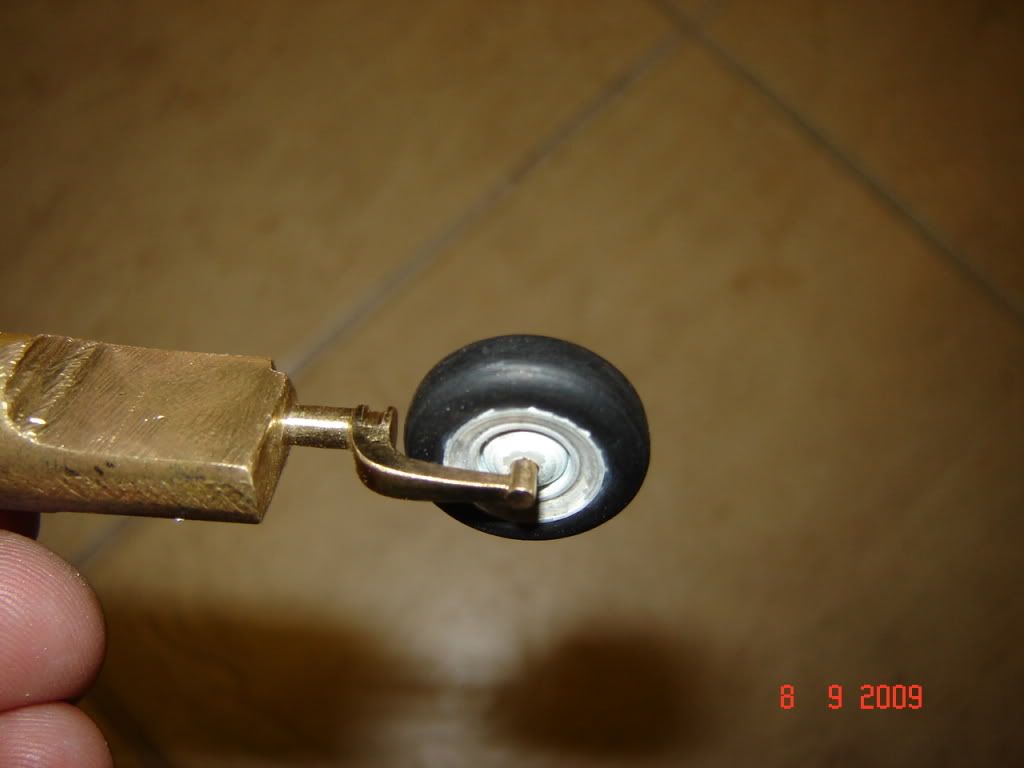

Hope you like it!!!!
See you soon
-
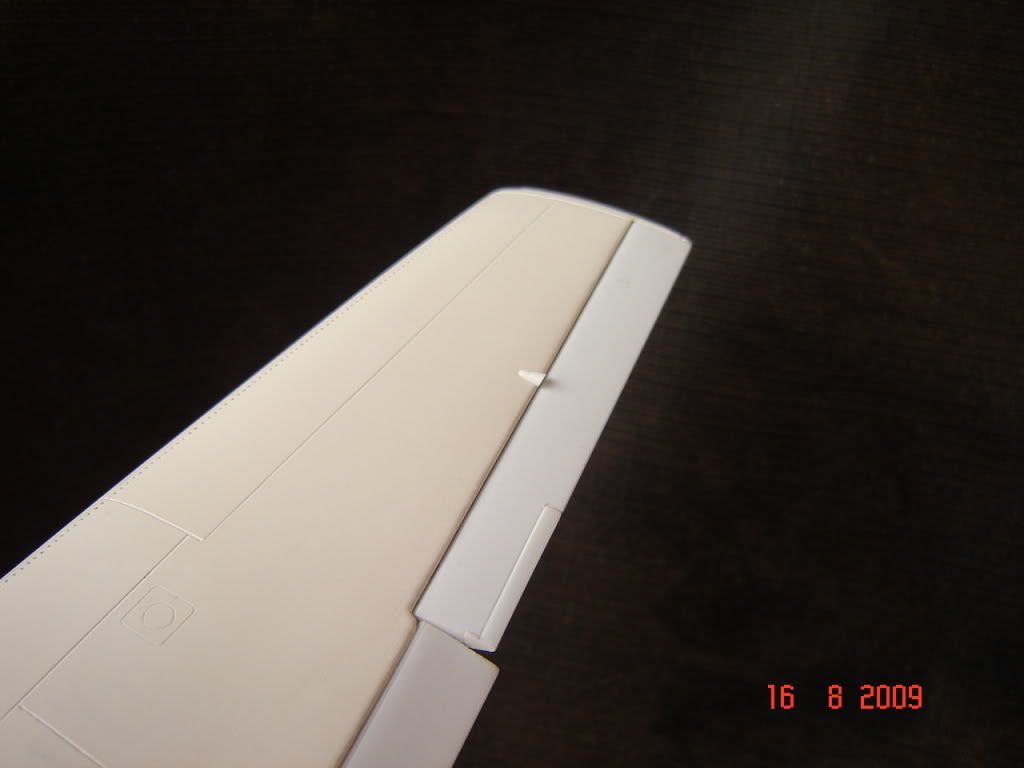
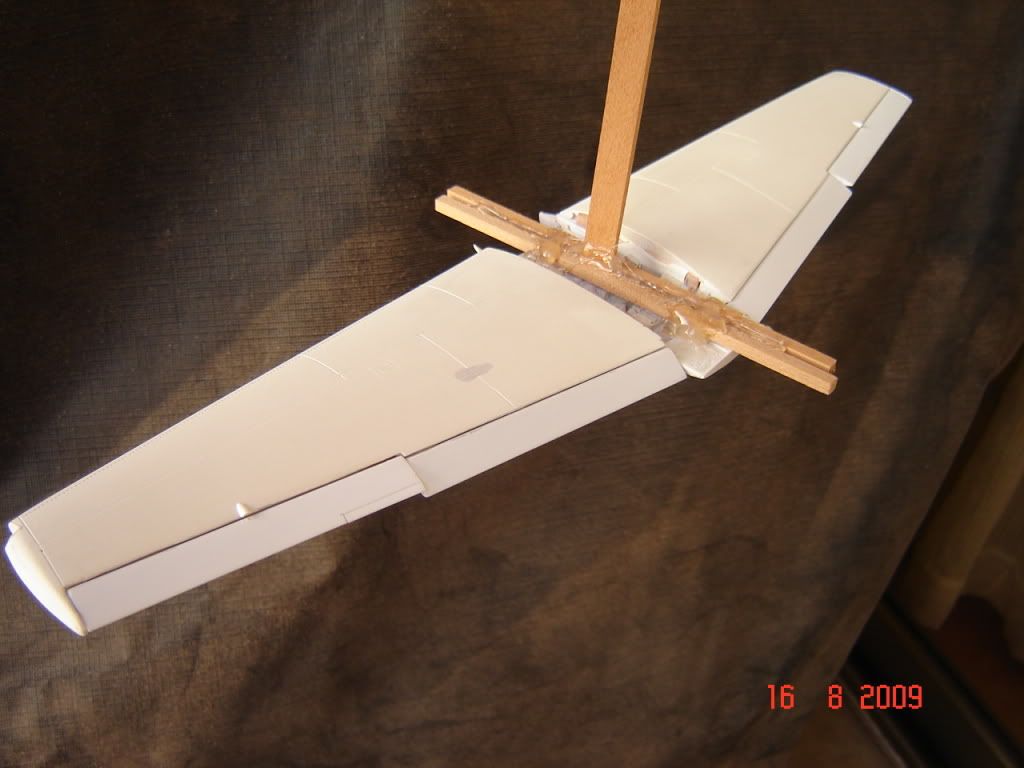
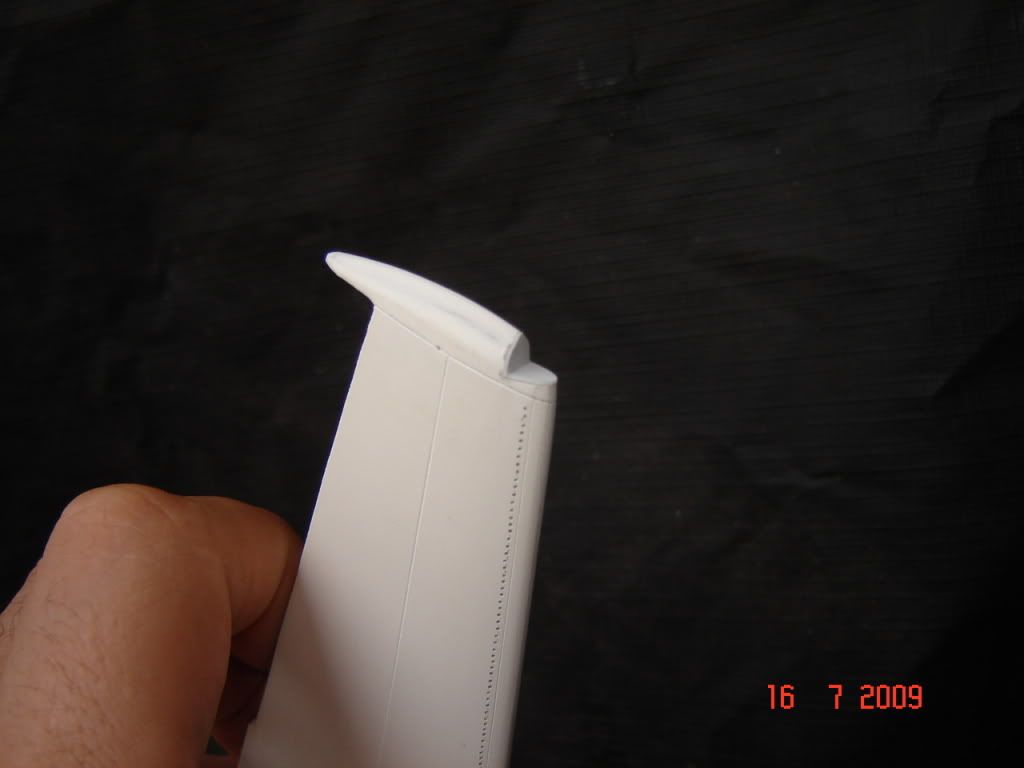
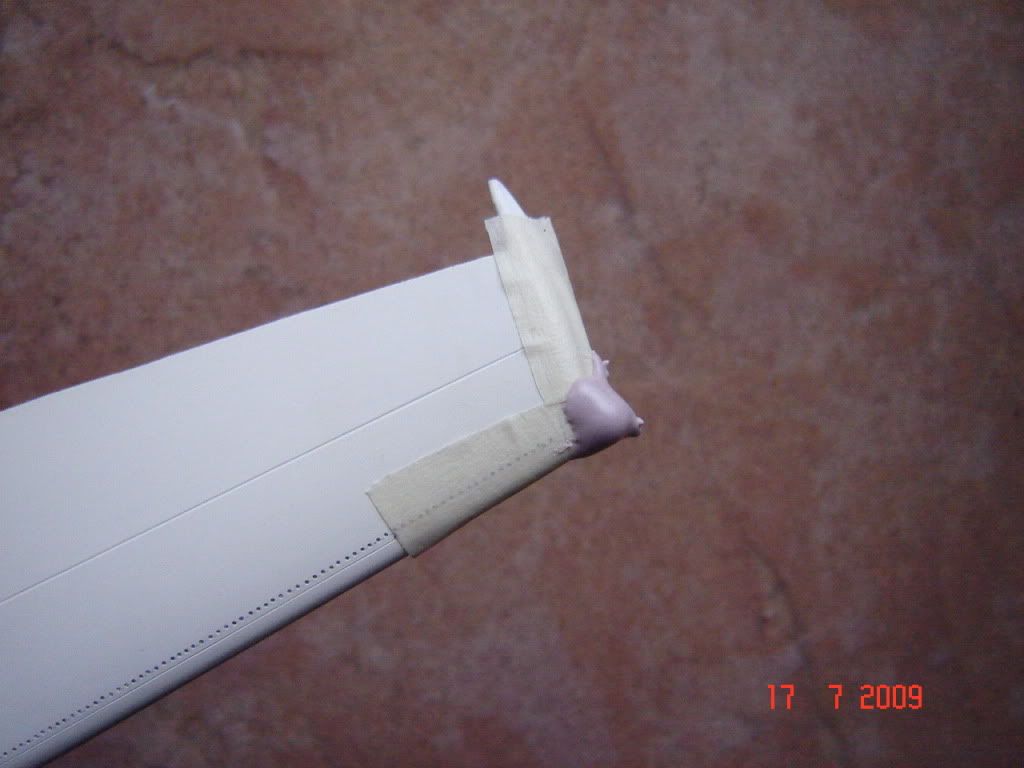
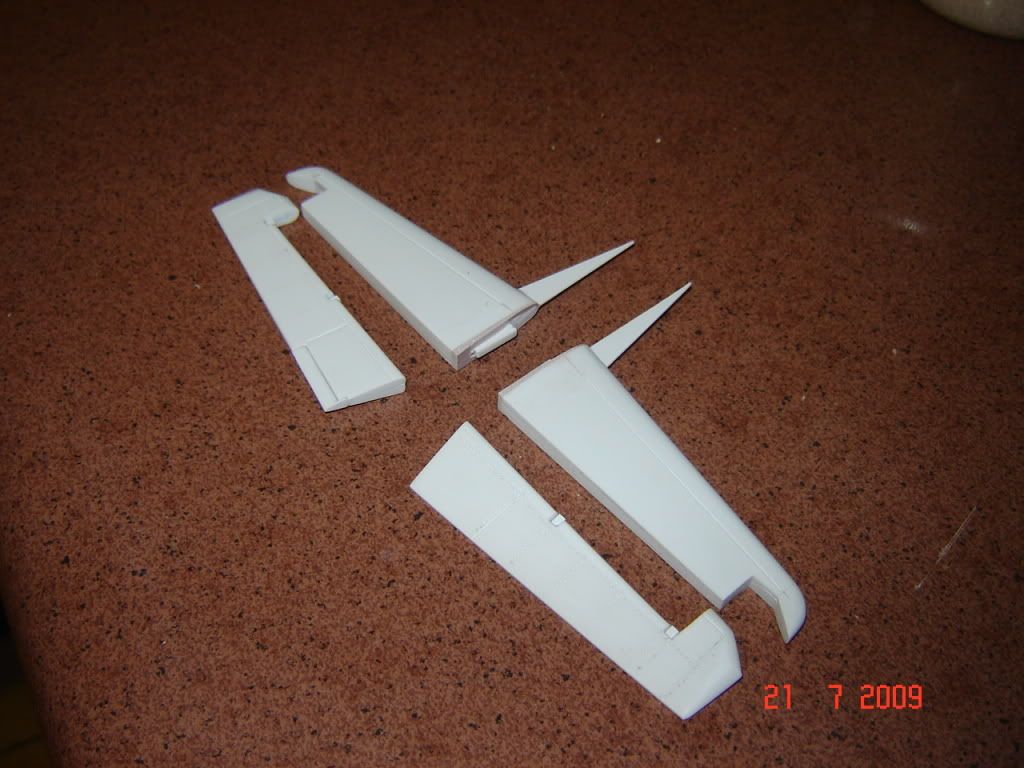
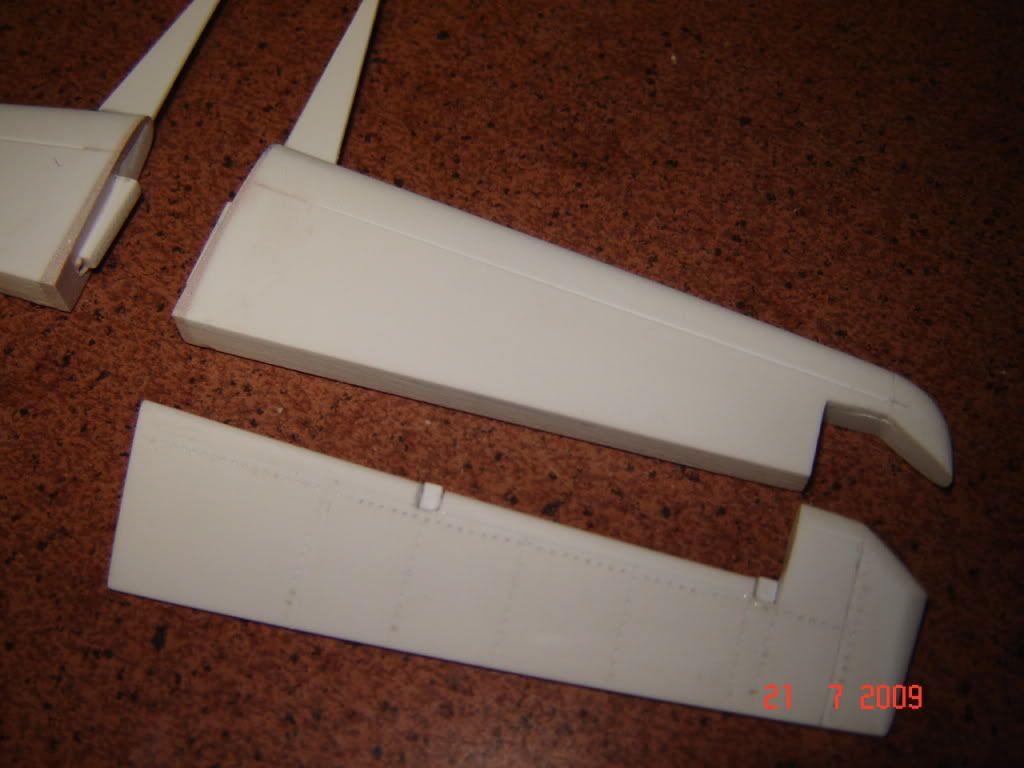
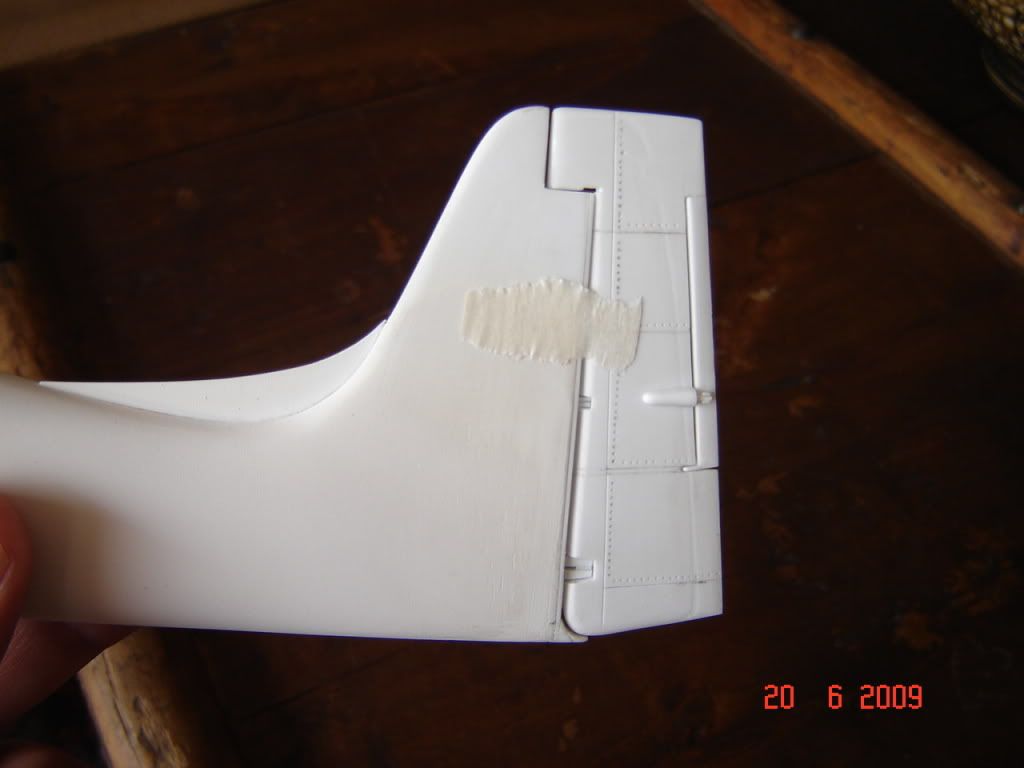
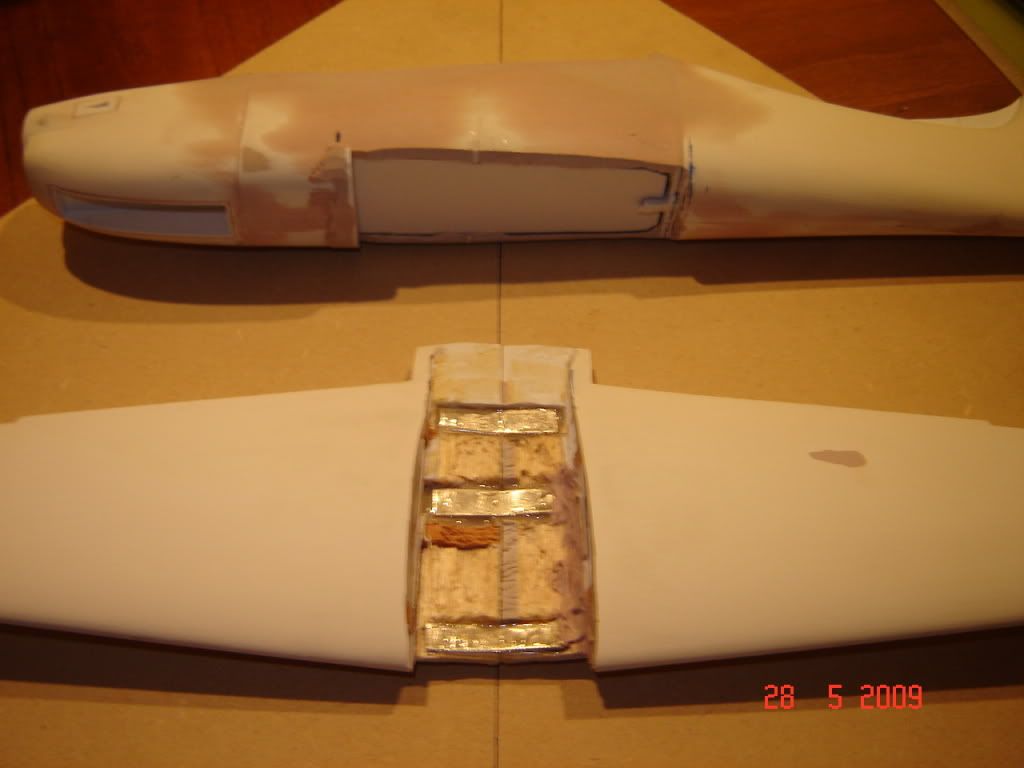
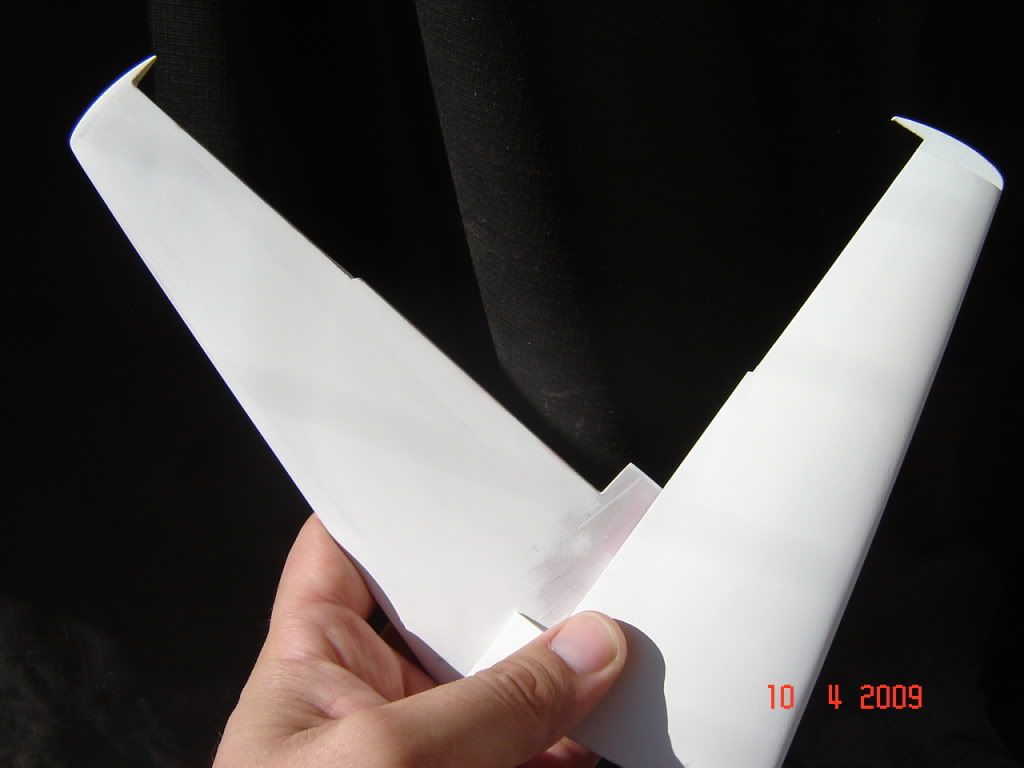
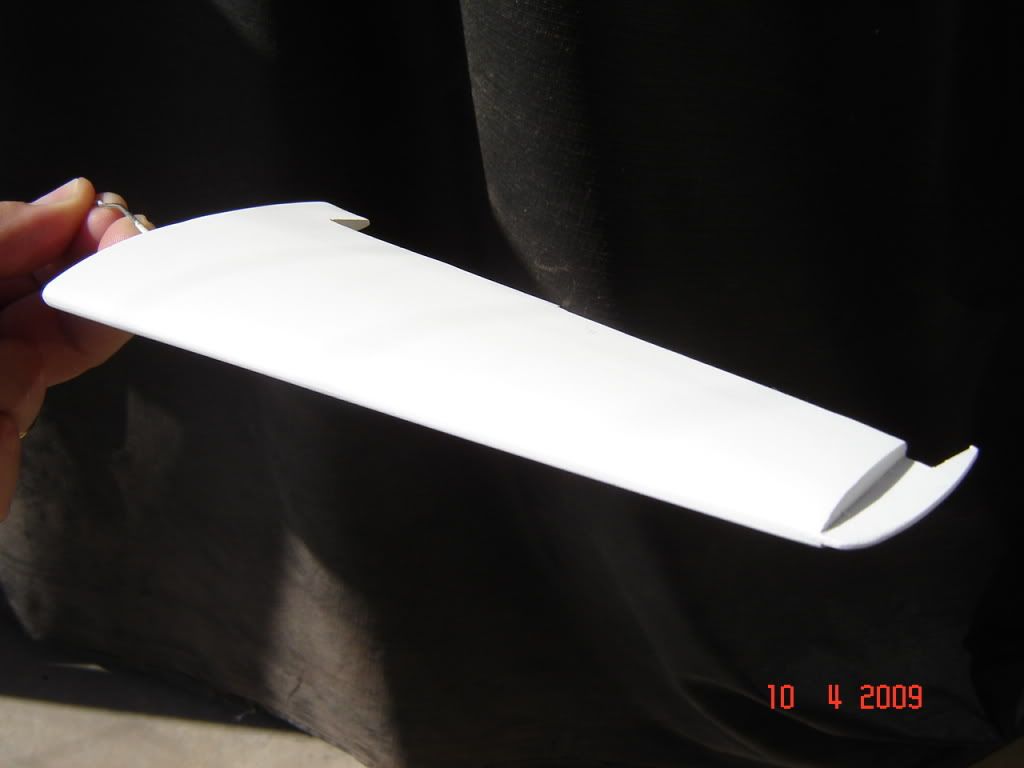
Hello, just some little work.....
I added the flaps and ailerons to the wings and prepared them to start painting ......soon......
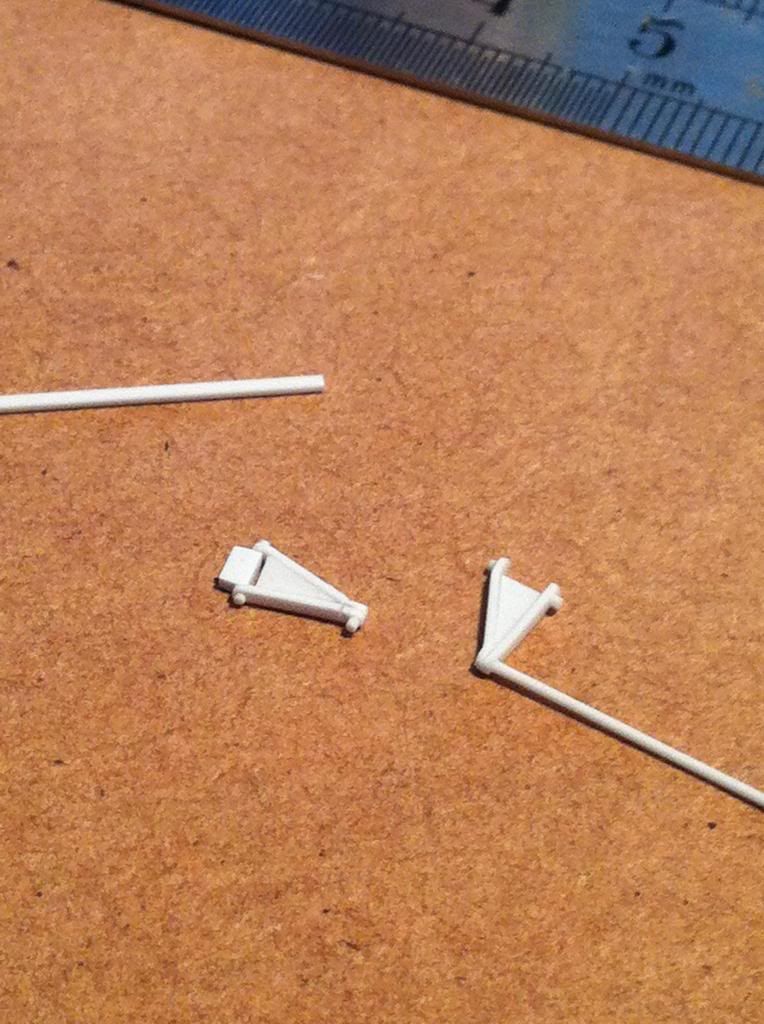
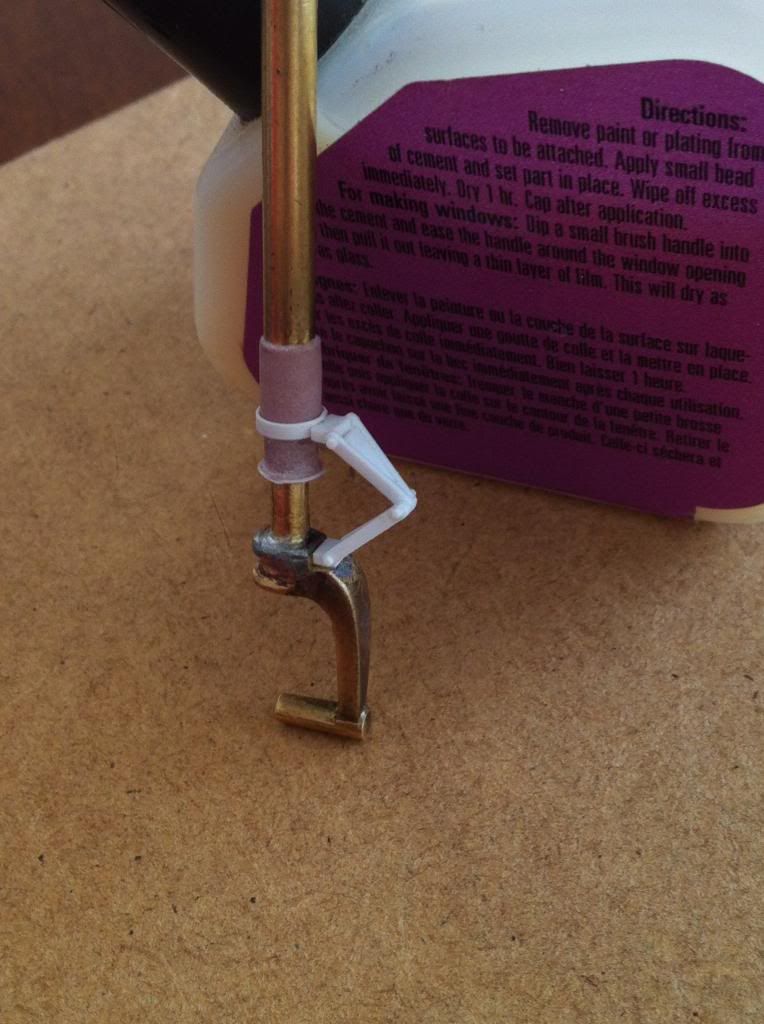
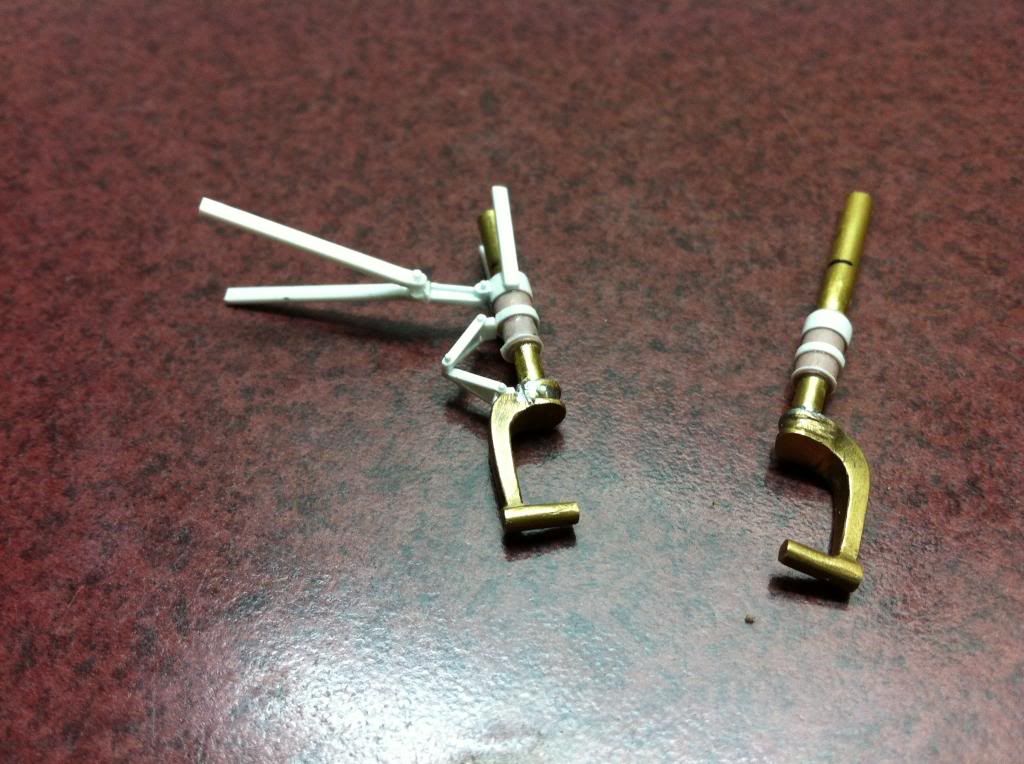
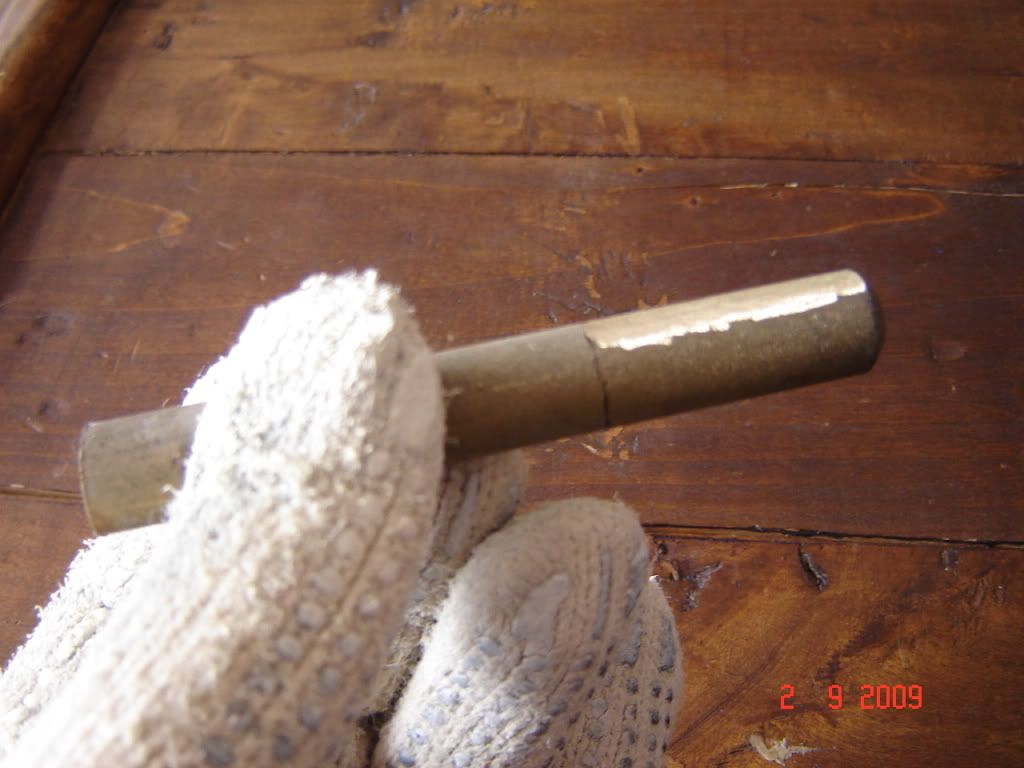
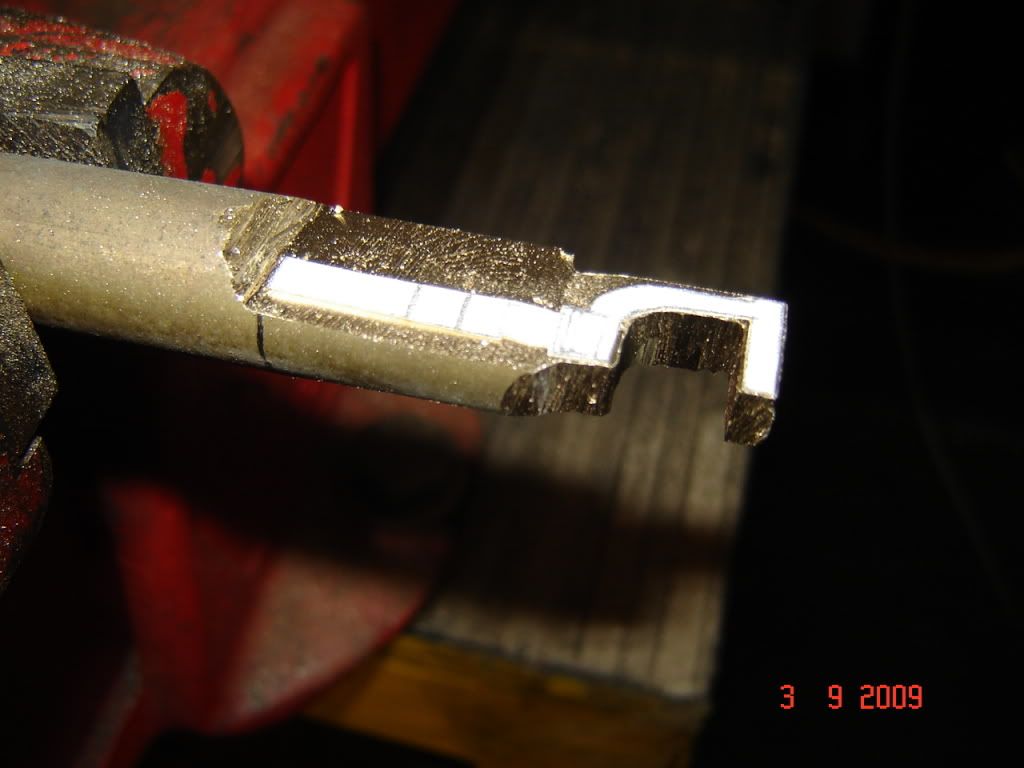
Then I started working on the main landing gear, first made of plastic
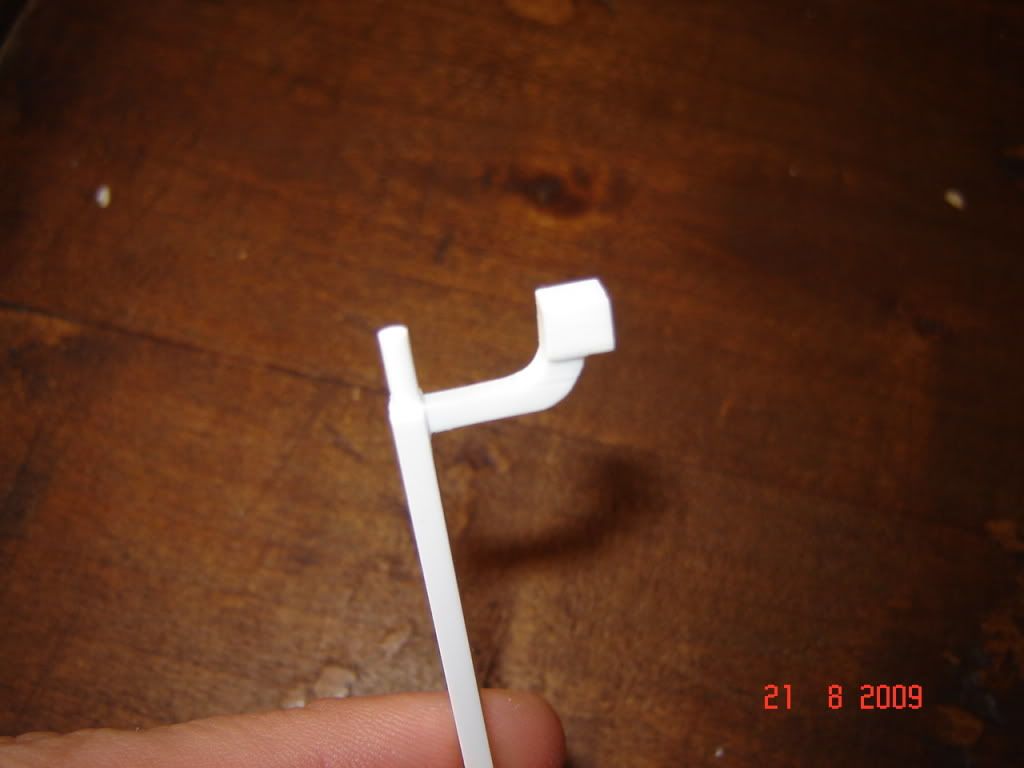
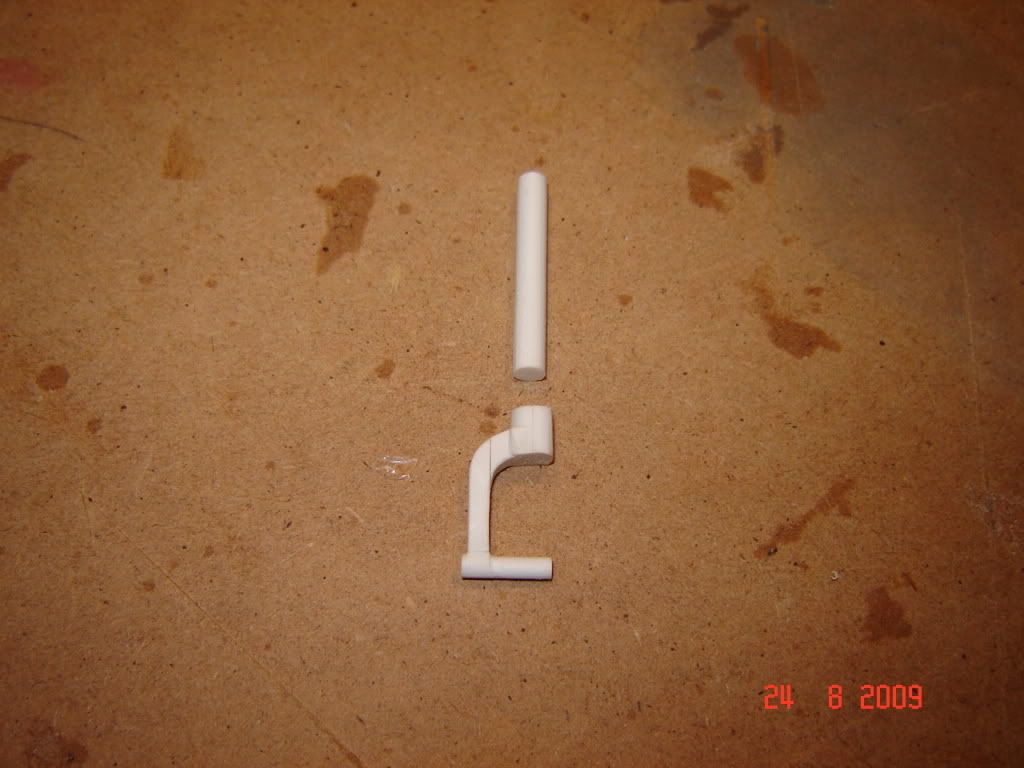

But I realised it was going to be very weak, so after thinking a lot I decided to try with metal, in spanish called "laton" kind of bronze (think so)
Of course no detail, that is going to be added of plastic
-
DDC, tourist, CorsairMan, thanks for for kind words.
S.C.Williams, yes I decided the markings before starting the project, I think that helped me to choose this model.
Thanks again, and see you next post.
-
AWESOME WORK! What an excellent build and I can't wait to see more!
SLICK
Thank you very much SLICK
See you
-
Hello my friends, thanks to everybody who has stoped here and watched, and also for the comments.
Here some pictures. I am preparing to start painting soon.....
Navigation lights
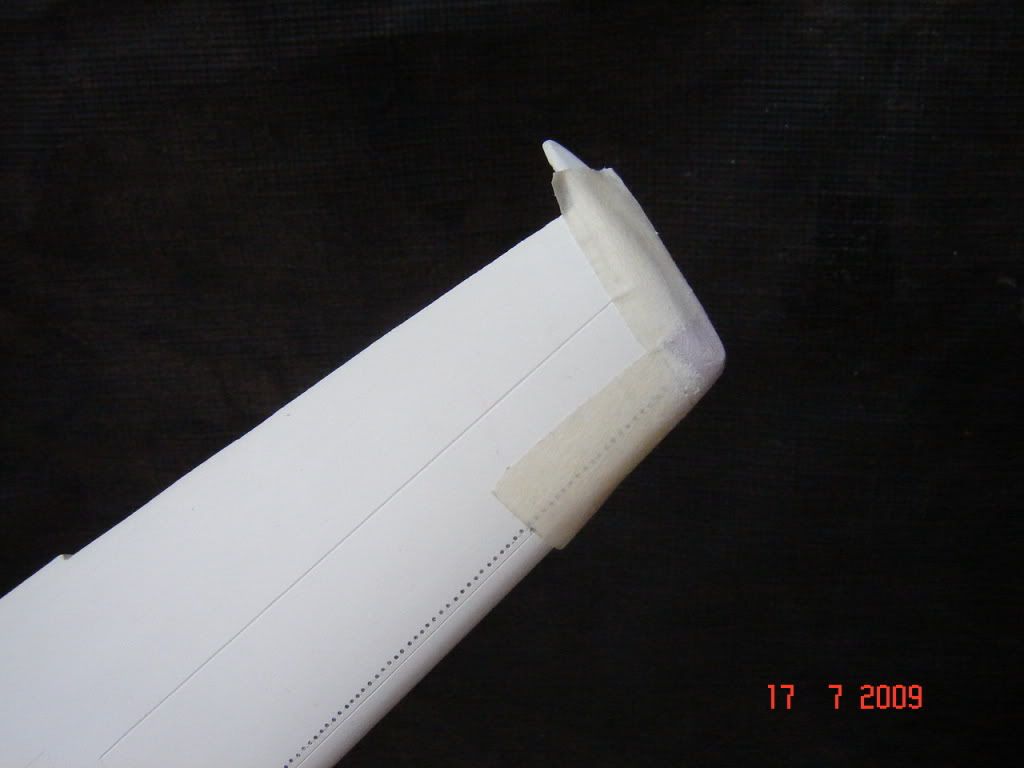
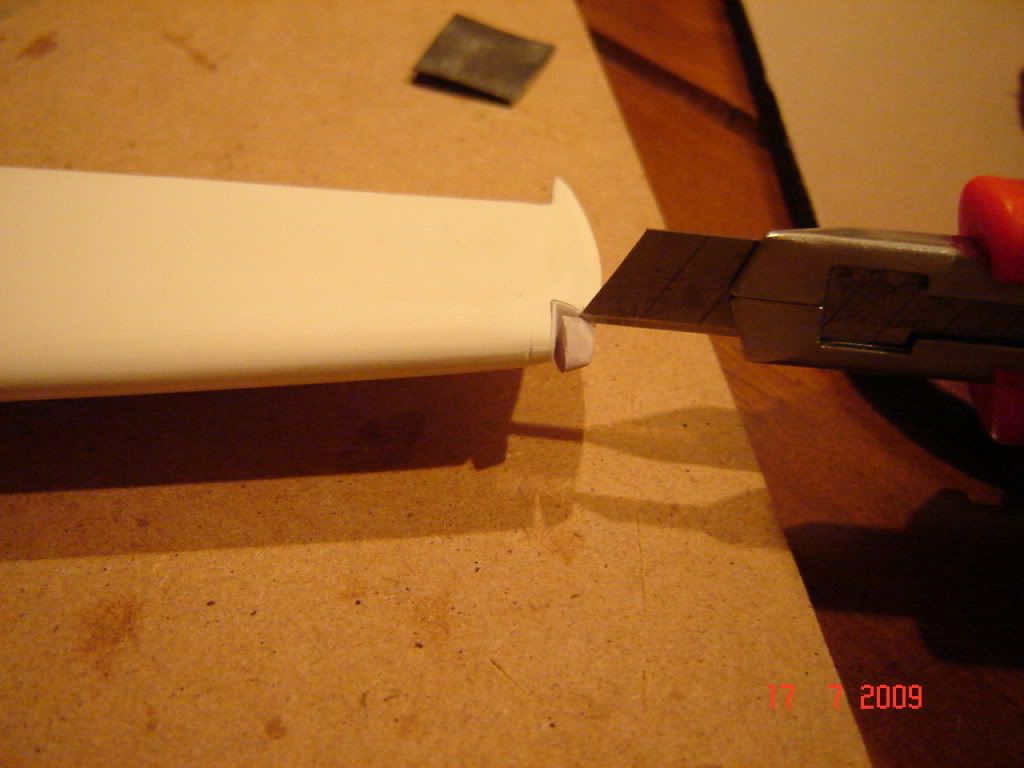
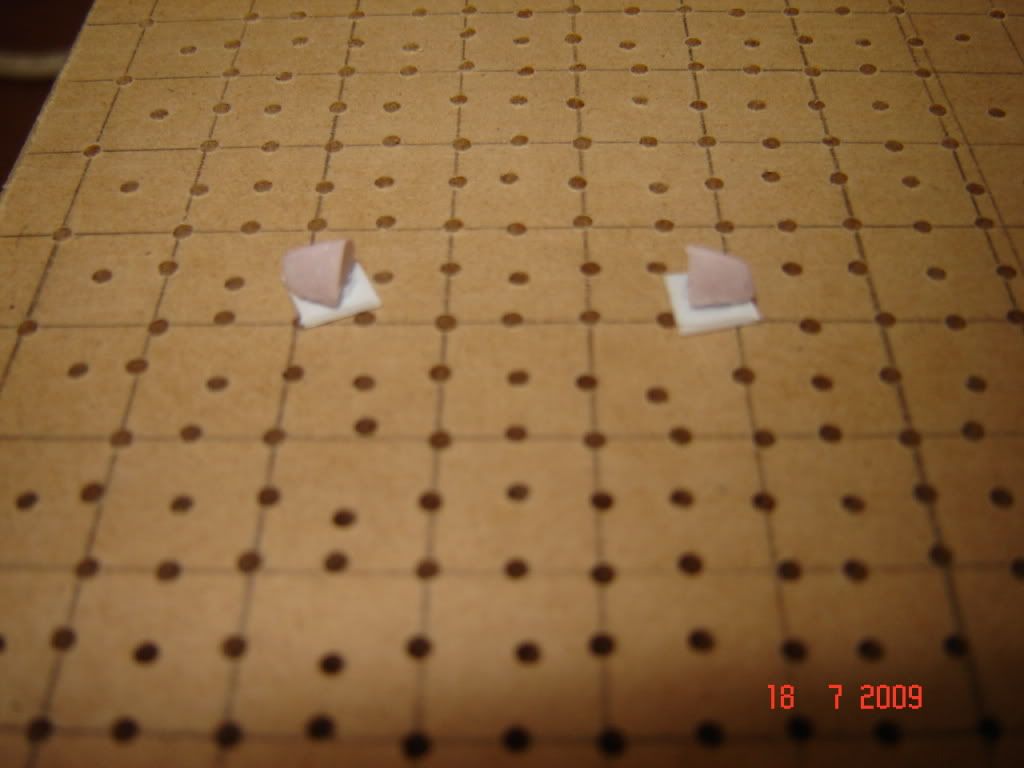
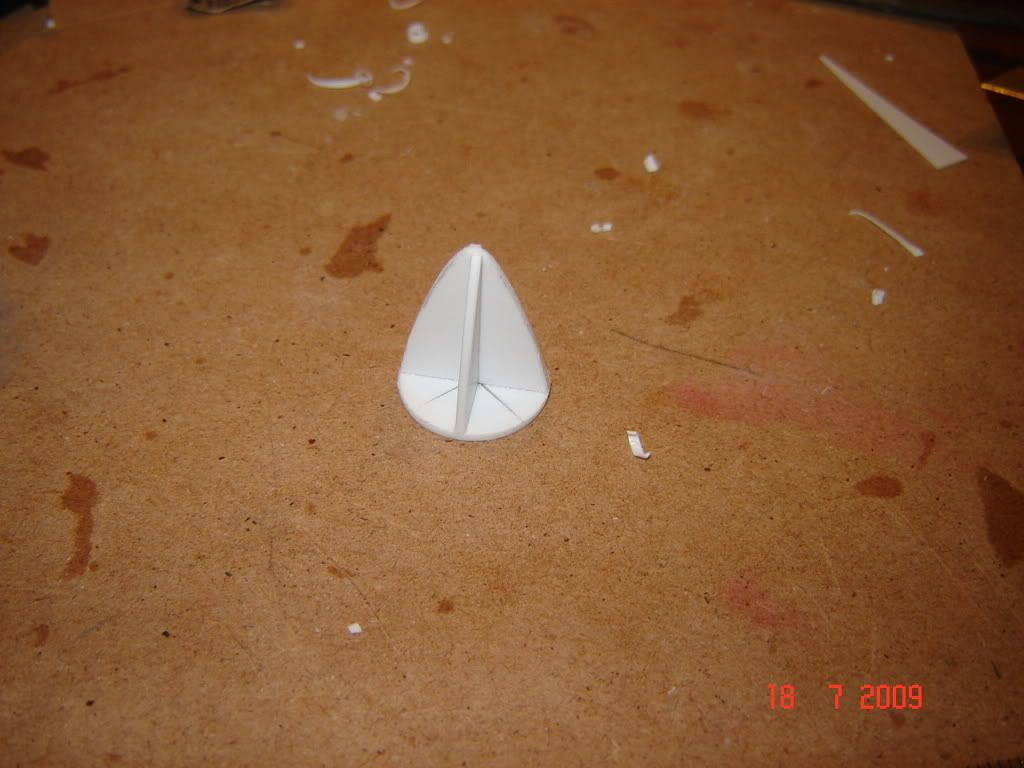
spinner
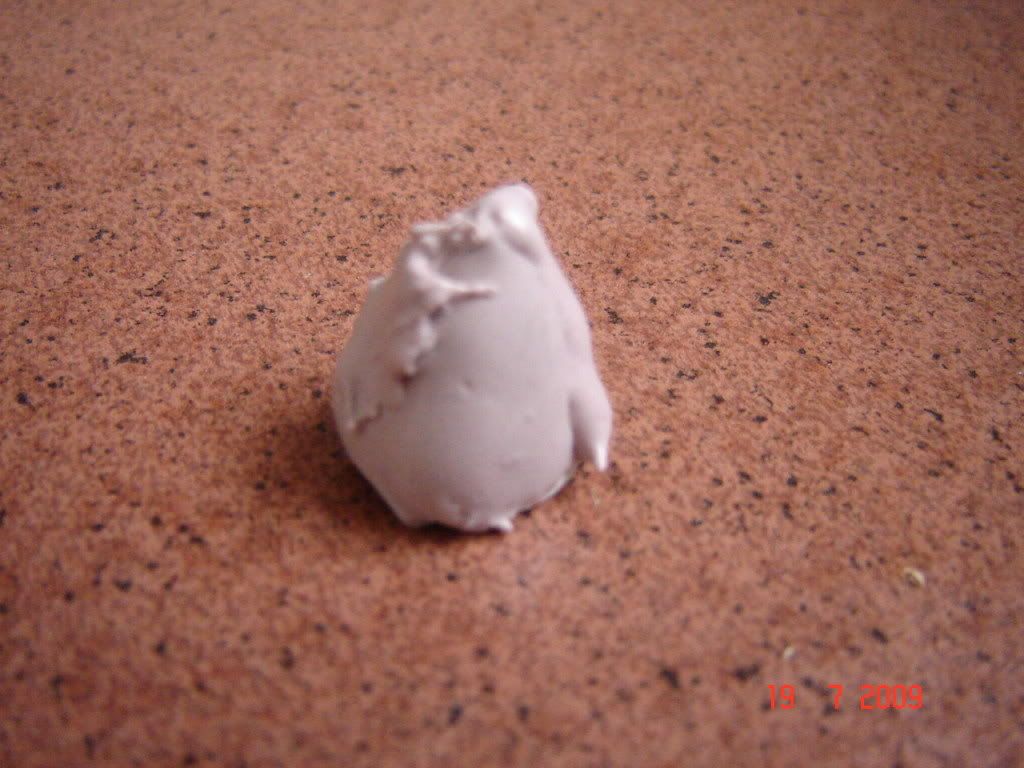
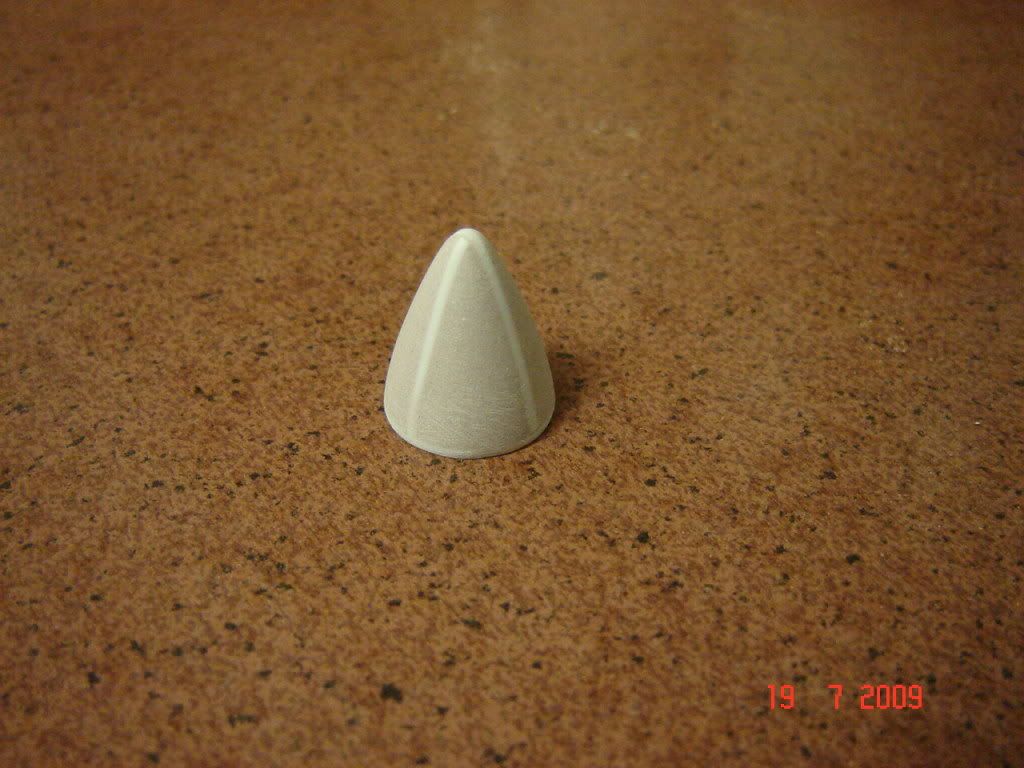
and tail
See you soon with more pictures
All the best
-
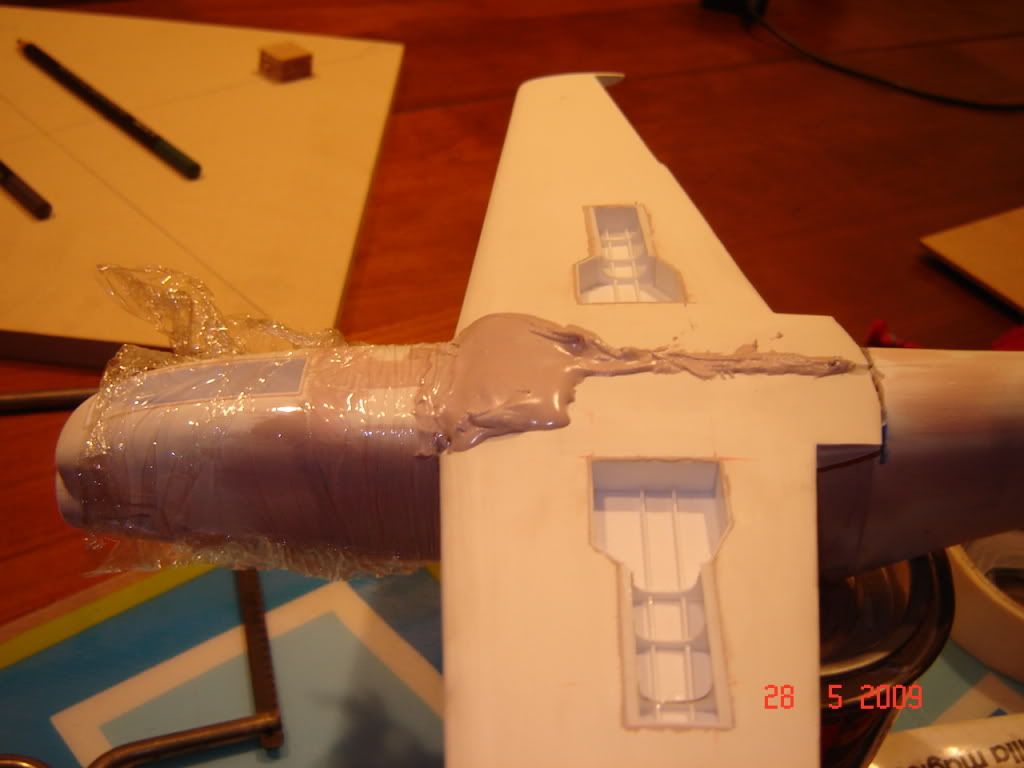
First of all thans to everybody for your kind words, I really apreciate them.
Here is a very little update....
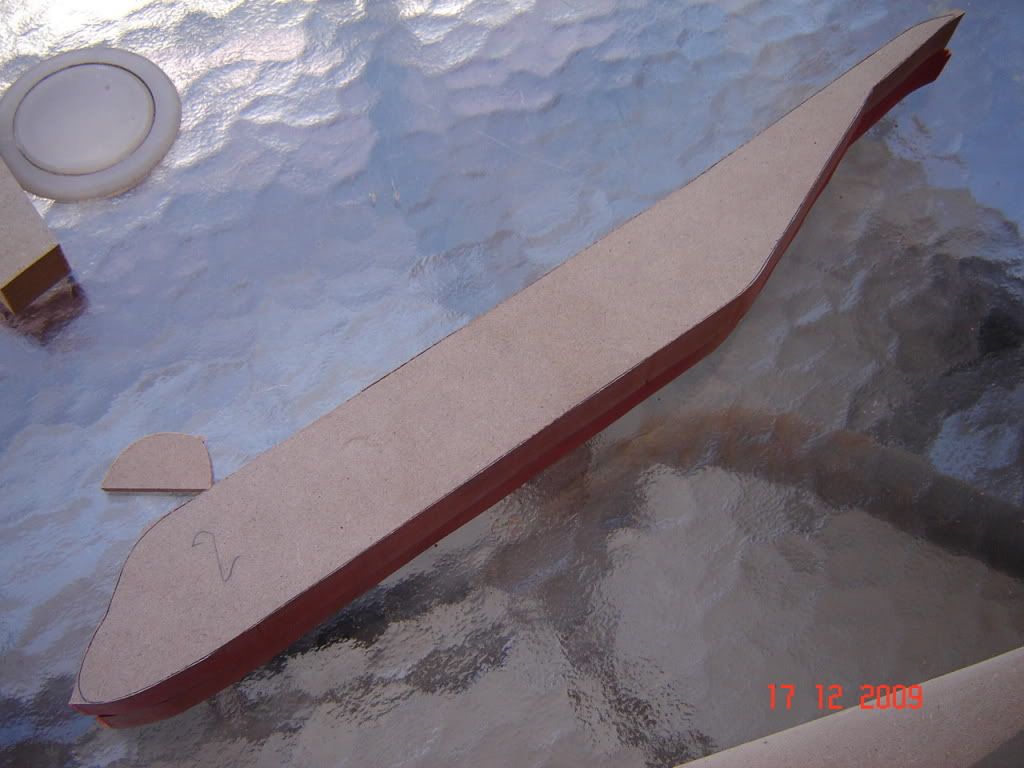
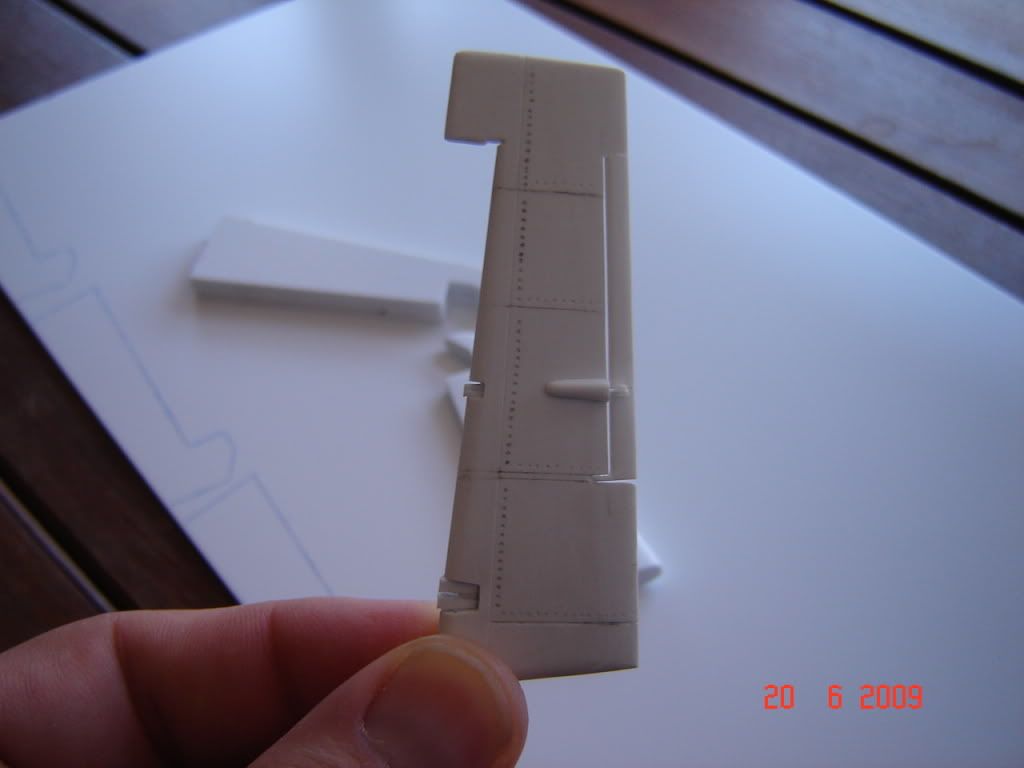
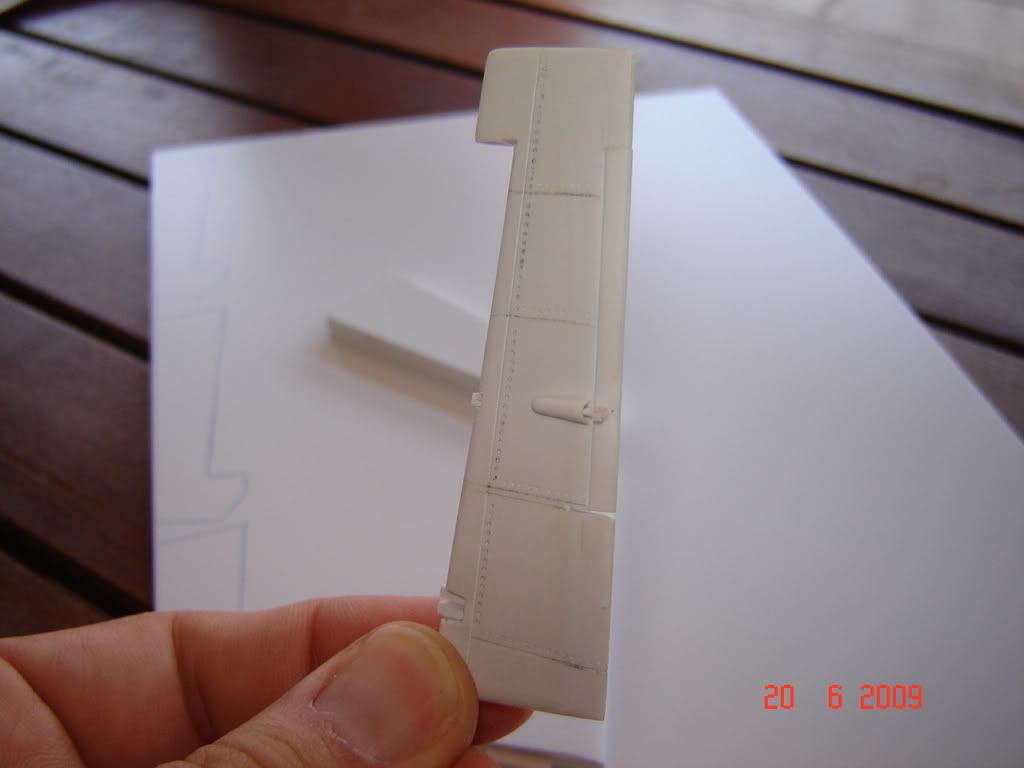
The rudder
It was made of 2 mm plastic (3 of them together)
Ahh and also the first scribing atempt......not very good, but I learned some things for the rest of the model.....
Hope you like it
See you
-
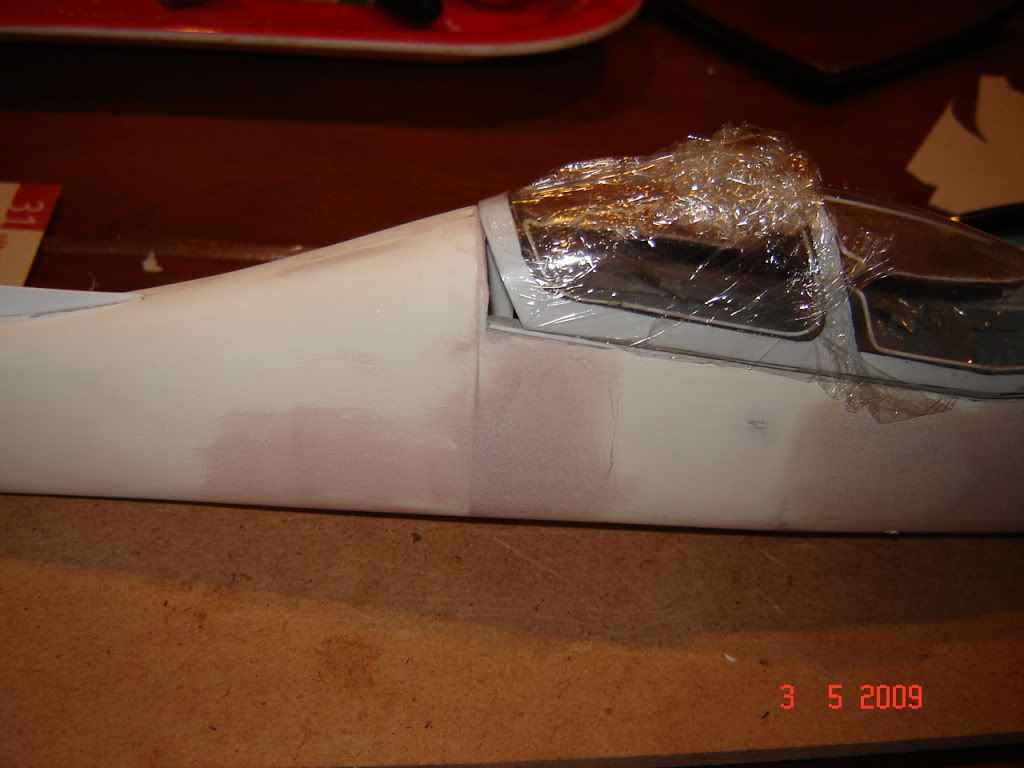
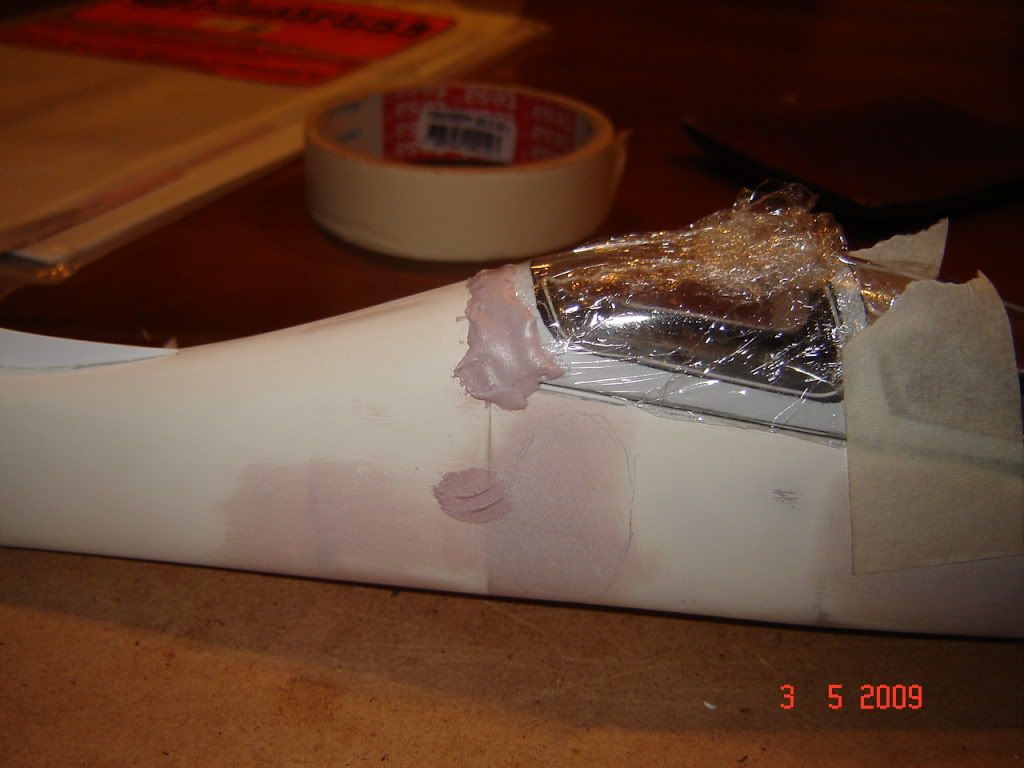
Hello everybody!! a little update of my work, not much, but making some progress.
Well the pictures....
First of all, I had to cut the fuselage and the wings for placing them in the correct place. Yes it was a little bit scary!!
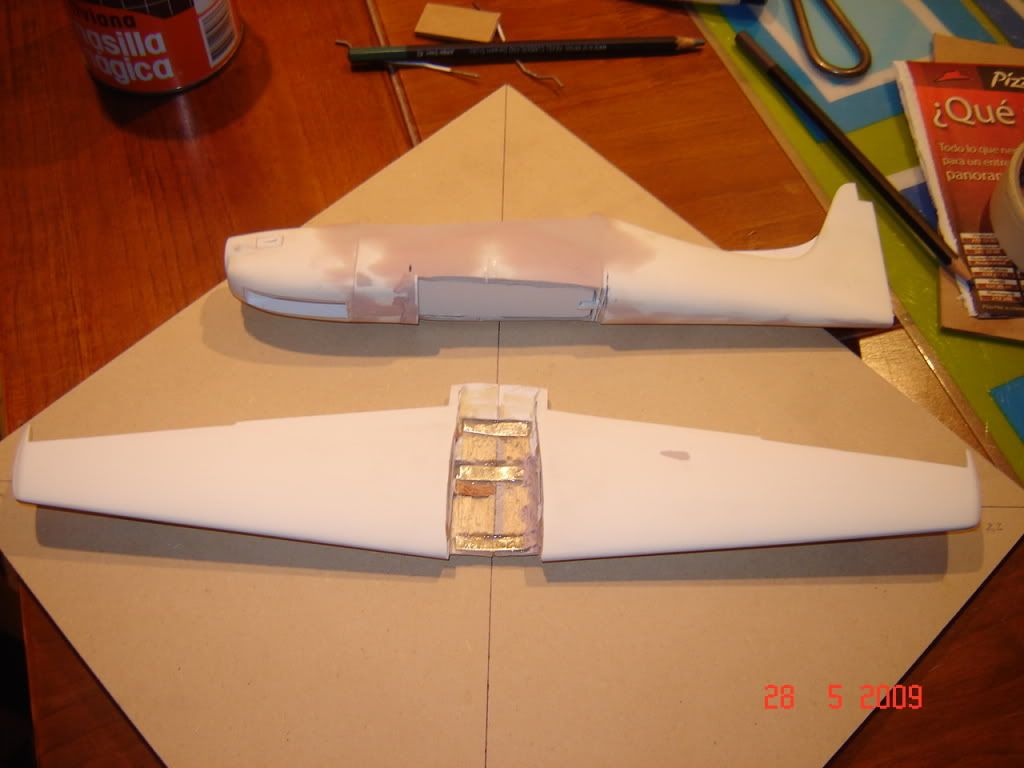
Here you can also see the wheel weels inserted into the wings
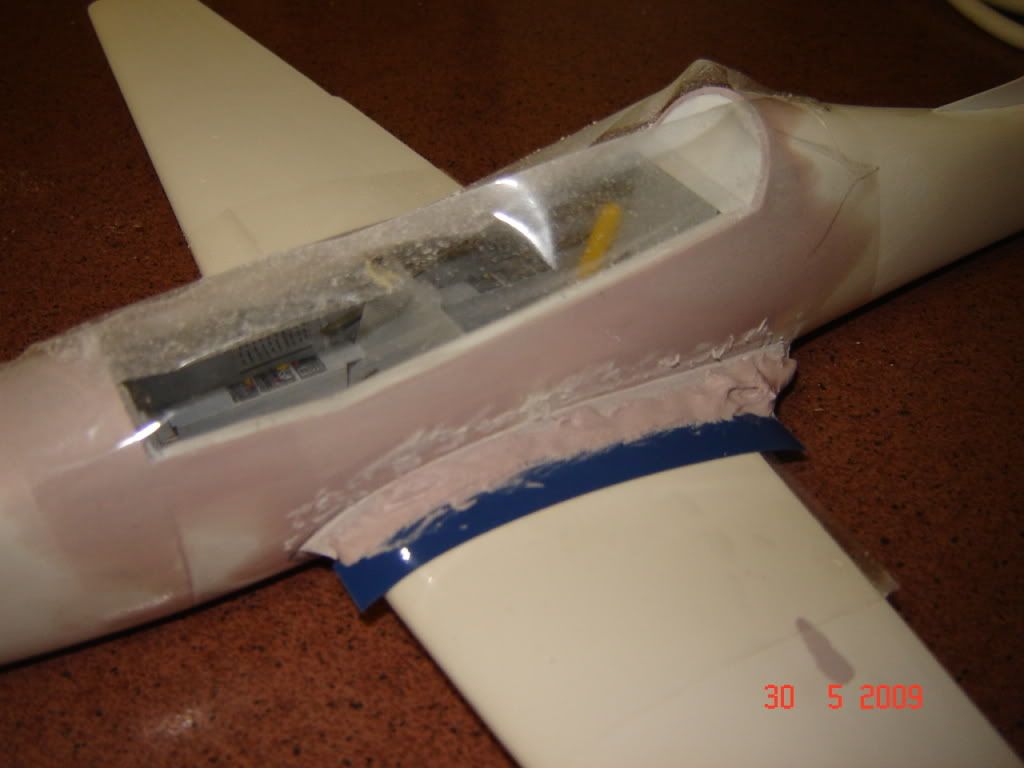
And the results
Here the turbine exhaust, made in 2 parts so I can separate it and vacuforme it, and some air intakes, same as the one near the nose that you can see some pictures above
I hope you like it
See you soon
-
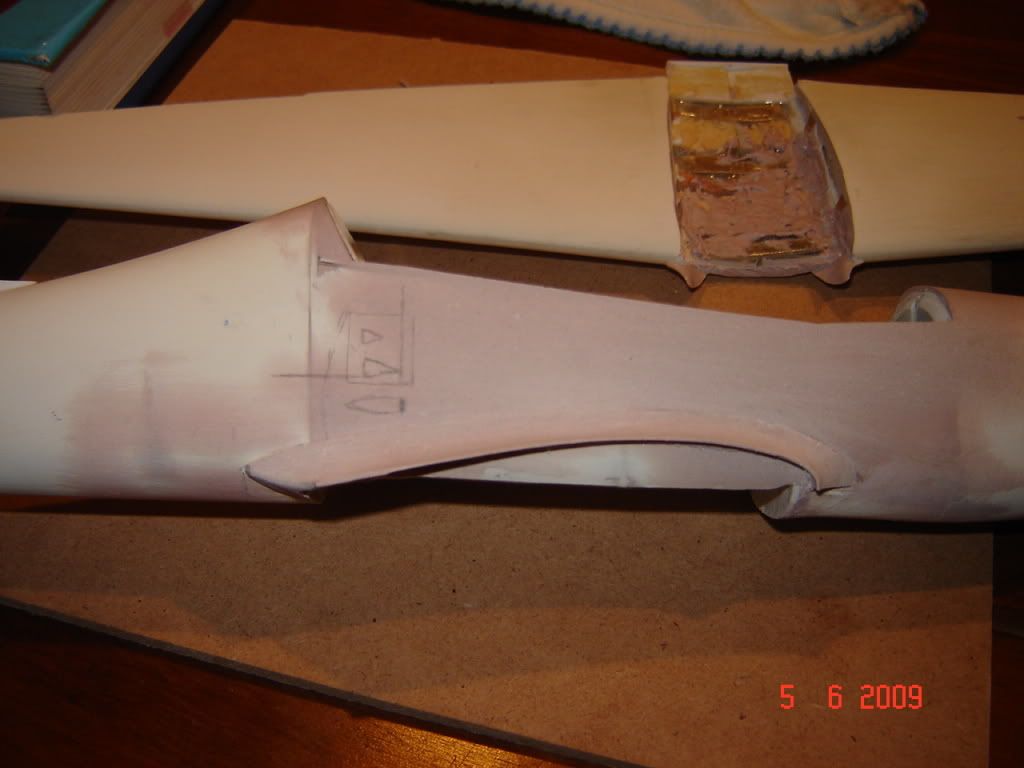
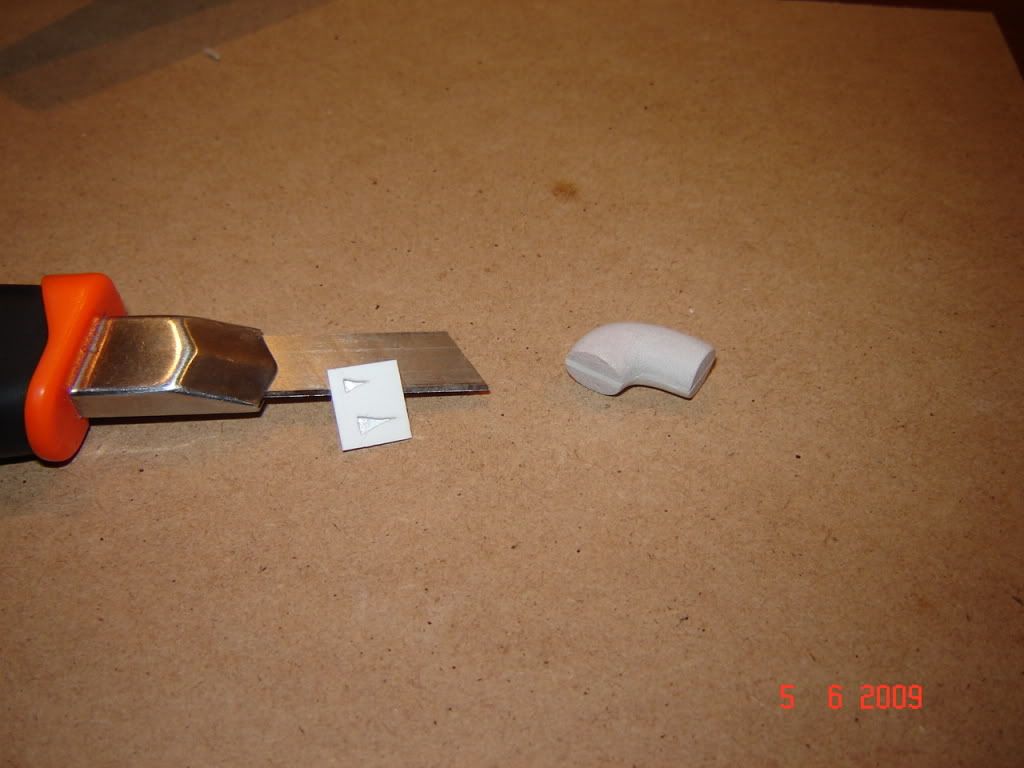
And finally some work on the fuselage
That is all for the moment, hope you like it.
See you.
-
Hello friends, I have been very busy in my job and house, so unfortunately I have not too much time for my project.
Well just some little progress I want to share with all of you.
Thanks for all the comments, and for looking.
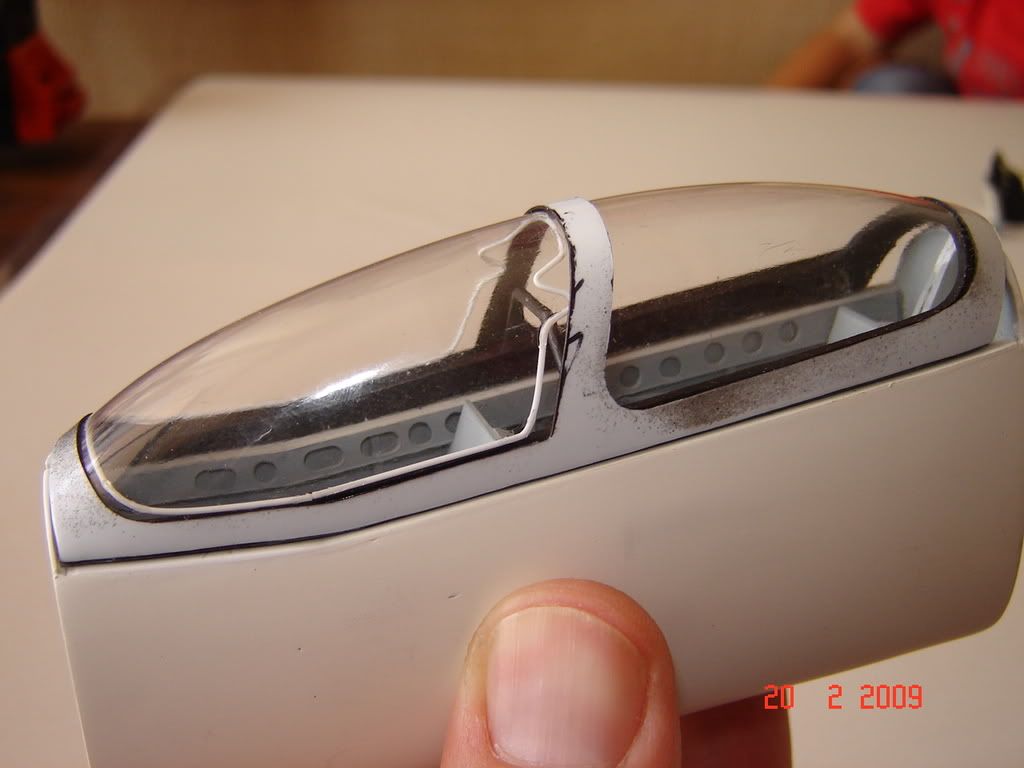
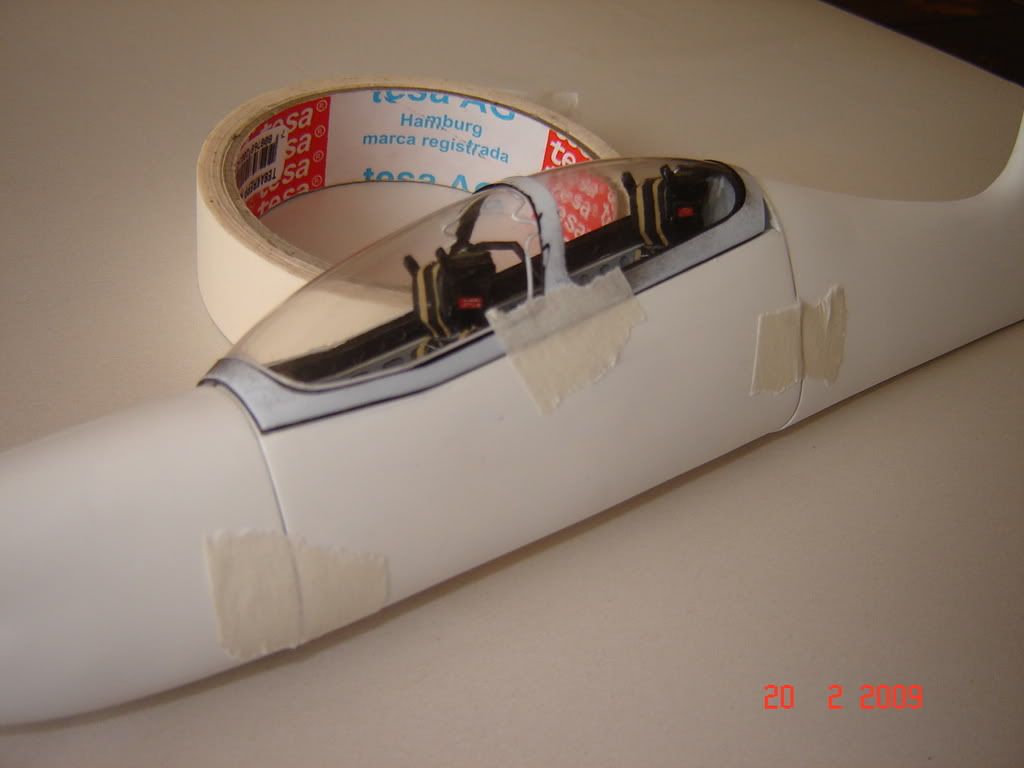
Lets go to the pictures
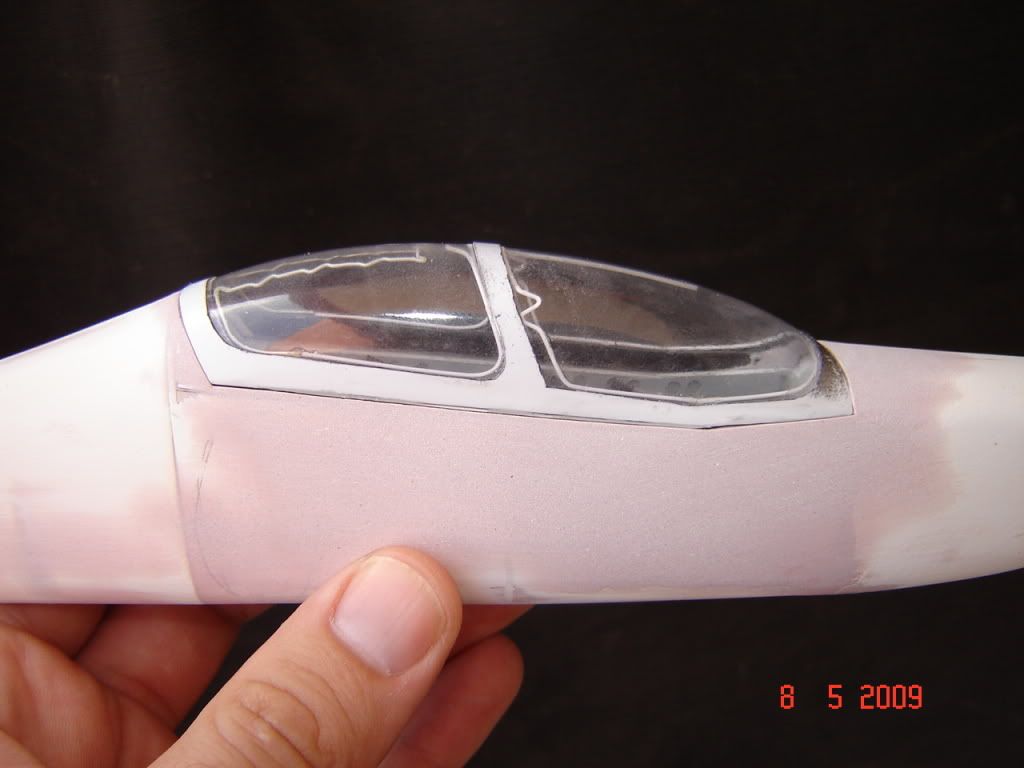
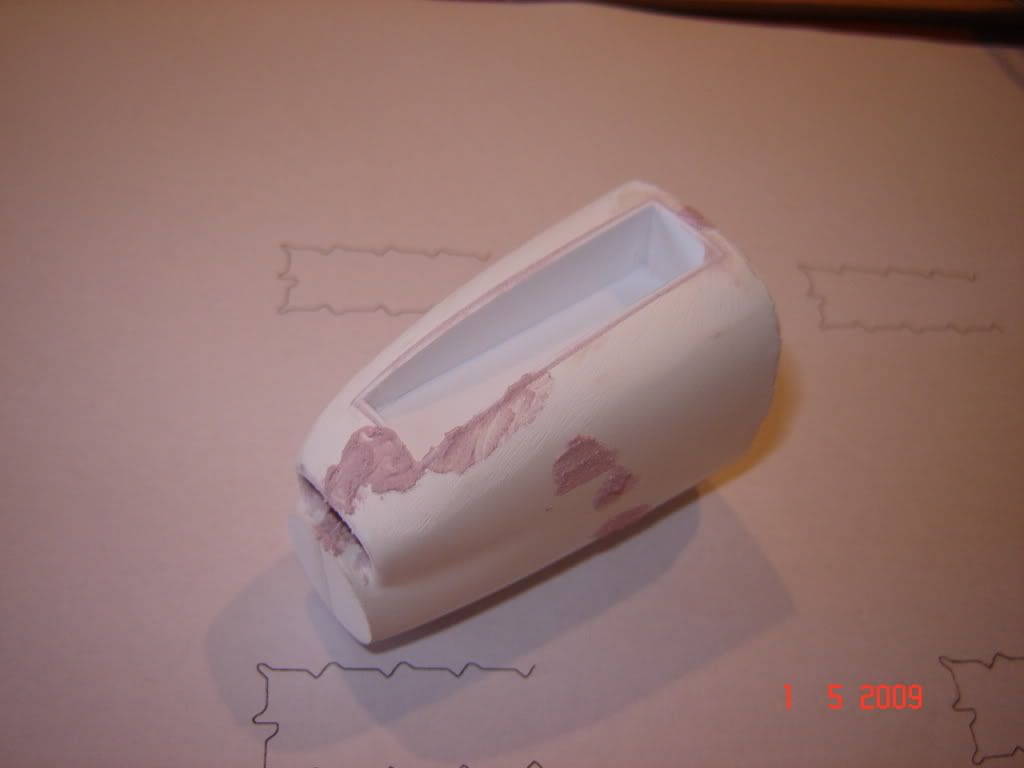
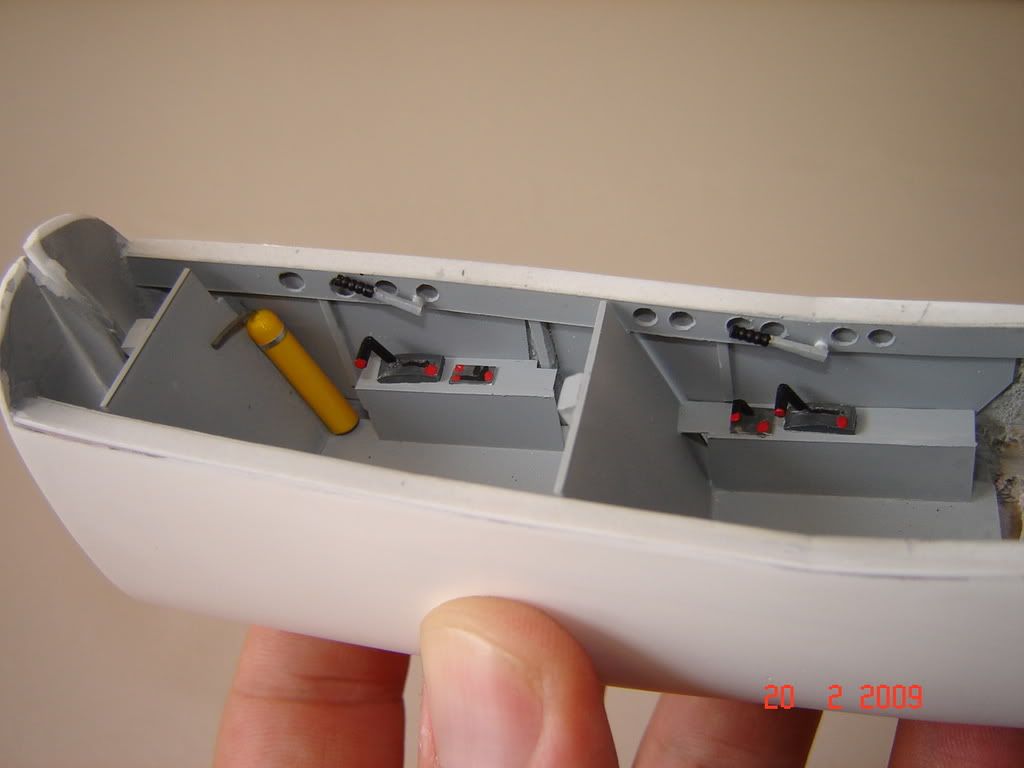
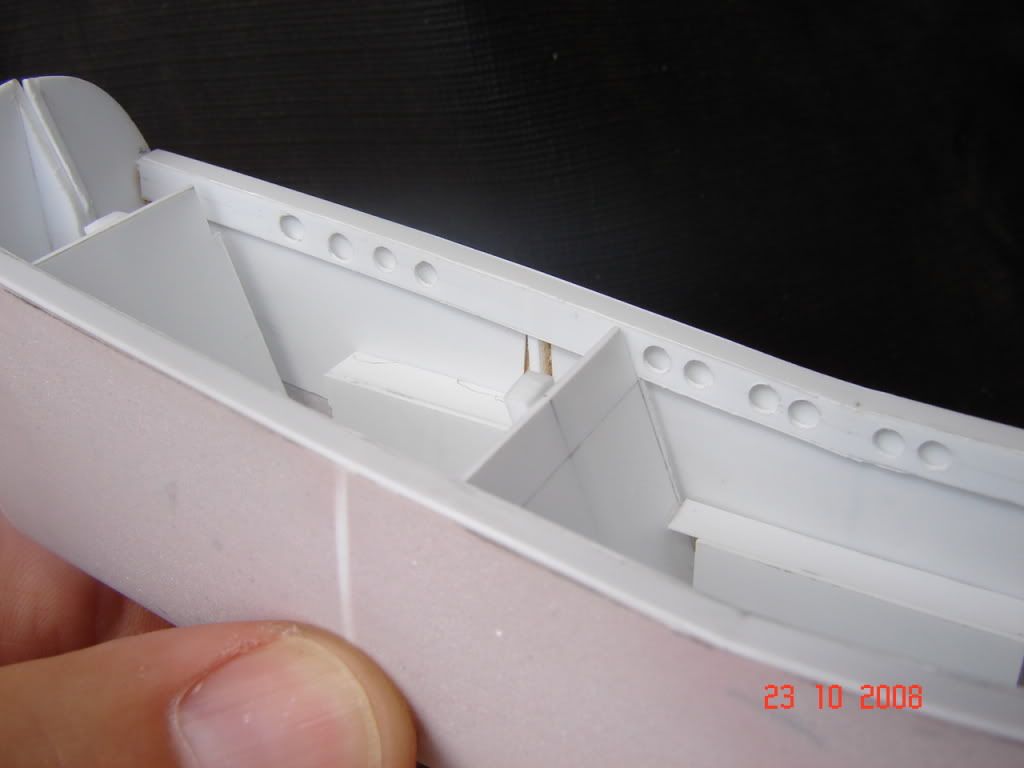
First the back part of the canopy, the detonation cord. Here I had to stop using the plastic rod because there was too many curves, so some wire was usefull
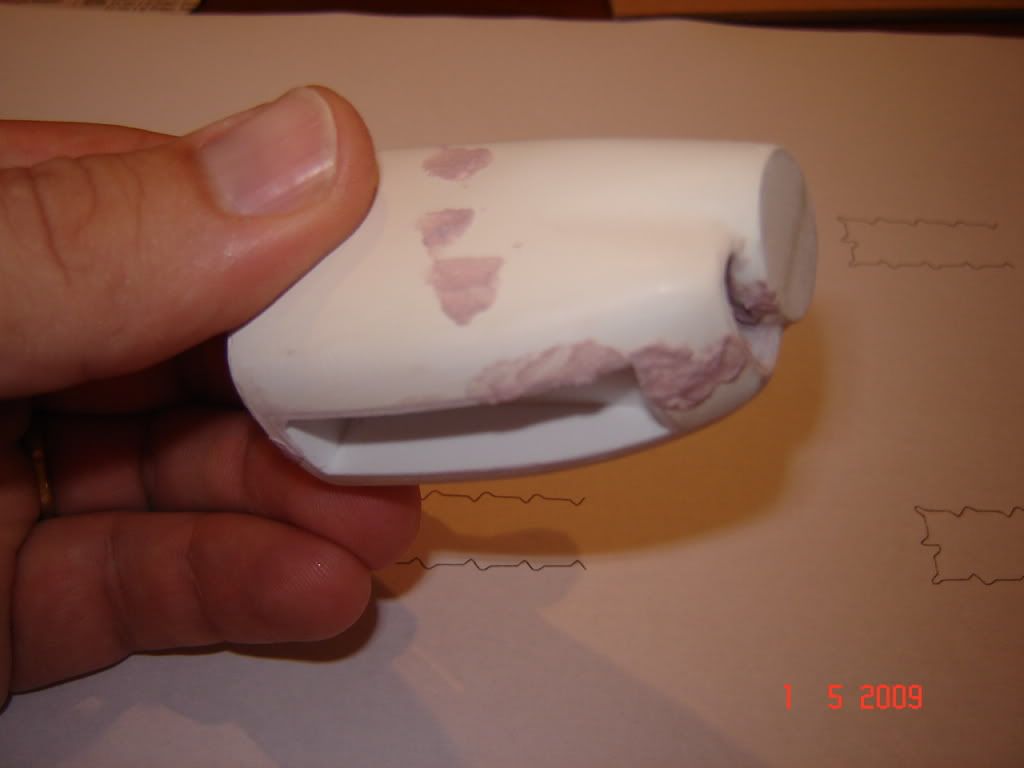
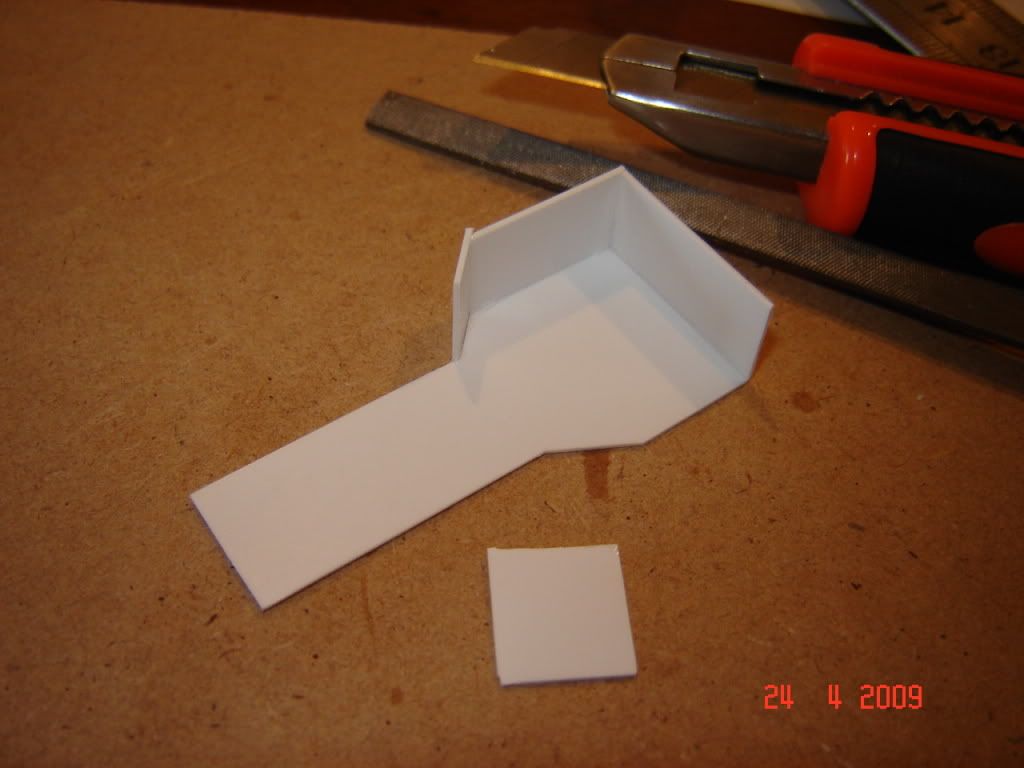
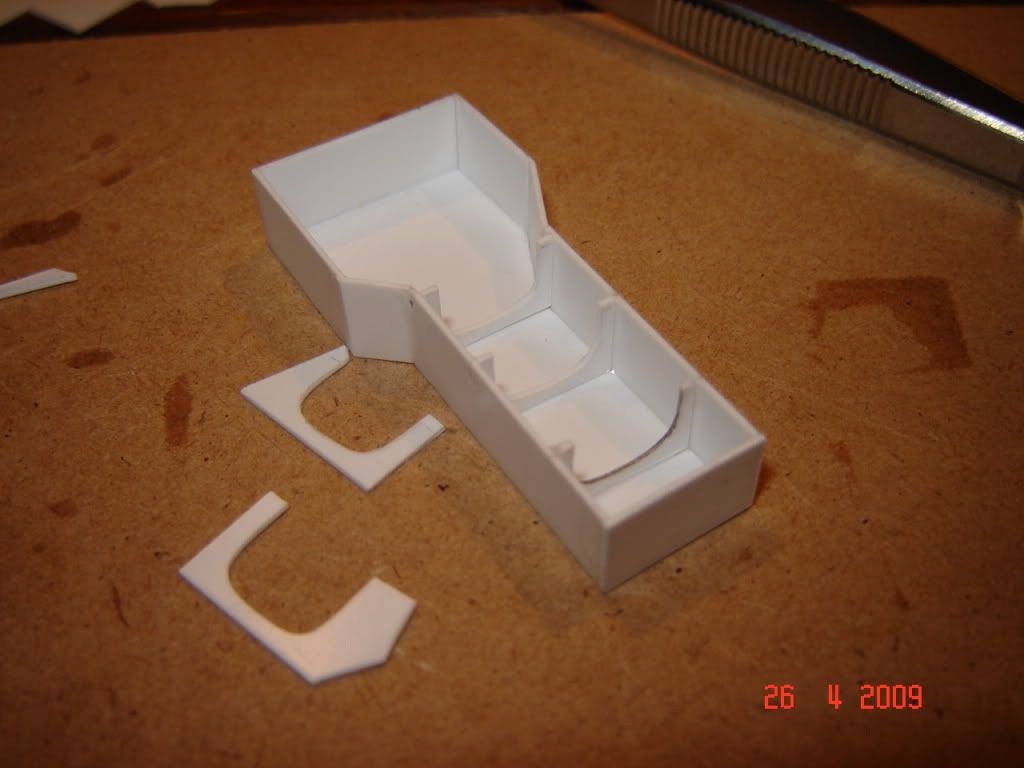
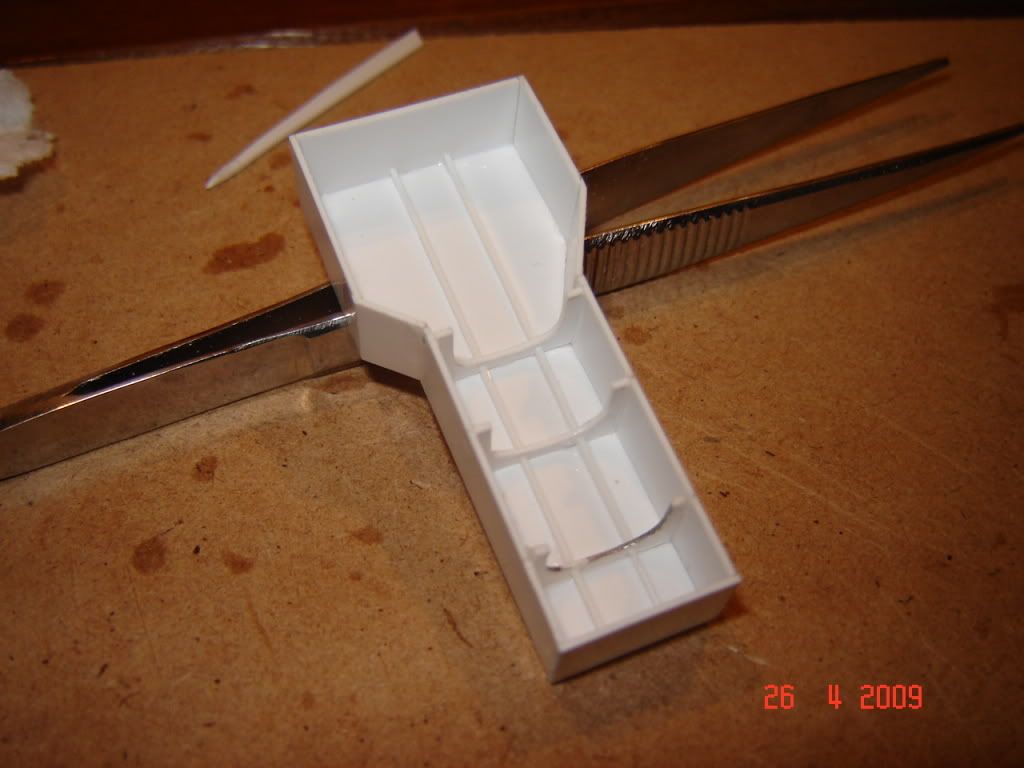
Here is the nose wheel well inserted into the fuselage, it is just a box because I coludn´t find any pictures.....
And the wing wheel weels ( just one at the moment)

-
Thanks to everybody for the encouragement.
I was making some tests over the surface of the fuselage and I realised that maybe I won´t need to make the plastic skin (vacuformed) the scribing seems to work ok. So that will save me a lot of time, and I will be able to use the wings shown some days ago.
More pictures soon!!!!!!
Bye
-
Hello all, here again but with not very good news. I finished the 2 wings with the same "procedure" of the fuselage. But when I glued the plastic "skin" (not vacuformed) all the imperfections appeared. I am not very glad with the results so tonight I will think if I make them again, this time completely in plastic. The problem is that I will need a software for making the wing ribs.
Well, here are the pictures, I don´t think you will notice my problem.
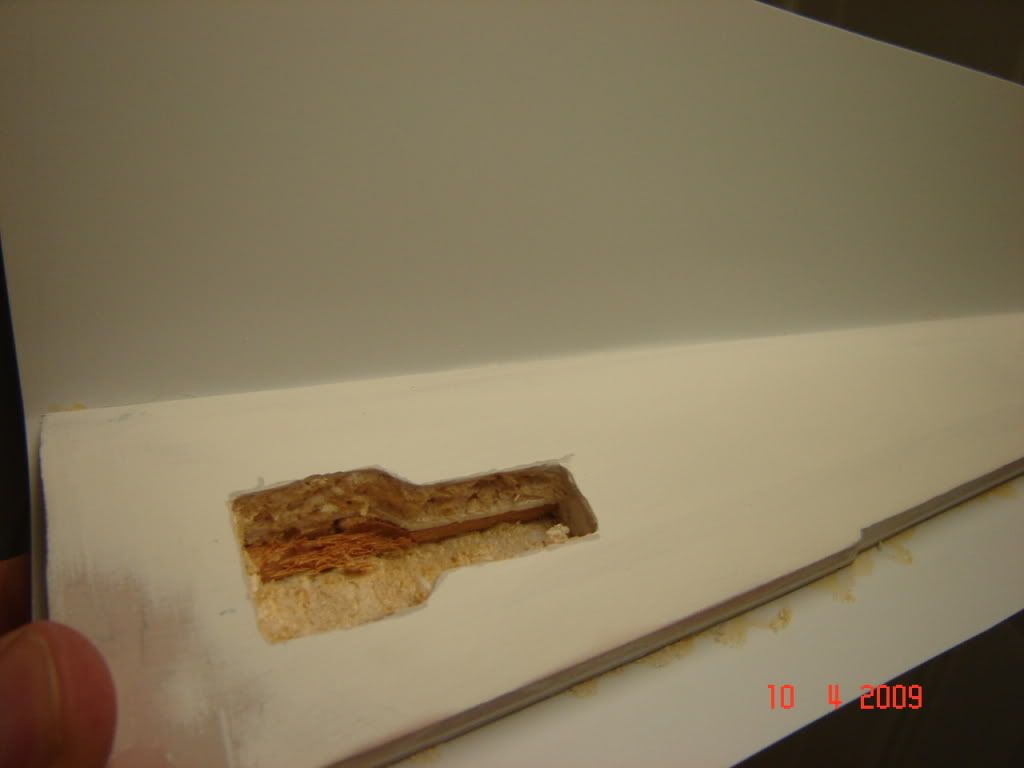
Here I cut the wheel wells in the plastic (this is the underside)
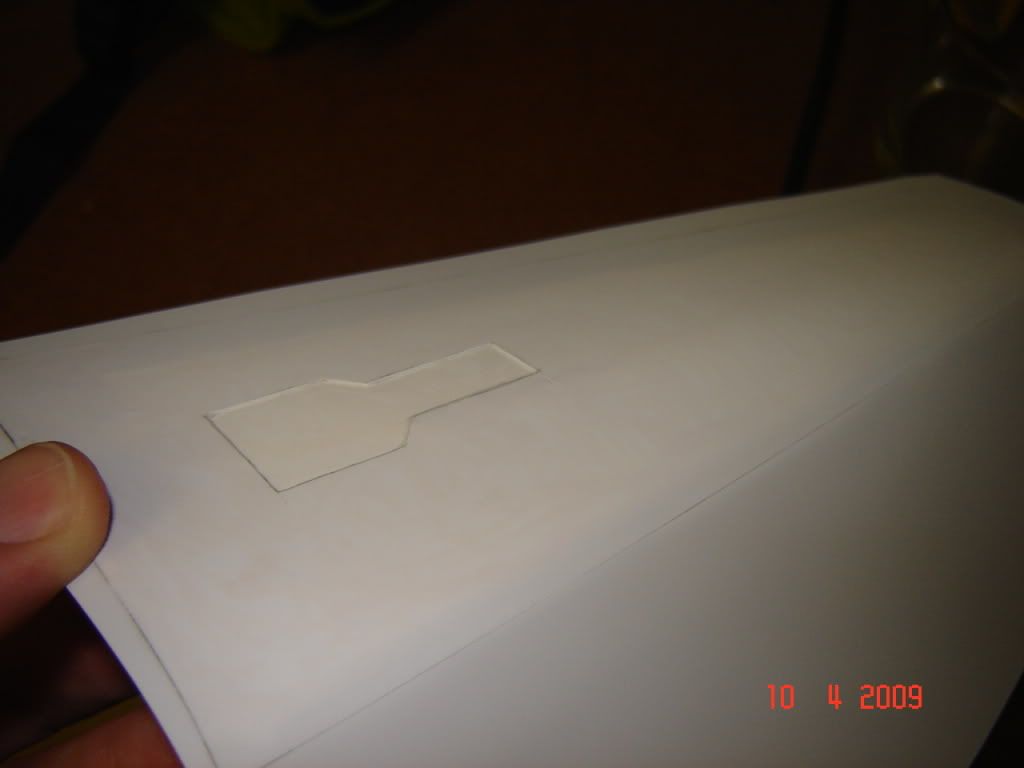
The idea was to make a hole in the upside of the wing and introduce the wheel wells, after put some putty and finished gluing the skin
See you next time
-
AnthonyWan and pttaa, thanks for your comments, and to everybody who is watching the advance, I will continue posting soon.
-
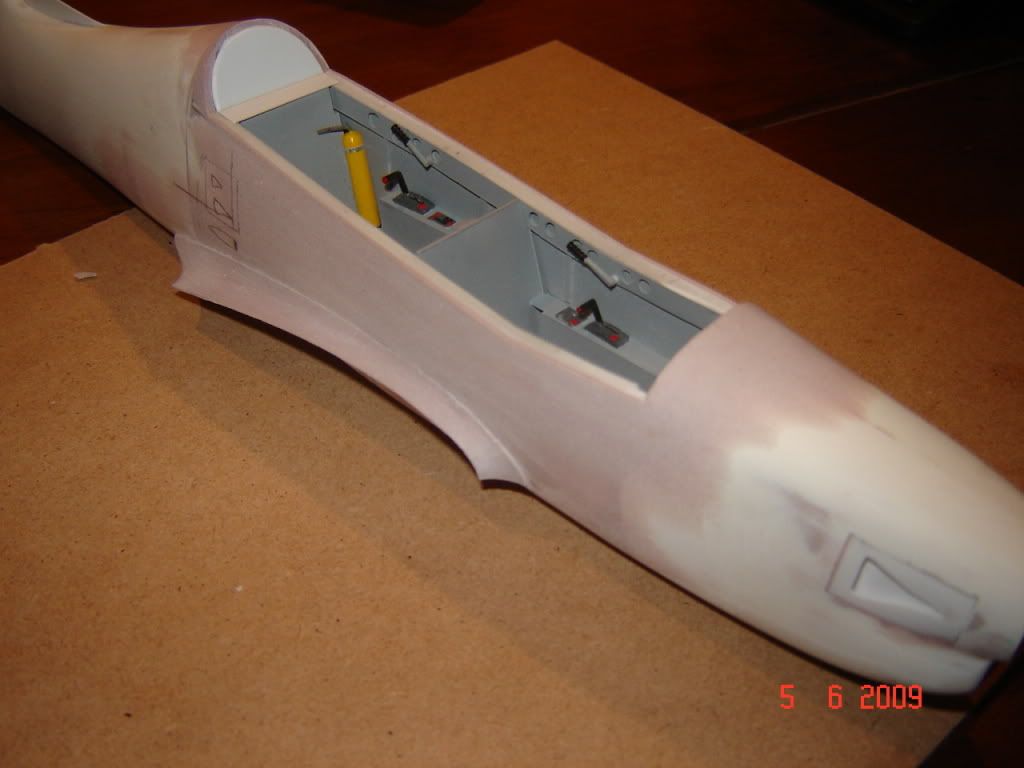
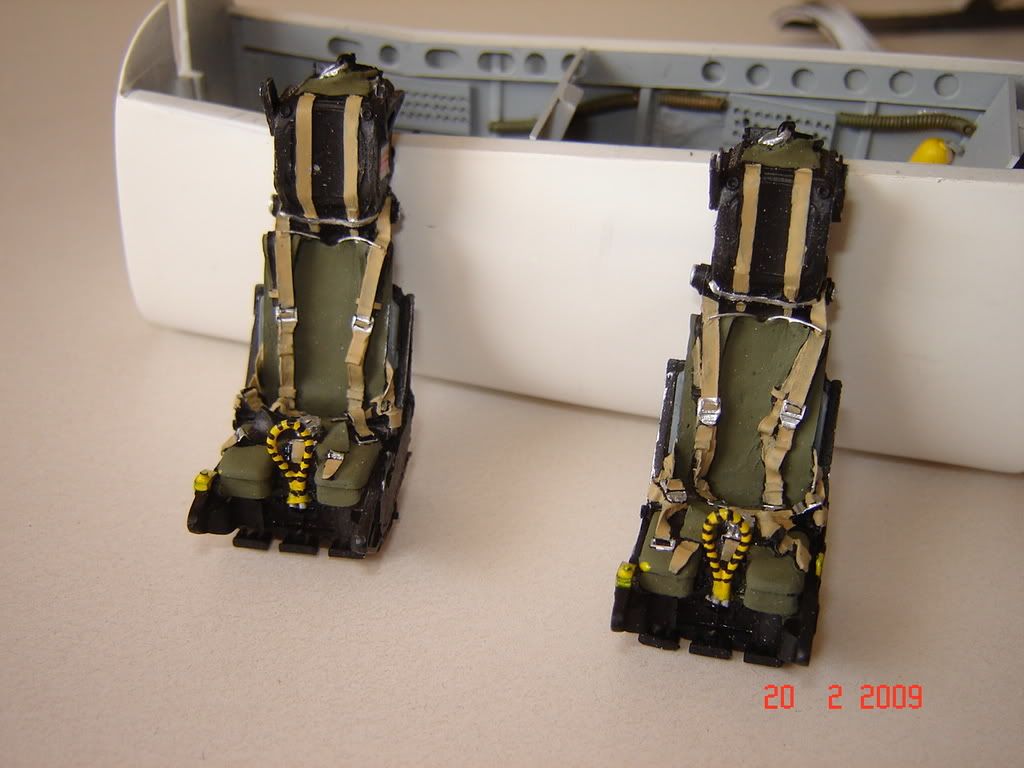
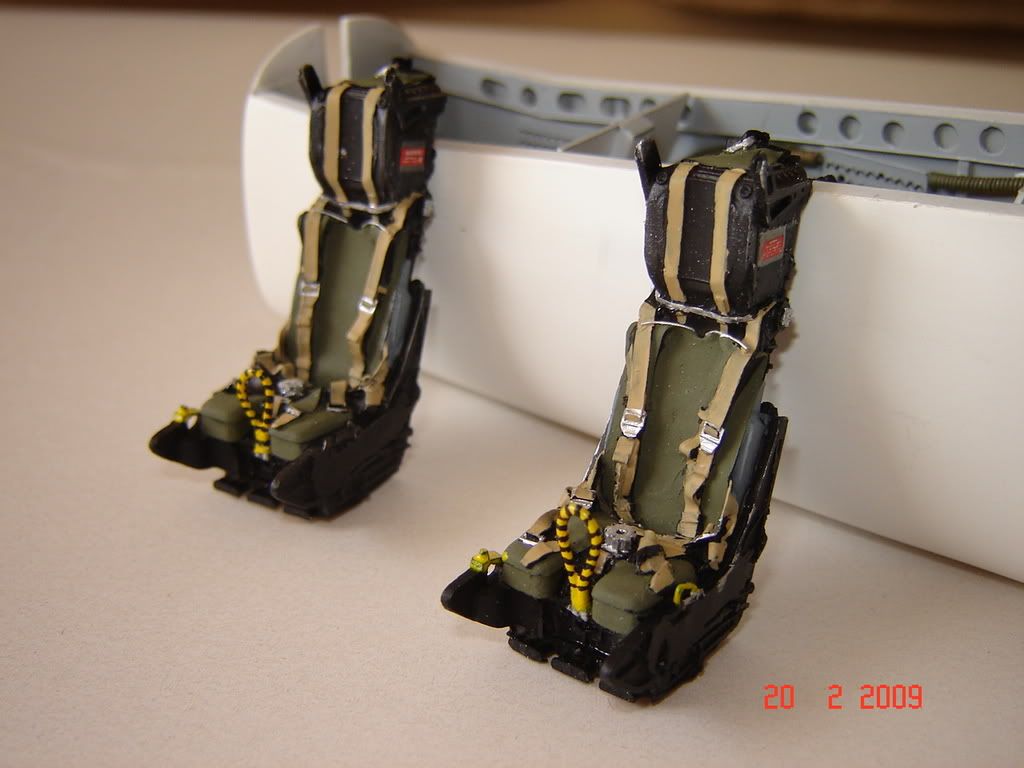
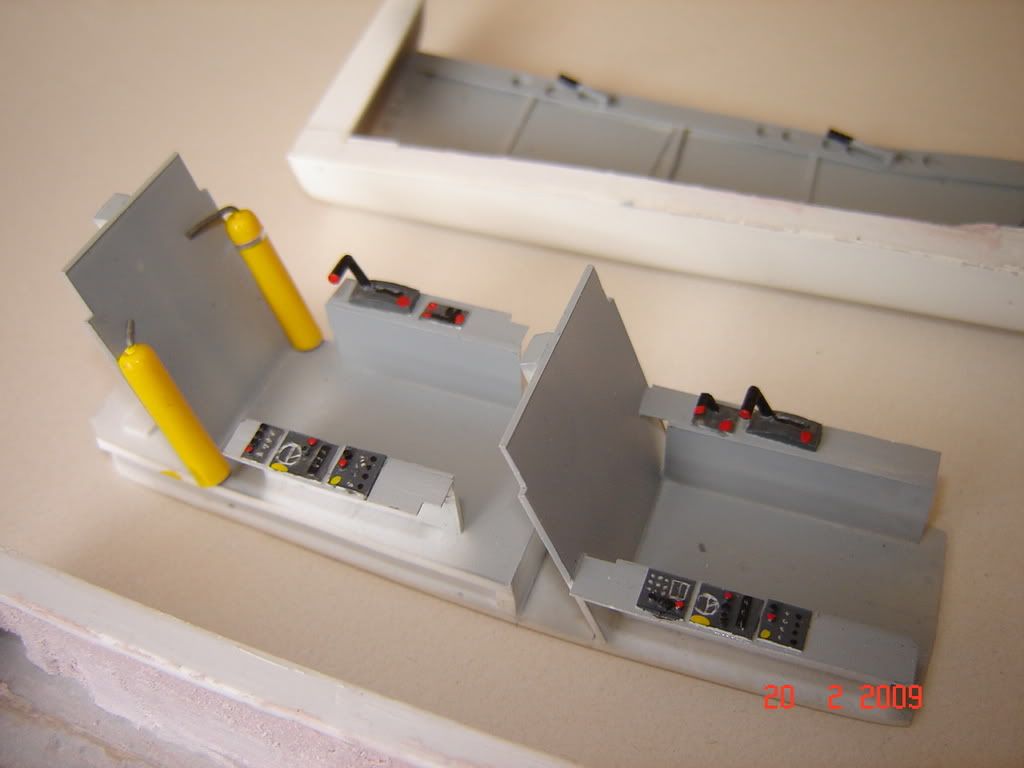
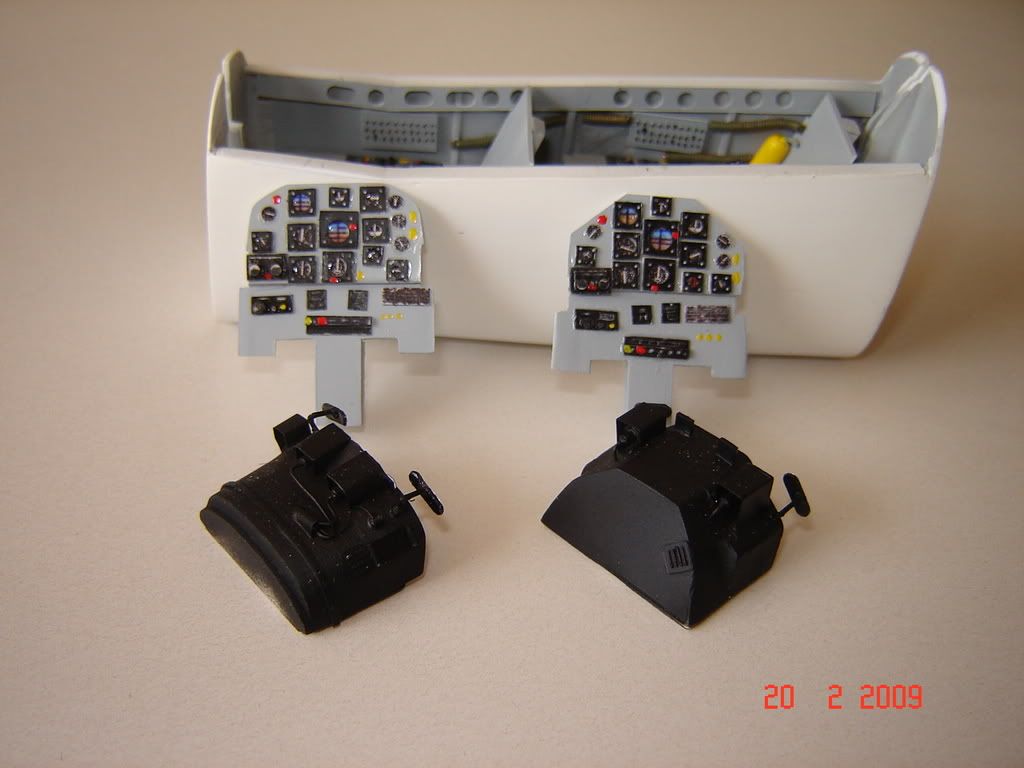
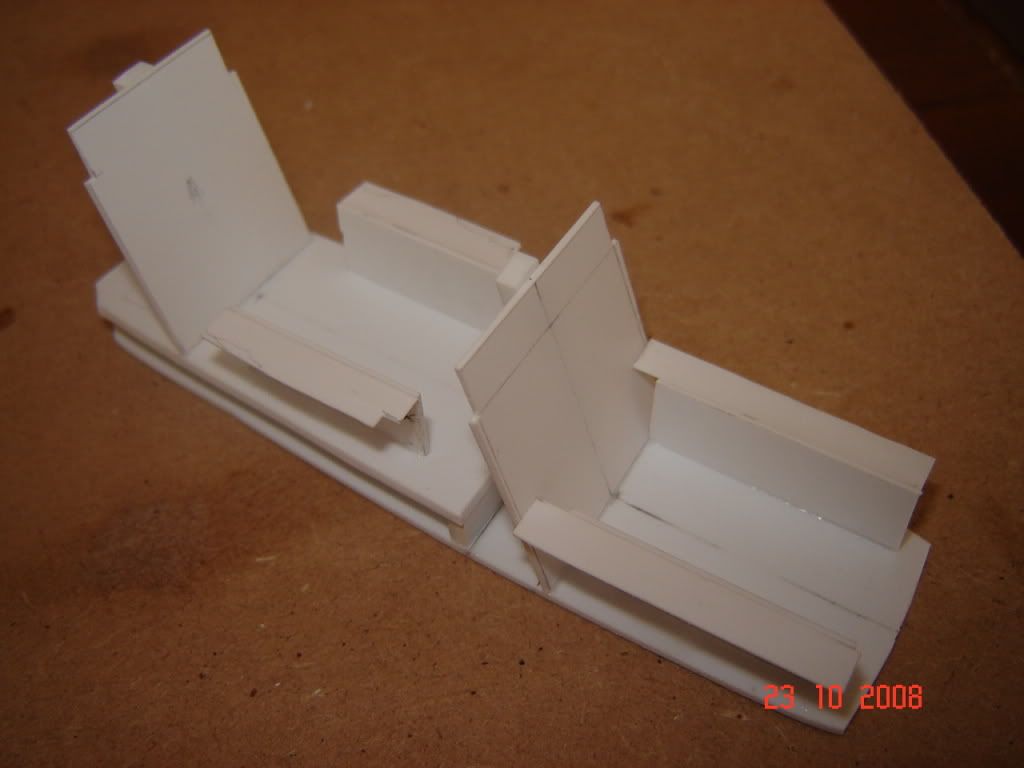
some more pictures
the seats are paragon mk 10 with some modifications, I know they are not the original ones from the tucano, but they where the nearest ones that I found.
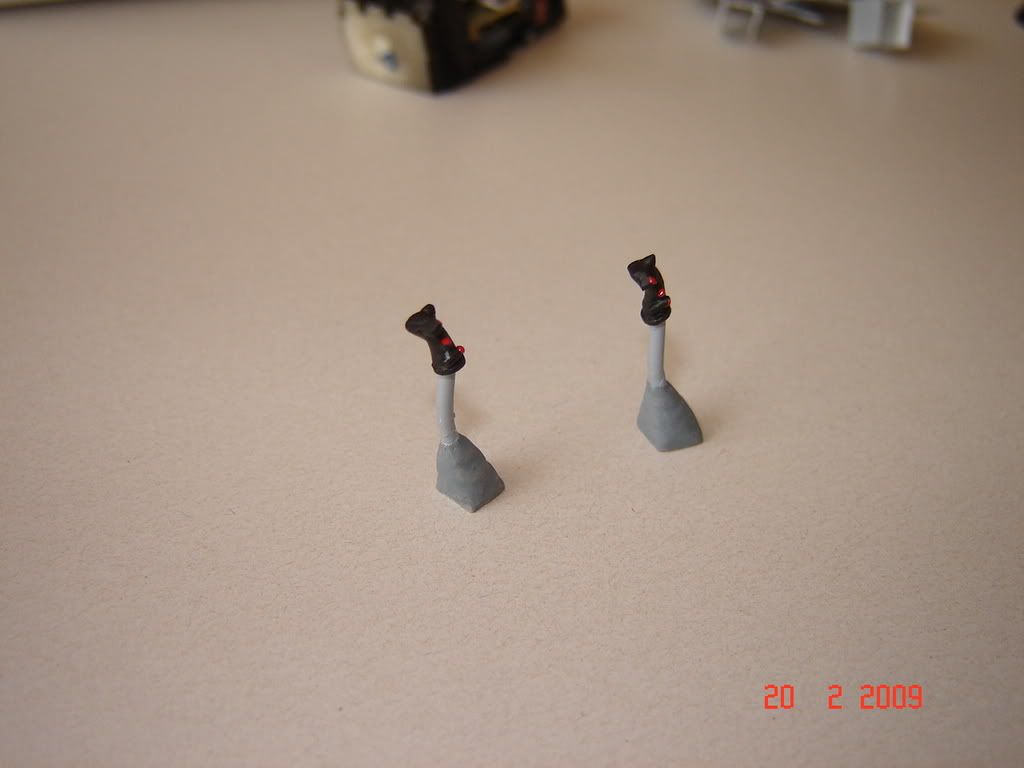
control stiks
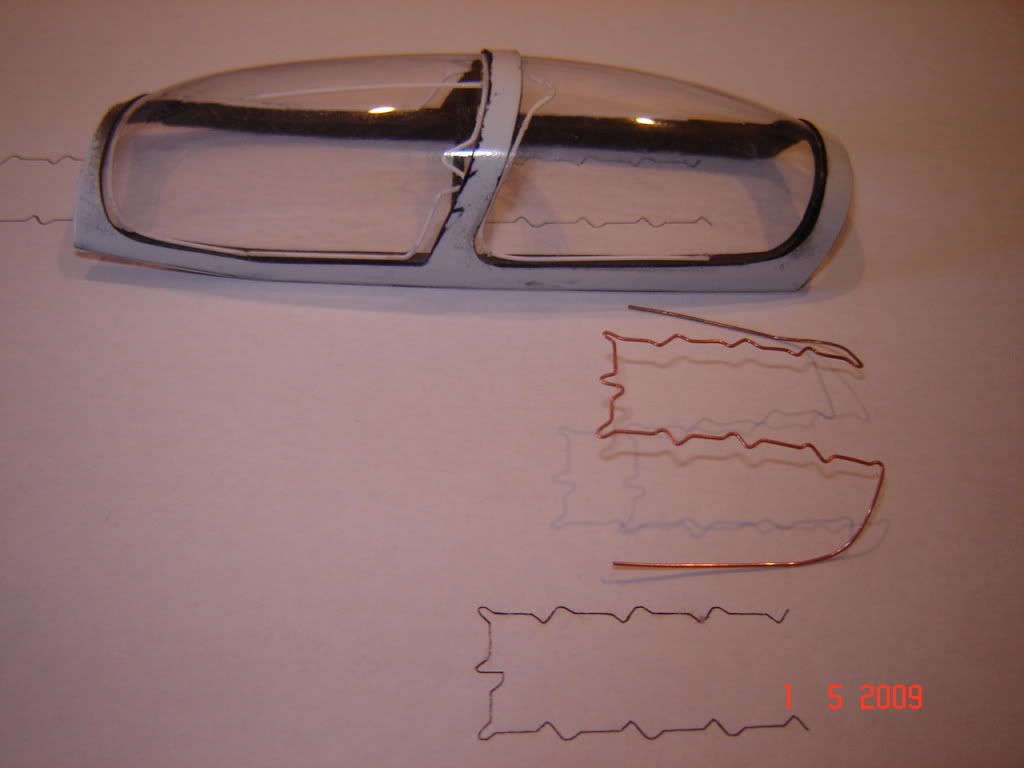
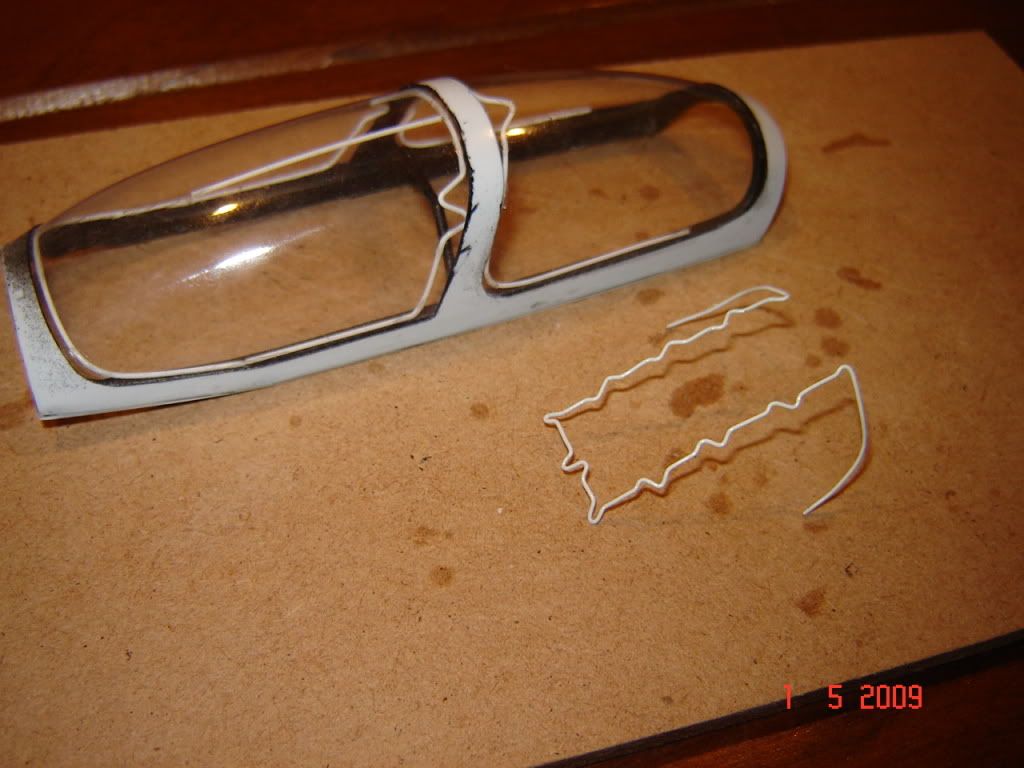
and the canopy.
It is made of three parts, an internal frame, the transparent vacuformed plastic and the external frame, made of 3 mm vacuformed styrene sheet, and cuted into shape.
the detonation cord is of 1 mm styrene rod, well it is not finished yet
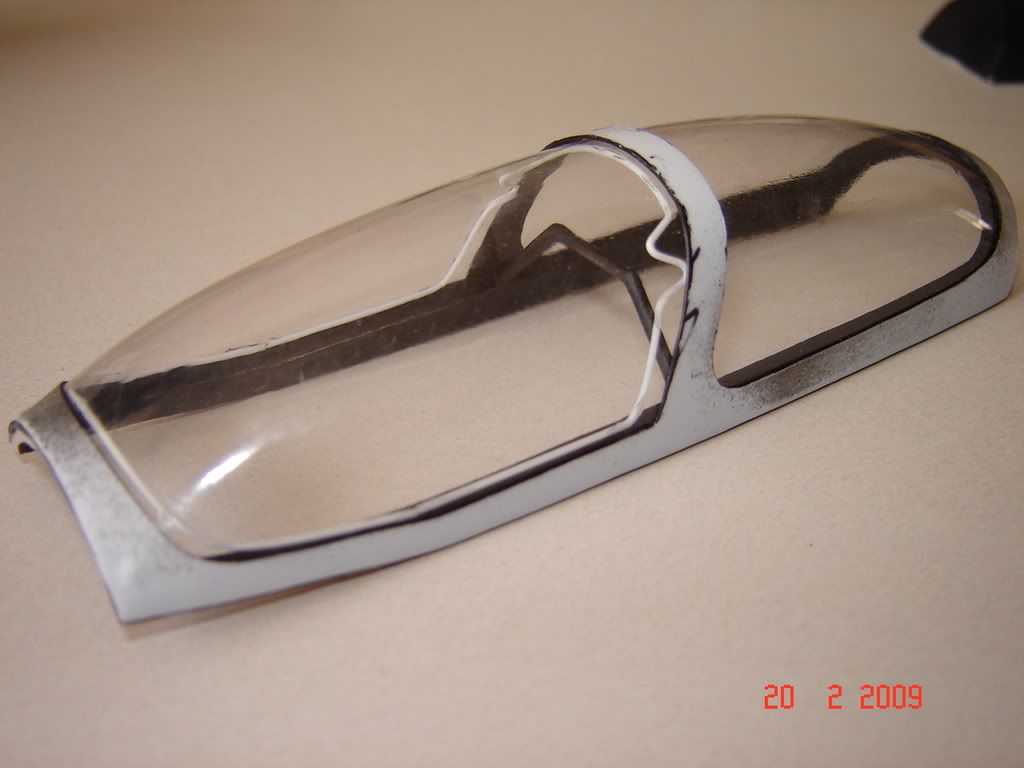
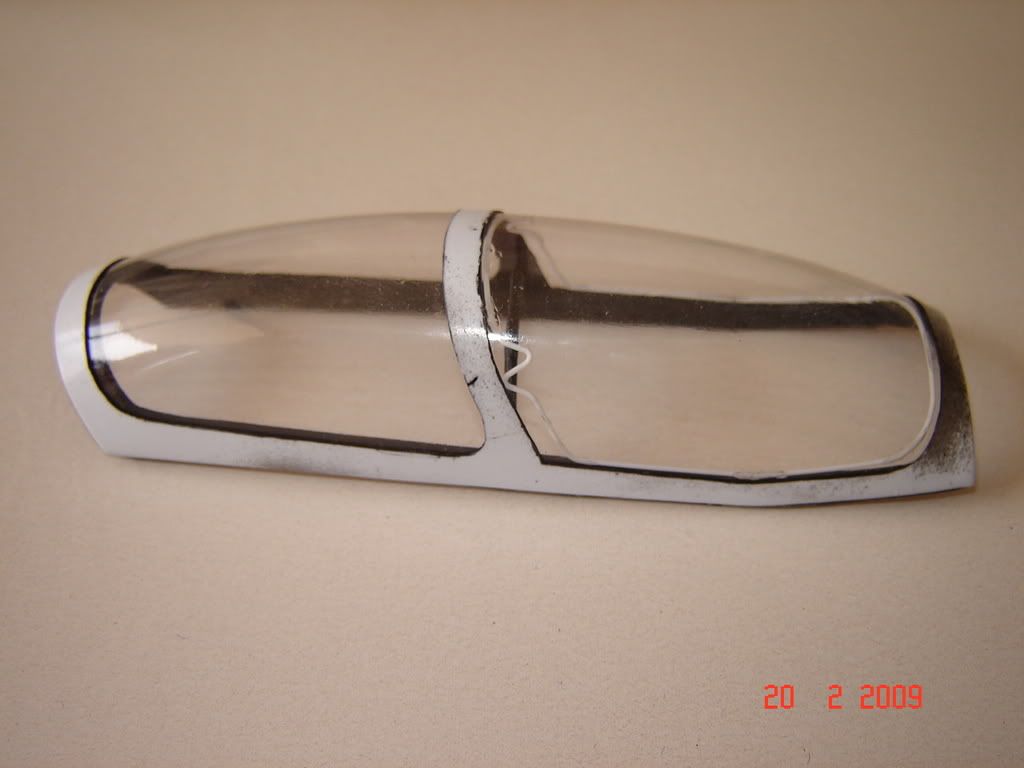
I hope you like it, any coments are accepted
see you
-
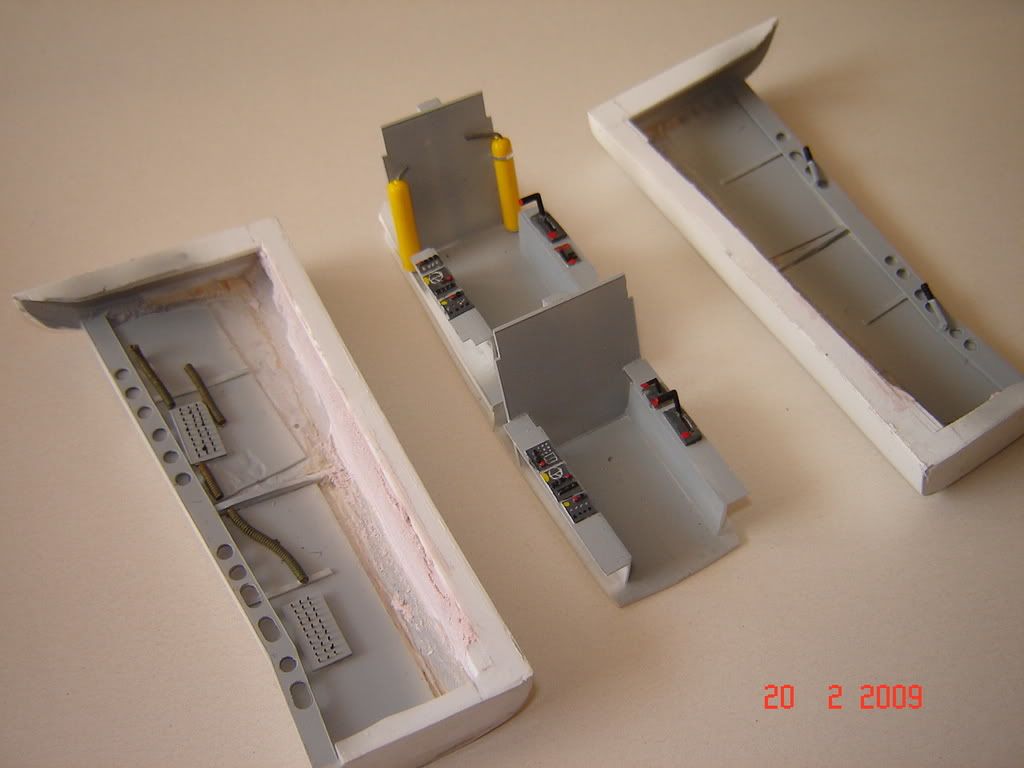
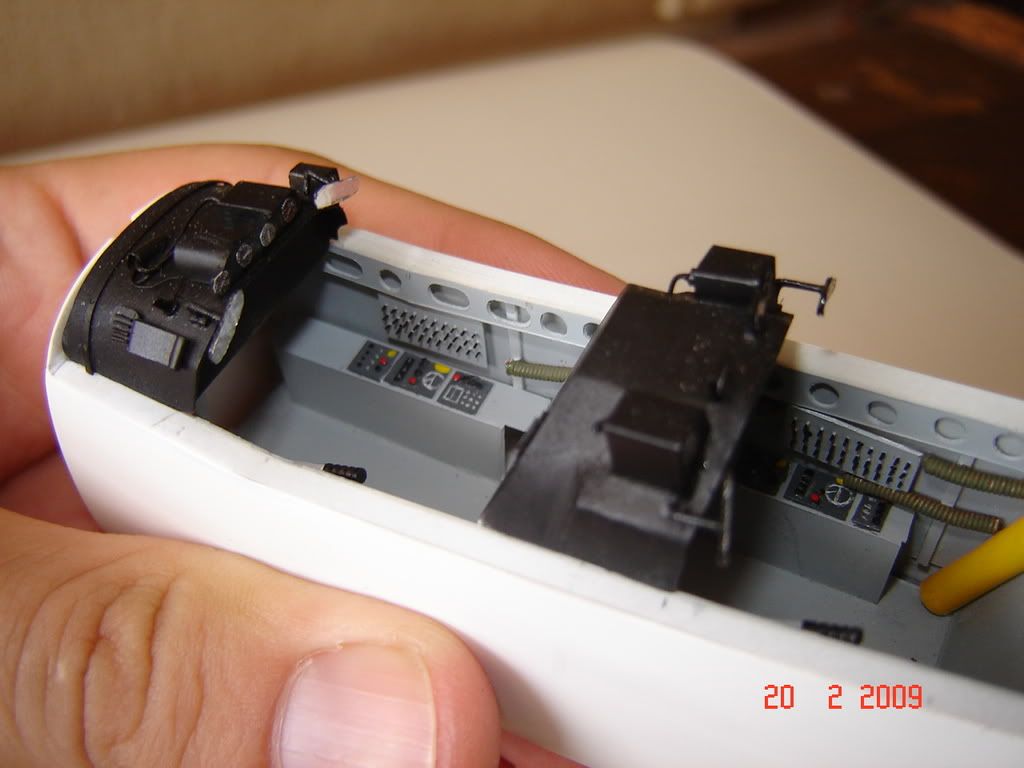
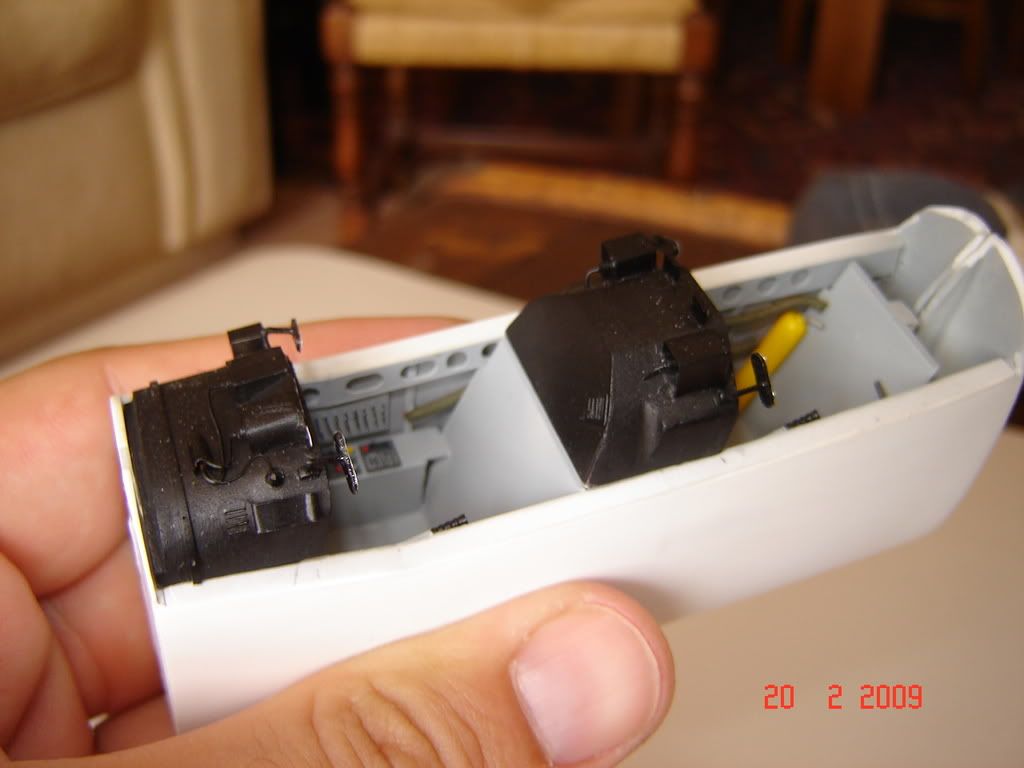
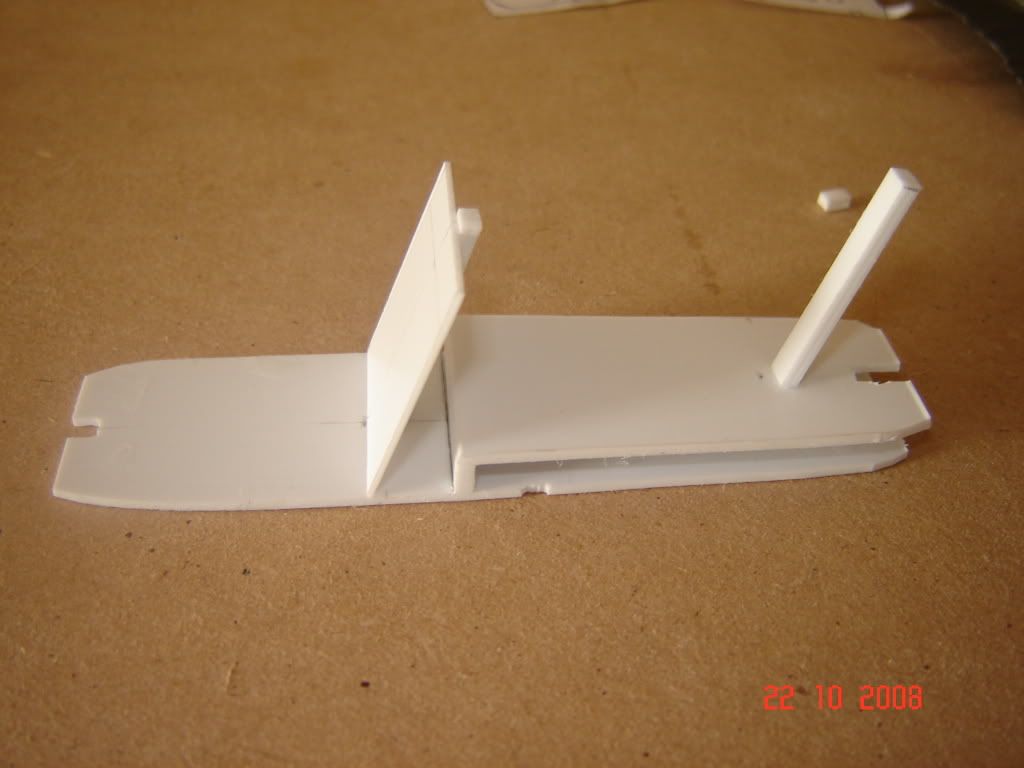
Hello, so much time since my last post.....
Well I have made some more advance, just when I find some time to work.
It is almost everything of the cockpit.
Here are the pictures


-
Hi GMK, is this usefull??
http://wp.scn.ru/en/ww4/o/934/26/0/3_a1
http://wp.scn.ru/en/ww4/o/934/26/0/3
http://wp.scn.ru/en/ww4/o/934/26/0/3_a2
I have been looking for super tucanos drawings and it is the only "good" drawings I have find.
If you have anything else that you could share it would be good. Now I am working on a Short tucano (the RAF version), but after that I would like to start whit a super tucano.
the only kit I know is duarte models whit a 1/72, but it seems is out of production link
I hope that the information is usefull for you.
see you
-
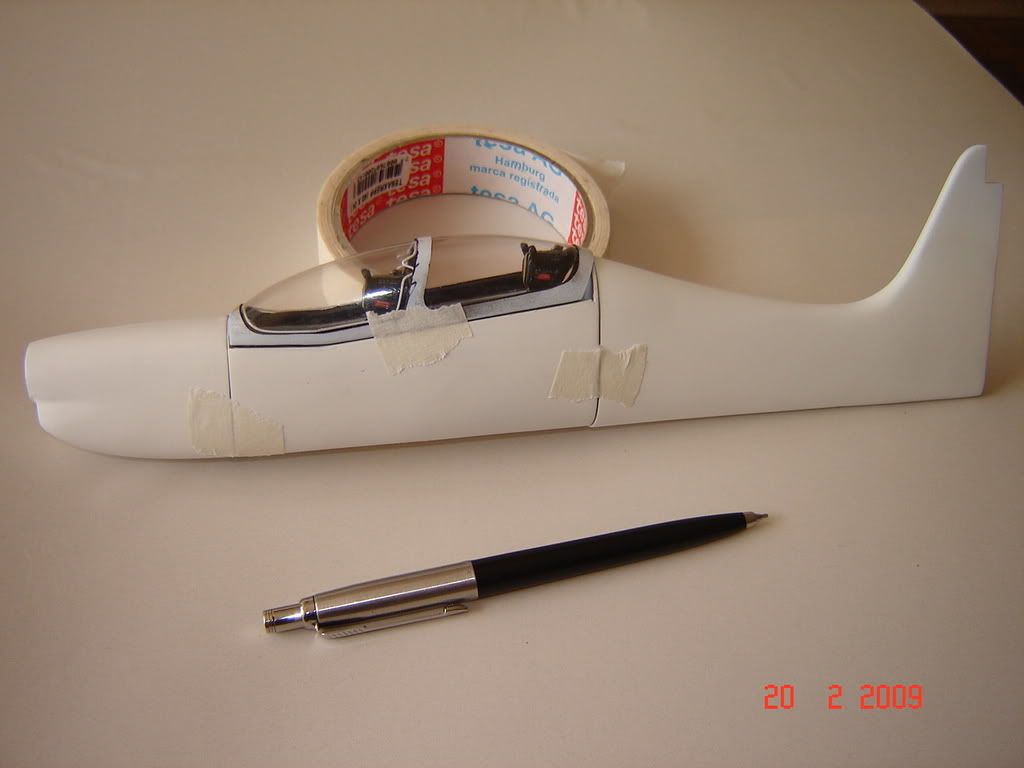
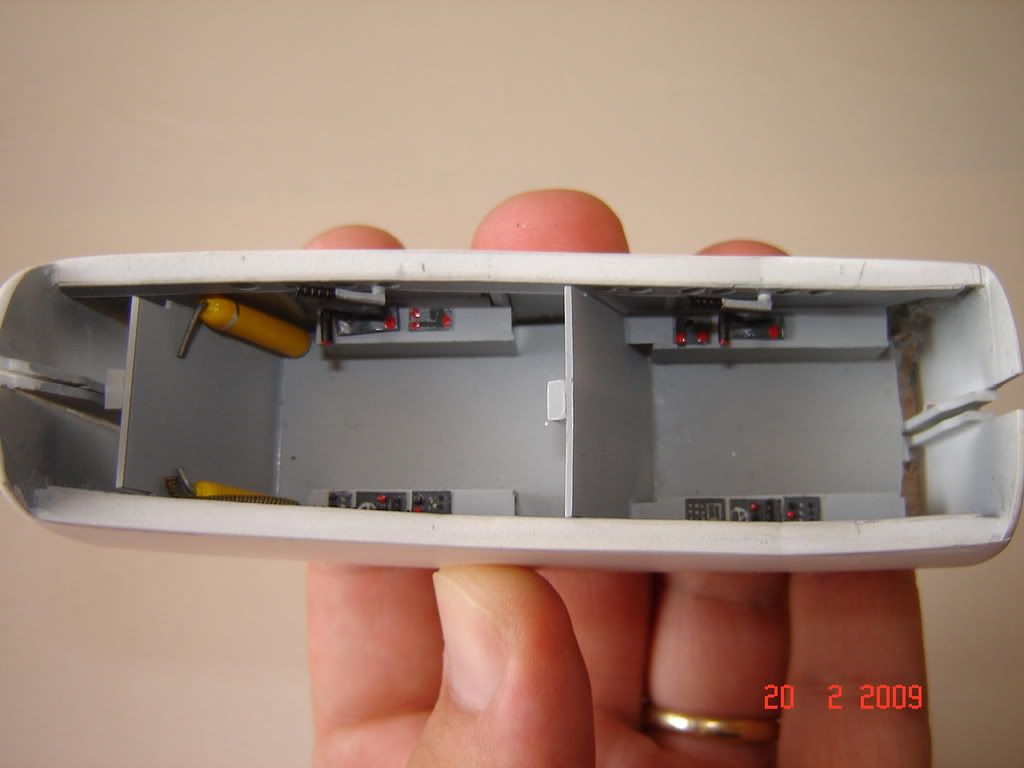
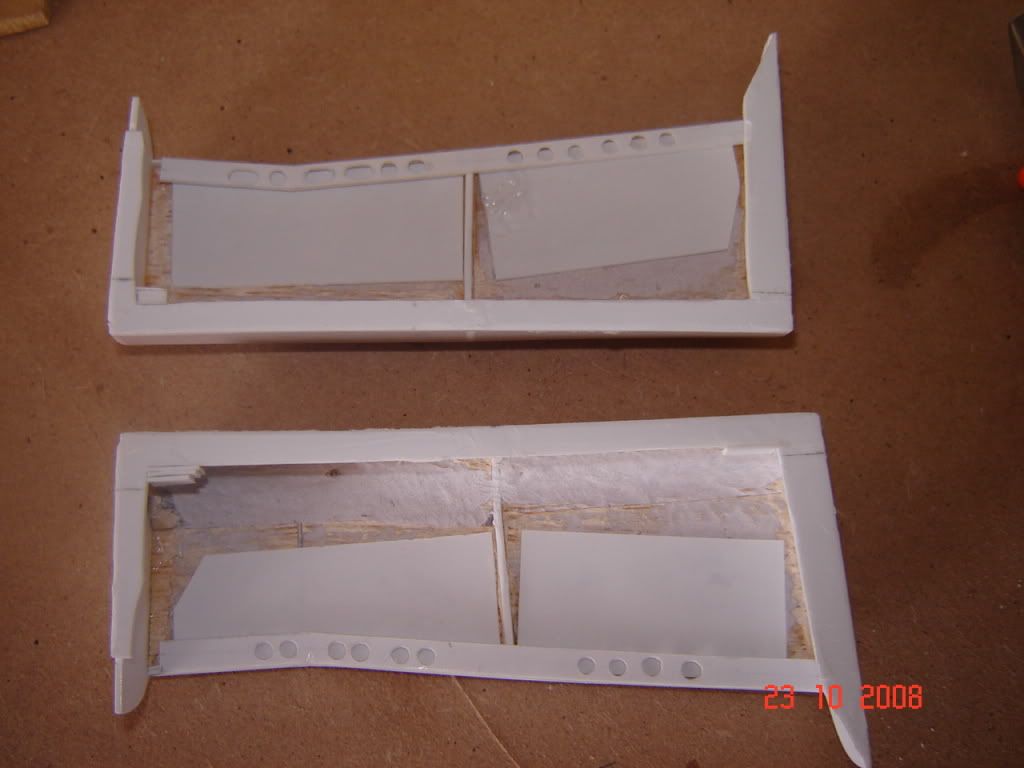
Hello!! here is a very small update.
I have separated the cockpit in the 2 original halves, and started working in the interior.
Some pictures
coming more soon
bye bye
-
THANKS HOLMES, that is just the one I want to make. It is going to be very usefull.
Thanks again


IAR 81C
in In-Progress Pics
Posted
Really Inspiring work!!!!!!FANTASTIC!!!!
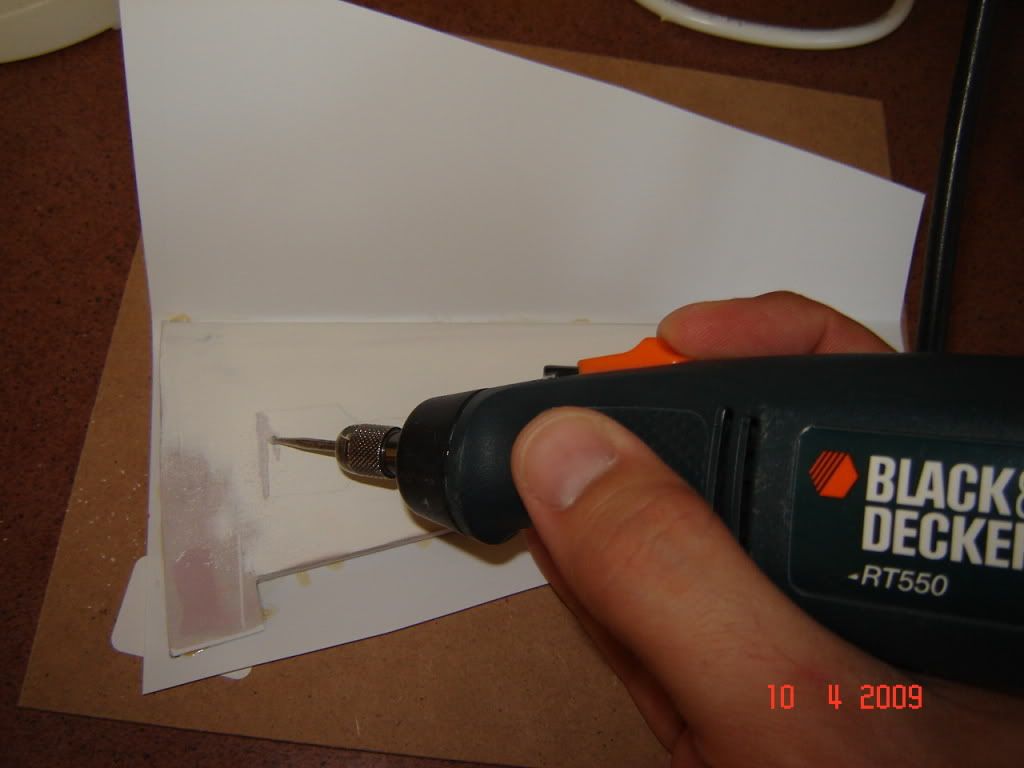
Can I ask how do you make that soldering?