

maurizio
-
Content Count
1,132 -
Joined
-
Last visited
Content Type
Profiles
Forums
Calendar
Posts posted by maurizio
-
-
...on my PC the pics are correctly rotated but not here....
-
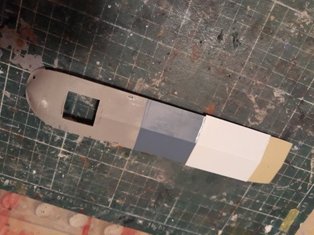
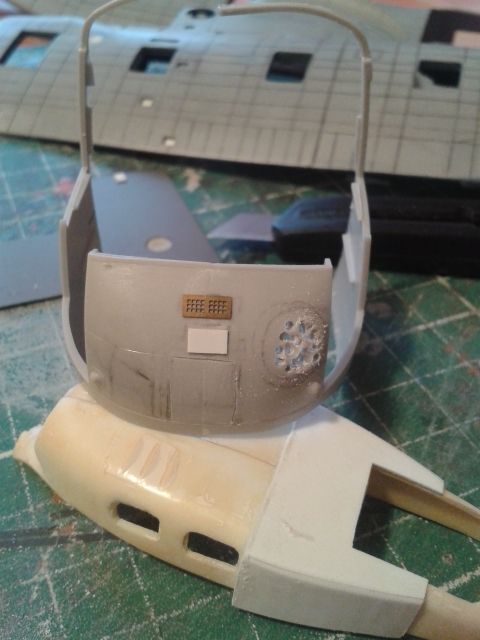
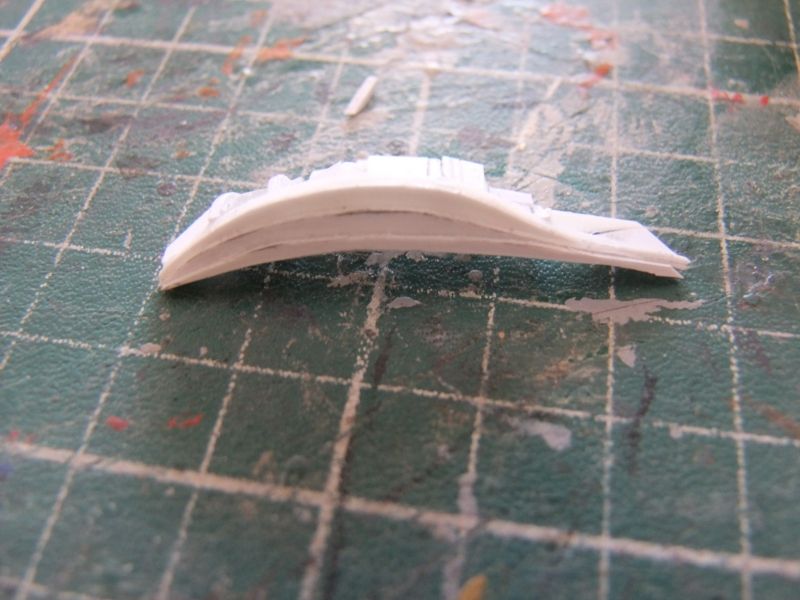
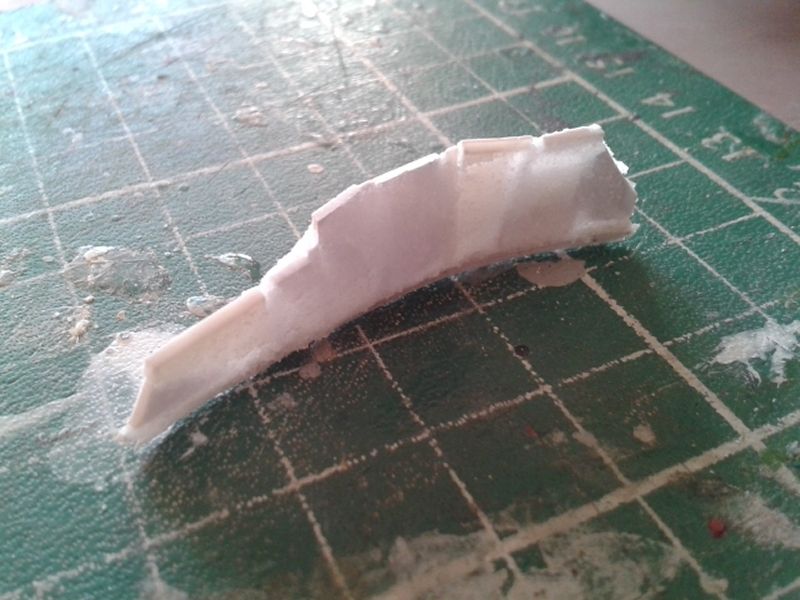
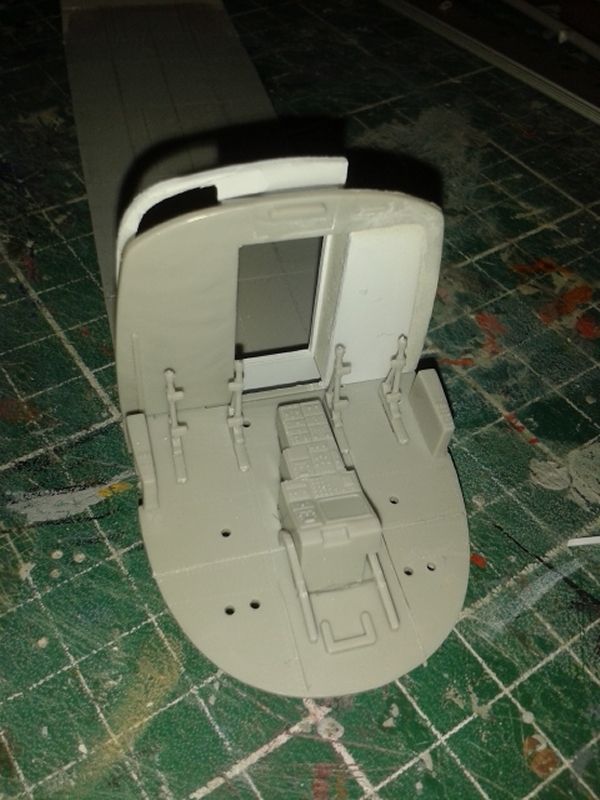
Since the Attic lower part of the fuselage is not straigh I must use the kit piece, a piece of plasticard and only the very rear part of Attic resin conversion. I add some plasticard pieces for strengh the entire piece. I used CA glue with Soda Carbonate for gluing the interiors. It is very strong.
-
Dear Don,
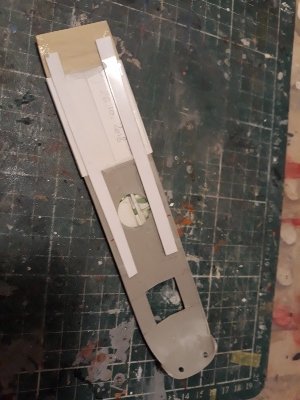
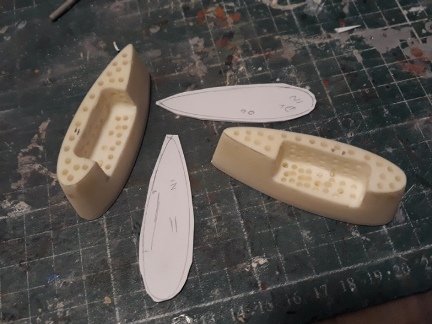
many thanks for your comment. Sponsons are from Attic conversion. I saved them from trash can since they are still workable (not 100% accurate). You can see the new rear edges I made making them sharper.
I made those holes for made them lighter in weight.
-
-
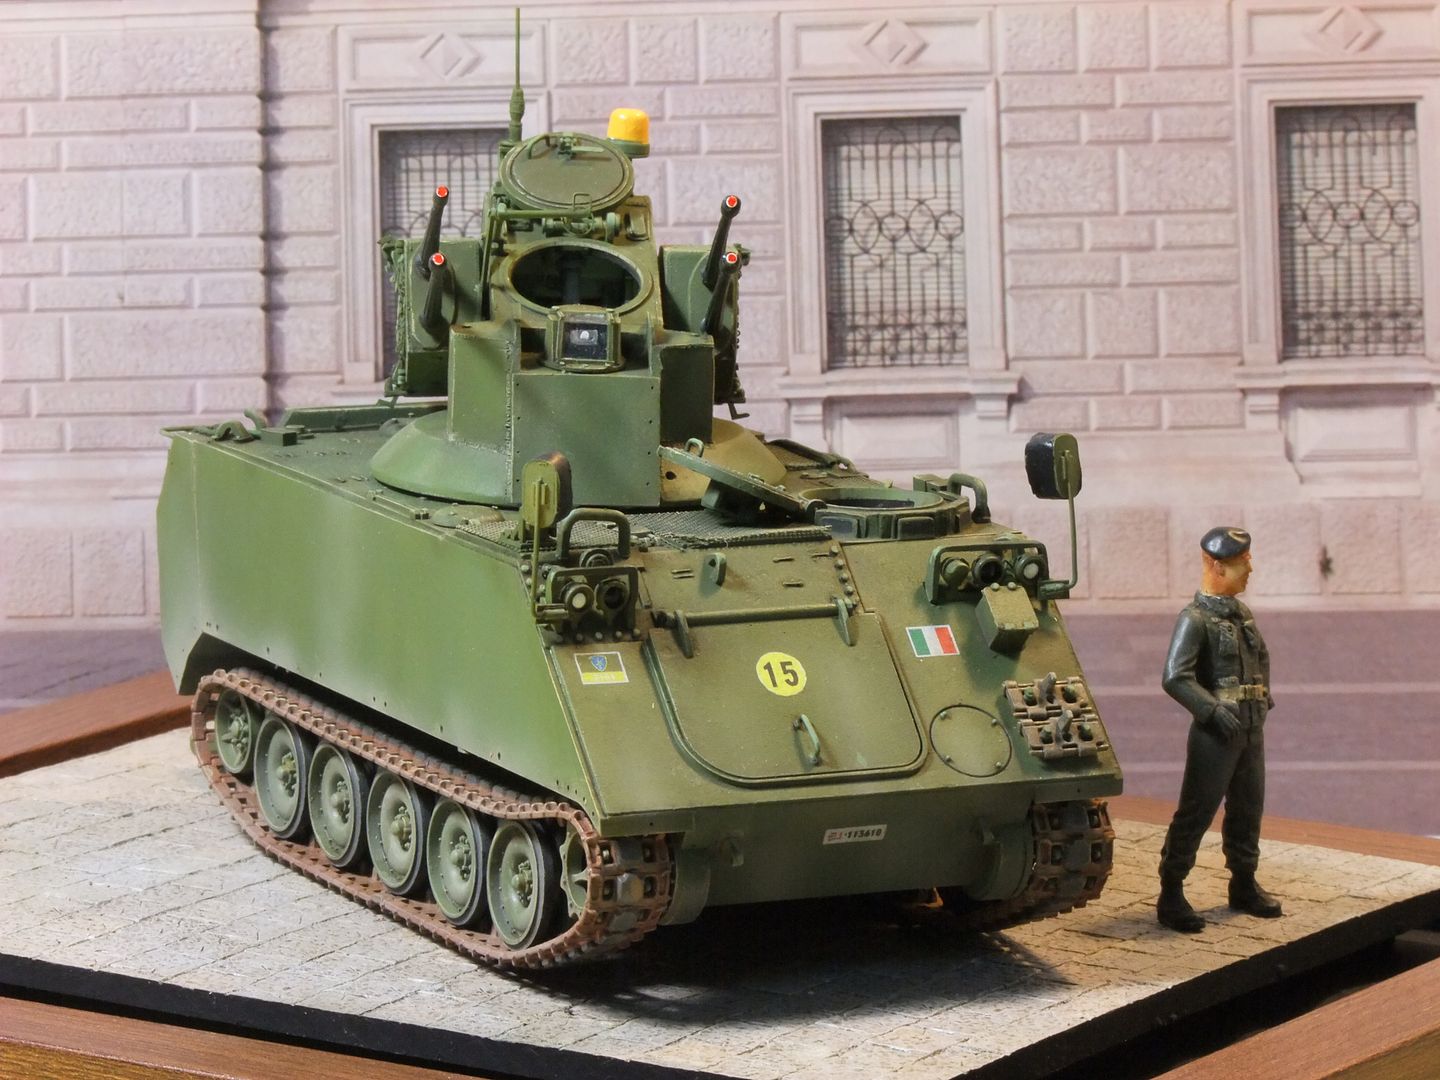
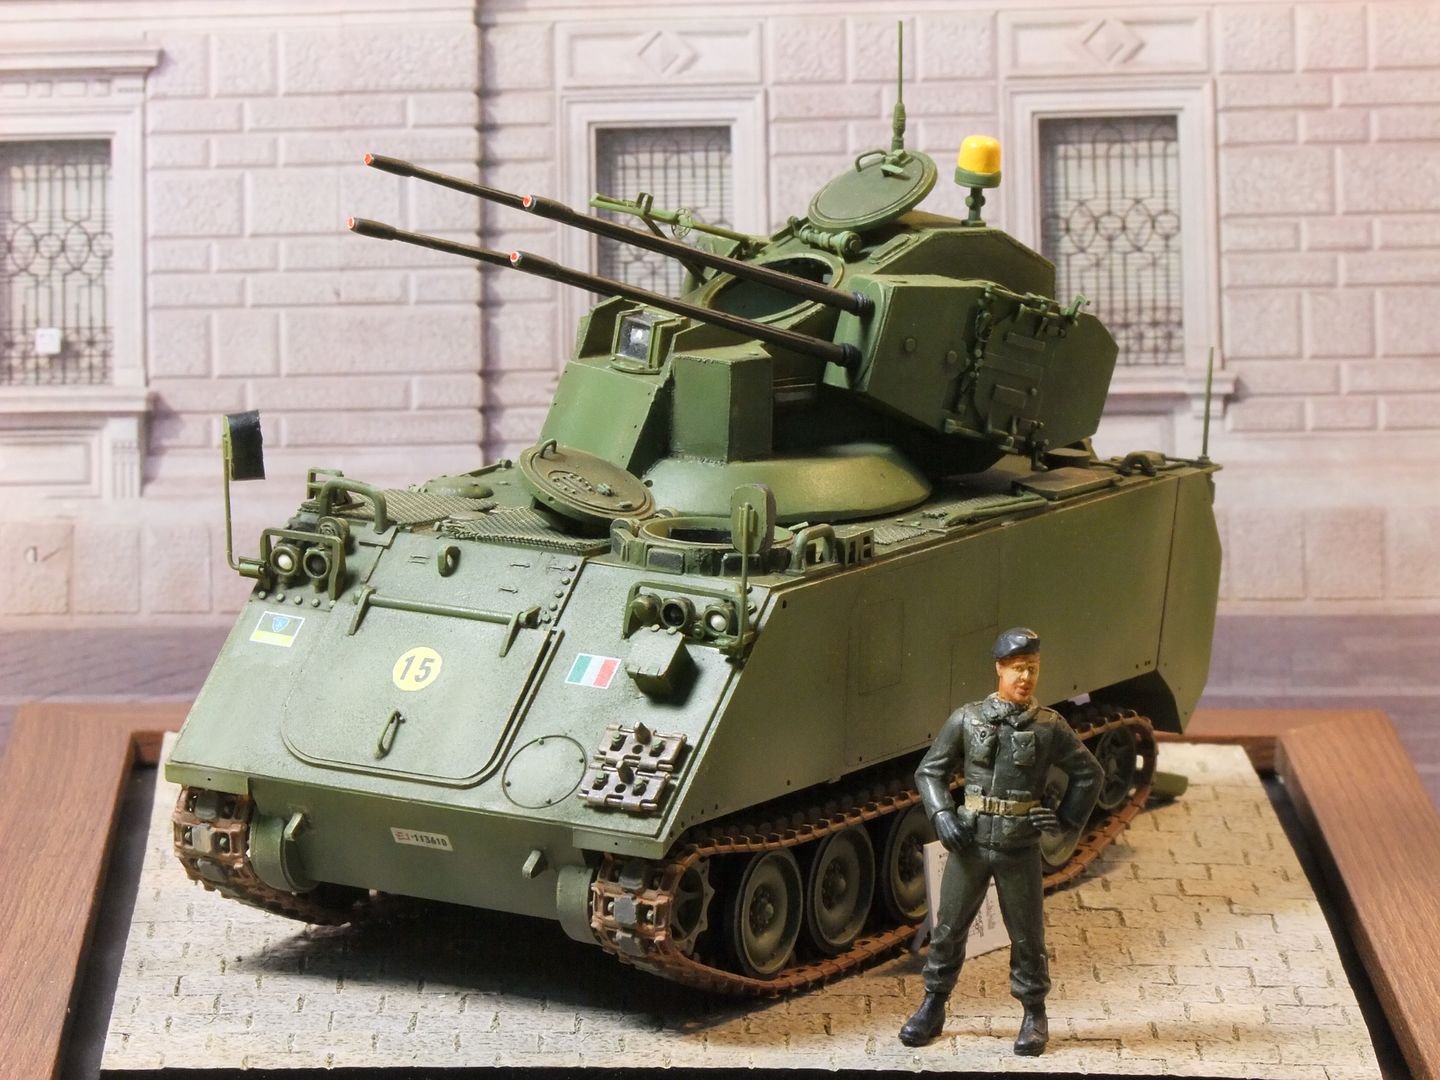
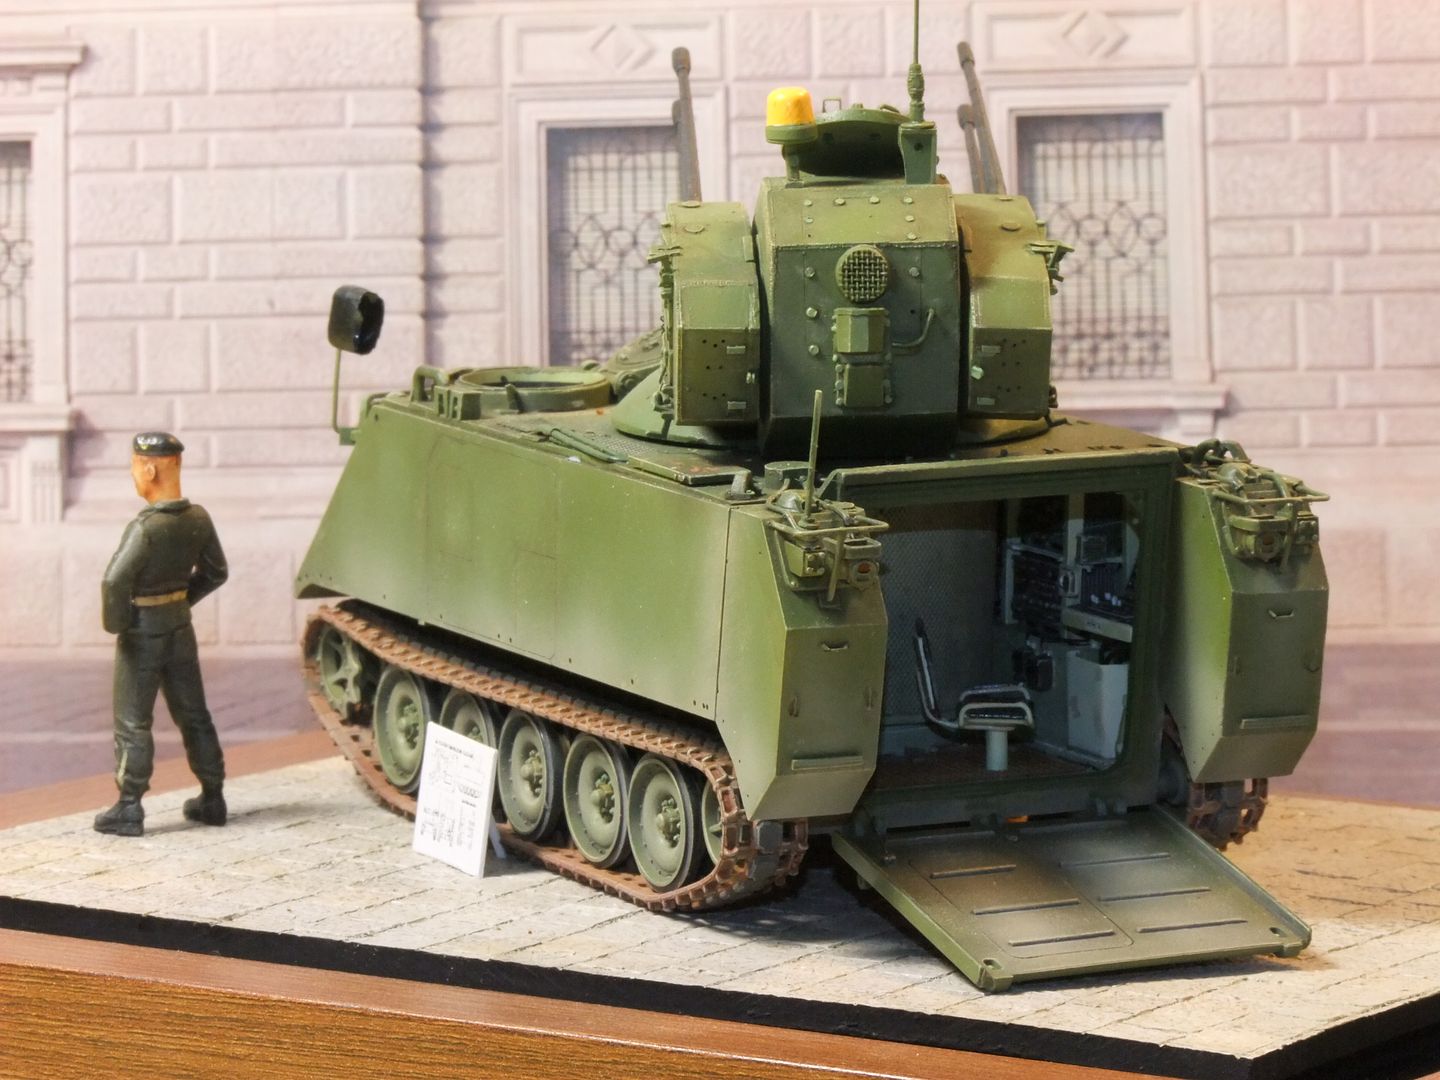
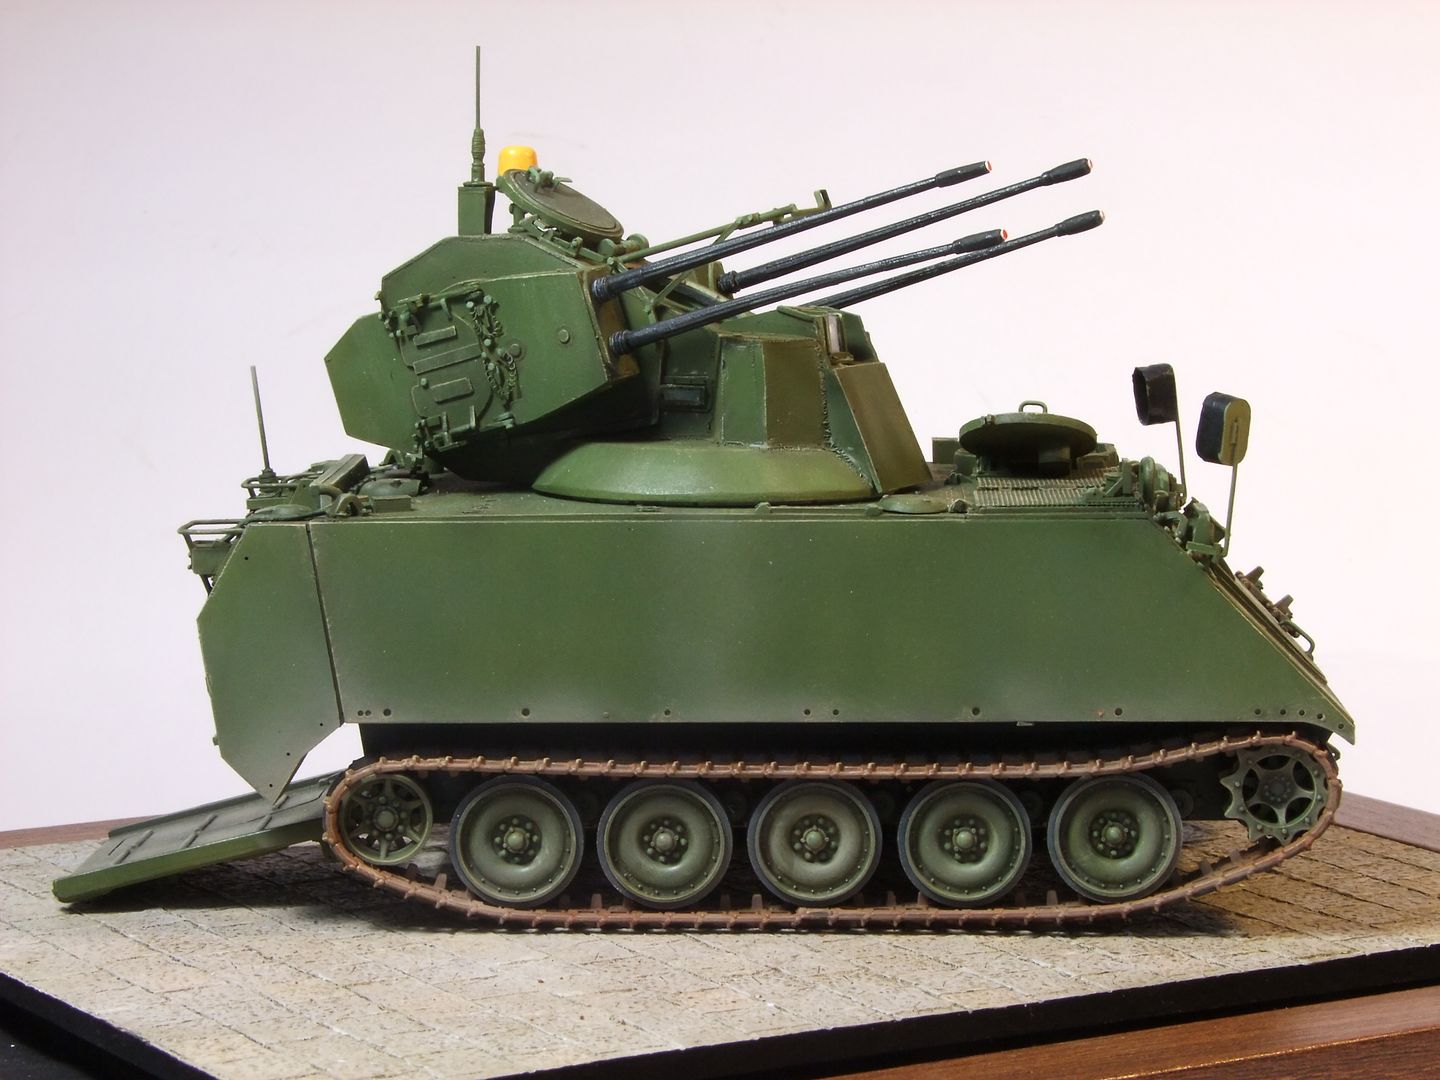
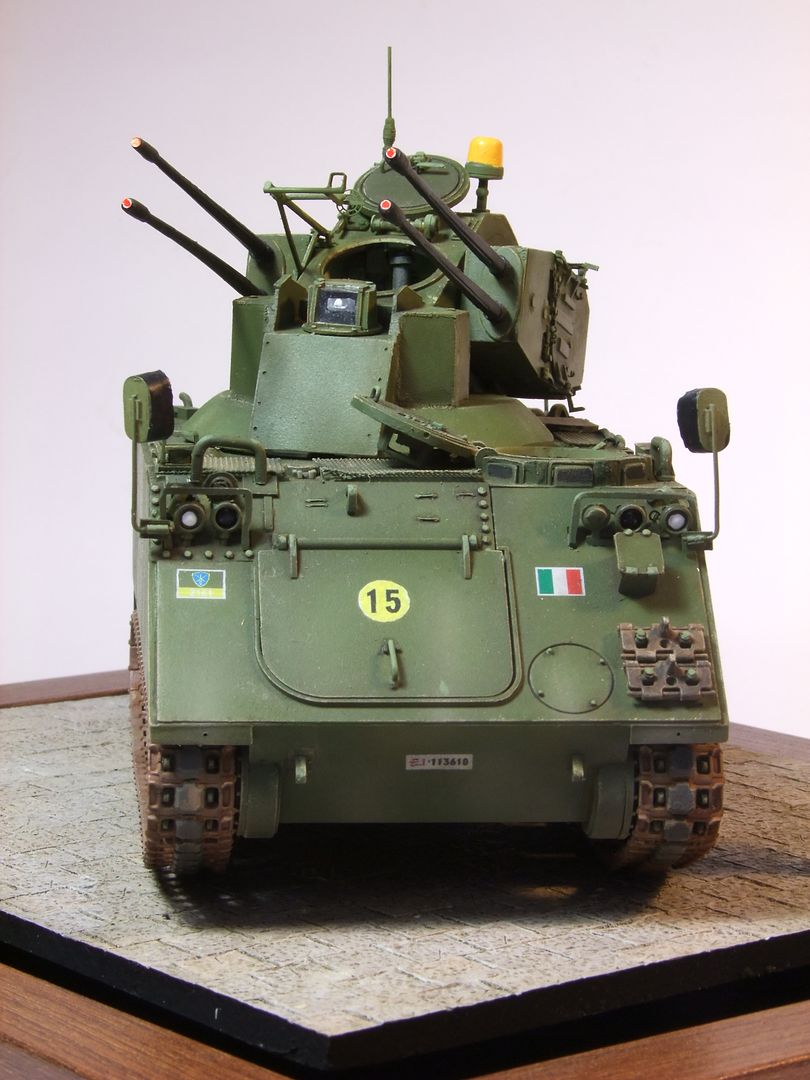
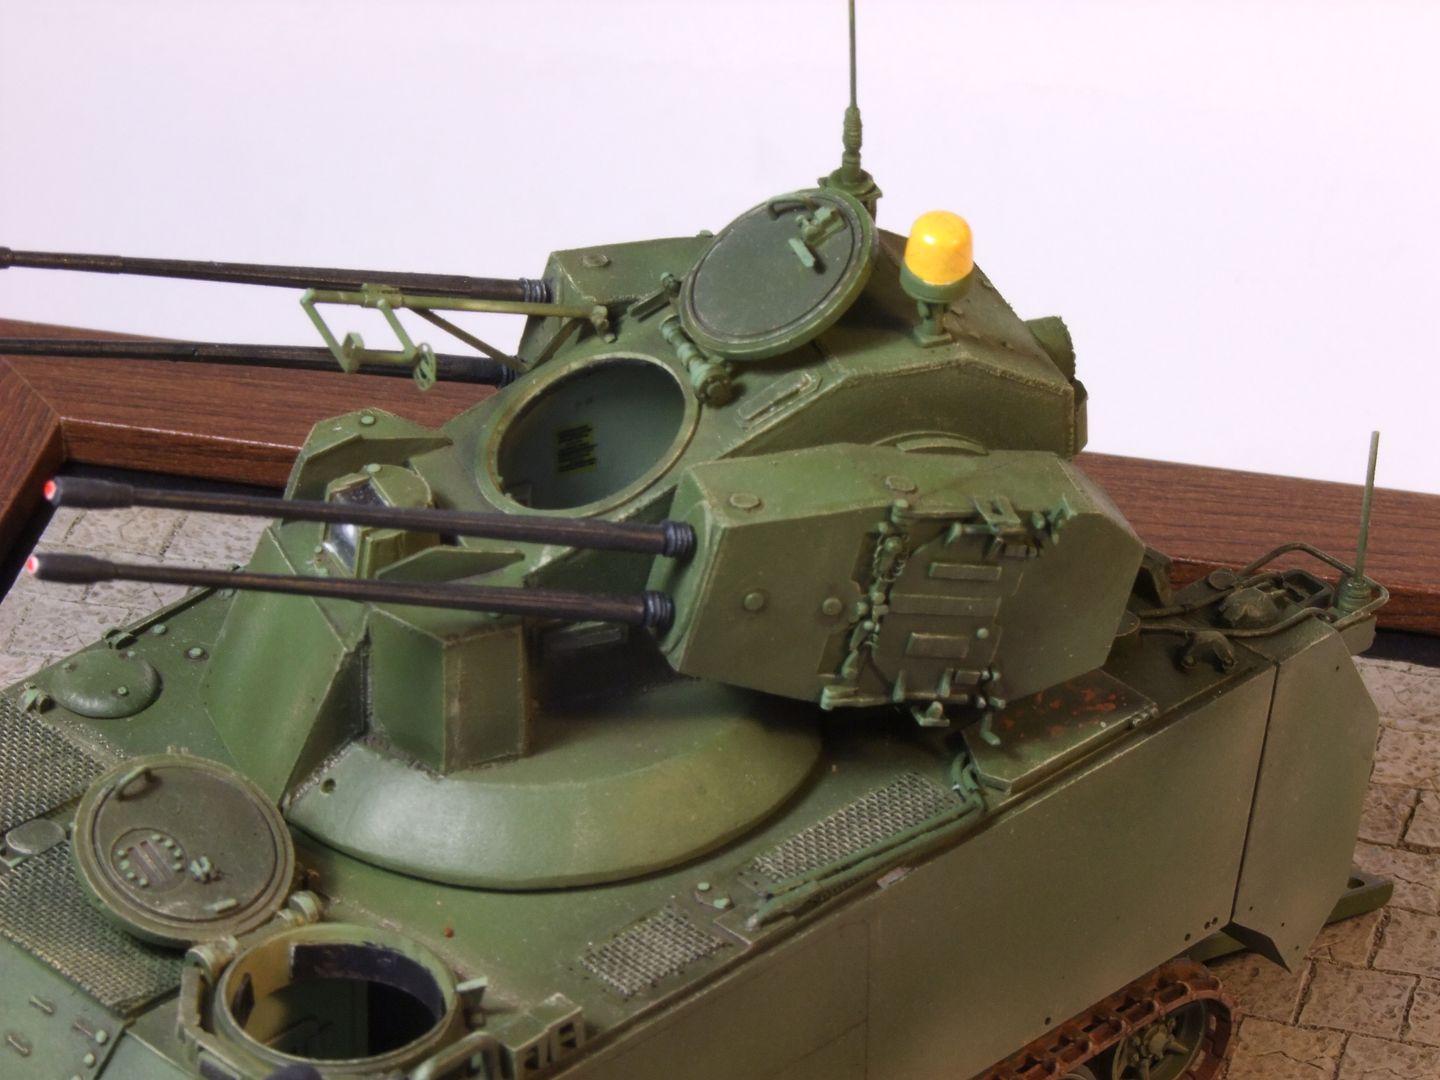
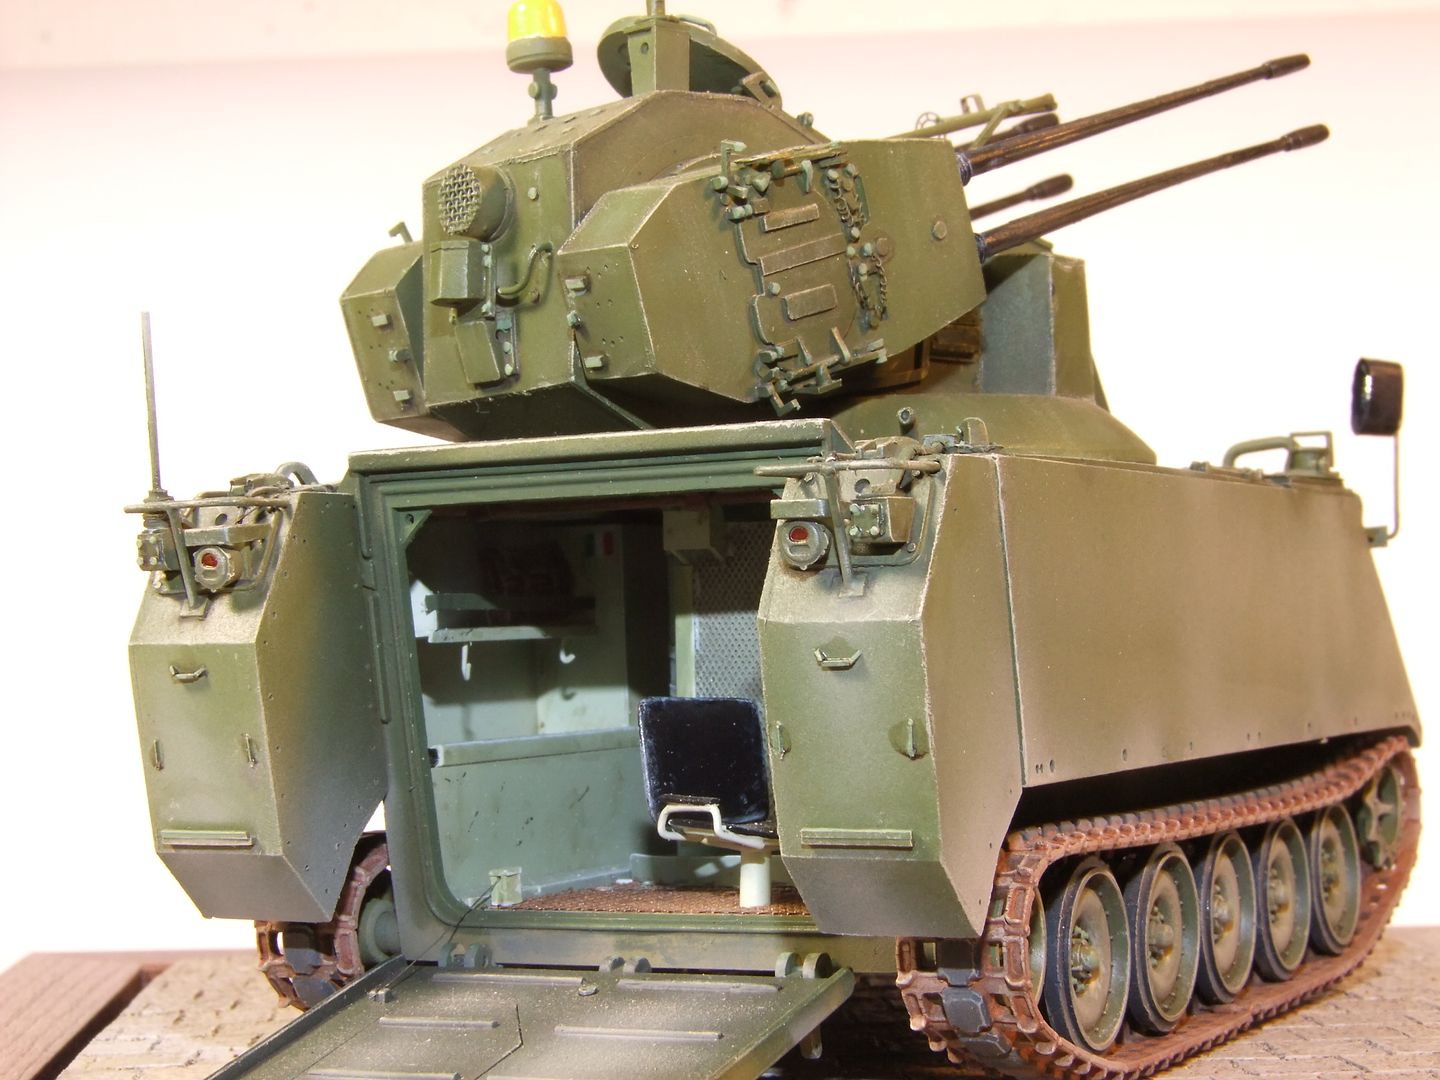
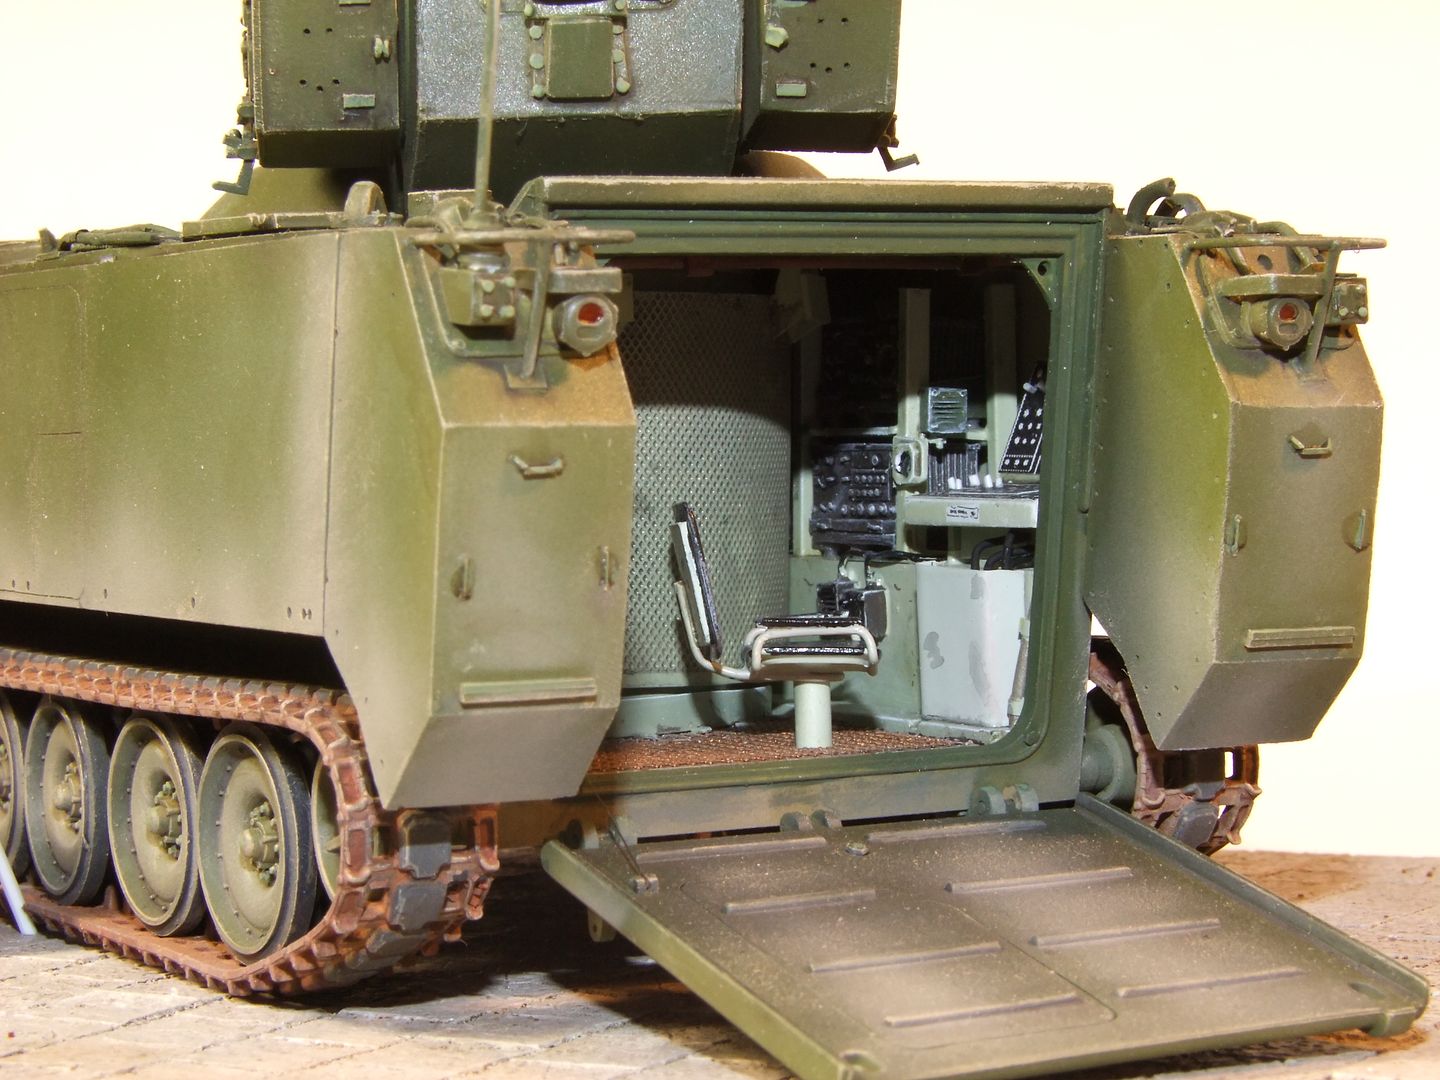
Pictures speak clarly about the quality. The conversion was very expensive, too. Seems like the web site is not running anymore.
cheers
Maurizio
-
I'm so sorry for your loss. There are no words for this...
Condolences mate.
Maurizio
-
Thanks mates for your comments.
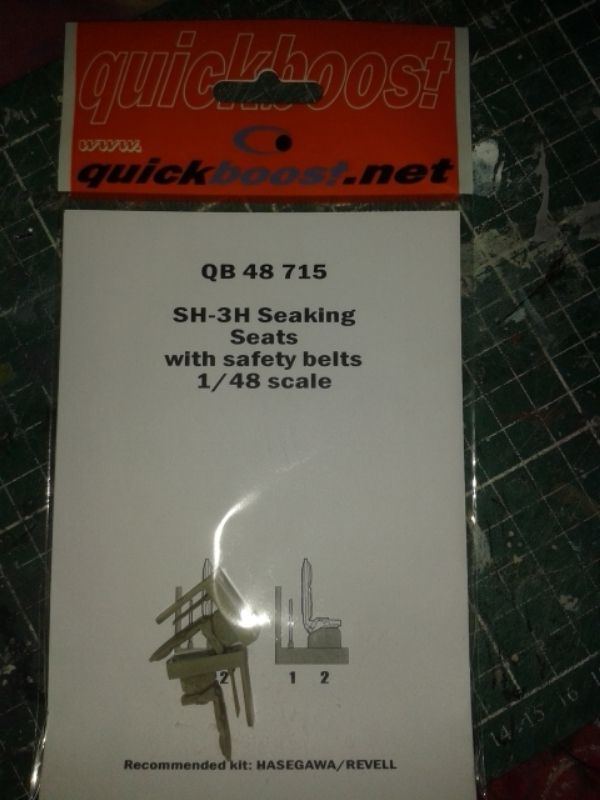
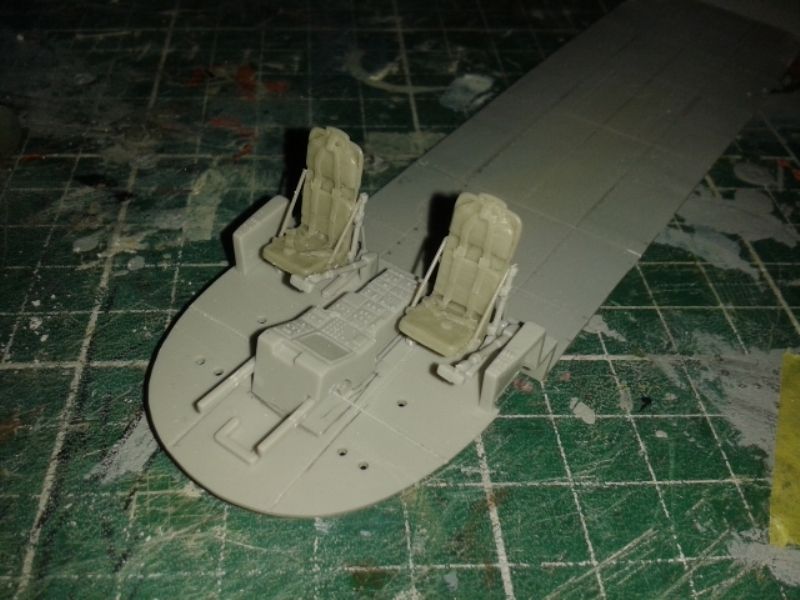
Here is the last addiction, the Quickbook seats. Much better than original....
I'm very slow on this project since I would finish some more in order not to have a lot of opened projects and boxes around.... time to time something new is coming out ....
cheers
Maurizio
-
Nose radar dry fitting.
-
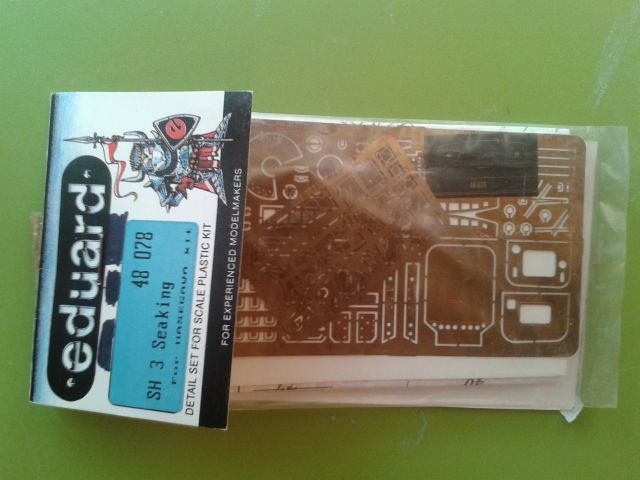
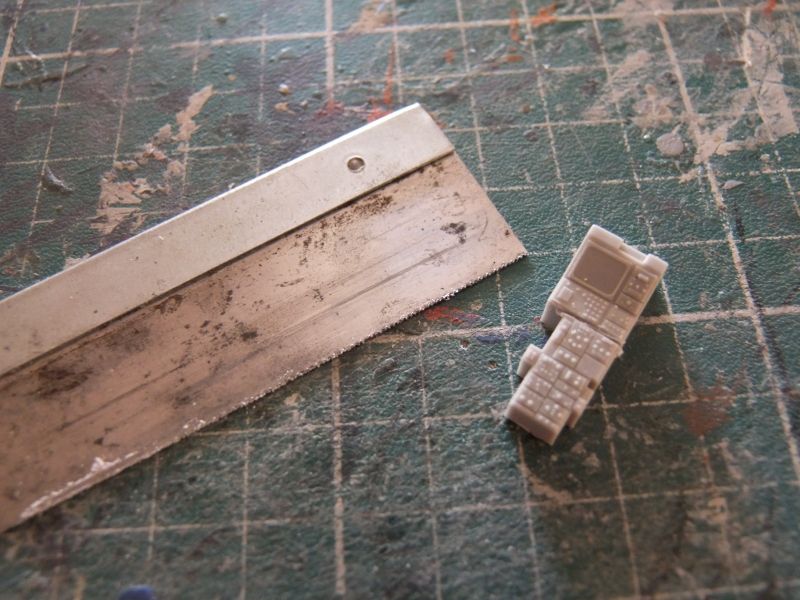
Thanks mates for your comments. I'm going to use some Eduard SH-3 PE for this project.
-
I agree with you Marten. I'm building 2 AMXs and I had the same problem. I started with 36270 (Italeri acriilic paints) and after some shadows it changed a lot. Don't worry about the shade of gray. Every plane looks different from another.
Cheers
Maurizio
-

Thanks for the congrats, mates!
These pics are showing the signining lines for a revetting job.They are 90% correct.
Stay Tuned - more pics to come next week.
Cheers
Maurizio
-
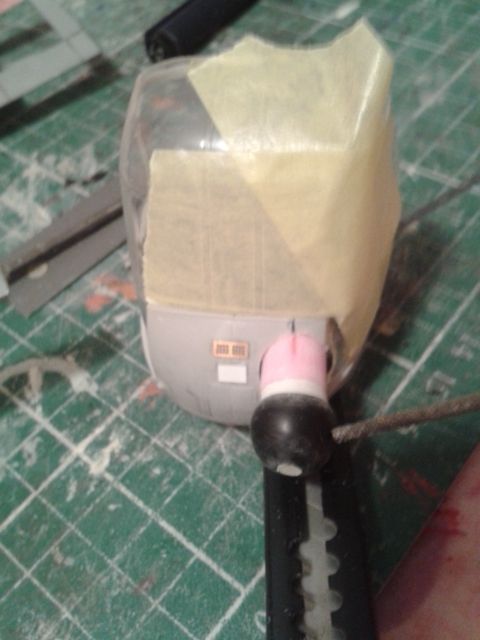
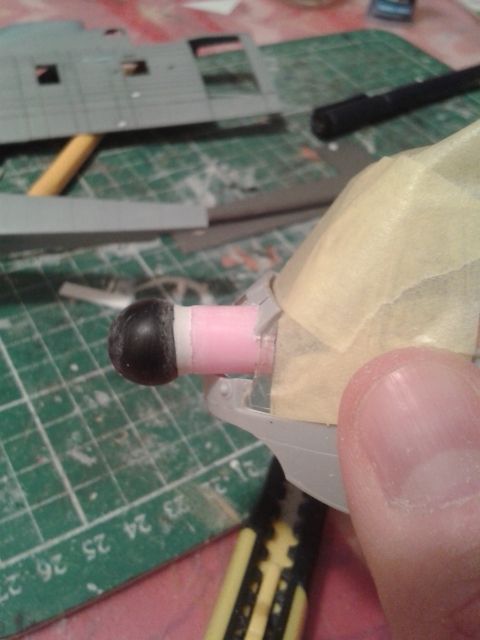
As regards the APU exaust, I've decided to remake it from scratch using plasticard, CA glue and bicarbonate of sodium for a strong. I'm going to use my files for a long time in order to give the correct shape of this part!!!
-
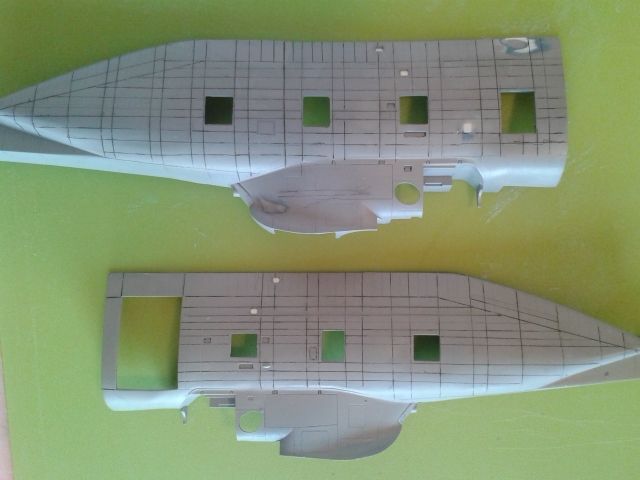
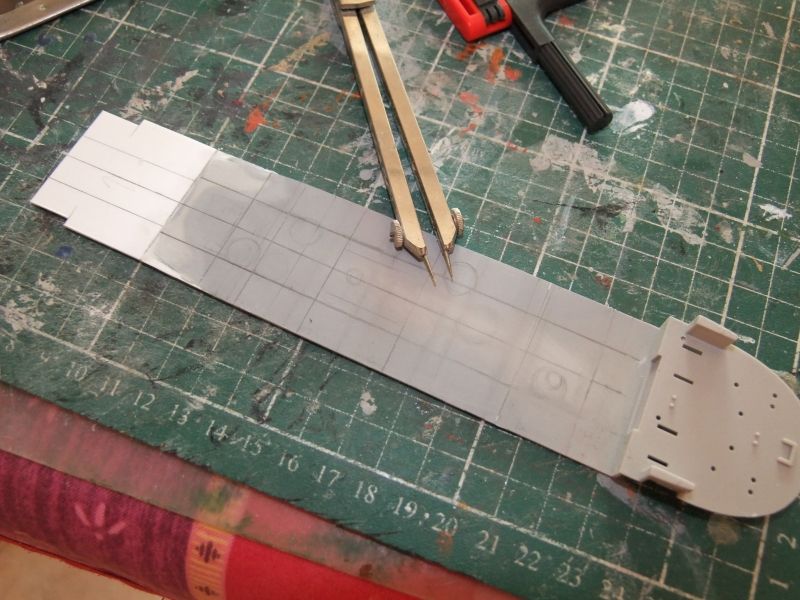
Scribing the pavement. It will be 90% correct due to the difficult of finding right alignement measures.
-
Congrats for this "insane" work on these models and good luck with your health problem!
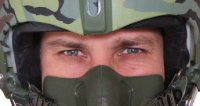
I don't know if just "flagged" before but please note that helmets and survival vests/life preservers for USN-USMC pilots are not correct in those figures. Figures are wearign HGU-56/P helmets instead HGU-84/P.
HGU-56/P helmets are used by Army pilots and crew. HGU-84/P are used by USN and USMC. USN-USMC pilots and operators Always wear life preservers (horse collar type) and HEEDS pouches with air bottles.
cheers
Maurizio
-
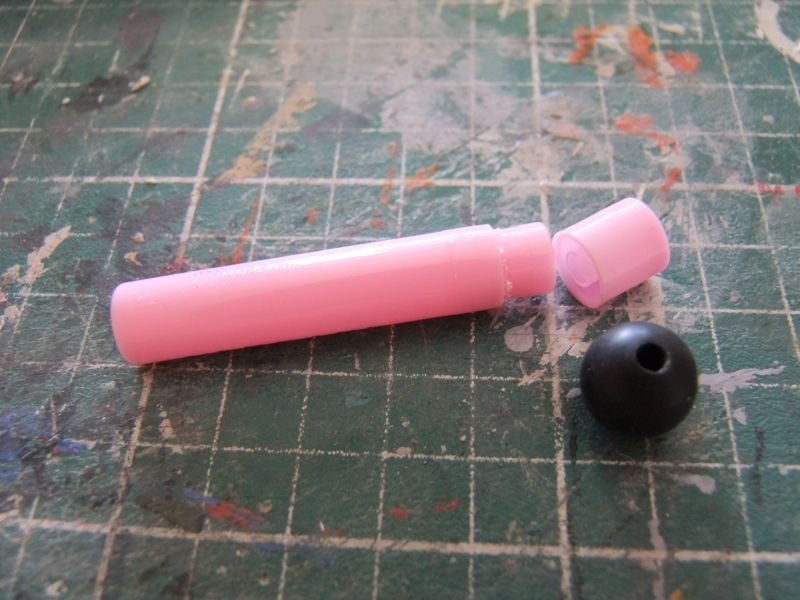
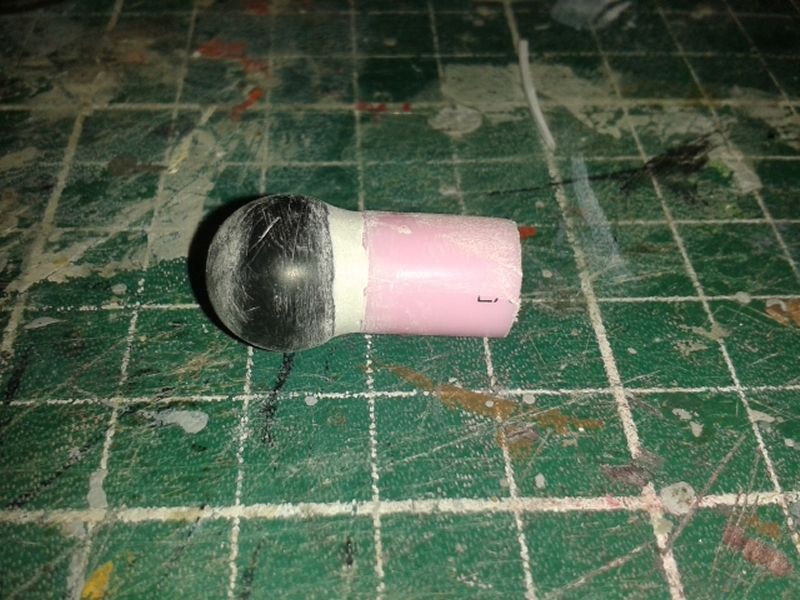 Here is the radar nose. The black ball has been made by a colleague of mine and it is made of delrin, a plastic material quite similar to PVC but paintable. The cilinder is a parfum sample. Both have the correct dimension in 1/48 scale.
-
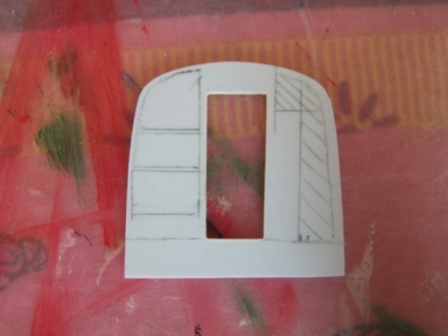
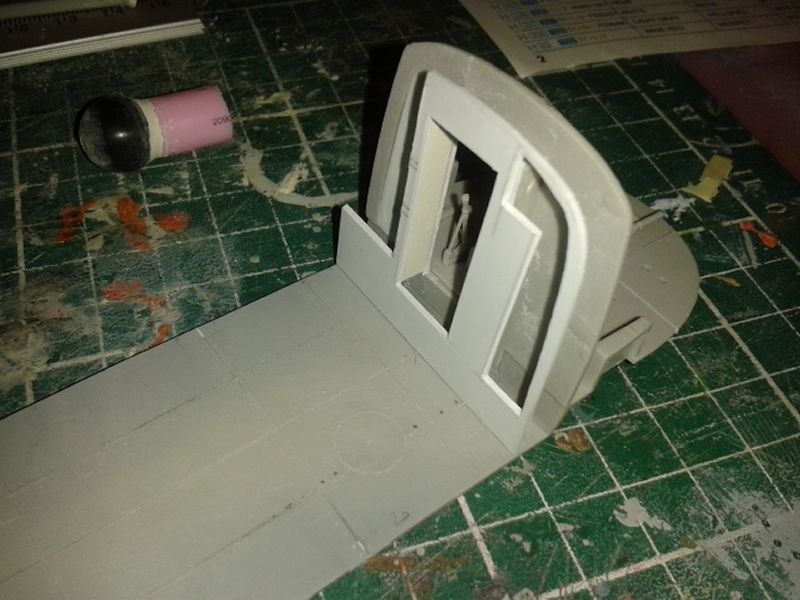
 I've modified the central consolle. It is not identical to the real chopper consolle but it will be invisible at the end so I can live with this mistake...
-
-
On 11/10/2016 at 2:38 PM, Chhuey said:
Mauricio looks like My photos are noy showing how do you upload now in the new looking forum :(
Hi Chhuey,
the pics are visible by me with Explorer and Mozilla. I've uploaded them using the "choose files" option.
-
-
Another picture.
-
HI guys,
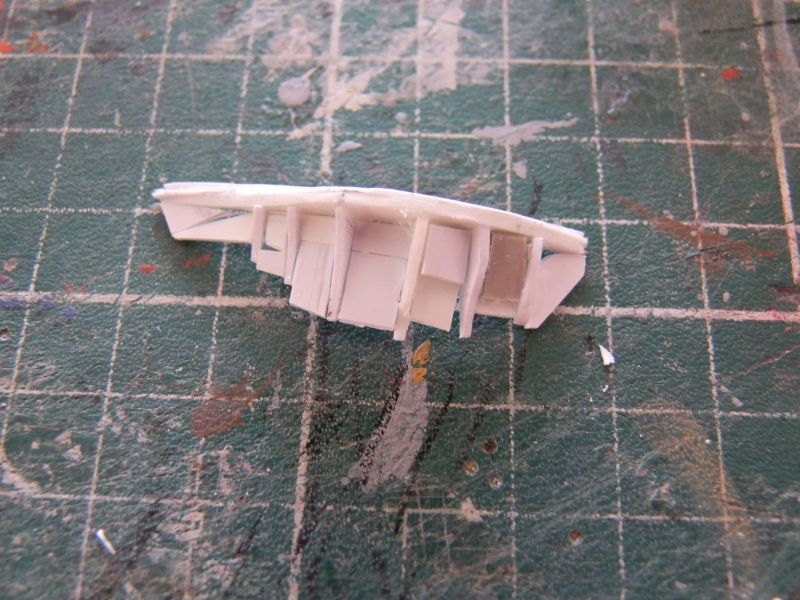
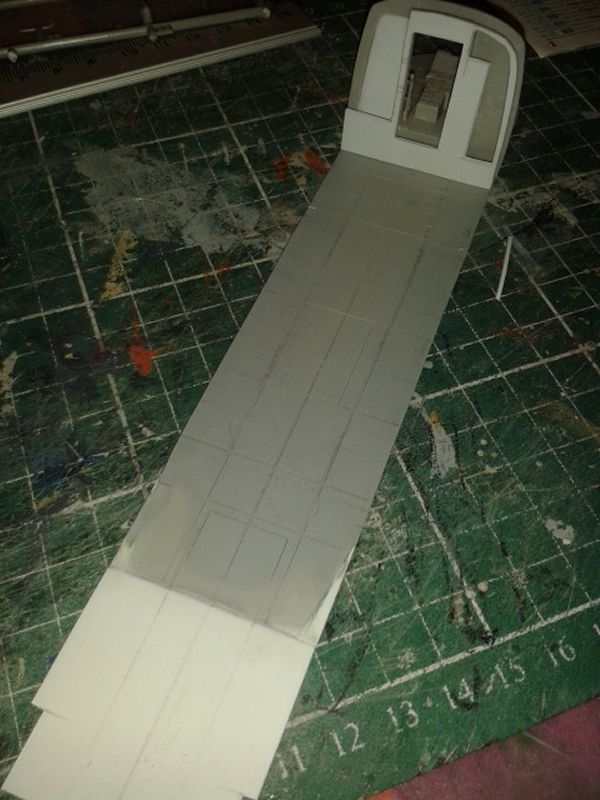
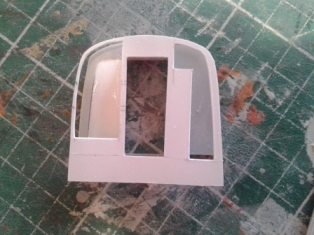
I'm back with some updates. Here is the inner structure located between the cokcpit and the cargo bay.
-
Congrats mate!
maurizio
-
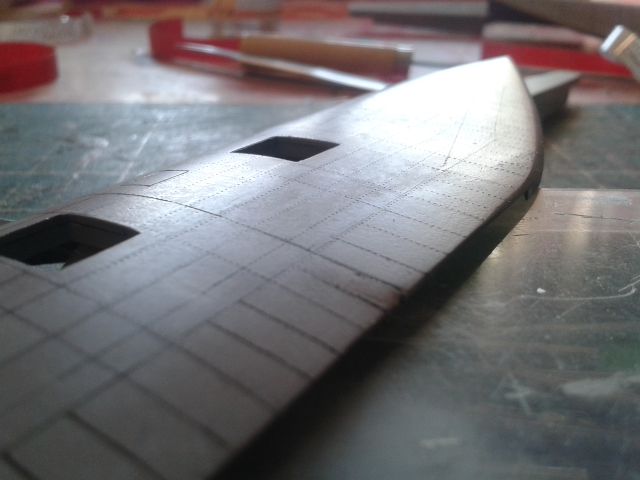
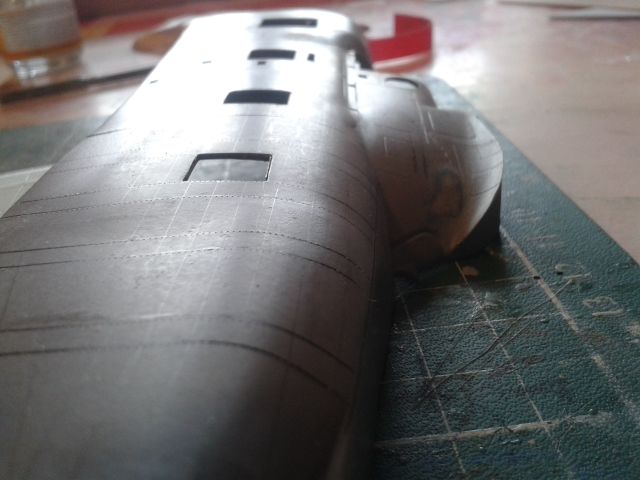
HI there,
the only update is the care of the external surface of the fuselages. I've made a perfect smooth surface on the external fuselages using Gunze Liquid putty and grey Tamiya primer. I need a perfect surface for the rivetting job.
I'm going to finish some kits in order to have enough space for the Pelikan inside my window.
Thanks
Maurizio
-
Model done!

1/48 HH-3F
in Helicopter Modeling
Posted
Starting with the tail.