

Voortmans
-
Content Count
17 -
Joined
-
Last visited
Content Type
Profiles
Forums
Calendar
Posts posted by Voortmans
-
-
On 3/27/2023 at 6:30 PM, Thadeus said:
That is some lovelly work done. Amazing paintjob.
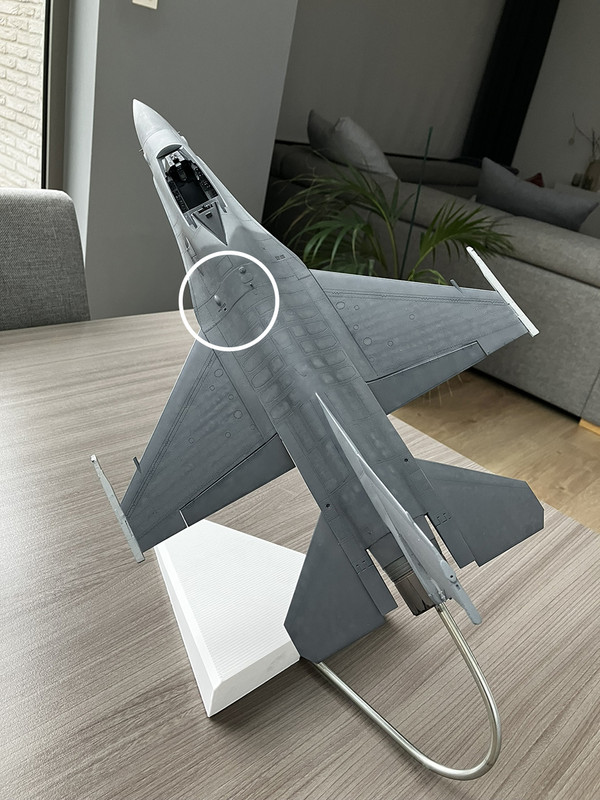
I often leave this one little, insignificant detail that I did not want to add/remove/change. And always when I look upon a finished model my eyes are drawn to that detail. That teaches me to fix what I can because I'll regret it later.
That panel seems to be the gun cover that stands too proud of the surface. Perhaps You can remove it, sand it from underside and reatach later?
Thanks Thadeus, I was personally also happy with the paint job. That's why i hate to touch it by sanding that area. But than again, you are right that it will always catch my eye if I don't change it.
I already demotivated me for finishing the model so it will not become any better.
I don't think I will be able to remove the plate and sand it from the bottom...
Most probably I will sand that area and redo the painting where needed.
-
On 3/22/2023 at 6:17 PM, BastianD said:
I would carefully sand it off and try to re-paint it.
aa it’s a 32 scale model, you’ll have the space to do it more precisely.
Thanks, I think this might be the better option to. Although I'm not looking forward to it... -
I think I'm going to take a break from finishing this model.
I lost the 'love' for it due to a panel that is did not finish correctly before painting.
It was one of those issues I thought would be covered up after painting. I was deffinitly wrong and after painting it stood out even more.
I do not know what to do next? Continue and hoping the weathering and decals might cover it up? (I doubt it...)
Or do I sand the surface in that area and repaint the model were needed?
It is really bugging me and not making me wanne finish it.... but I was liking all the other stuff I already did for this model.
Any suggestions?
Cheers
Dirk

-
Looking good!
I'm following your project! -
OMG that is amazing! Congrats.
I've been looking for that kit but can't find it anywhere anymore. At least the 2000-5 version. -
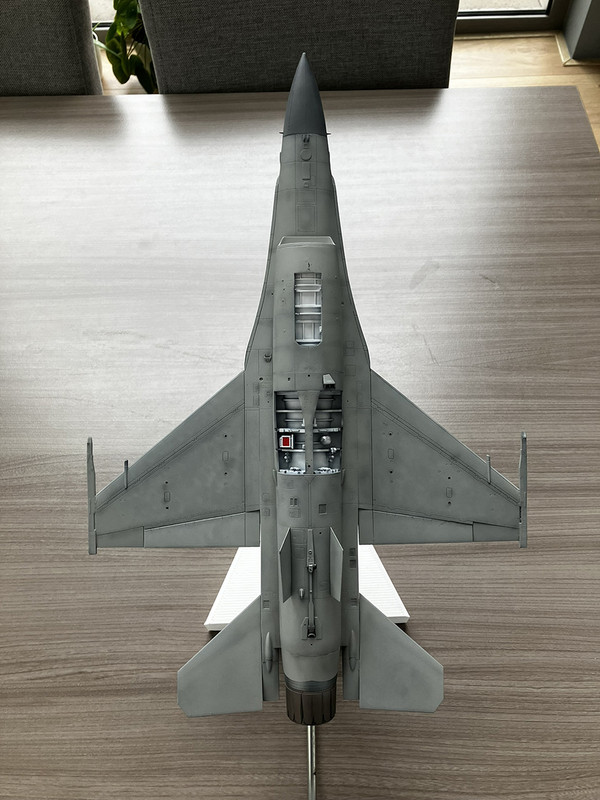
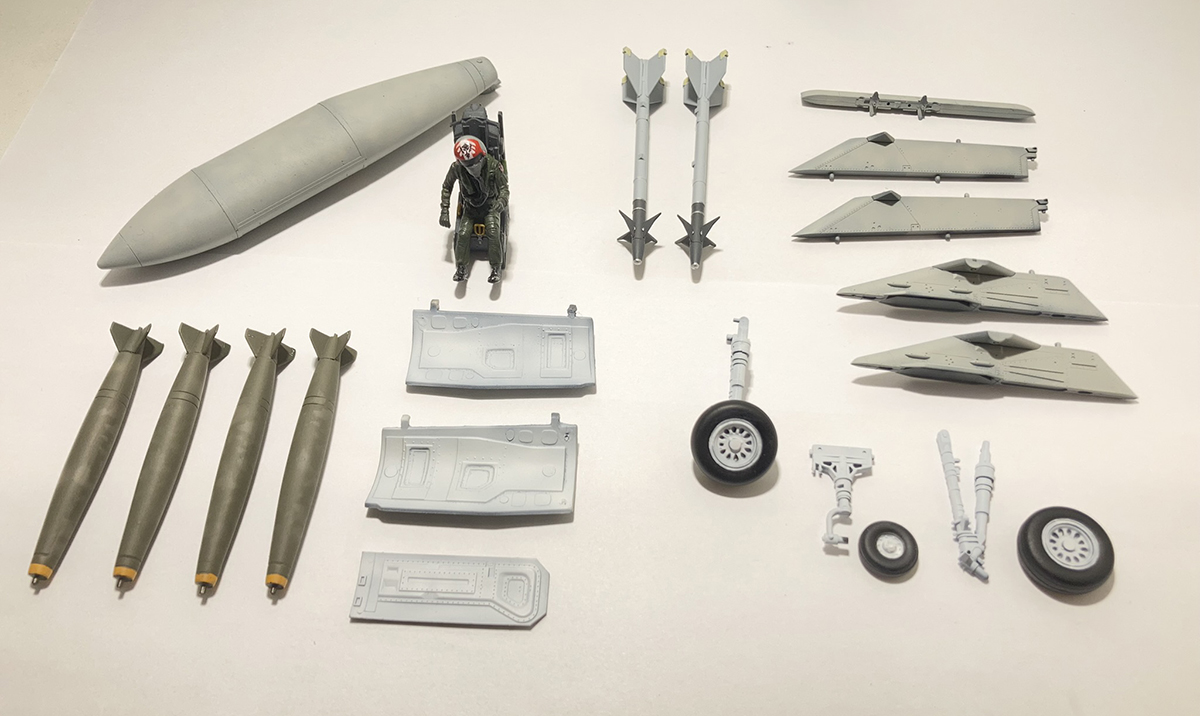
I did some more work on the model,
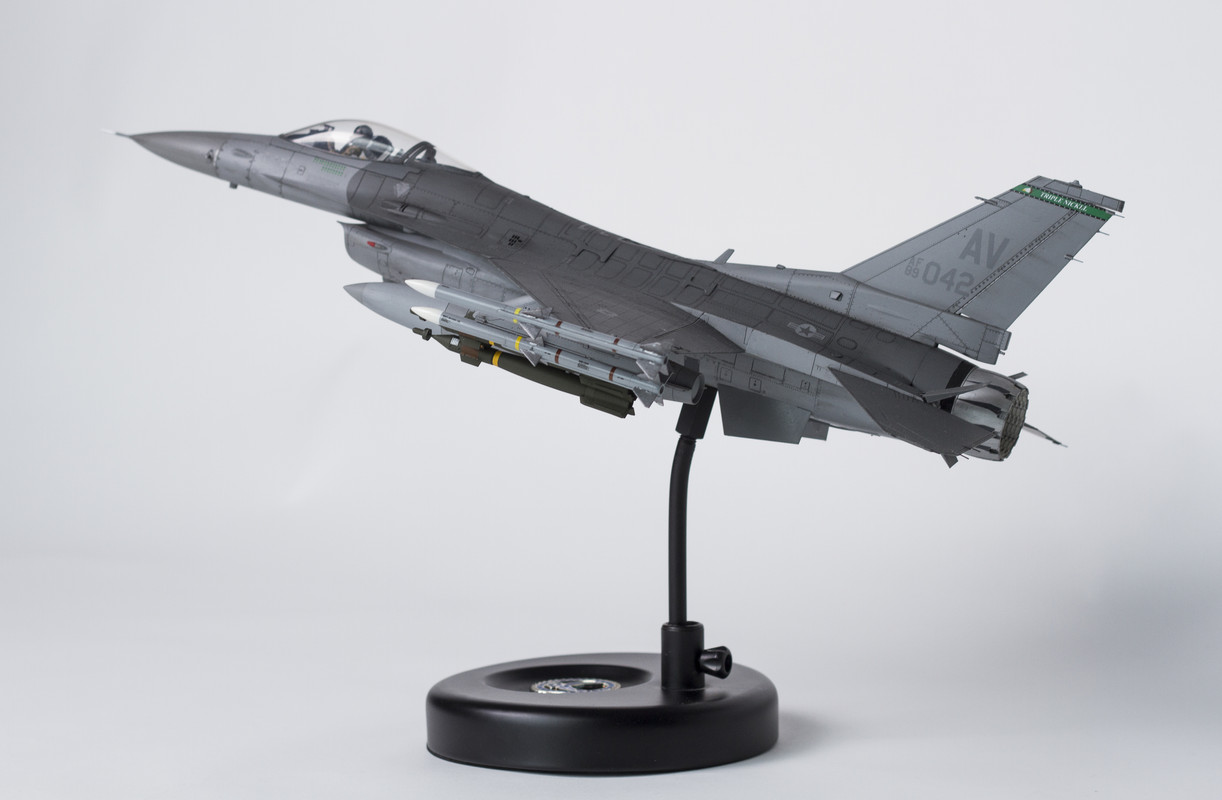
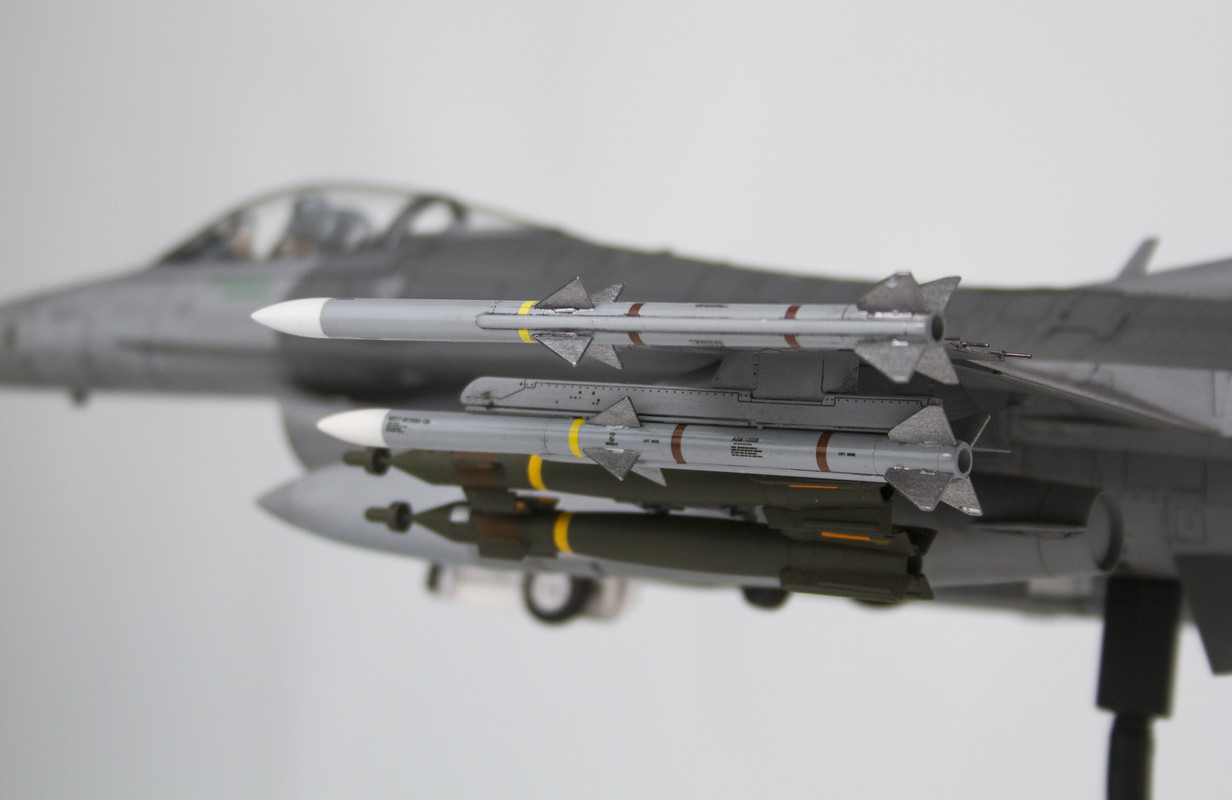
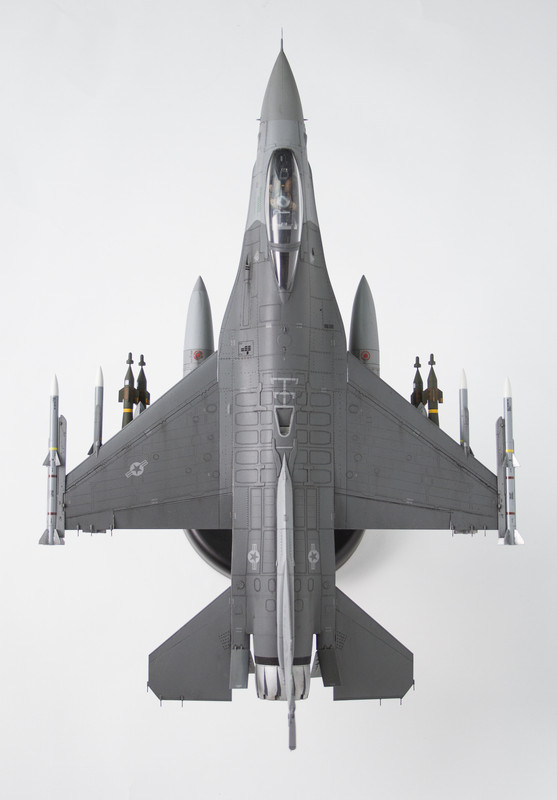
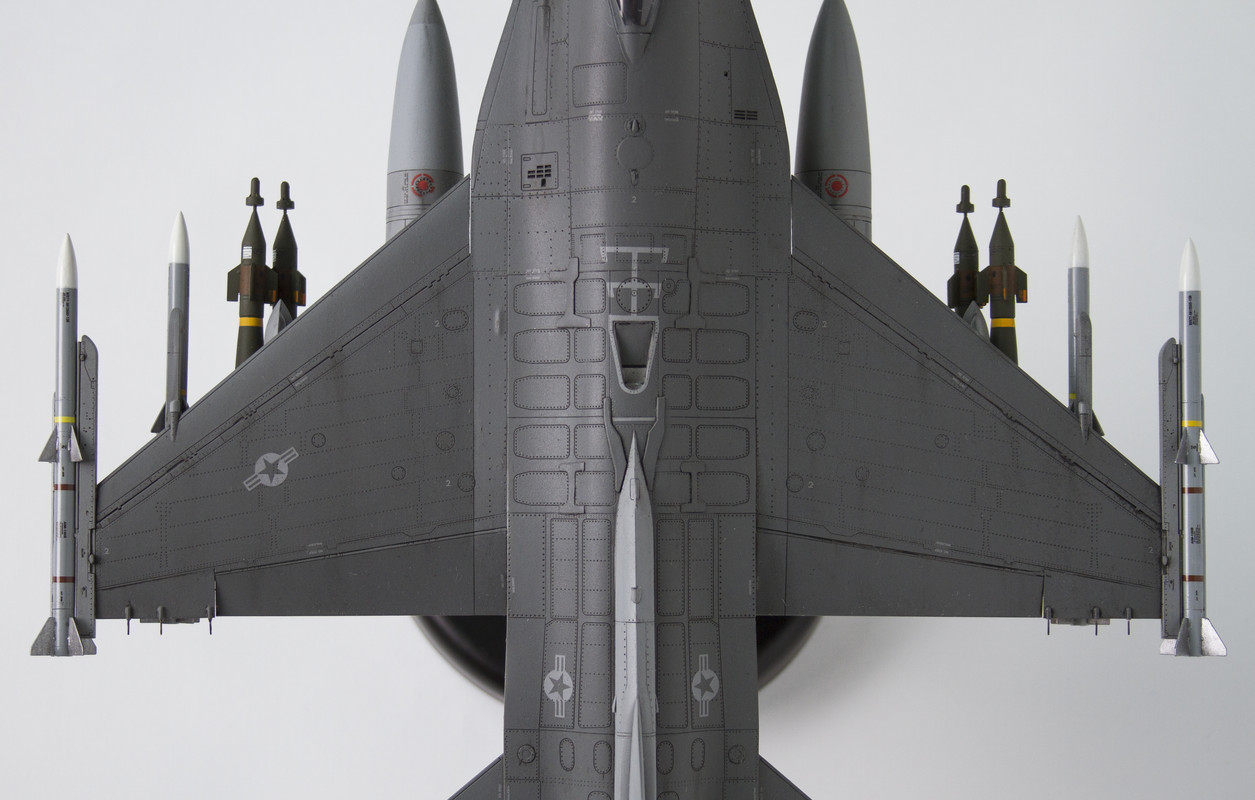
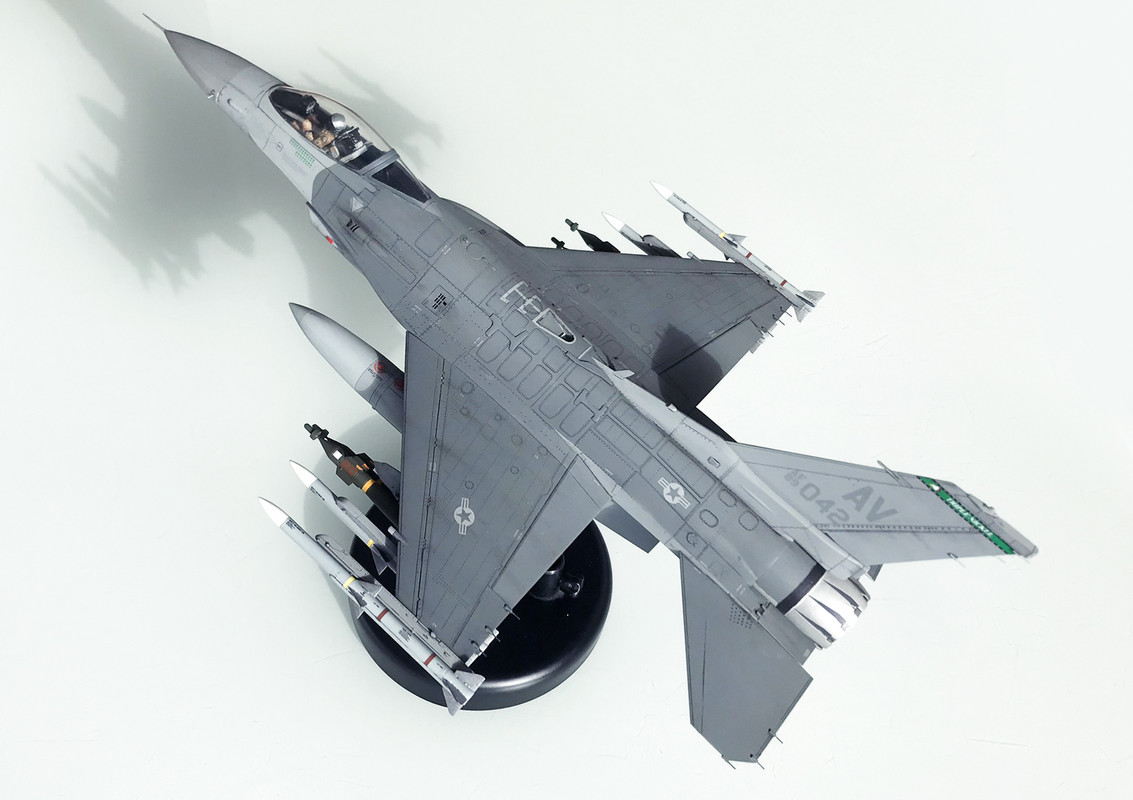
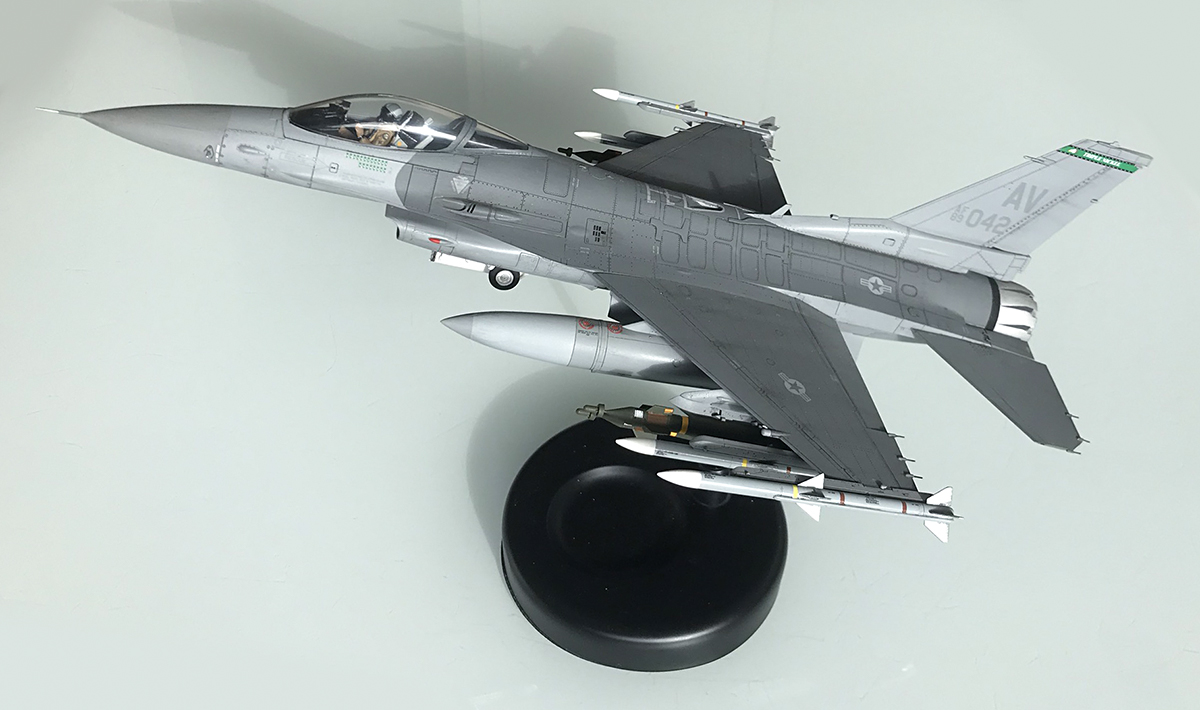
I'm still debating on the final loadout. Either 2 MK82s on station 7 and 3 or a total of 4 MK82s on the 7-6 and 4-3.
I will not use the wingtanks but just a center line tank. AIM-9s on the wingtips.The centre line fuel tank is a left over from a Tamiya kit. And the MK82s come from the Trumpeter A-10.
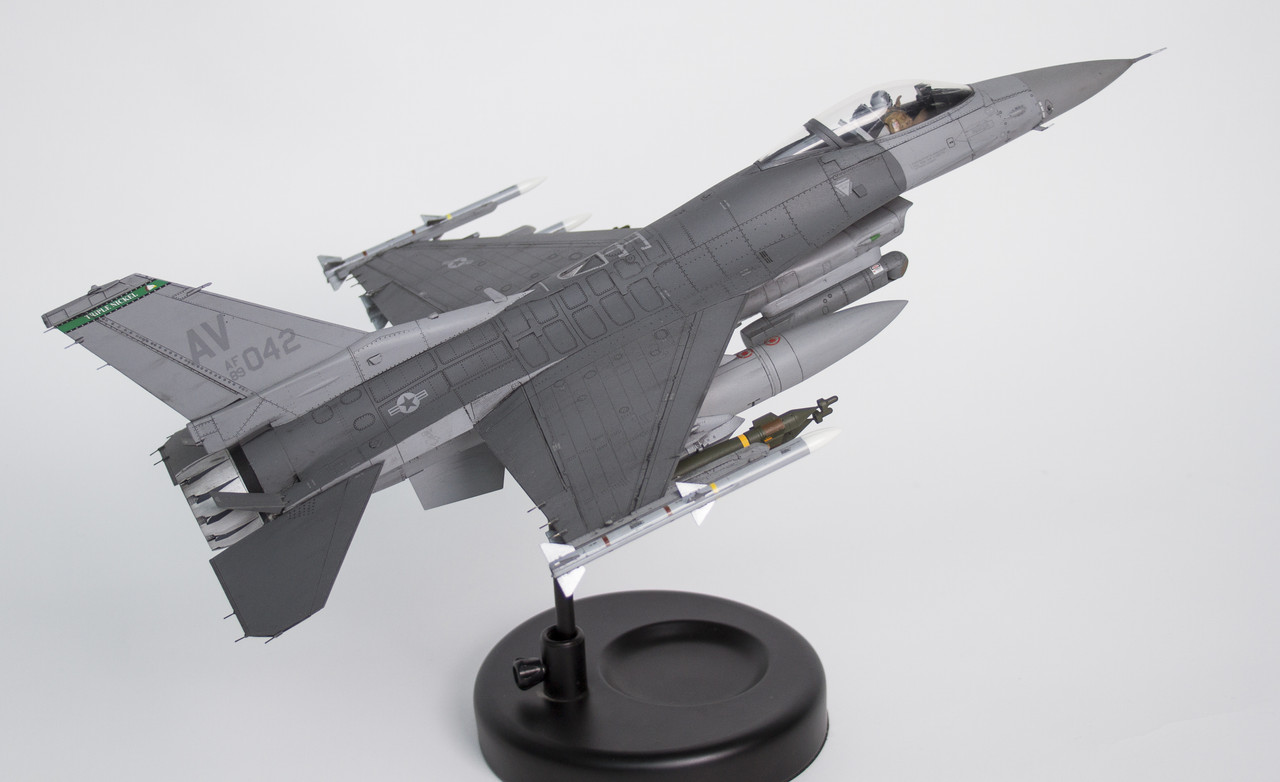
Un-weathered so far and not yet sealed with a clear coat:
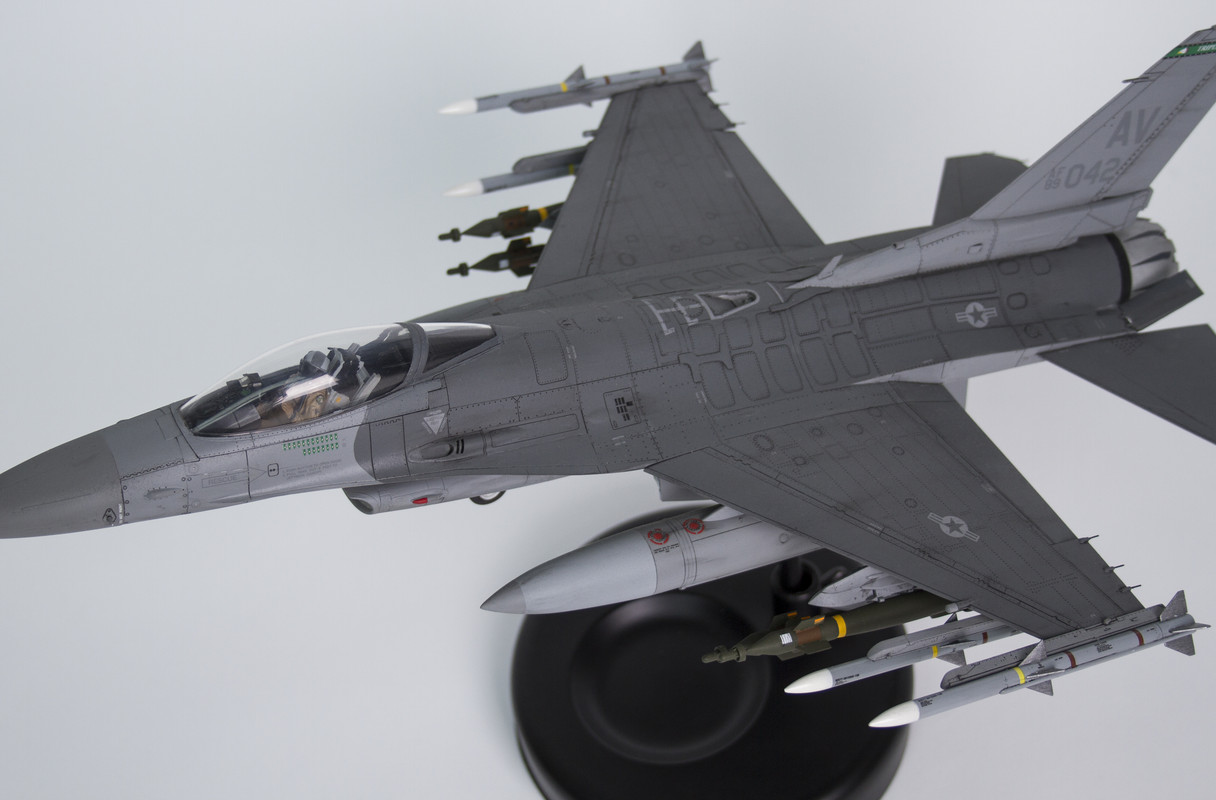
Main paining had begun and I tried this 'marble' weathering technique for the first time. After seeing some videos on Youtube.
I used Vallejo paints.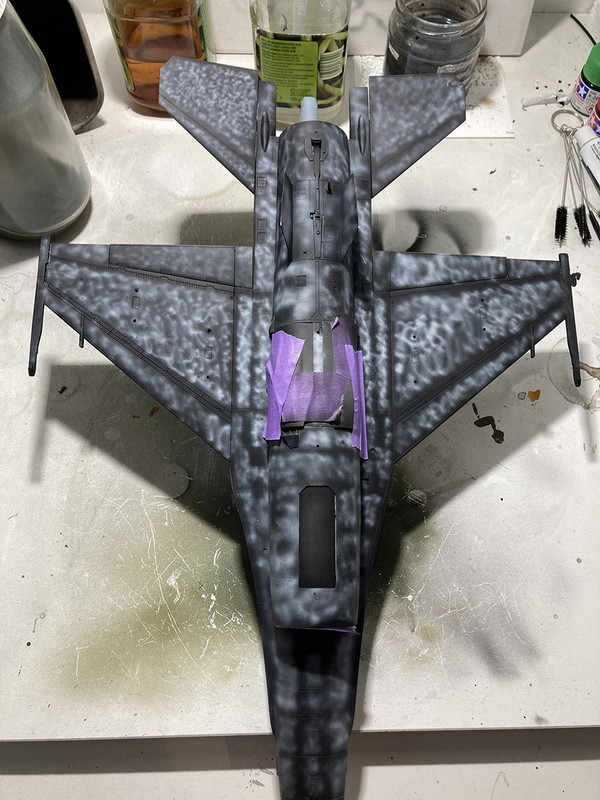
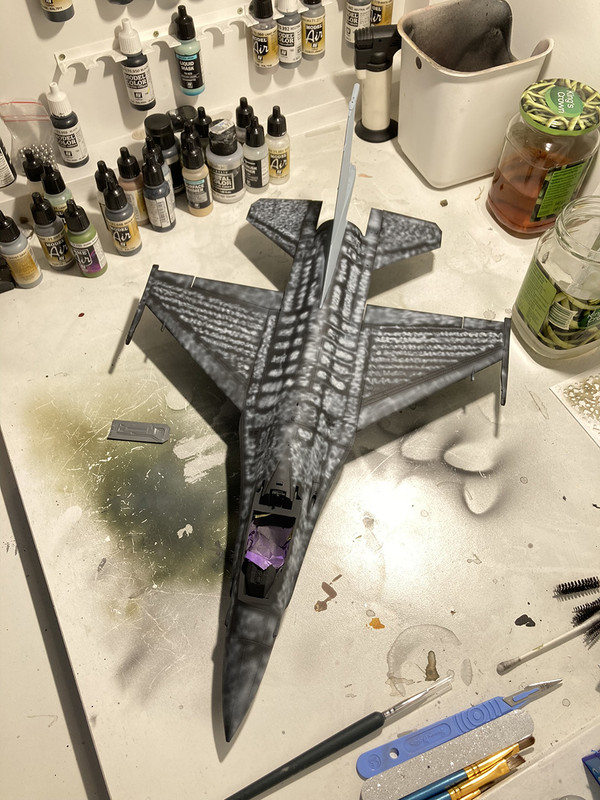
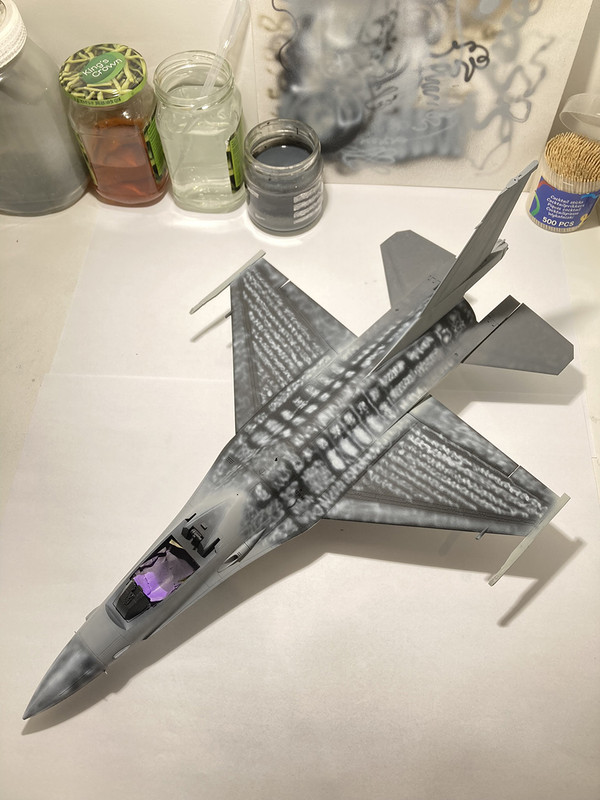
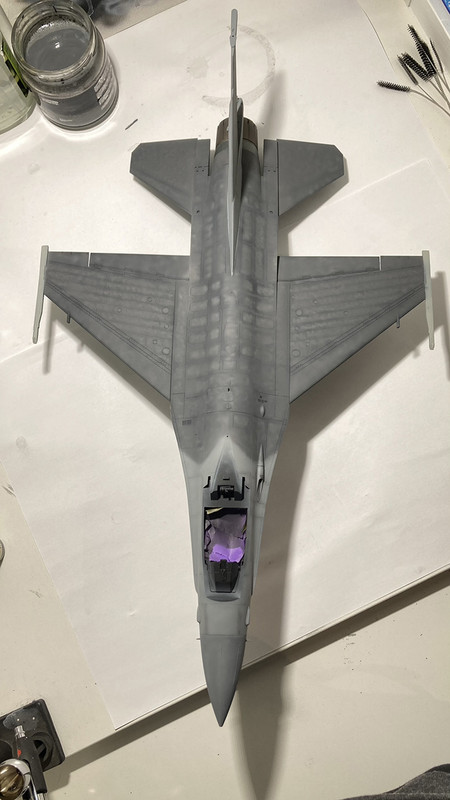
I still need to make the color division between dark and light more symmetric and a little touch up here and there...
-
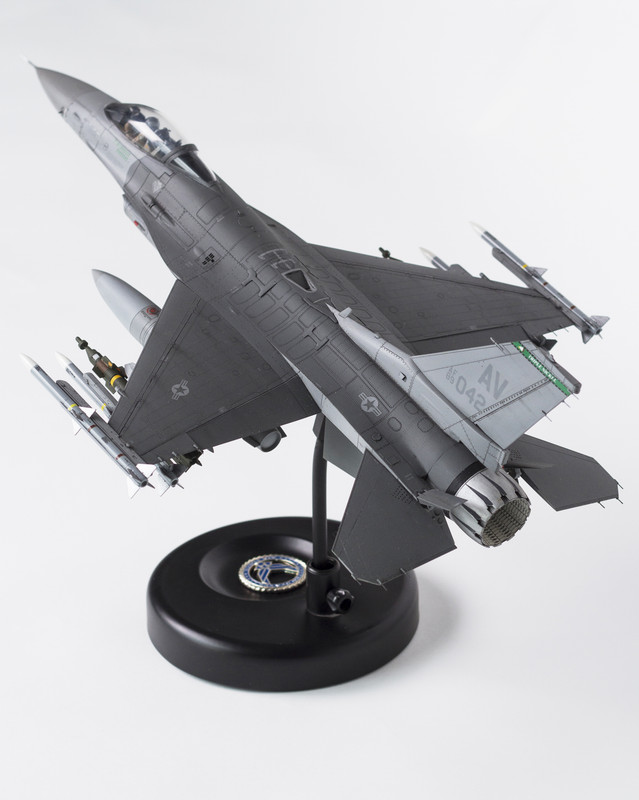
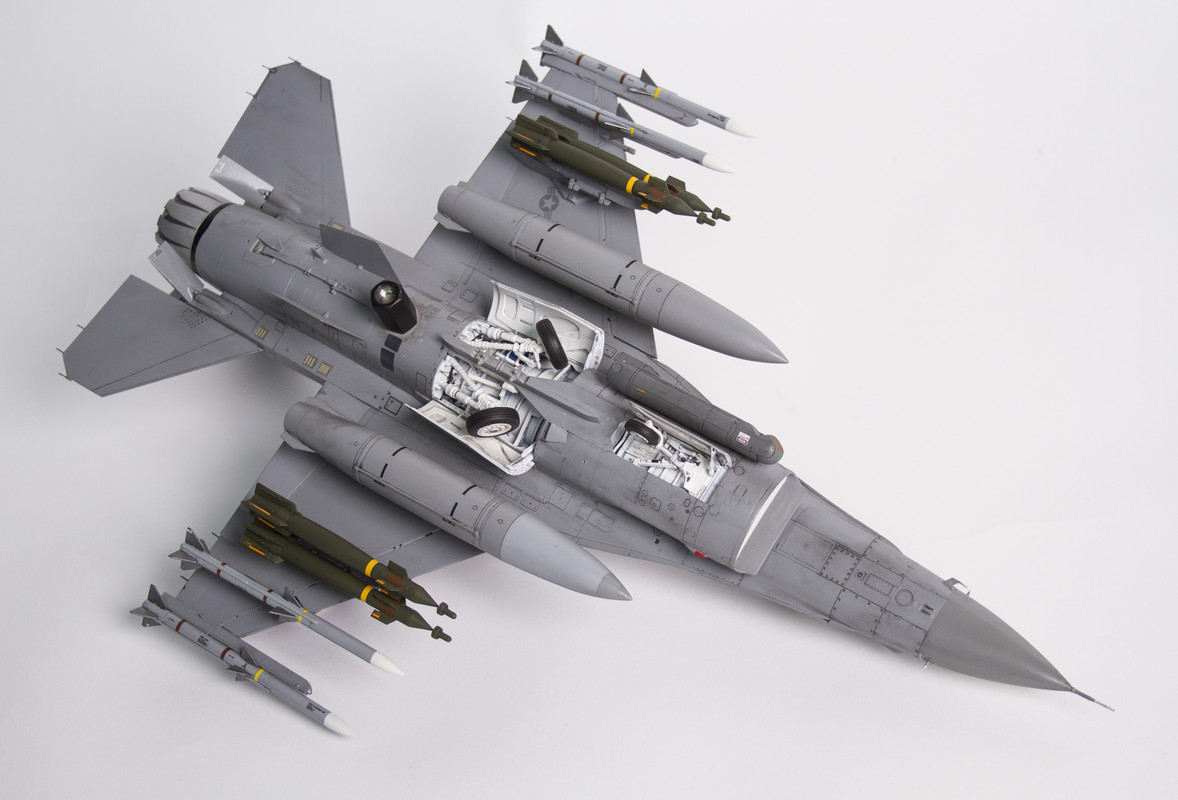
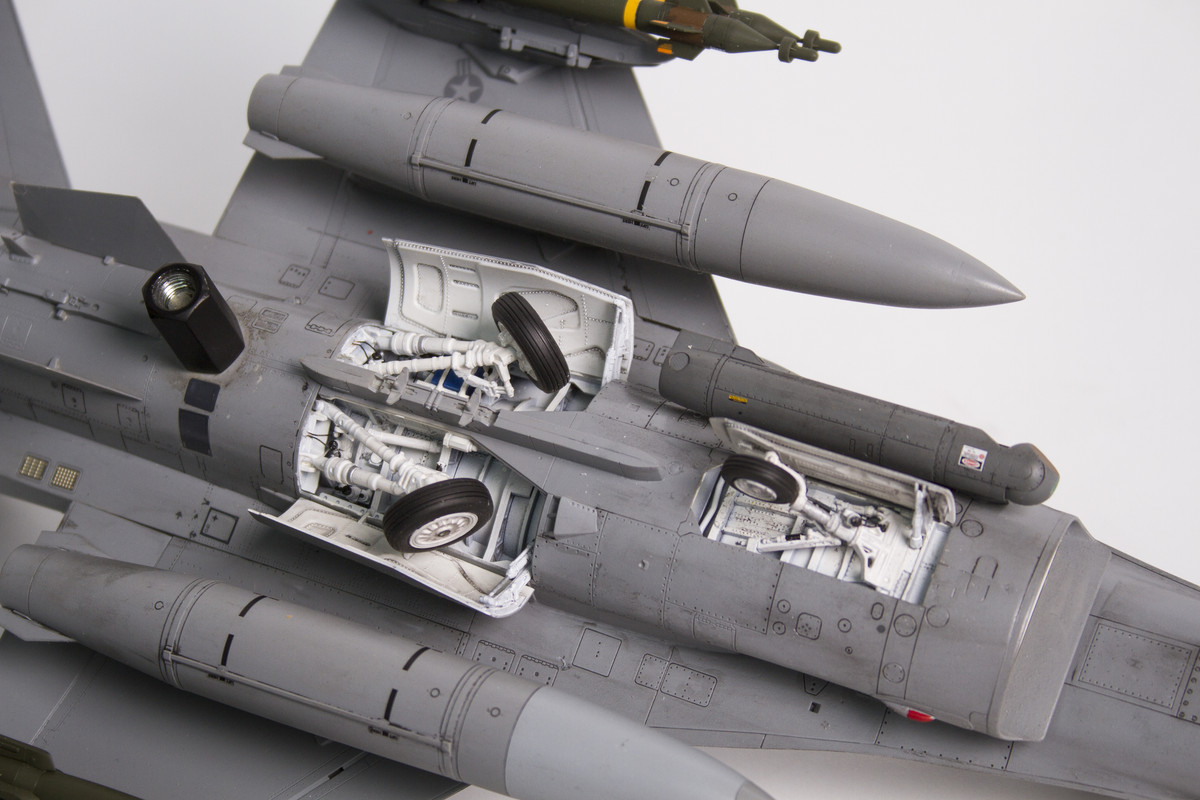
I 3D printed a cylinder that fits into the engine exhaust. I left a 6mm hole where my metal rod fits in perfectly. I can position the F-16 like this and I do not neet to glue the rod. It fits tight enough to hold everything in place so far.
A little bit of tape around the rod would even improve the tightness when the model is finished.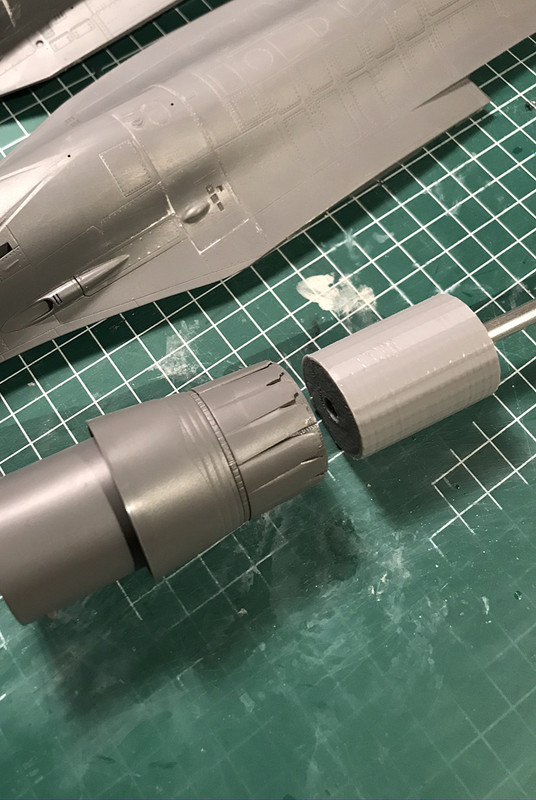


Now I need to bend the rod into the right angles for the display base. 🙃
-
I forgot to show you the look I'm going for:
-
Hello everyone,
I'm definitely not the most active member here but ever since I've started scale modeling I know that this is the place to be.
I have spent so many hour here looking and researching in the past.
Lately I caught the scale modeling virus again and It is so addictive. So I picked up a project I started , more than a year ago and hope to finish it soon.
I have lost a little bit of 'love' for my model due to the mistakes I made when I started last year and I hope I can live with some of them or hide some of them too.
I'm for sure not a pro builder!! I tend to be ok with a certain result at first and say to myself, oh you will not see this, or oh the paint will hide it... Well now I know that this is the wrong approach.
So 'forgive' me on some obvious rookie mistakes.
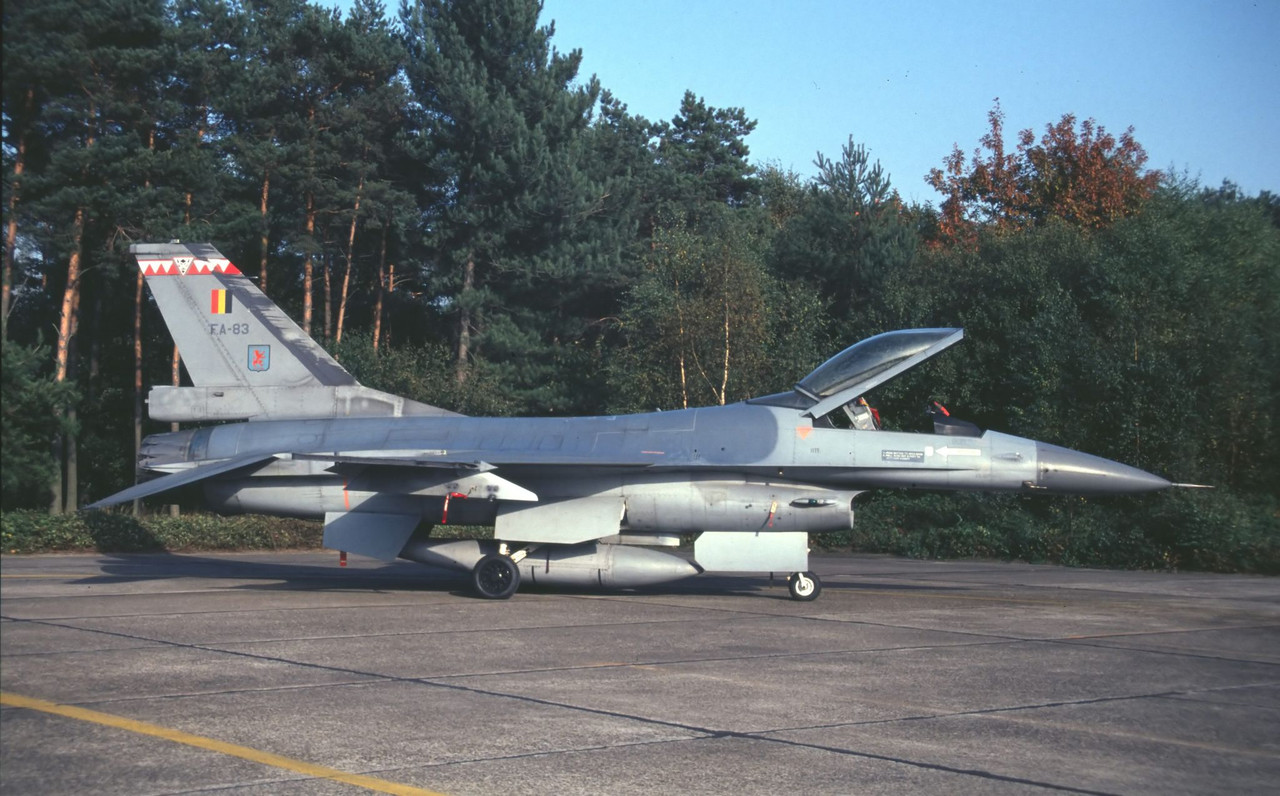
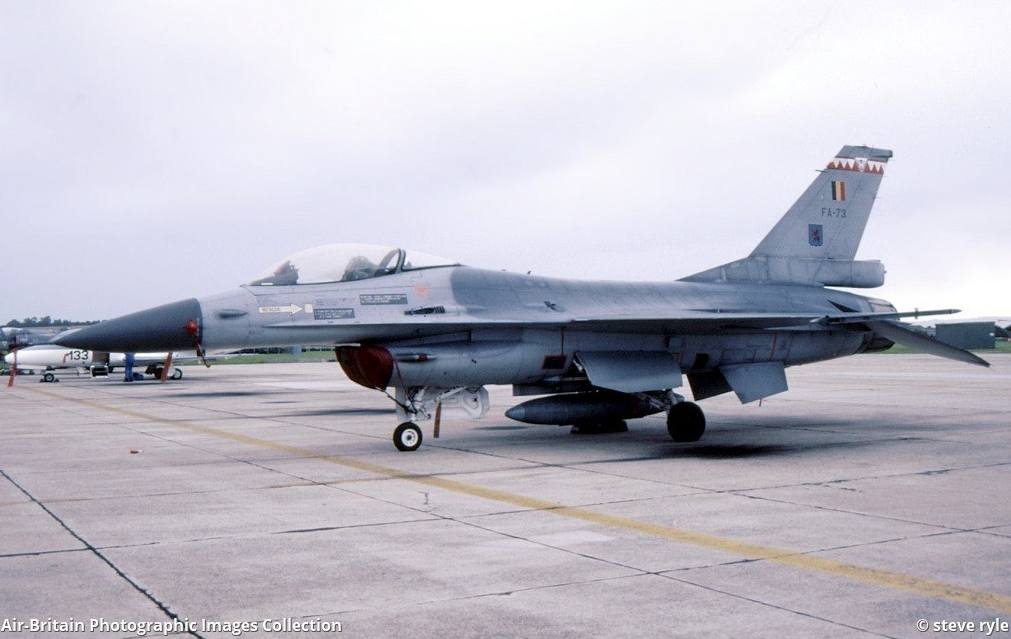
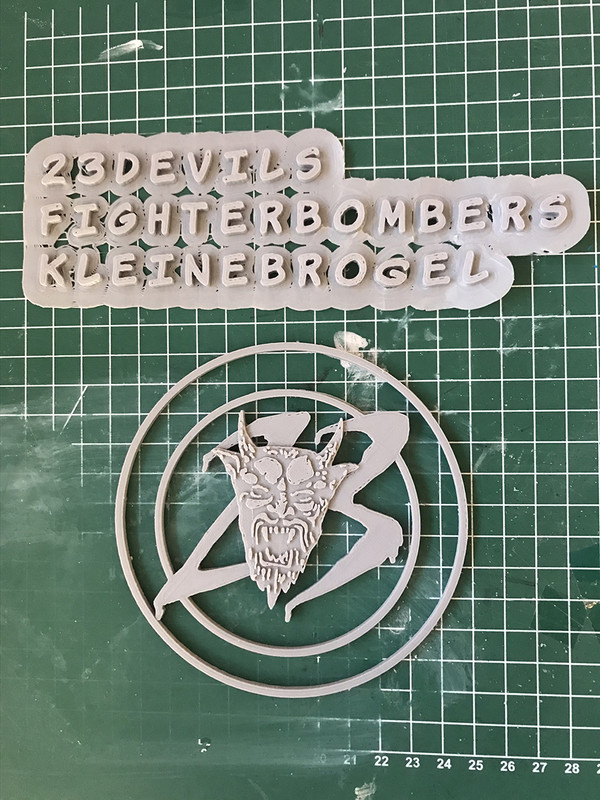
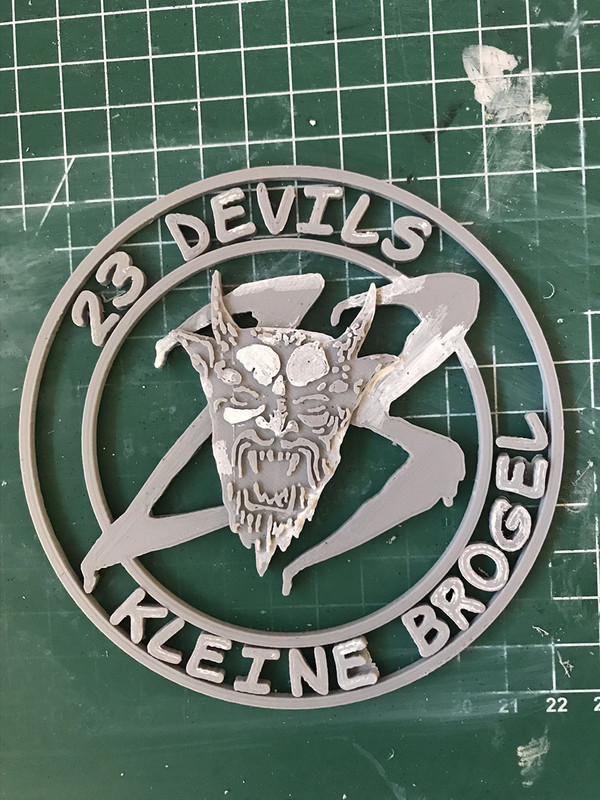
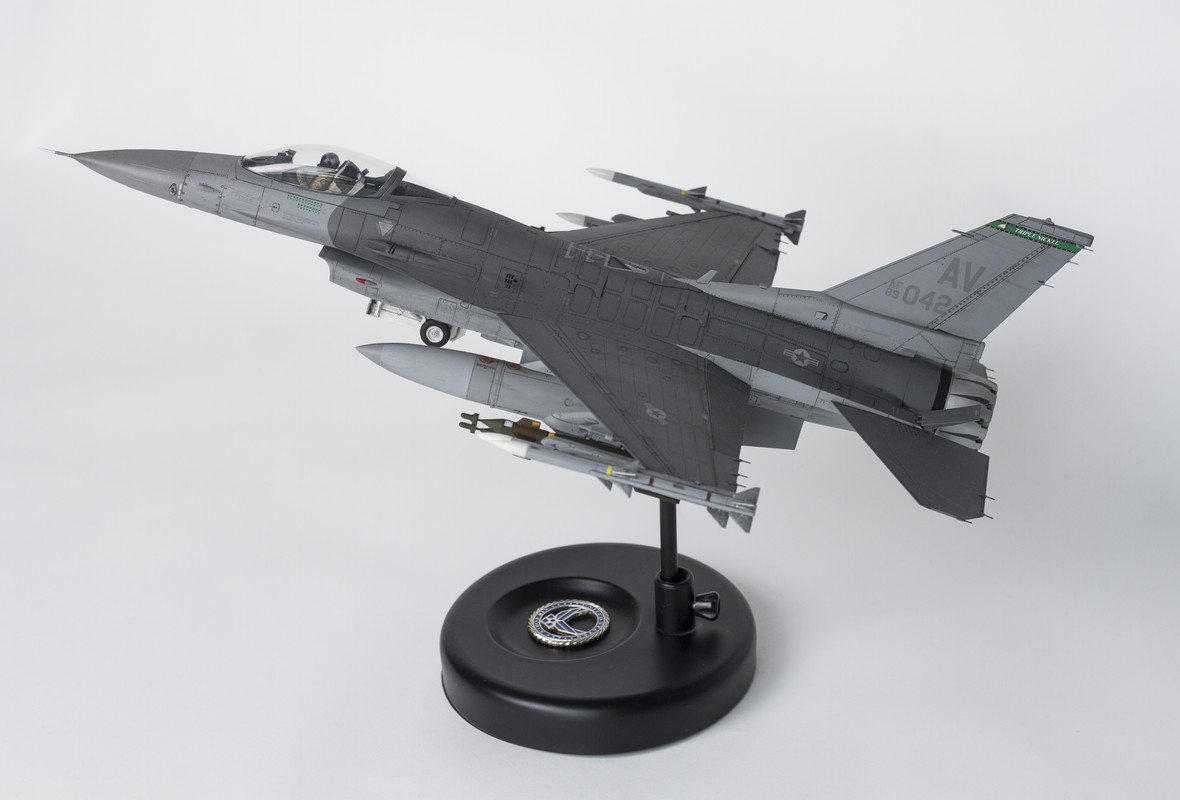
I wanted to make a in-flight model of my favorite Belgian F-16 fighter squadron. (Sadly deactivated in 2002). The 23rd 'Devil' Sqn from Kleine Brogel AB Belgium.
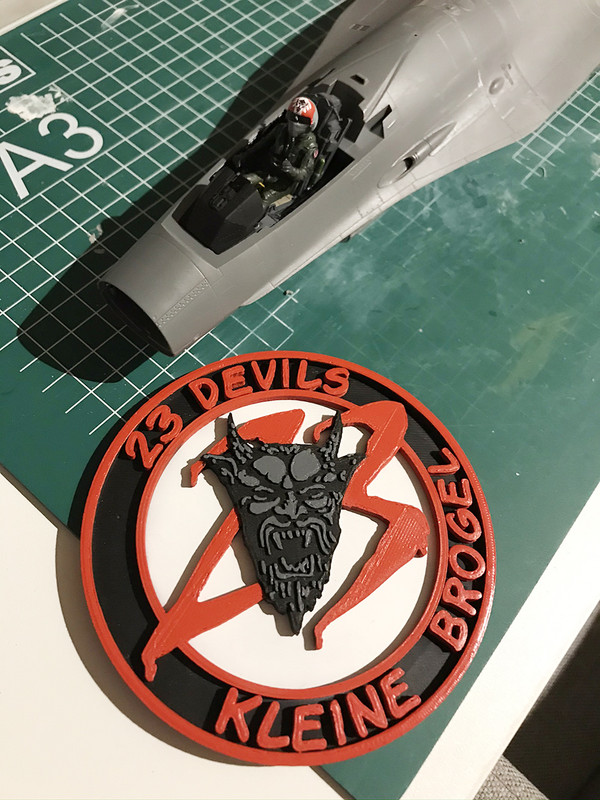
The base will be a 3D printed stand with the squadron badge in 3d.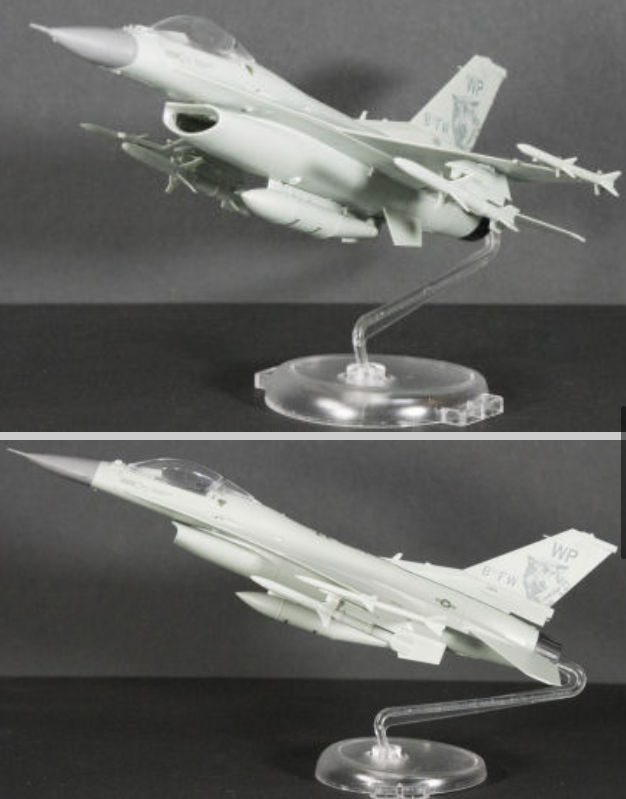
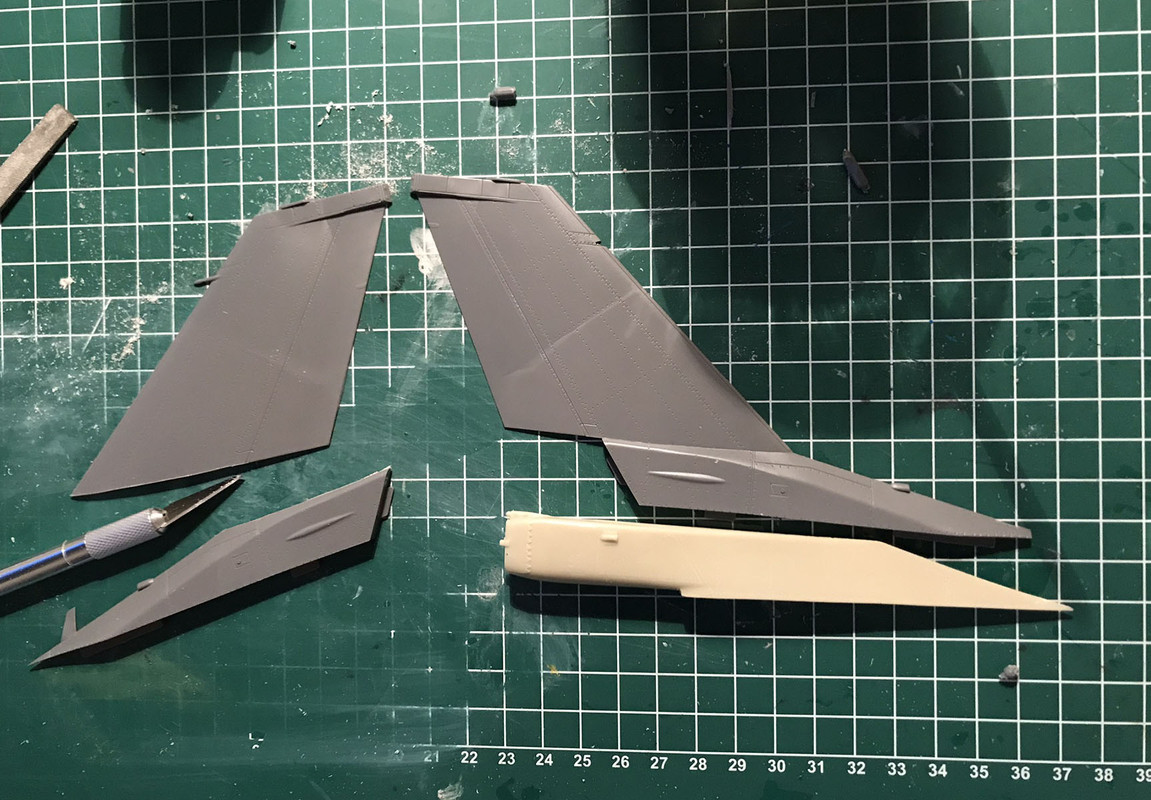
The model will be a pre MLU version because at that time they still had the very nice tail colors from the SQN. After the MLU conversion the all lost these markings.
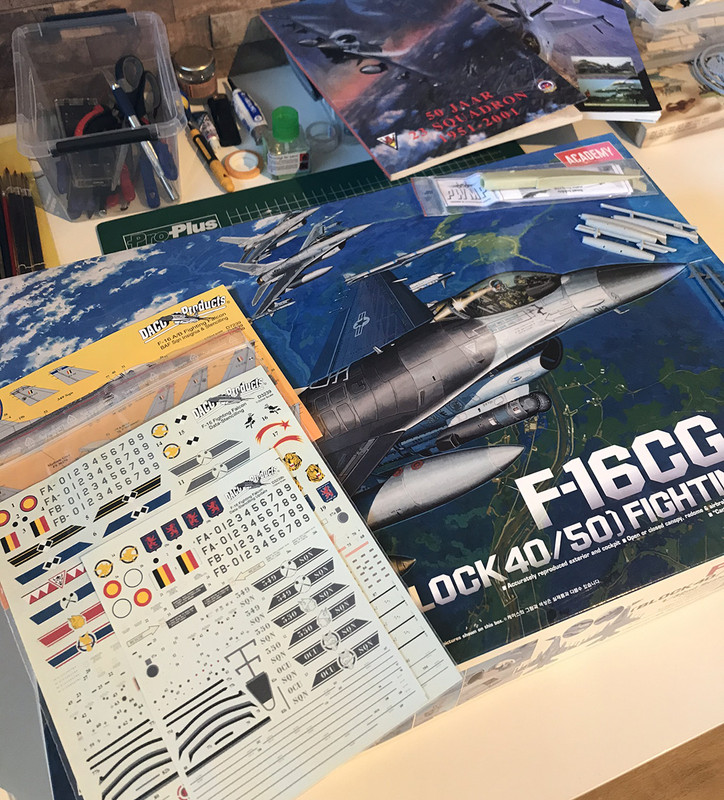
This means I had to do some conversion of the F-16C model from academy.
I used the BAF tail conversion from PWMP.
Some old main landing gear doors I got from a friend (I c'ant remember which kit they are from)
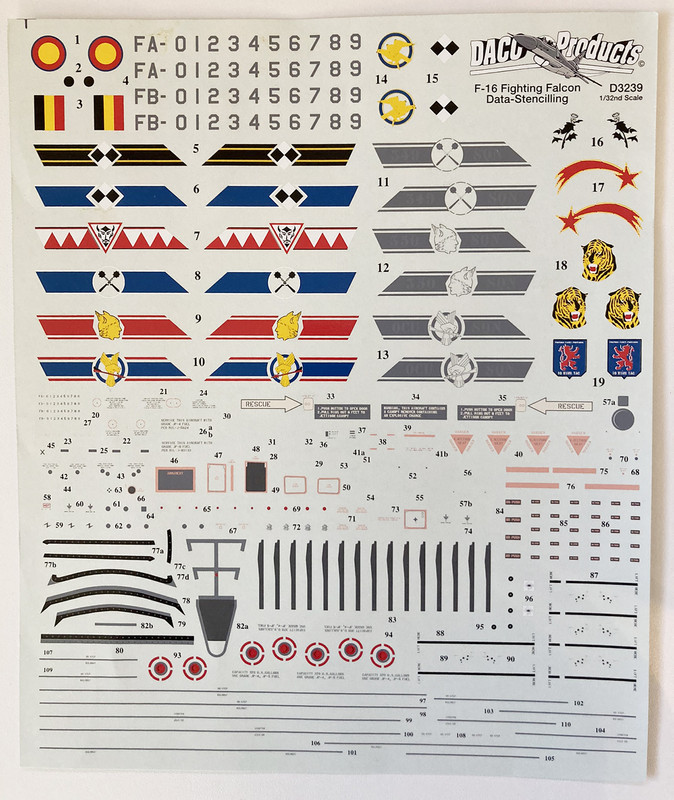
Decals from DACO products
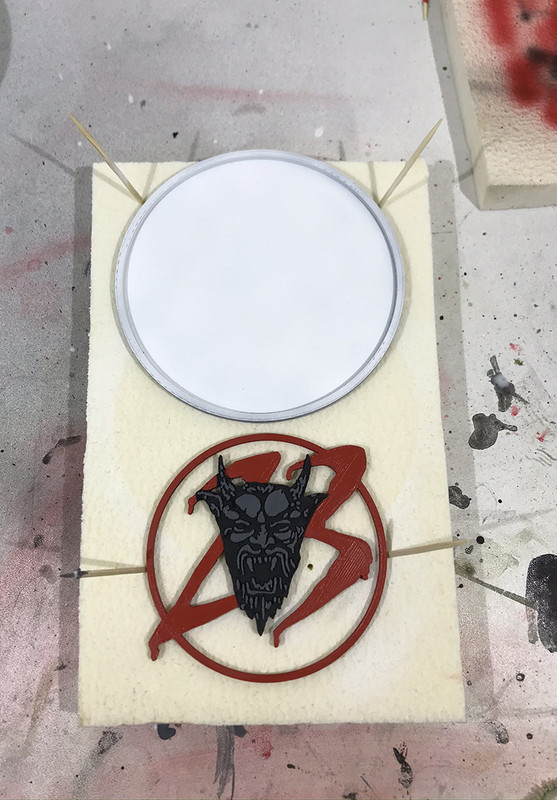
This is the test 3D patch a made for the base...
I made a decal for the pilots' helmet so it would look like a 23rd sqn pilot. A little bit of trail and error method to get the right dimensions. Too bad I cant print the white so I had to paint it... Amature level seeing it now.
I'm NOT happy with the white background and the mask of the pilot. I might completely redo this guy but I don't have a proper pilot with the proper mask anymore on 1/32... We will see...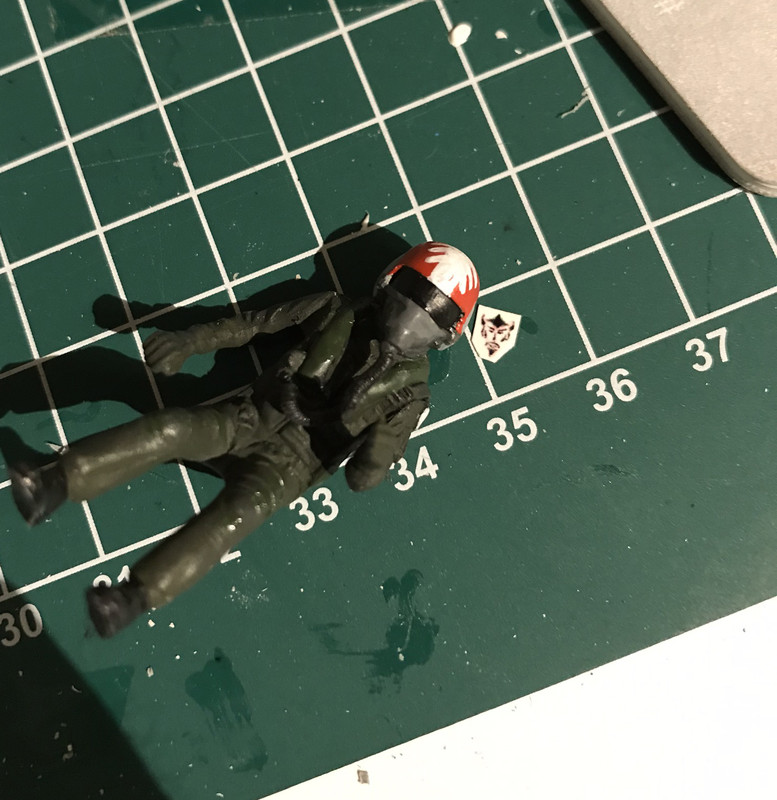

More to come....
Thanks for watching so far.
Dirk -
On 12/21/2020 at 3:37 AM, Collin said:
What did you use for your in-flight base? I’m always looking for different ways to mount models in-flight.
Thanks for any info you can share.
Cheers
Collin
PM Send.
Thanks for all the feedback!
Dirk
-
Thanks for the reactions, I knew about the speed brakes but did not consider it as a too big of a model killer 🙂
A quick fix solved the issue about the speed brakes. (I added a picture above.)
The refueling port can't be closed anymore and this would result in an early RTB I guess... and a maintanance debriefing.
I was wondering if people liked the weathering and 'dirty' parts. Is it still too clean? Too much? Not realistic?
Thanks
Dirk
-
Hi,
Corona has given my scale model hobby a spark again.
So I decided to finally finish my 1:32 F-16C that has been laying around (half completed) for some years now.I consider this to be my first fully finished model. Definitely my first airbrushed and weathered aircraft.
The main kit is the Tamiya F-16CJ Block50.
I used parts of the Academy F-16CG Block 40 (mainly the plastic landing gear)
Reinforcement plates are scratch build and so is the open refueling port.
The decals are from Daco Products.
Paints that I used are a mix of Revell and Vallejo.
I really enjoyed completing this project and my next one is already lining up.
I posted this on purpose in Critique corner iso in the display. I do need and appreciate the feedback to improve myself.
The critique that I already know: Speed brakes and open refueling door is not realistic for take off configuration. I knew this and did it anyways.
Thanks for your effort in advance.
Dirk
EDIT
The pilot realized that his speed brakes were open and quickly closed them.... 🙂
-
Worked, can be deleted.
-
Testing
[img]https://live.staticflickr.com/65535/50557843058_60b3362508_b.jpg[/img]
-
I posted my question in the wrong subforum.... Here it is:
http://www.arcforums.com/forums/air/index....howtopic=141683
Thanks for the help.
Dirk
-
Would you take the academy 1/32 F-18 pilot? do they look the same?
Hi,
Is it possible for a picture of it?
I looked it up on the internet and if I'm correct it is a navy pilot with no oxygen mask on. Correct?
Thanks in advance..
-
I can pay or trade some other stuff 1/32 or 1/48.
Thanks in advance.
Dirk
-
Hi,
I'm looking for 2 TER-9 Triple Ejector Racks (They are in the F-16CJ 1/32 academy box)
+
I'm looking for the wheel doors of the main landing gear of a "normal - not big" mouth F-16A. :)
Because Academy and Tamiya both have the big mouth version wheel doors.
I can trade with some F-16 weapons on 1/32 like JDAM or HARM....
Or just state your price

For info I'm from Belgium ....
Grtzzz Dirk
BAF F-16A 1/32 (Academy conversion) 23rd SQN 'DEVIL'
in In-Progress Pics
Posted
Hey Red Dog, long time since we had contact. (Viperpits)
I know I'm too far in the project and it bothers me to shelf it, I just have to find the courage and start sanding and repainting. I'm definitely not a pro so that is why I'm not looking forward to fixing this. I fear I might mess it up even more.
You are 100% correct on the sensors, don't know how I did not notice that before... I will remove those for sure.
I did print the base with my 3d printer. I'm happy with it and with the metal rod I can roll the model 360 and change positions. She could even be inverted 🙃
I still don't know what color the base should have. I wanne paint it black but that might be too dark. Maybe grey.
And I don't know which squadron emblem I want to put on it yet.
Cheers,
Dirk