


pkrasna
-
Content Count
302 -
Joined
-
Last visited
Content Type
Profiles
Forums
Calendar
Posts posted by pkrasna
-
-
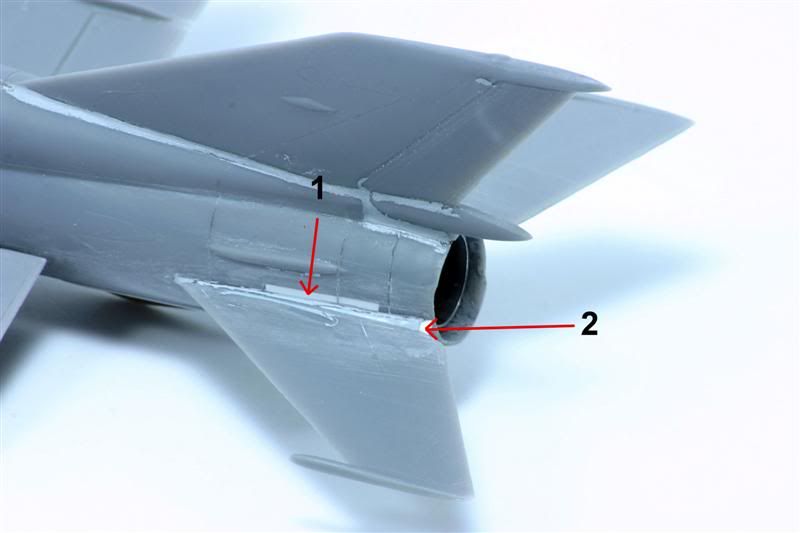
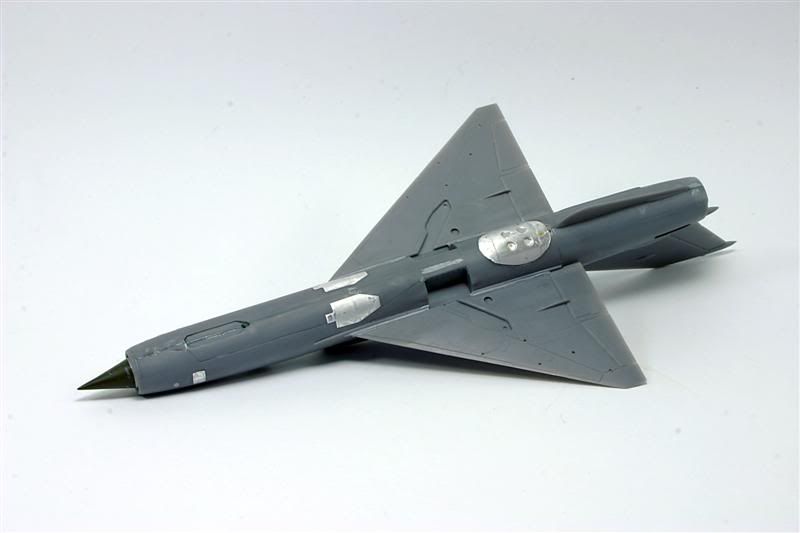
9) The horizontal tail stabilizators wer out of place in every possible way. First they were ment to be mounteg way to high. So I filled the moulded openings with plastic card and glue an sanded them down (1). Also seen from above both stabilizator wer not in line with the fuselage so i added a pice of plastic card (2) to widen the rear part of the stabilisator.
10) All intakes on the fuselage were driled to look a bit more realistic.
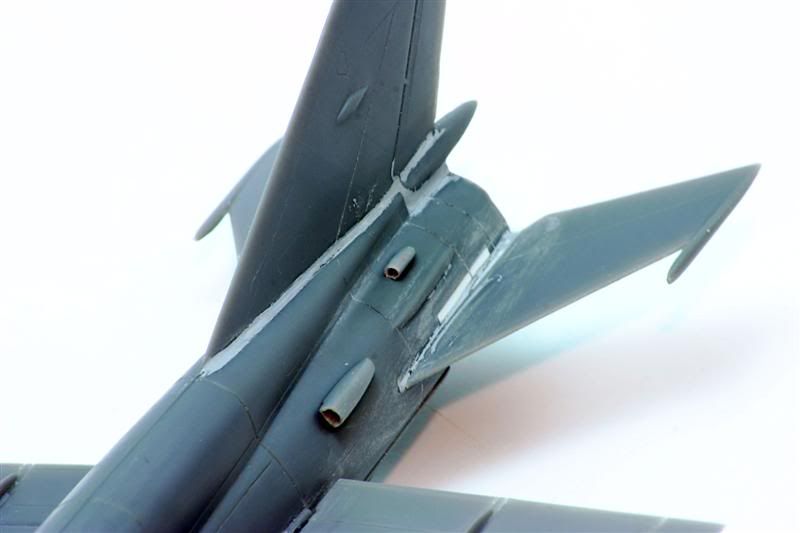
11) Both pitote tubes atacthments were mounted and driled. Tubes will be added after the paint job.
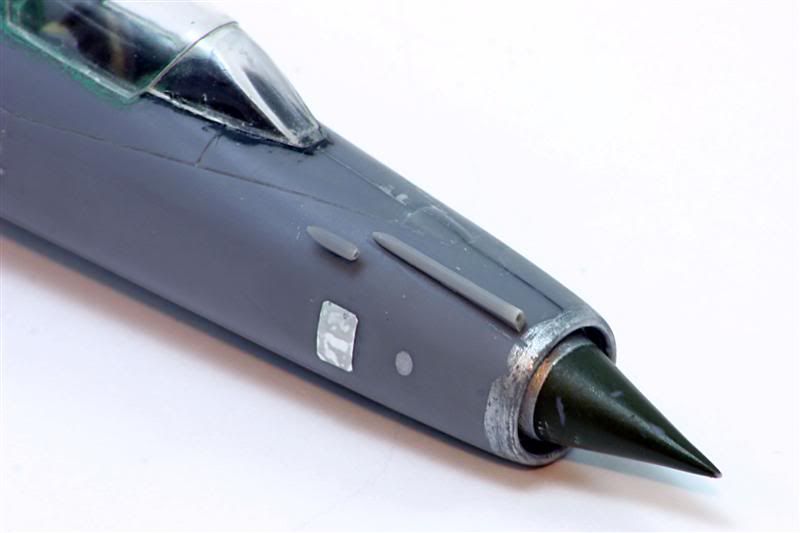
12) Small parts (pylons, intakes...) are set on its place.
This is all for now!
Primož
-
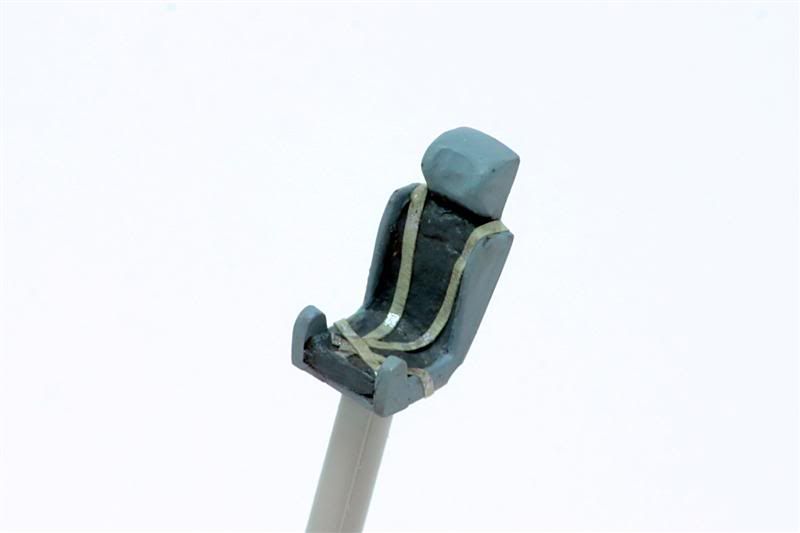
Great detailing! The setbelts look extremly good. Nice craftsmanship!
Primož
-
Thank you both!
6) The ejection seat is finished.
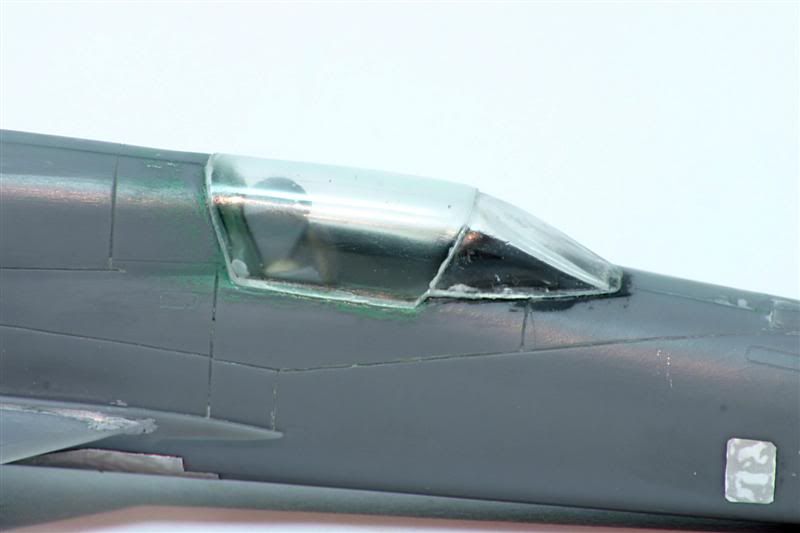
7) I made the targeting device from thin foil and translucent plastic.
8) The canopy finaly closed.
Primož
-
Thanks Trojan Thunder!
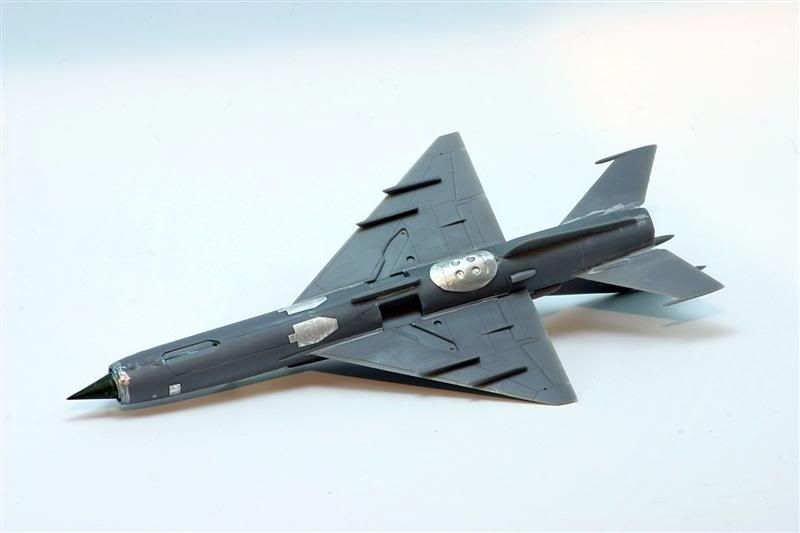
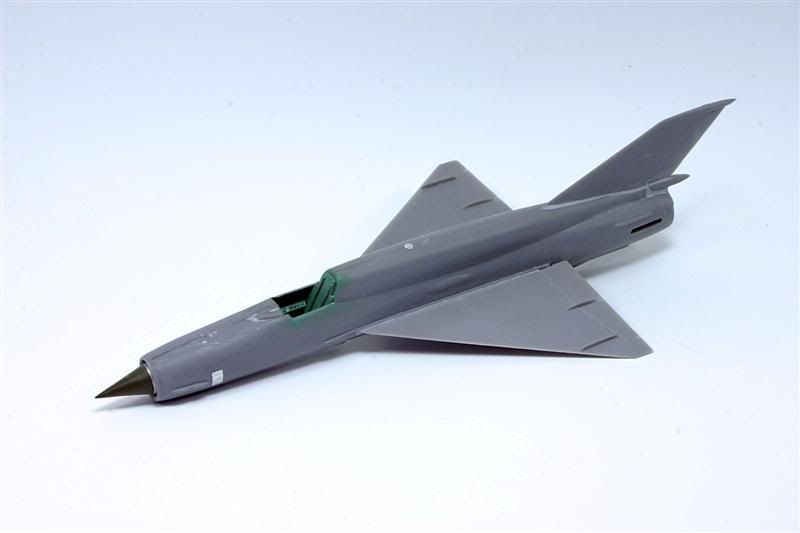
5) So, the main parts are all together. I also added some surface details made out of thin metal foil. Most of the lines are rescribed. The next stage will be finishing the surface details and mounting the tail parts.
Primoz
-
Strange bird. But I must confess that I like the weird stuff
 With all the resin and PE parts the project will be verry interesting to watch.
 Primoz
-
Great start! I'm really looking forward to see some more.
Primož
-
The detailing is exelent especialy on the HUD and control panel.
Primož
-
Aha ! A rational build ! I mean by that that the level of detail depends on the importance and visibility of the area.
If you do a multicolored plane you'll have to deepen the panel lines or paint will drown them.
Yes this is a must if the panel lines should be seen at the end.
Primož
-
Nice work so far!
Primož
-
this will be a real delight to watch.

Primoz
-
The Condor kit, of the famous russian figter, is not so bad at all. The shape is corect, but detailing is very poor. Also the panel lines are verry thin. All additional work on this bird will be done "at home".
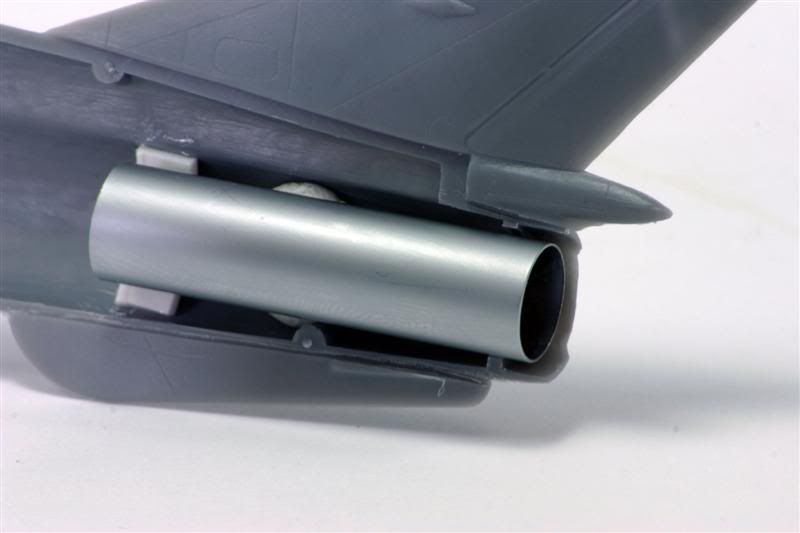
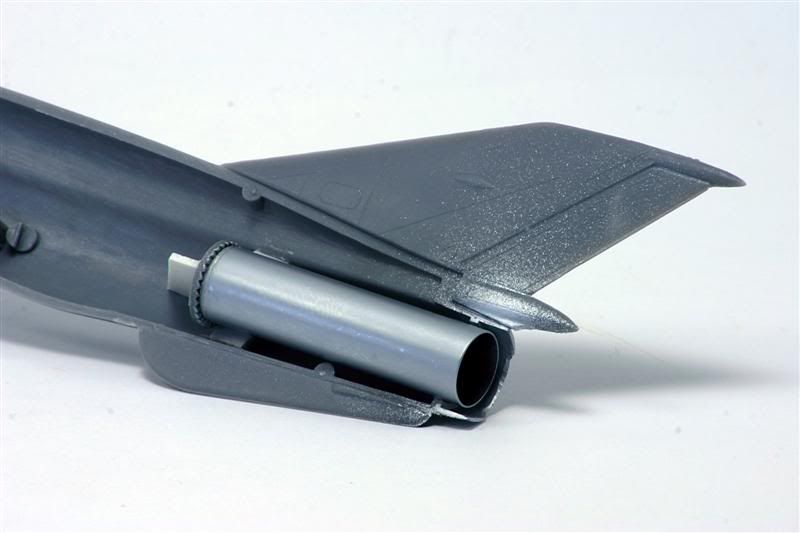
1) The exhaust tube was made out of metal pen and now looks like it should be.
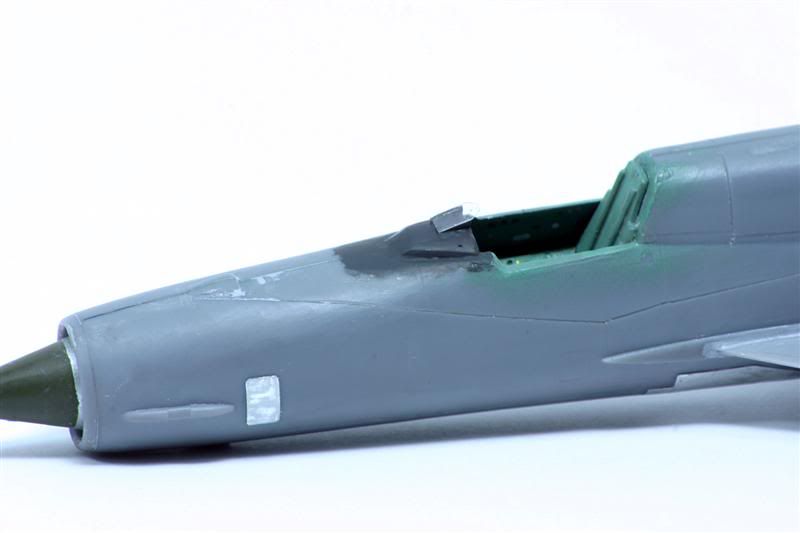
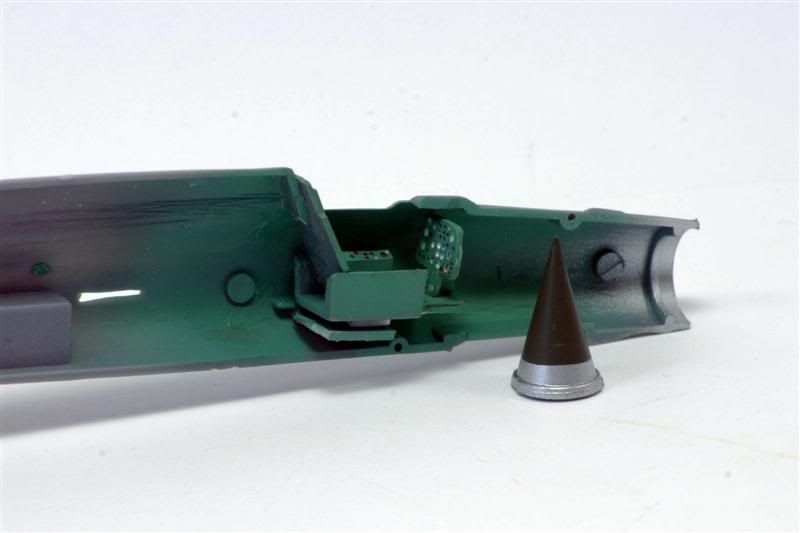
2) The interior parts were remodeleld to achieve a more interesting look. At the end wheh the canopy will be closed a lot of all the details will be hidden, so...

3) The exhaust tube set on place and sprayed with aluminum color.
4) The interior colored and asembled together. The ejection seat is on the way.
This is all for now.
Primoz
-
I will enter this group build with 1/72 Condor Mig-21 smt in Russian AF colors. Al corrections will be home made.
Primoz
-
After one month there's a breakthrough with this project. I managed to glue together the fuselage halves, the wings and the tail parts. Now it realy looks like an He-111. The motors are dry fited.

Primoz
-
Nice! Four colored masterpiece. Can't wait to se the decals on.
Primož
-
WOW!!! This is a huge project and all in one group build. :) Good luck!!! Looking forward to see some progress.
Primož
-
YEAH!!!!
-
Haha, demanding, are we!
Actually you got me off of my butt to lay down a coat of light grey on the interior sections. The pin marks are horrendous, but fortunately they will be next to impossible to see once everything is buttoned up.
I'm sure that my excitement at seeing large pieces ready to go together will lead to some serious assembly this weekend.
Cheers
- E
:)
 :D
:D Primož
-
If your talking about the ones I think you are. Those vertical lines are pointing to the steps locations.
This is a F-15, it is pretty much the same idea.
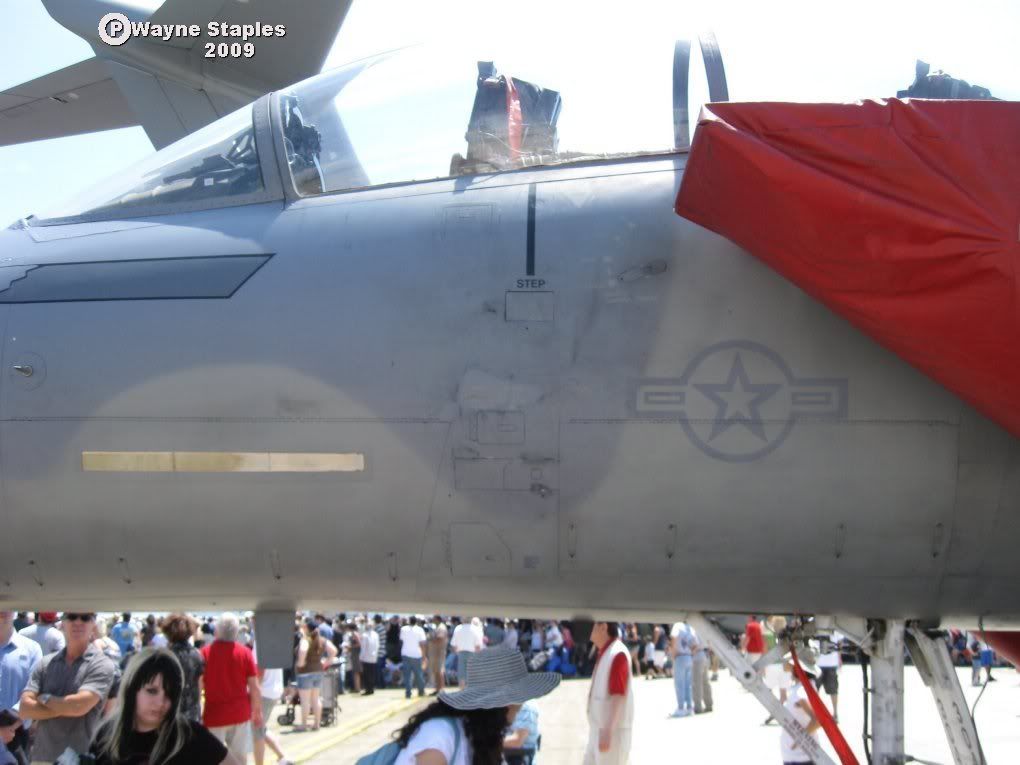
Thank's for your explanation!
Primož
-
Count me in! I will be glad to join with at least one kit.
Primož
-
It was an honor to join this great group build.
Looking forward to contribute my works in "The MiG Group Build 2" :D
Primož
-
Great model and colour scheme!
Primož
-
This is the start of another great project.
primož
-
Interesting choice, I'm interested to see some more.
Primož
-
Nice chopper!! Just curious. What is the meaning of the yellow lines on the rear part?
Primož
MiG-21 SMT *F*I*N*I*S*H*E*D*
in Warsaw Pact Group Build
Posted · Edited by pkrasna
Dragan you was totaly corect! The colors are almost on!
12) I started with the exhaust.
13) All colors were hand picked by observing an old photography of rusian camo mig, so they suposed to be corect. I started with dark sand (valejo air 024).
14) The next one was light green (valejo air 093+050 mixed about 3:1).
15) An finaly the last two camouflage colors; dark green (valejo air 021) and dark brown (valejo air 041)
Now the lower part of the plane is waiting to get it's color. And at the end dialetric panels.
Primož